SSL certificates are essential for securing WordPress websites and ensuring encrypted data exchange between the server and users. However, encountering a "Not Trusted Certificate" warning on Apache-hosted WordPress sites can confuse visitors and harm your website's credibility.
This issue typically arises from incorrect SSL configurations, expired or self-signed certificates, or using certificates from untrusted authorities. In this article, we'll explore the causes of this warning, its potential risks, and practical steps to resolve it, helping you maintain a secure and trusted website environment.
Understanding the "Not Trusted Certificate" Warning
A "Not Trusted Certificate" warning appears when a browser or operating system cannot verify the authenticity of a website's SSL/TLS certificate. This warning indicates that the certificate used to secure the site is either incorrectly installed, expired, self-signed or issued by an untrusted certificate authority (CA). As a result, the browser considers the connection insecure, which can lead to data vulnerabilities and negatively impact user trust. This warning discourages visitors from proceeding to the site, as it suggests the site may not be safe for transmitting sensitive information.
WordPress websites hosted on Apache servers can show a "Not Trusted Certificate" warning due to specific SSL/TLS misconfigurations or issues related to the server setup. Apache requires precise configuration of SSL certificates, and errors during installation, such as incorrect file paths, expired certificates, or self-signed certificates, can trigger this warning. Additionally, Apache’s handling of mixed content (a mix of HTTP and HTTPS elements) can compromise SSL security, leading to trust issues. These factors make ensuring proper SSL certificate management and configuration for WordPress sites on Apache is crucial.
Create Amazing Websites
With the best free page builder Elementor
Start NowWhat Is An SSL/TLS Certificate?
Secure Sockets Layer, or SSL, is the Internet's secret handshake. It uses encryption to secure all data moving between your web browser and a website, stopping others from listening in on your connection.

SSL has been replaced with TLS (Transport Layer Security). It uses comparable technologies to do the same task but is more secure.
Hypertext Transfer Protocol Secure (HTTPS) is an upgraded, secure version of HTTP that functions in tandem with SSL/TLS. Because it is encrypted, HTTPS improves the security of any transferred data.
Although we still frequently discuss "SSL issues" and "SSL certificates" since they are well-known, it's important to remember that TLS has essentially supplanted the SSL protocol, which is only supported by the majority of contemporary browsers.
Why You Should Be Using SSL/TLS
For several reasons, installing an SSL/TLS certificate on your WordPress website is crucial.
Above all, it allows your hosting server to connect securely to web browsers. This lessens the chance of security lapses that could jeopardize your customer data and personal information.
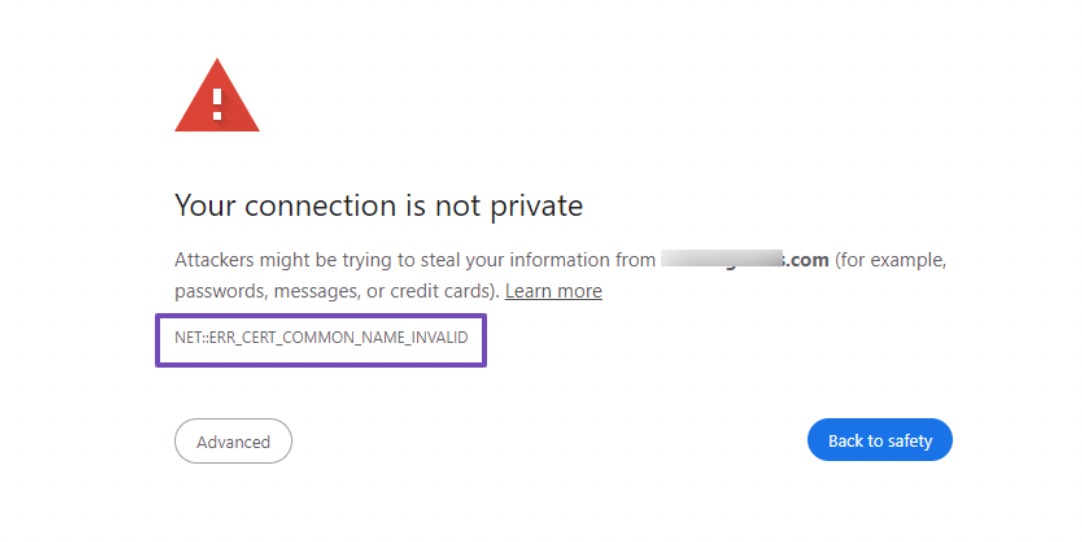
Google now penalizes websites without an SSL/TLS certificate because of this. For instance, when users attempt to access the website, it may show them a warning notice that reads, "Your connection is not private" or "Not secure."
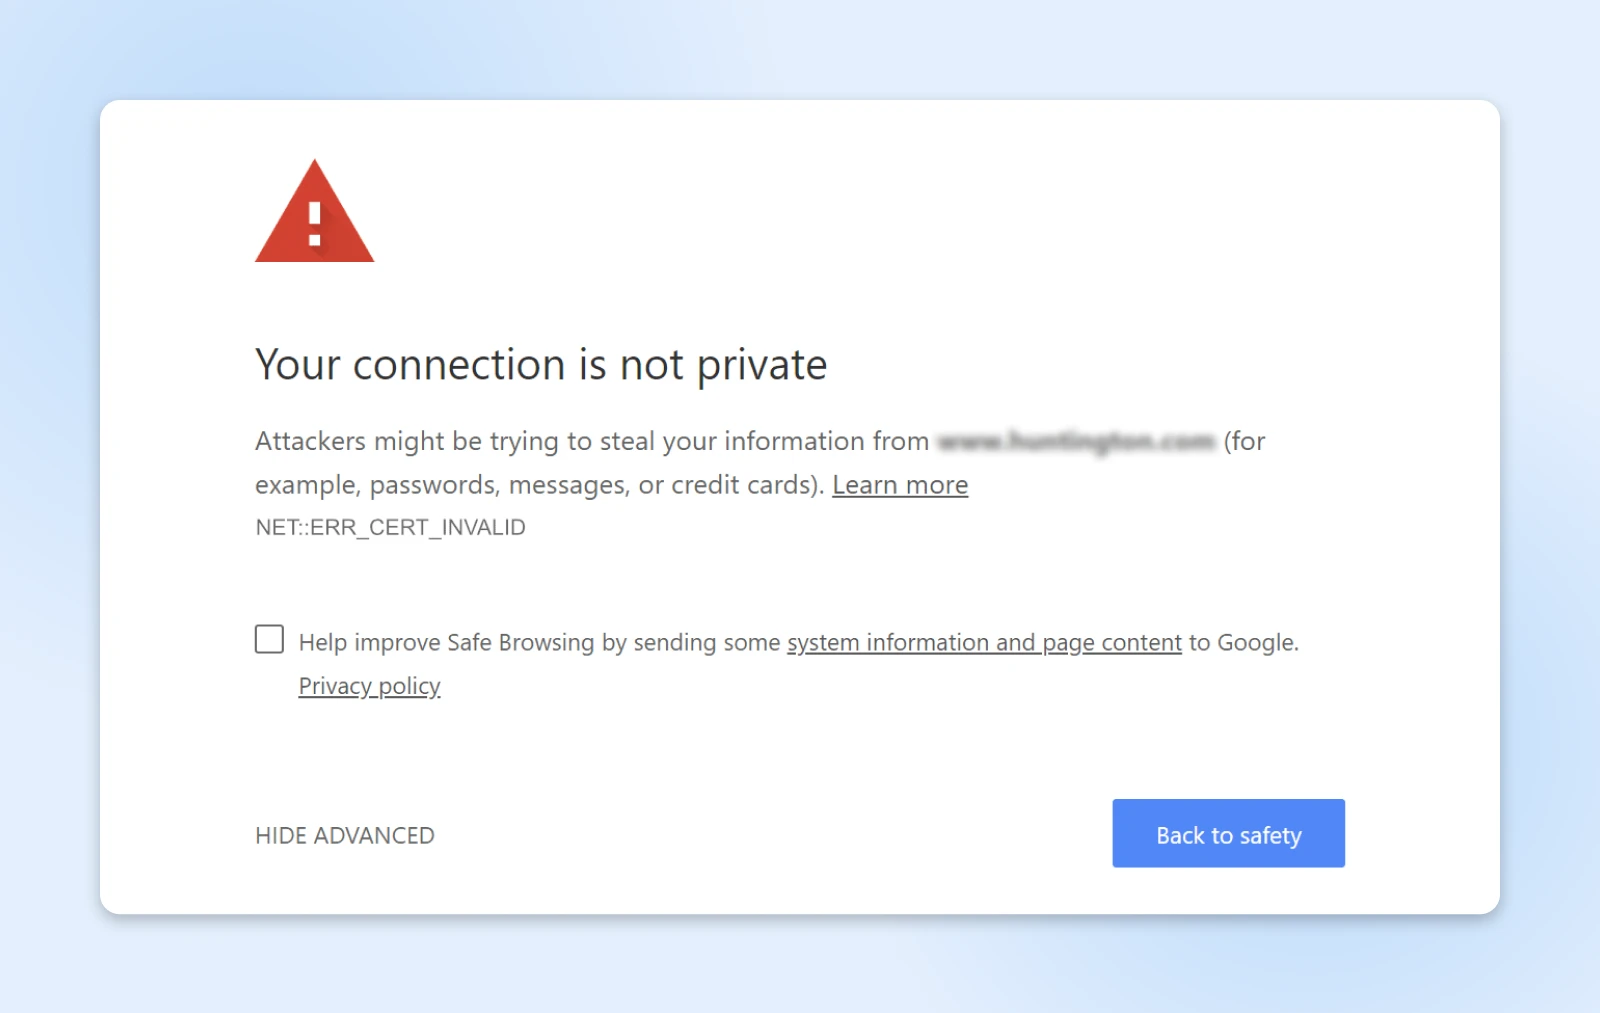
The message's specific phrasing may change depending on the browser you're using, but the idea remains the same.
Ultimately, this may negatively impact your SEO (search engine optimization) rankings and engagement. Thus, it's yet another compelling argument for site security.
It's also important to remember that some website types require an SSL certificate to function properly. If you wish to launch an online business, SSL/TLS encryption is required to take online payments through gateways like Stripe, PayPal, and Authorize.net.
How does a ‘Not Secure' warning impact your site?
Having a secure website is essential for numerous reasons. This section examines the negative effects of a "Not Secure" notification on your website.
Users become less confident and trusting when they see a "Not Secure" notice, which makes them hesitant to enter critical information on the website. This can harm e-commerce websites and reduce their earnings by raising bounce rates and lowering conversion rates.

Because Google and other search engines take security into account when evaluating websites, a "Not Secure" warning also lowers the site's search engine rankings. Over time, this may reduce the site's traffic and visibility.
Because certain browsers are becoming more stringent about security and may block "Not Secure" websites, a "Not Secure" notice can potentially prevent people from visiting the website altogether, significantly diminishing the site's potential audience.
As a website owner, you should address this problem right now to avoid these severe repercussions.
How do you fix the WordPress site "Not Secure" warning?
The following procedures, which are also covered in the following sections, will help you remove the Site 'Not Secure' notice from your WordPress website.
1. Create a backup of your WordPress site
You should back up your WordPress website before trying to remove the WordPress site. There is no secure notice, even if the instructions we provided are comprehensive. In the unusual event that something goes wrong, this guarantees a simple recovery of the data on your website. You can accomplish this with a dependable backup plugin in just a few simple steps.
2. Check your site's SSL status
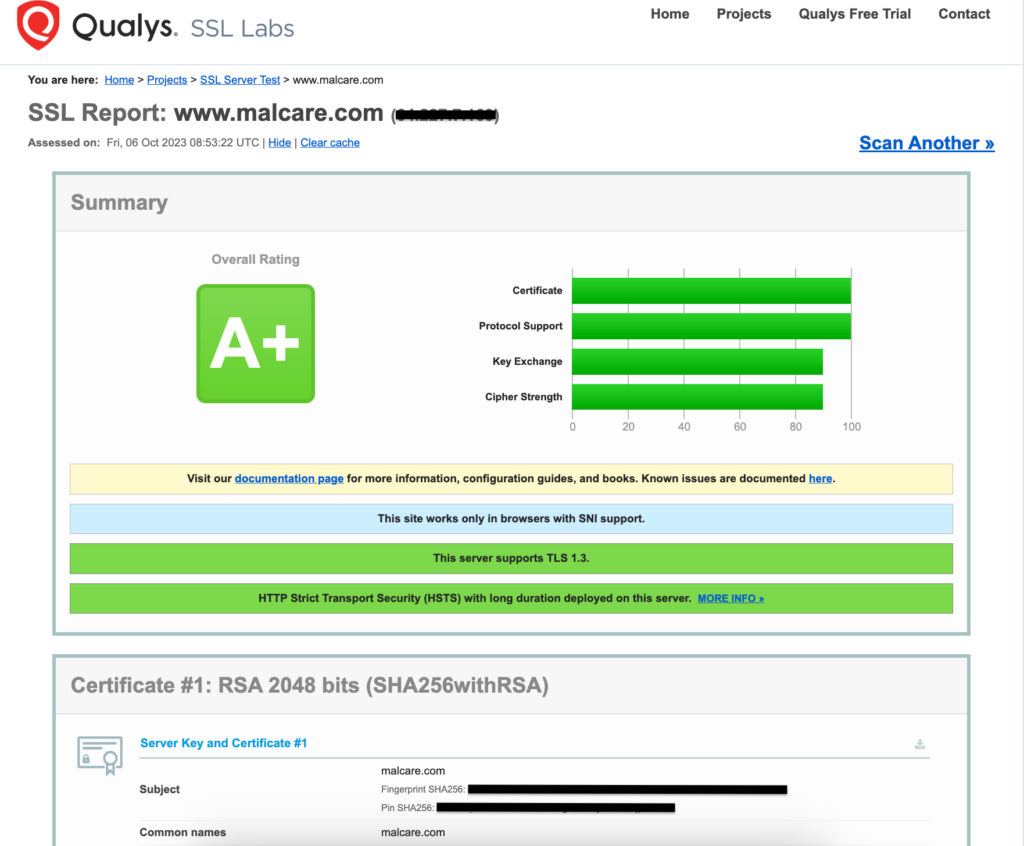
After backing up your website, verify the SSL certificate's status—whether it exists, is current, or has expired—by entering your website URL into an online SSL checker like Qualys SSL Labs. If your website is SSL-certified, you can find more information here. Ensure your SSL certificate employs RSA 2048-bit encryption and that the results display an A or A+ rating, the highest attainable rating.
3. Install an SSL certificate
This article explains how to install an SSL certificate on a WordPress website if you don't have one or if yours has expired. Before installing an SSL certificate, contact the original certificate authority (CA) to get it reissued if your current one has expired.
After carefully examining the various options offered by CAs, choose the renewal plan that best suits your needs. If your website does have an SSL certificate, proceed to the following step.
4. Redirect URLs from HTTP to HTTPS
Navigate to Settings and then General in the WordPress Admin panel. The WordPress Address (URL) and Site Address (URL) components are located here. They automatically include your site's URL. If these URLs start with http://, you must change to https://.

Alternatively, you can modify the wp-config.php file to get the same outcome if you can enter your website using SSH. To accomplish this, open the file in the editor of your choice and add the final few lines of code:
define('WP_HOME','https://your.site.com/');
define('WP_SITEURL','https://your.site.com/');
5. Scan for and fix mixed content issues
You have two choices for this task. Changing items in the wp_options table requires gaining access to your database using the manual approach. But even a minor error could bring down your website. Therefore, using a plugin like BetterSearchReplace (BSR) for this purpose is safer and more convenient. This technology makes fast database updates possible.
The steps to follow are as follows:

Install the BSR plugin from your WordPress Admin dashboard.
Activate the plugin after installation. It is located in your dashboard's Tools section.
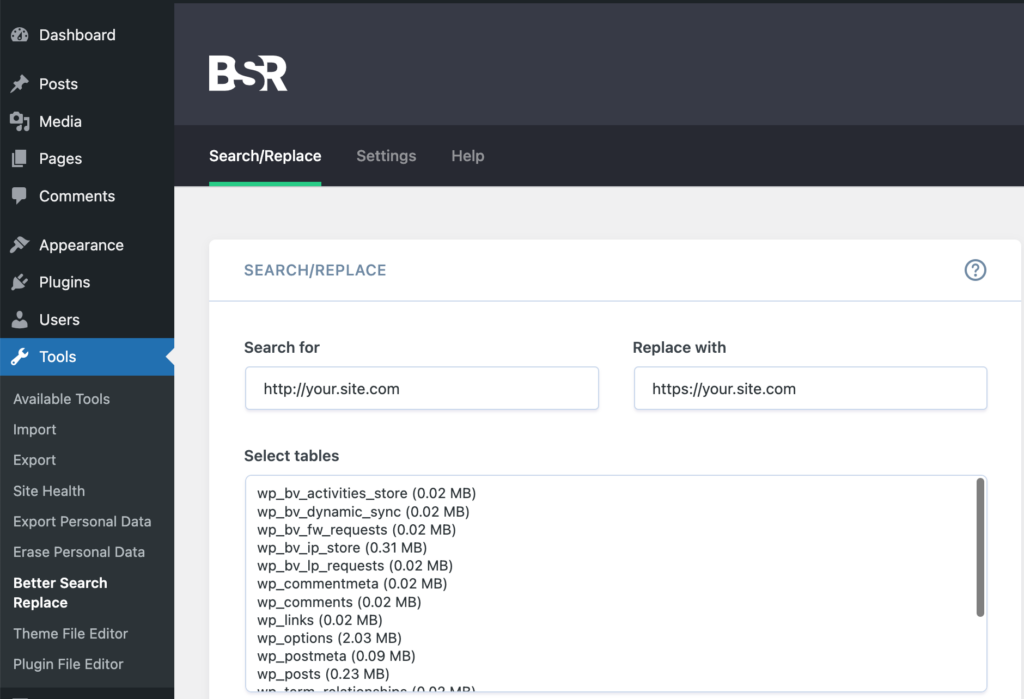
Next, enter the URL of your website in the Search for text box in the http:// format. Likewise, please enter the same URL in the Replace with text box, but format it as https://.
From the Select tables menu, select every table. To do so, use Ctrl + Left Click on Windows computers and Command + Left Click on Mac computers.
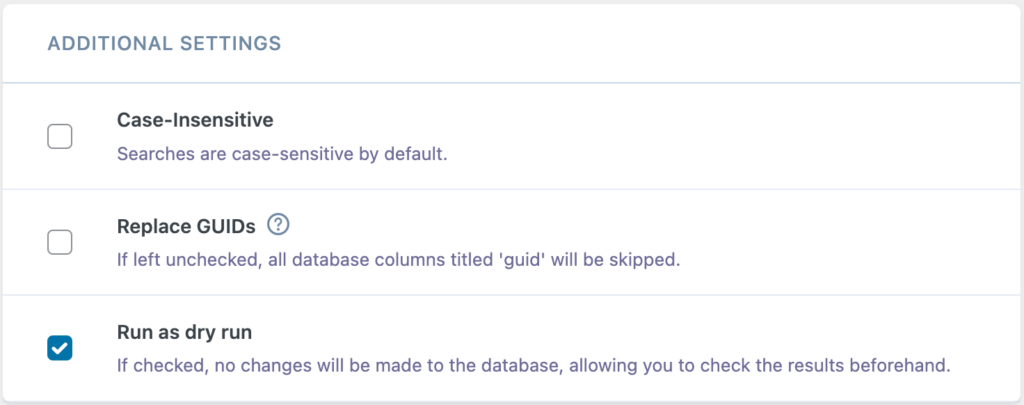
Choose the Run as dry run option if you want to conduct a test run without altering the tables.
Select the option and click Run Search/Replace → to launch the tool when you're ready to make the changes.
6. Clear all your caches
Some links might have been omitted even though you used an SSL certificate to move your website from HTTP to HTTPS. This occurs particularly when URLs to images do not seamlessly transition to HTTPS, resulting in a WordPress site not secure notice. We refer to this as a mixed content problem.
Importance of SSL Certificate for Your Website
Nowadays, securing your website is not just an option—it's a necessity. One of the most crucial steps in protecting your site and your users is implementing an SSL (Secure Sockets Layer) certificate. Let's explore why SSL is so important and how it can benefit your website.
1. Enhanced Security
The primary function of an SSL certificate is to encrypt data transmitted between a user's browser and your web server. This encryption prevents hackers from intercepting sensitive information such as login credentials, credit card numbers, or personal details.
2. Build Trust with Visitors
When users see the padlock icon and "https://" in the URL, they know your site is secure. This visual cue builds trust, encouraging visitors to interact with your site, purchase, or share information.
3. Improved SEO Rankings
Search engines like Google give preference to secure websites. An SSL certificate can positively impact your search engine rankings, helping more potential customers find your site.
4. Compliance with Regulations
Many industries have regulations requiring the protection of user data. An SSL certificate helps you comply with standards like PCI DSS for e-commerce sites.
5. Better User Experience
Modern browsers warn users when they visit non-secure sites. By implementing SSL, you avoid these warnings and provide a smoother, more professional user experience.
Final thoughts
You have started protecting your WordPress website and all communications to and from it by installing an SSL certificate. However, as we previously stated, an SSL certificate does not ensure complete site security. You need a security plugin to make your site's security routine even stronger.


