
AI image upscalers, such as Gigapixel, make your photos bigger easily. They're fast, reliable, and keep your photos looking natural. It's better than editing in Photoshop or Lightroom. We'll talk about one AI upscaler, show you how to use it, and its settings. Let's get started!
What is Image Upscalling?
Image upscaling is the process of enlarging a digital image while maintaining its quality and clarity. It uses algorithms to add more pixels to the image, resulting in a higher resolution without significant loss of detail. This technique is commonly used to enhance the size of images for various purposes such as printing, viewing on high-resolution displays, or improving the visual appeal of photographs.
Check out Best AI Image Upscalers (Free and Paid).
Introduction To Gigapixel AI
Gigapixel is a smart tool made by Topaz Labs that makes images look better. It can make your images 6 times bigger without losing quality. It uses AI to add more details and textures, great for getting images ready to print. Gigapixel is good at making small pictures bigger, especially portraits, by improving facial features. In version 6.1, Gigapixel got even better with Face Recovery AI, making it easier to enhance images.
Create Amazing Websites
With the best free page builder Elementor
Start NowUpscale Images with AI Using Gigapixel
Gigapixel makes your pictures bigger using AI. It's simple to use. We'll guide you on how to get the software and the best settings to make your photos awesome.
Gigapixel Free Trial
To get Gigapixel AI, go to their website and click "Try it free." Before you install it, make sure your computer can handle it. Here's what you need:
- For Windows: You need Windows 10 or 11, a decent Intel or AMD processor with AVX2, at least 16 GB of RAM (but 32 GB is better), and a good graphics card like NVIDIA GTX 900 series or higher, AMD Radeon 500 series or higher, or Intel ARC A750. Your CPU should be from 2016 or newer.
- Recommended Specs: Aim for 32 GB or more of RAM, NVIDIA RTX 3000 or higher, or AMD Radeon RX 5000 or higher for the graphics card with at least 8GB VRAM.
Once you click the button to try it free, the software will download. Find the installer on your computer and double-click it to install. Accept the terms and click "install" if you're on a Mac.
Gigapixel will download AI models from their server, which might take a few minutes depending on your computer.
Launch Gigapixel AI
Once you've installed the program on your computer, get to know how it looks. Find "Topaz Gigapixel AI" in your applications folder and double-click to open it. A window will pop up with some options: activate, buy a license, or use the free demo. Choose "Free Demo" to try it out. The demo lets you use all the features, but you can't save your work.
When you open the program, it'll ask you to add an image. You can either drag and drop an image or click the "Browse Images" button to pick one from your computer.
Gigapixel AI UI Navigation
Once you've uploaded a photo to Gigapixel, you can start using its AI tools and settings. But if you're using the demo version, you can't save images. Let's guide you through how to use Gigapixel to make images bigger with AI.
- Original Image: See your picture as it was before.
- Upscaled Image: As you tweak settings, you'll see the changes compared to the original.
- Open Images: You can open multiple images and apply settings all at once.
- View Settings: Choose how you want to see your images - one by one, side by side, or zoomed in.
- Image Settings: Check details like original size, AI model used, and if any corrections were applied.
- Updated Preview: See your changes in real time.
- Resize Mode: Make your image bigger (up to 6 times), change width, height, and crop.
- AI Model Selector: Pick the AI style you want to use.
- Settings: Adjust noise, blur, and compression. You can let Gigapixel do it for you or adjust it manually.
- Additional Settings: Extra tools for improving faces and adjusting gamma.
AI Model For Image Upscalling
Gigapixel's AI models are different from each other. They're made for specific types of photos, so it's important to pick the right one for what you need. But it's best to try a few models before deciding on one. Even though Gigapixel suggests certain models for certain photos, your result might be different.
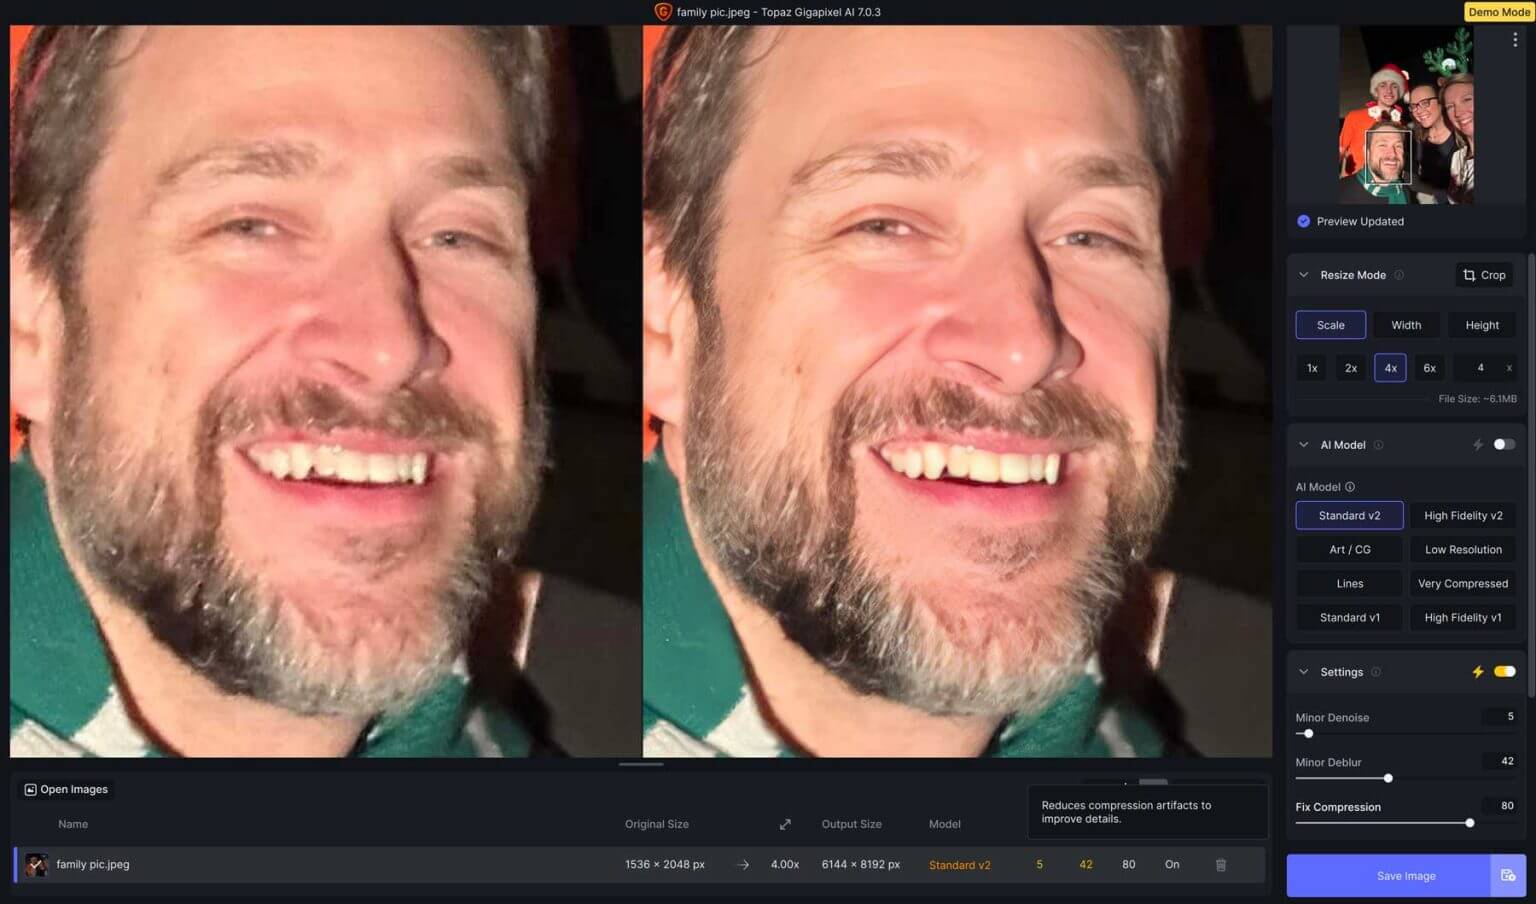
For instance, let's say you took a photo with an iPhone 11 using a 12MP lens. When you used the Standard V2 AI model along with automatic adjustments for noise, blur, compression, and face recovery, the photo turned out much sharper with more detail. Here's a quick look at each AI model so you know which one to use in different situations:
Standard V1 & V2
This picture was clicked using an iPhone 6, which has an 8MP camera. Gigapixel selected the Standard V2 model using automatic AI mode. The settings were:
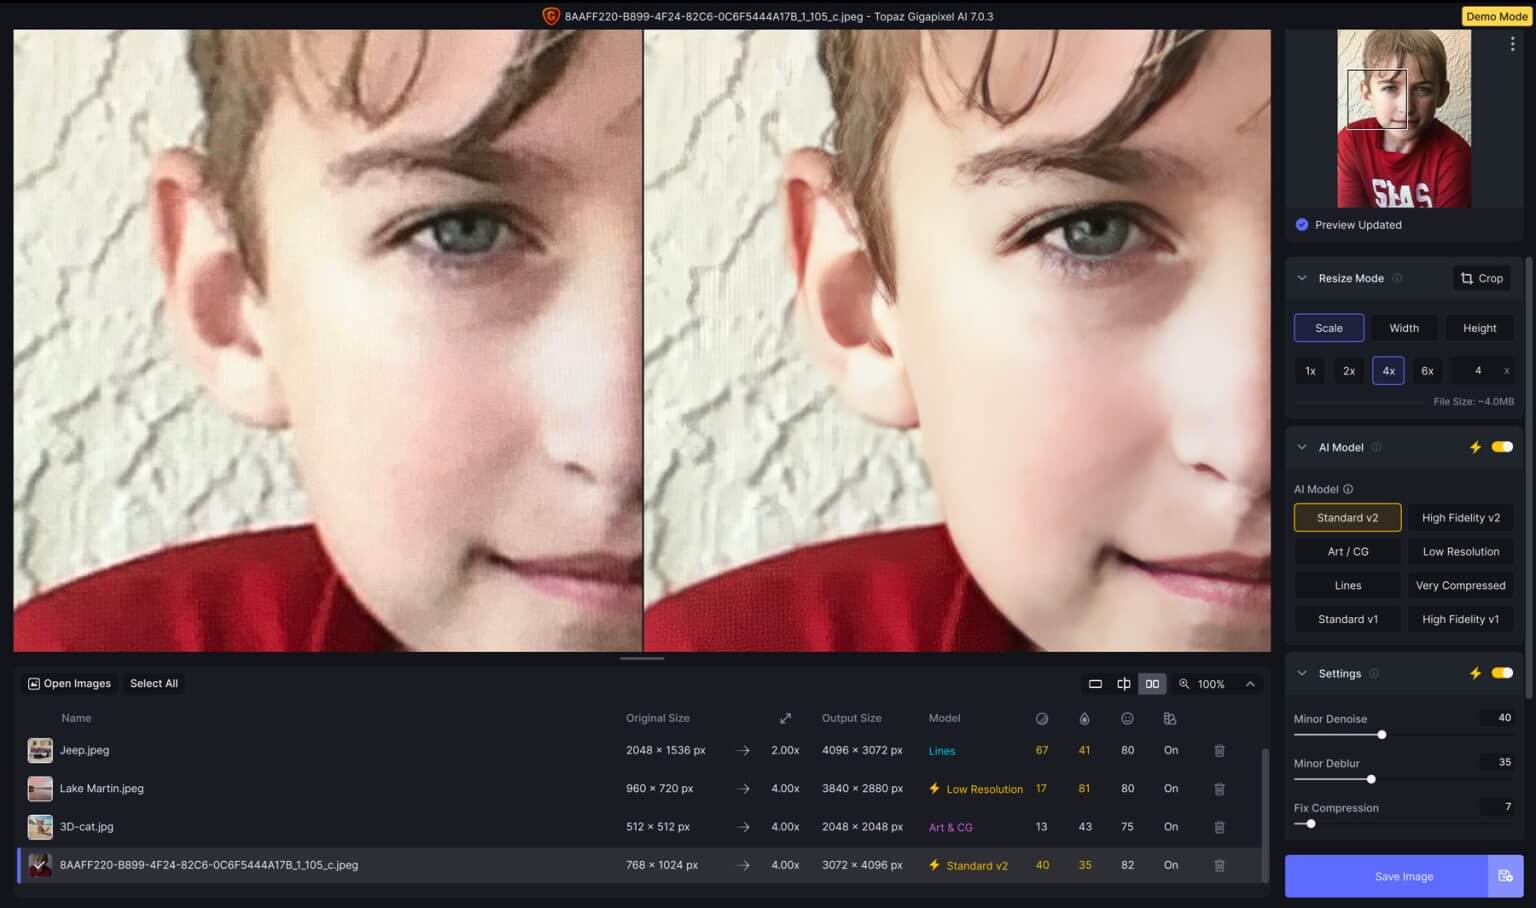
- Minor Denoise at 40,
- Minor Deblur at 35,
- Fix Compression at 7,
- Face Recovery with a strength of 82
Also, Gamma Correction was enabled. Standard V1 and V2 models have an additional setting called Fix Compression. The AI checks the photo and decides what adjustments are necessary. Options differ based on the AI model selected.
High Fidelity
When you're dealing with big image files from new smartphones, you might not see much improvement. But that's where Gigapixel comes in. Take, for example, a photo from an iPhone 15 Pro Max with a 48MP camera. We bumped up the resolution from 4284 x 5712 px to 17136 x 22848 px without losing quality. We used the High-Quality V2 AI model with these settings:
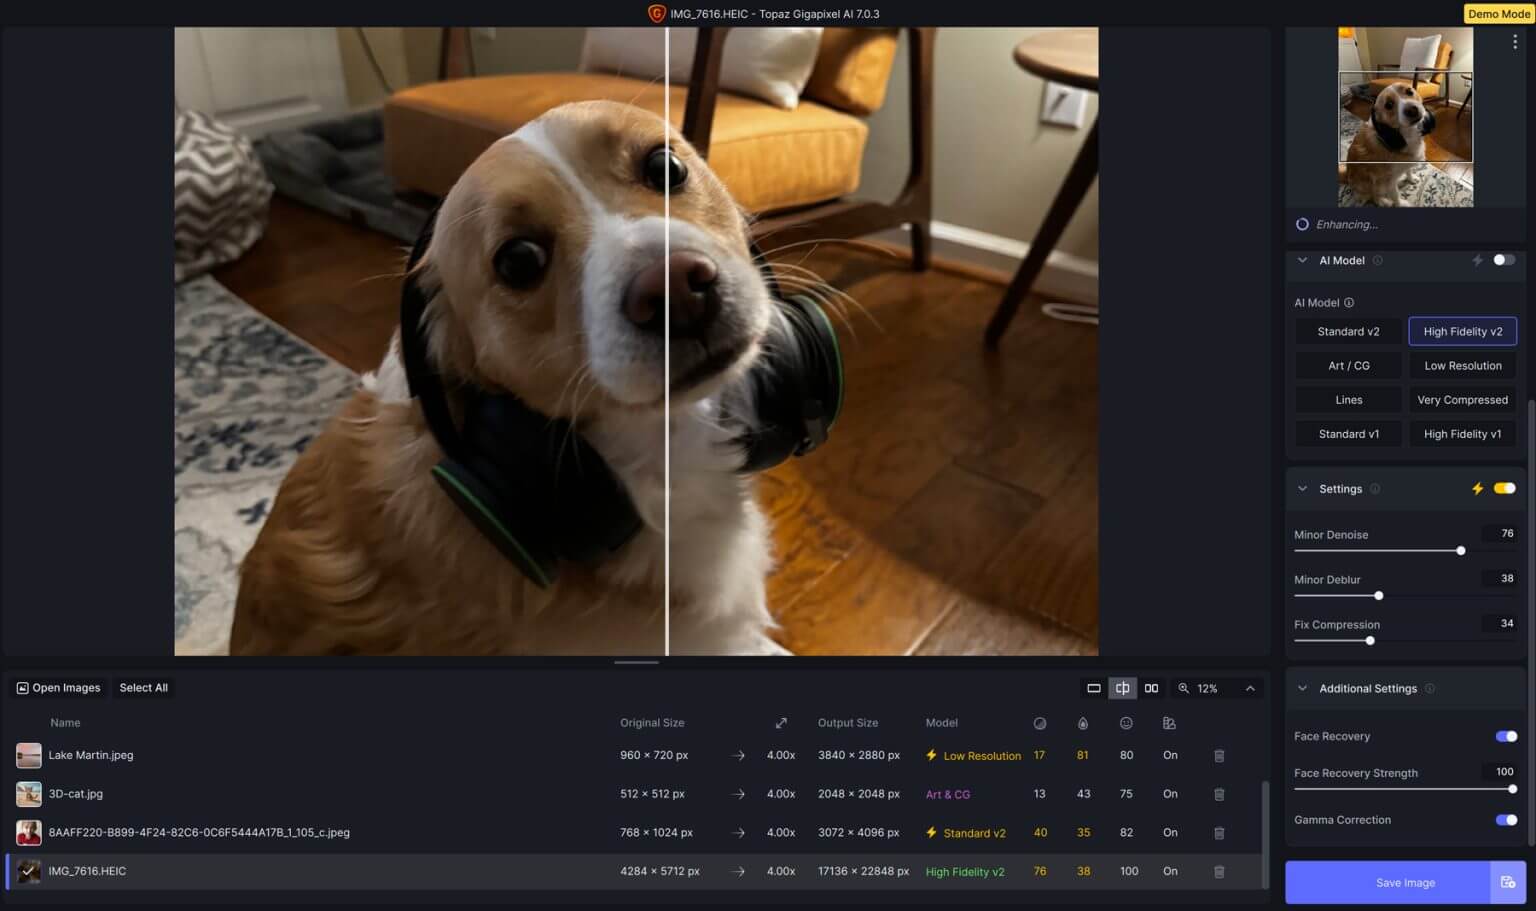
- Minor Denoise: 76,
- Minor Deblur: 38,
- Fix Compression: 34,
- Face Recovery: strength of 100,
- Gamma Correction: Enabled.
Art / CG
We tested an Art/CG AI model by creating an image using Jasper Art. The original photo size was 512 x 512 pixels. Then, we used the AI model to make it four times bigger, resulting in a 2048 x 2048 pixels image. We adjusted some settings like
- Minor Denoise: 13
- Minor Deblur: 43
- Face Recovery: strength of 75
- Gamma Correction: Enabled
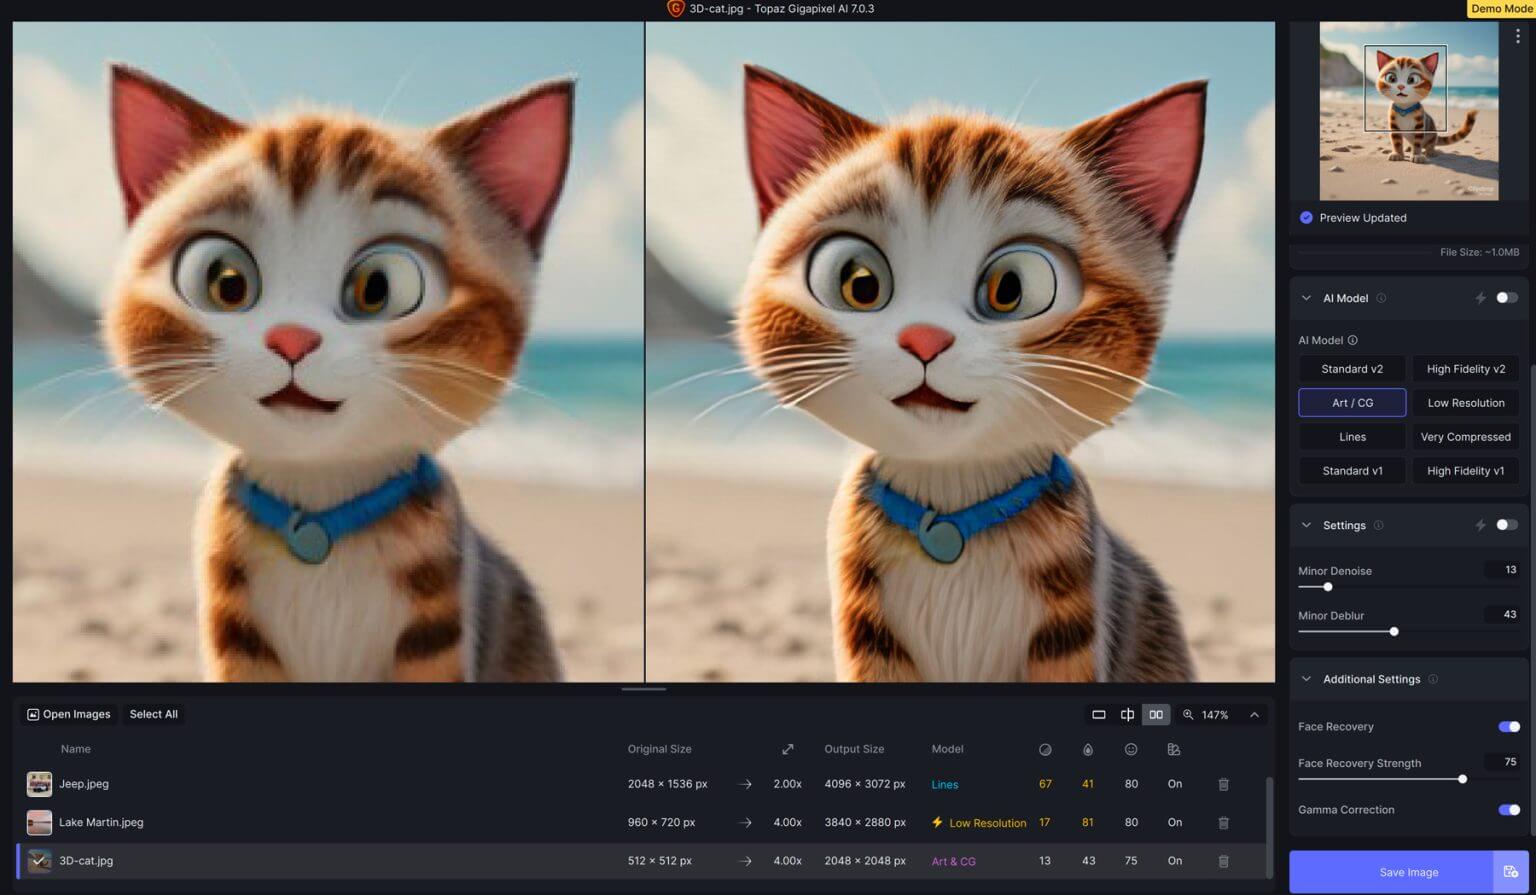
Comparing the original AI-generated image with our upscaled one showed interesting differences. The AI reduced blur and improved the fur detail on the cat.
Low Resolution
We took a Facebook cover photo that was 960 x 720 pixels. Then, we used an AI tool to make it bigger, turning it into 3840 x 2880 pixels. Here are the settings we used:
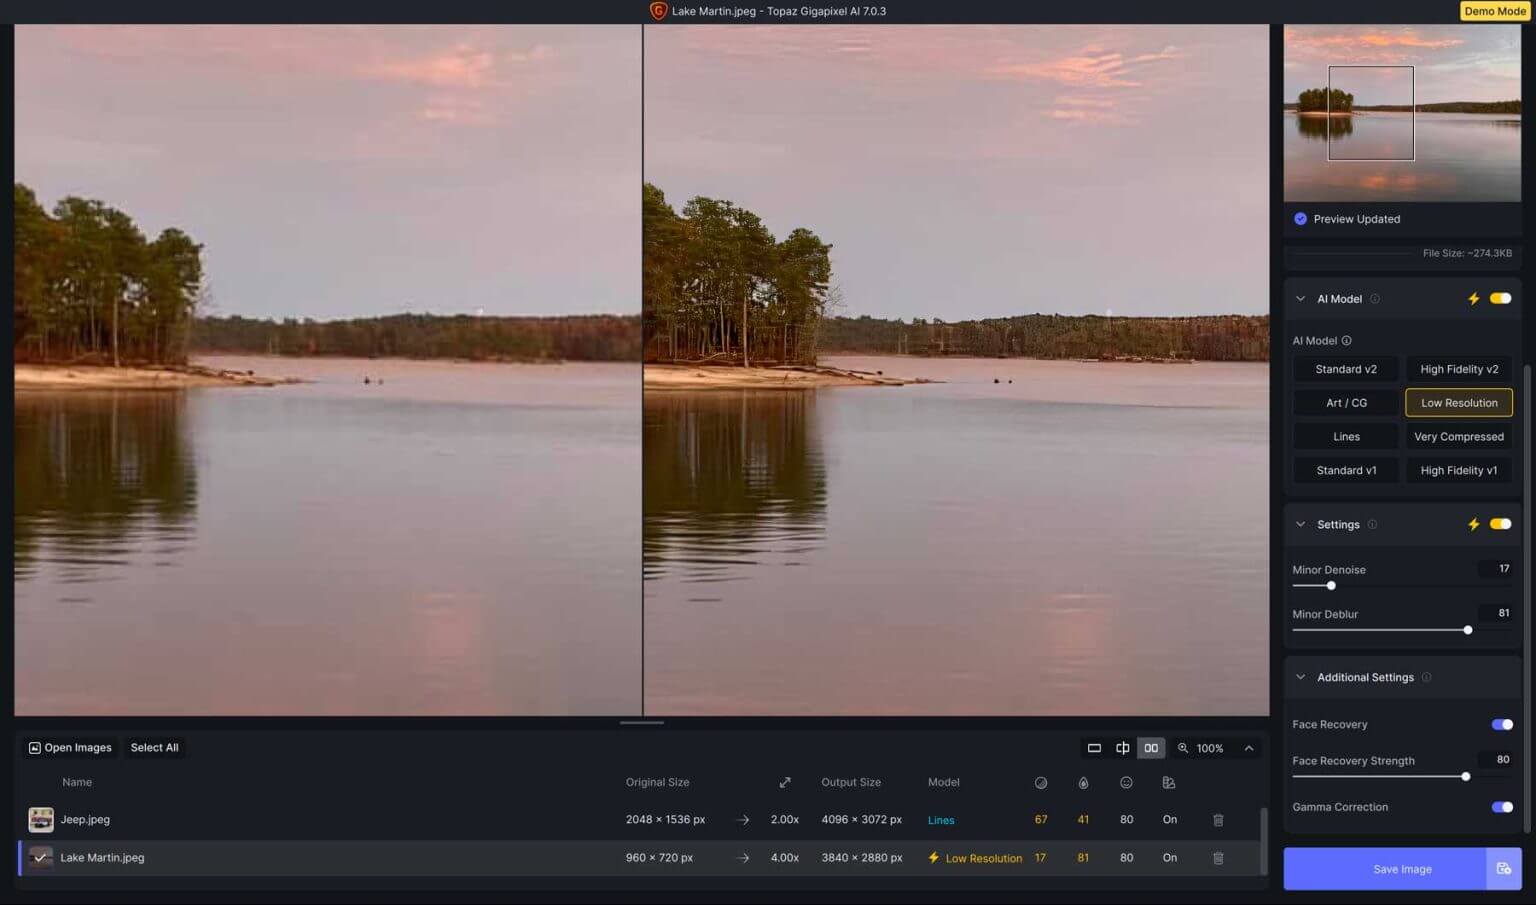
- A little less noise: 17
- Some blur reduction: 81
- Enhanced face details: 80
- Gamma Correction: On
The AI made the image look better, adding more details to things like trees and the sky.
Lines
We tried the new Lines AI model in Gigapixel version 7. It's great for architectural photos or ones with text. We used it on a photo from a recent trip to France with these settings:
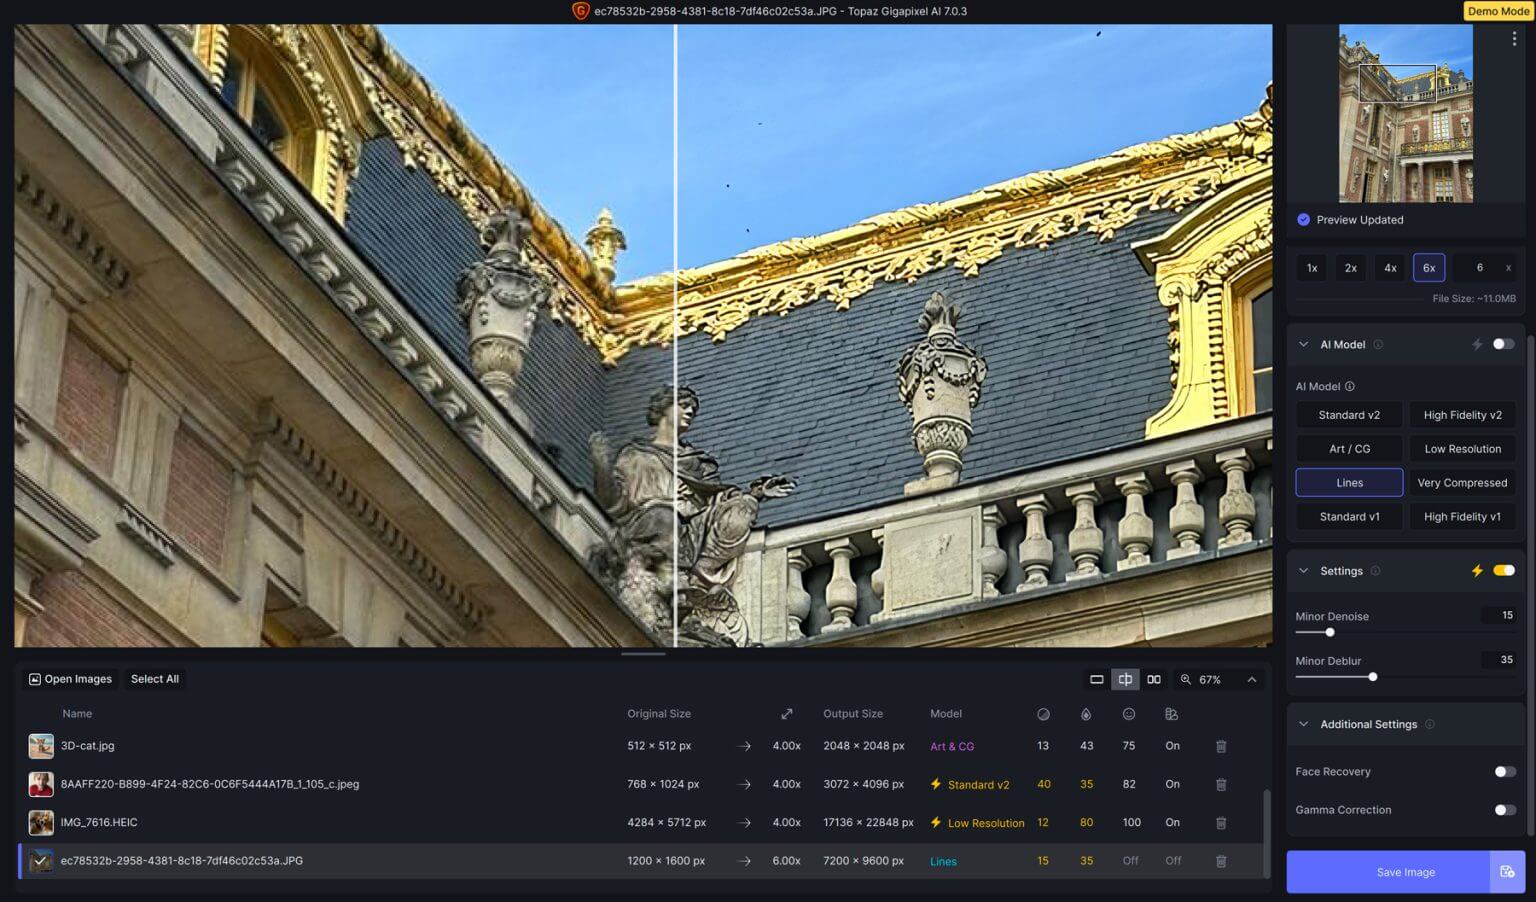
- Minor Denoise: 15
- Minor Deblur: 35
- Face Recovery: Disabled
- Gamma Correction: Disabled
The result was impressive. Gigapixel AI sharpened the image and enhanced the details of the statues on the roof. We increased the resolution from 1200 x 1600 px to 7200 x 9600 px and improved the overall quality.
Very Compressed
The latest AI model in Gigapixel AI is called Very Compressed. It's great for fixing photos with lots of compression or flaws, like old or scanned pictures. We tried it on a social media image that had been resized many times, using these settings:
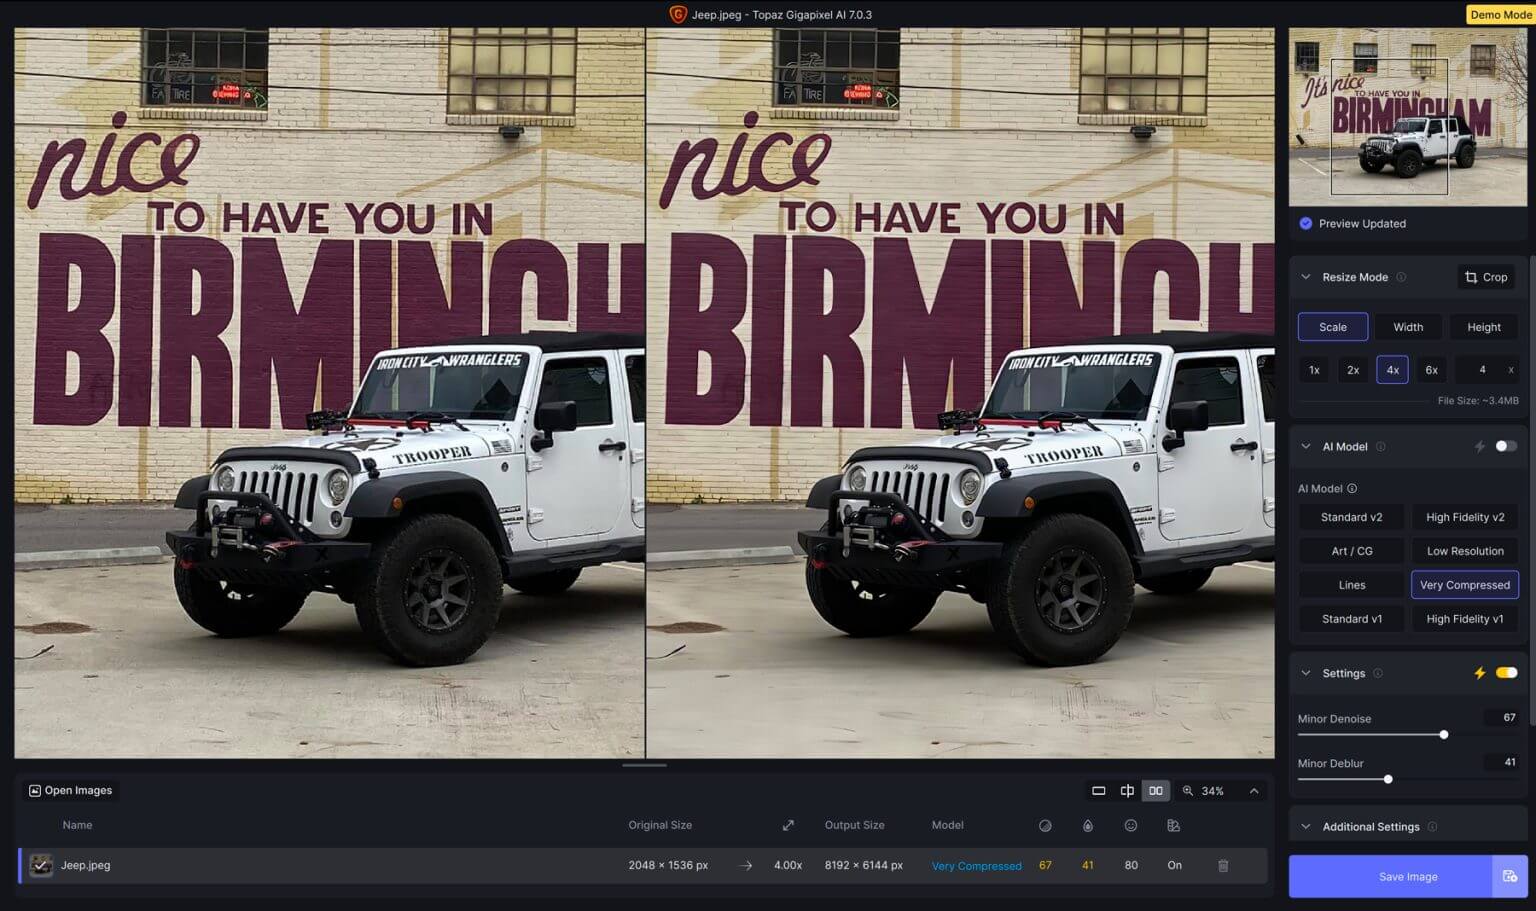
- Minor Denoise: 67
- Minor Deblur: 41
- Face Recovery: 80
- Gamma Correction: Enabled
The changes aren't dramatic, but we managed to make the image four times bigger without losing much detail.
Limitation Of AI Image Upscaling Tools
Using AI to make images bigger can make them better by making them clearer and more detailed. But, there are some things to think about. First, when you make a picture more than twice as big, it might not look as good. It could be less clear and sharp.
Also, sometimes the picture might look too perfect, not real. It depends on the tool you use. Lastly, if a picture is already bad quality, AI can't fix it completely. So, choose pictures with some detail for the best results.
Read more on Upscale Your Images in WordPress With Divi AI?
Final Words
If you want to make small pictures bigger using AI, Gigapixel is your best bet. It has six AI models and options to fix noise, blur, and compression. You can enlarge low-quality, grainy images by up to 600%. They suggest settings for different types of photos, but it's smart to play around with the software to find what works best for you.


