
Would you like to reach your subscribers through automated drip notifications? Using automated drip campaigns on your WordPress site is a great way to welcome new users and boost engagement. They can be used to guide your users through a specific process. You will learn how to set up both push notifications and email notifications in WordPress in this article. You can also apply this in a cloud hosting-based website like Elementor Website.
Importance Of Using Automated Drip Notifications
You can send drip notifications to your subscribers by push notification or email, depending on your preference.
Sending these messages at a predefined interval is automatically triggered as part of a series. It is more like 'dripping' them out slowly rather than 'pouring them out before they are ready.
A drip campaign can be used to promote a product, get more views to your WordPress blog, build a relationship with your users, increase sales, or even teach a course.
Create Amazing Websites
With the best free page builder Elementor
Start NowTo make the most of automated drip campaigns in WordPress, consider these use cases:
- If you have a new subscriber or customer, you can automatically send them a welcome drip notification. By doing this, you build brand trust and educate users about your products and services.
- Having automated drip notifications set up on your eCommerce store can help you upsell and cross-sell different products.
- By promoting your most important content, you can get people back to your website.
- People from different regions can receive targeted messages through drip notifications. With geographic segmentation, more conversions can be achieved.
- Automated drip notifications can be used to get people to register for webinars and upcoming events.
Automated Push Notification Drip Campaign Setup
PushEngage is the simplest method for configuring automated push notifications. Over 10,000 organizations use it as the finest web push notification software for WordPress to send customized messages.
You must first go to the PushEngage website and select "Get Started for Free Now."
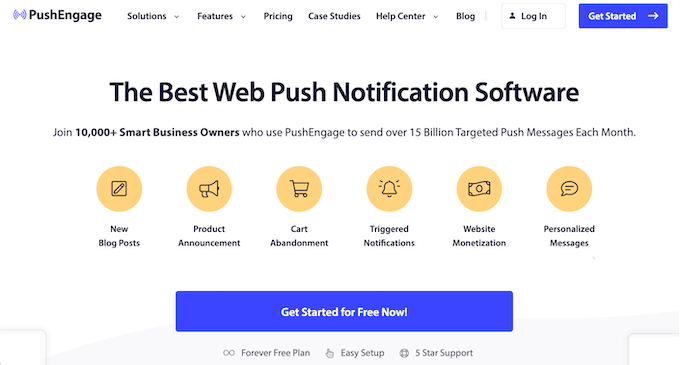
The next step is to choose a pricing strategy that suits your requirements. PushEngage provides a free plan with up to 200 subscribers and 30 campaigns.
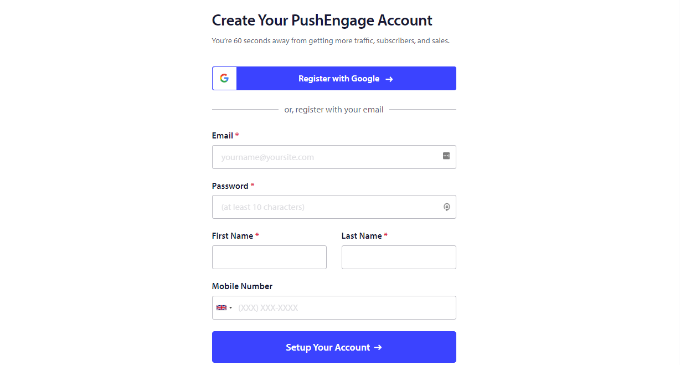
You can register using a Google account or establish an account after choosing a price option.
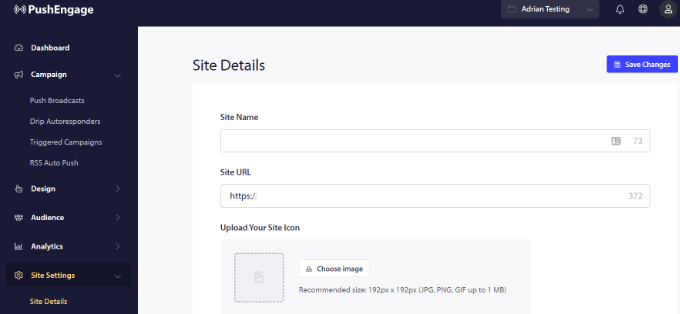
When you log in to your account, the PushEngage dashboard will appear.
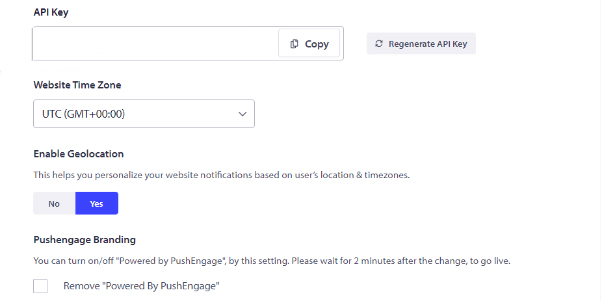
The tool will then direct you to Site Settings » Site Details, where it will prompt you to add information about your websites, such as the domain name and site symbol.
You can create the API key for integrating your WordPress website with PushEngage by scrolling down to the "Site Details" section.
Copy the API key, then paste it into a Notepad document for storage. It is required in the following action.
The next step is to integrate PushEngage with your WordPress website. Installing and activating the PushEngage WordPress plugin is the first step. When PushEngage is activated, locate it in the WordPress dashboard menu and select the 'Setup' option.
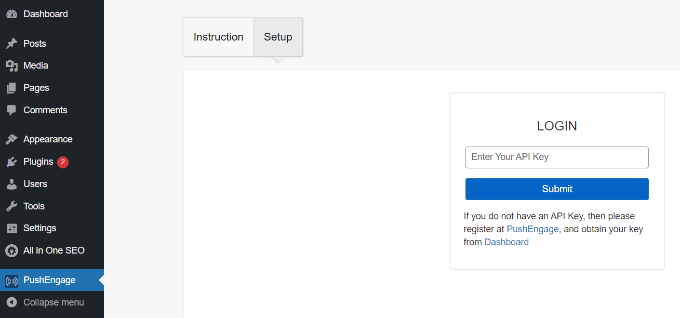
The API key you just copied must now be entered in the "LOGIN" column.
Simply click the "Submit" button after entering the API key.
Now, more settings ought now be visible in the WordPress dashboard's PushEngage area.
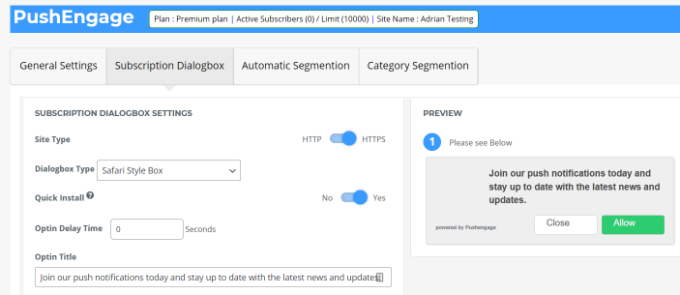
You'll find options to set up UTM parameters, edit the content in the subscription dialog box, and more. Push notifications can also be sent automatically whenever a new post is published.
Utilizing PushEngage, you can then build up automated drip notifications. We'll design a welcome campaign for new subscribers in this example.
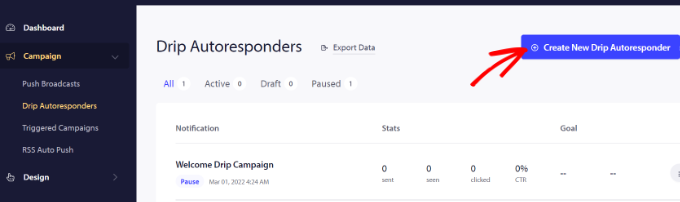
You should begin by going to your PushEngage dashboard rather than the WordPress admin panel. Click the "Create New Drip Autoresponder" button after locating Campaigns » Drip Autoresponders.
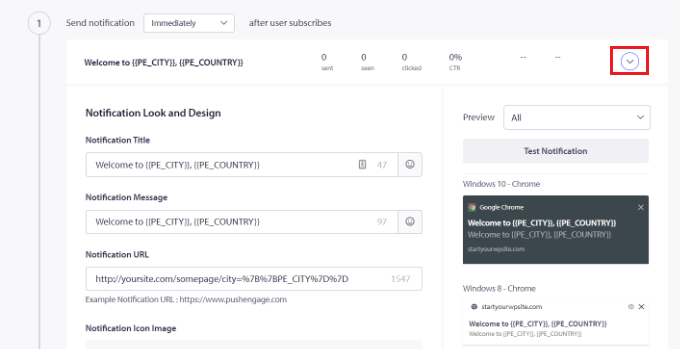
After that, you can modify the content you want to display and add other push notifications.
To view more options, simply click the arrow at the end of the notification. By expanding each notice, you can modify the notification's title, message, URL, icon, and other details. A preview of your notifications as they will appear in the browser is also provided.
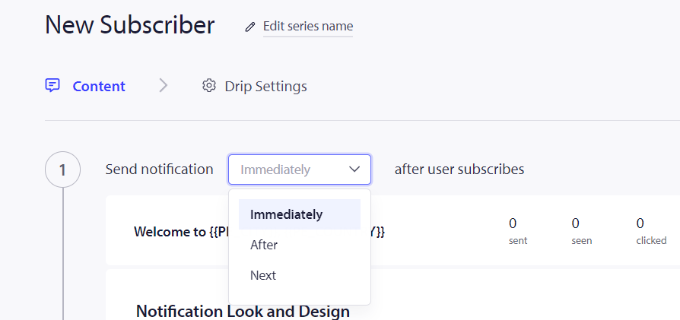
You may also decide when to deliver each notification using PushEngage. You may, for instance, send the first message right away and choose a different time for the second.
You only need to click the 'Send notice' dropdown menu to choose the time you want to send the push message.
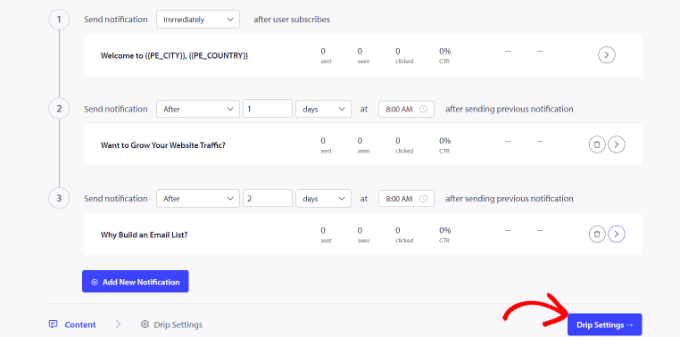
Just click the "Add New Notification" button to include a new notification in the drip campaign. After adding all the notifications, click the ‘Drip Settings’ button.
The next decision is whether to deliver the notifications to all of your subscribers or just a select audience group that you designate.
You can divide your subscribers into various categories using PushEngage. We select the 'Send to All Subscribers' option for this instruction.
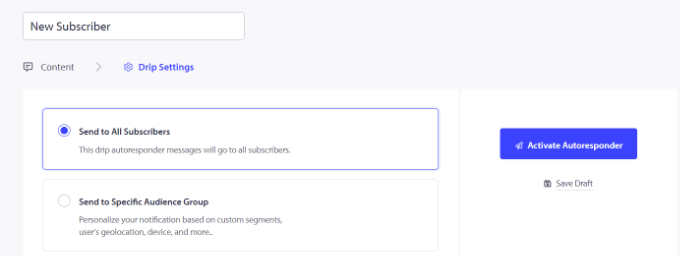
To activate automatic push notifications for your website, simply click the "Activate Autoresponder" button after that.
The drip notifications will then appear as "Active" when you navigate to Campaigns » Drip Autoresponders from your PushEngage dashboard.
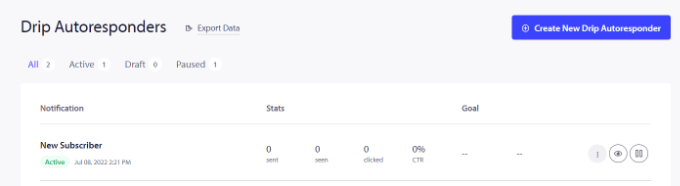
There you go! For your website, you've built up an automatic push notification drip campaign.
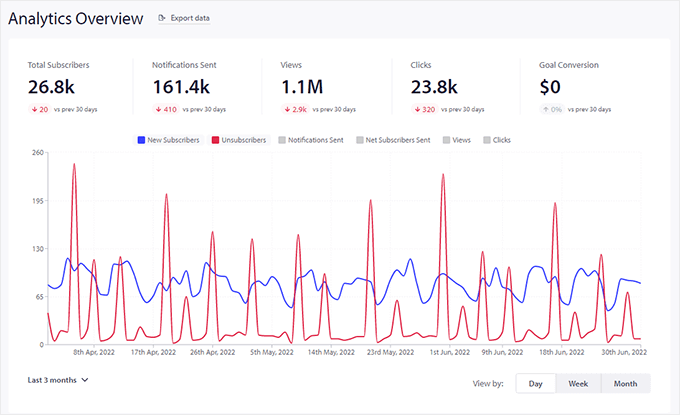
You can now see precise statistics about its performance in your PushEngage account's Analytics area.
Wrapping Up
We wish you luck in learning how to set up automated drip notifications in WordPress from this post. Check out our professional choice for the best email marketing form as well. Share this article with your friends if you enjoy it, and stay tuned to CodeWatchers for more.


