
Nowadays, there are numerous excellent web sites out on the net with awful optical phenomenon scrolling animations wherever the background moves quicker than the foreground parts to convey the depth. From construction firms and promoting agencies, everybody uses this facility to form portfolios and acquire a lot of public attention.
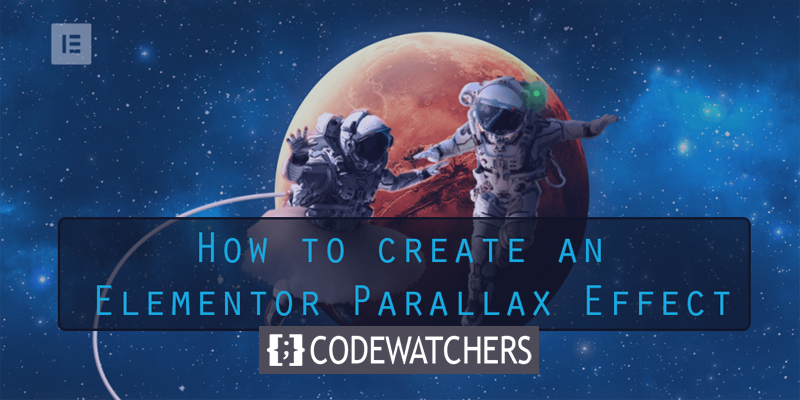
The parallax impact is beyond any doubt spectacular, and it can really make your website stand out from the gang and lend it a knowledgeable look. And you'll be able to add a parallax effect to your WordPress website using Elementor while not having plenty of professional knowledge?
Parallax is genuinely an integral feature in Elementor Pro, you can create a parallax effect in the premium version of Elementor, and we will talk about it today. Also, you can create beautiful pages with this feature on the free version of Elementor.
The parallax privileges are that it looks really cool, and it can also help with user betrothal! If you have the opportunity to do an A/B test, checking if adding a primary parallax effect on your webpage can decrease your bounce rate and boost average time on the page - worth it. The strategic use of parallax is proven to direct visitors right to your call to action. The parallax effect's motion draws the eye, which means a carefully placed button or form can boost your overall conversion rate.
Create Amazing Websites
With the best free page builder Elementor
Start NowParallax Effect on an Element
Design parallax effects on your webpage has never been more manageable. There's no demand for specialized WordPress themes that compatible with parallax. By Elementor, you can create any kind of effect only by drag and drop webpage builder.
Decorating your online shop or designing engaging blog layouts, or creating excellent landing pages - Elementor got your back.
Just follow the steps in this article and start creating your brand new parallax website.
A Page With Parallax in Elementor Pro
So let's work on bringing parallax effects to our web pages. First, select "Elementor Full Width" and switch to the Advanced tab. Of course, there must be a few sections on your page because the parallax effect's beauty cannot be felt on a blank page. We have a placeholder section, and you can use any you need.
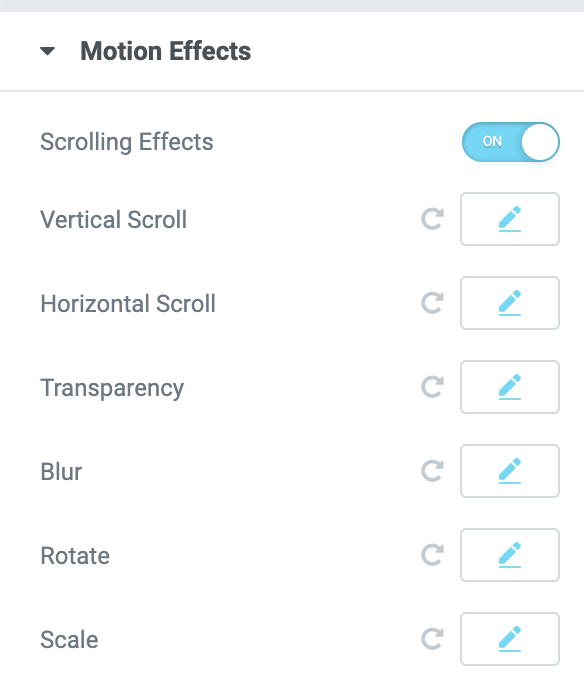
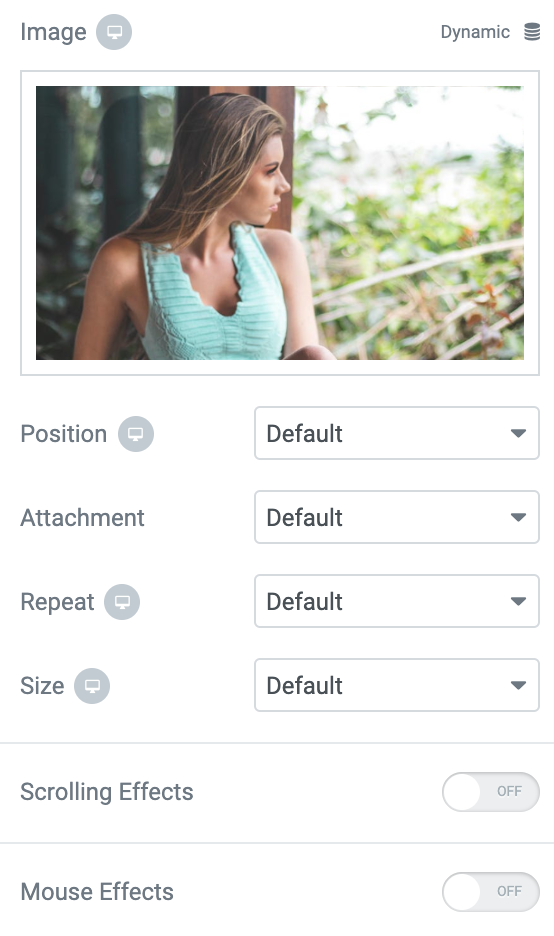
To set the effect, go to Advanced > Motion Effects, and turn Scrolling Effects on. Below, you'll see several options for stimulating motion effects that depend on scrolling.
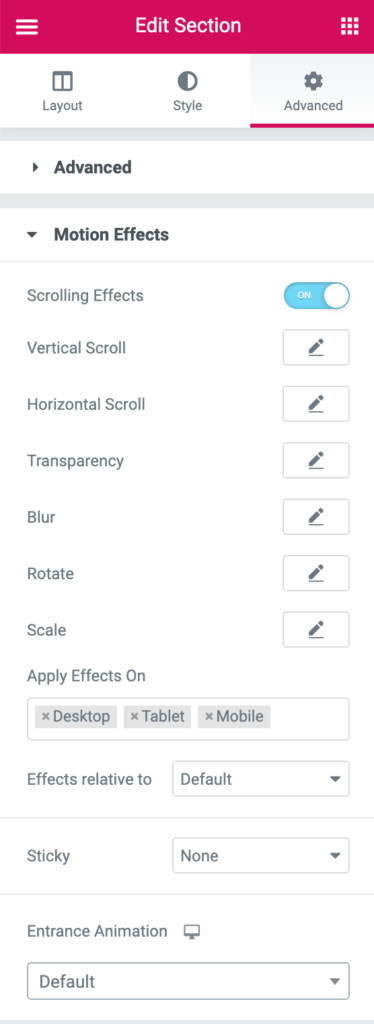
Vertical
For instance, I'm creating the second section helix at a different speed than the hero compartment. Remember, you have additional settings that you can work on that are applicable for any scrolling effect. In vertical scrolling, you can choose for the Element to place up or down, change the rate visible, and make the impact relative to the viewport or the entire page.
Horizontal
Like we did with vertical scrolling, we can move an image or section horizontally through the display. Your choices here are left or right, speed, and percent visible from the bottom and top.
Transparency
You can get a charming fade look using the transparency motion effect. There's also an opening animation right under this area that performs the same thing. Still, the transparency motion impact offers you tons of management over, however, and once it appears. For this option, you'll be able to decide if you wish it to fade in, change state, fade out so in, or fade in and then out. You'll be able to additionally set the full transparency level from one to 10.
Blur
The Blur motion effect permits you to possess pictures that start indistinct and are available into focus sort of a depth of field shot, begin within the direction and begin to blur as you scroll past it. This looks very cool. Like with transparency effect, blur lets you choose options like fade in or out with different styles.
These are the immediate effects you'll be looking at. Still, there's plenty more to consider, such as rotation and scale animations, plus many style options, mouse effects, and other impressive effects that will help your website elements pop!
Step 1: Add parallax on a chosen Element
To add some magical parallax effect to your Elementor website, the first thing you need to do is pick an element you want to add it to. This could be anything, such as pictures, text, video, etc.
Let's start by clicking on the widget and moving to the advanced tab section.
Step 2: Under Motion and Switch to Scrolling Effects
Once you are on the advanced tab, click the Motion Effect dropdown and then set Scrolling Effects to On. Currently, you'll be able to opt for any of the half-dozen animations that may bring your website to life.
Step 3: change the Animation in step with Your Needs.
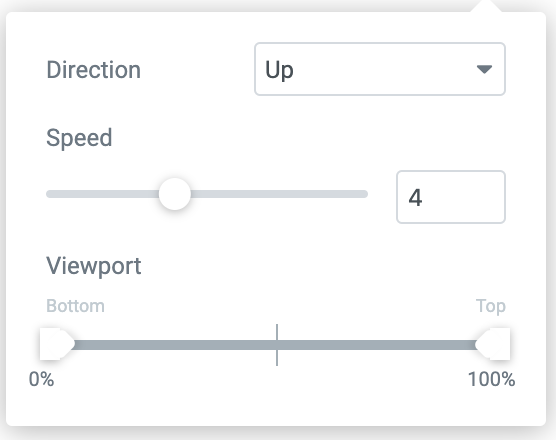
You can change and tweak each impact to induce it just right. Press the pencil icon, then a window will open up with controls.
You can adjust things like the direction, speed, and viewport for {every} effect, which controls once the Animation begins and ends.
Besides, you can outline on the Viewport scale what a part of the scroll your effect will start and what role it'll end.
Step 4: decide quite One Animation for one Element.
For all Element, you can implement as many effects as you like; just DON'T stretch it.
Pushing on the indicator button next to the pencil will undo the Animation, so feel comfortable to explore and play around with it till you get it perfect.
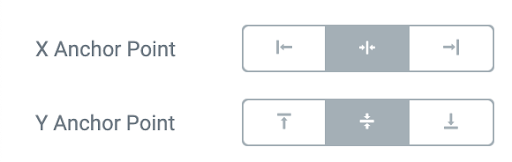
For the Rotation and Scale position, you can change the "X" and "Y" hook points, planning the axis around which the part scales or rotates.
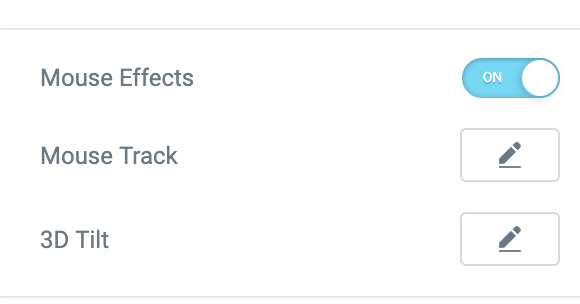
Step 5: Add Mouse Track & 3D Tilt
This one operates only on desktop devices, clearly, but you can move particles with the movement of your mouse. Think you like to have an overlay parallax of twinklers, and you want to make them associate with your mouse.
Here, we have two options: Mouse Track that Creates a sense of depth by making elements move concerning the visitor's mouse movement and a 3D Tilt effect that tilts the component according to the same trend by the pointers.
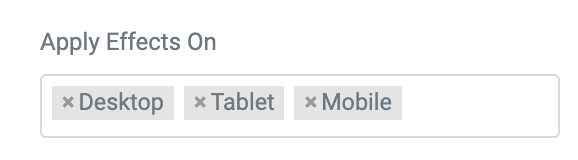
Step 6: Apply Parallax (Just the Motion Effect) on Various Devices
An effect that goes well and seems excellent on the desktop wouldn't certainly work well on mobile. Fortunately, Elementor 2.5 lets you choose which devices you want to implement the impacts too.
Parallax Effect on a Background
Step 1: Go to Your Elementor Website and Tick on One of the Website's Sections
Now let's do some parallax to the background to furnish the website with a greater sense of profundity. To perform this, we need to begin with the Style section.
Step 2: Below the Background Section, Shift to Motion or Mouse Effect
Now you can choose between two different outcomes that you can apply to your deeper layer: the scrolling effect and the mouse effect.
Step 3: Repeat Steps 3 to 6
It's precisely the same effects and implementation as before, only now it can be applied in the background!
Here is how it works:
Conclusion
I must say that the only boundary for parallax is the mind. Peoples create marvelous parallax effects that will blow your mind, and Elementor pro is a beneficial plugin to deliver that imagination into the webpage.
Whatever the effect, if it triggers your visitors aesthetically, that's where your creativity and Element Pro comes in handy.


