
Regularly taking care of your website is important to keep it working well and up-to-date. Sometimes, you might have to temporarily pause your website to fix things, like its look or hidden problems. This helps avoid having a broken site online.
This article will teach you 3 ways to temporarily hide a WordPress website while you work on it. It will also explain how this hiding mode works and how to make sure visitors return when your WordPress site is all set.
WordPress Maintenance Mode
WordPress maintenance mode is when your website is temporarily taken offline while changes are made. These changes could potentially cause problems if done while the site is live.
Small tweaks, like updating or adding content, can be done while your WordPress site is running. But for bigger changes, it's better to put the site in maintenance mode to prevent a bad user experience.
Create Amazing Websites
With the best free page builder Elementor
Start NowIn maintenance mode, when someone tries to visit your site's URL, they'll see a message explaining that the site is offline for changes. This message usually tells them why the site is down and when it's expected to be back up.
To activate maintenance mode, WordPress uses a function called wp_maintenance and makes a special file called .maintenance with the message. Once the changes are done, you can remove this file and your site will go back to normal.
You can also use maintenance mode to set up a "Coming Soon" page for a new website. When people visit your URL, they'll see info about the upcoming site and when to check back.
3 Ways to Put WordPress in Maintenance Mode
Turning on the WordPress under construction mode doesn't need to be hard. Instead of messing with code, you can use maintenance mode plugins. Just a few clicks and you're set!
1. WP Maintenance Mode Plugin
The WP Maintenance Mode plugin lets you turn on maintenance mode without needing to write any code.
Here's what to do:
- Get and install the WP Maintenance Mode plugin.
- Once it's on, go to Settings → WP Maintenance Mode in your WordPress dashboard.
- On the Settings page, you'll find five tabs: General, Design, Modules, Manage Bot, and GDPR. Let's check out these tabs more closely.
In general mode, at the top, there's the Status section. You can turn WordPress under construction mode on or off there.
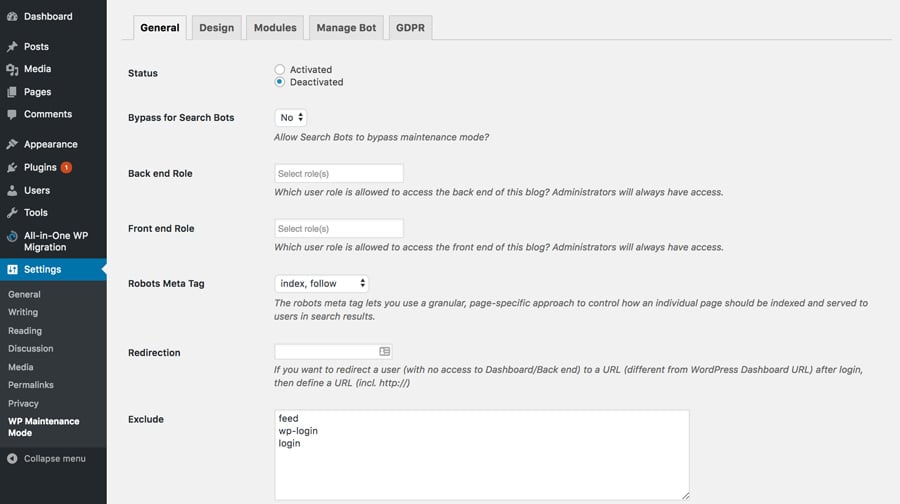
If you turn on the Bypass for Search Bots option, search engines can see your website when it's being worked on.
The back-end Role and front-end Role options let you pick which users can access the back-end while in maintenance. If you don't pick, only the Administrator can change this.
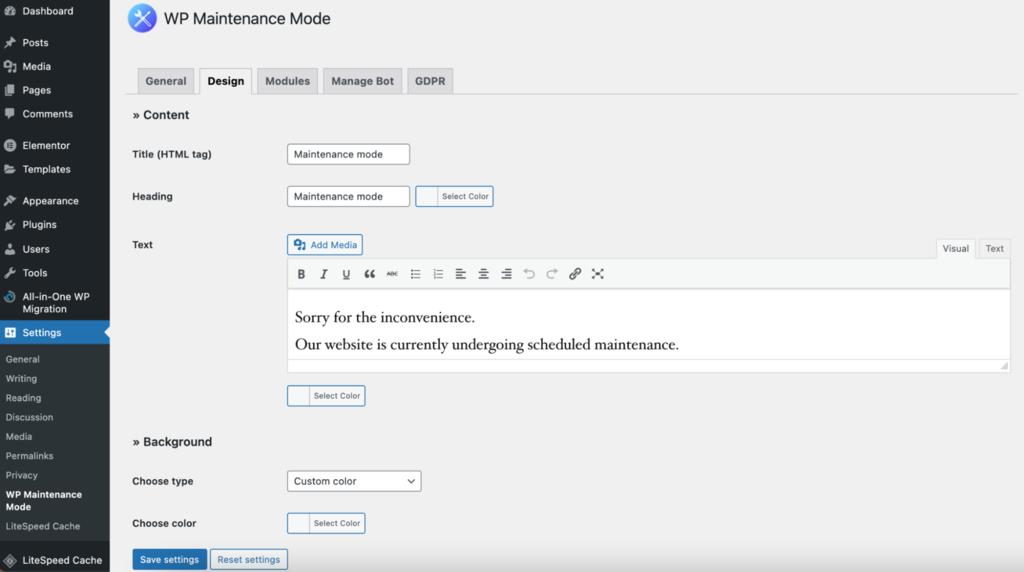
In the design section, here's where you make a splash page. First, go to the Title section and put in your title. After that, add the Heading and Text to make your own message for when the site is down.
When that's all set, you can pick a different background color or even use a special picture to make the page look better.
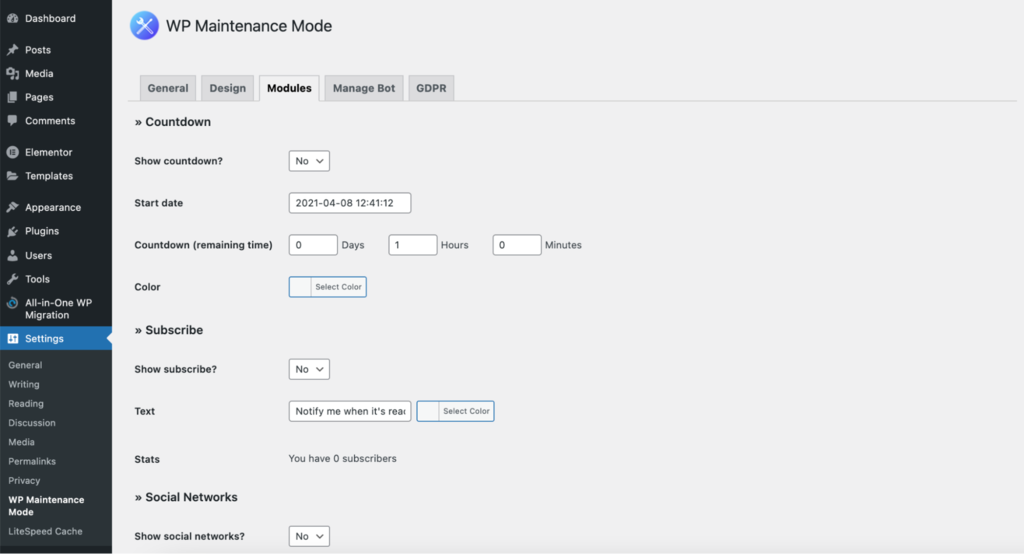
In the modules section, you can set up a countdown timer by choosing when it starts and how much time is left. Your clients will get a notification when your website is back online.
In the Modules tab, there's a part for linking your social media accounts to the splash page. Put your social media links in the right spots, and the plugin will show the icons on the maintenance page.
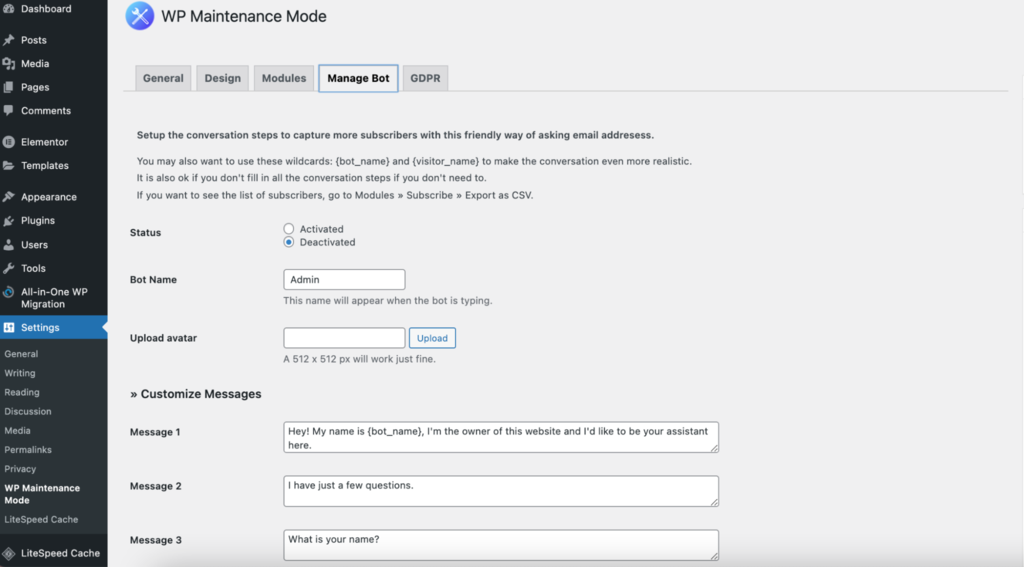
In the bot settings, make a form that people can interact with to sign up. Basically, when someone goes to the maintenance screen, they can chat with a bot.
There are 10 messages you can change, and they have 4 options to reply. This way, you can get people's names and emails.
To get the list of people who signed up, go to the Modules section and click on "Export as CSV" under Subscribers.

In the GDPR section, you can adjust your WordPress settings to follow GDPR rules. This is important if you gather information from the sign-up form on the introduction page.
GDPR is a set of rules from the European Union (EU). It says companies must keep personal data safe and private. If you don't follow these rules, you could be fined a lot of money, like €20 million or 4% of what your company makes in a year – whichever is more.
Although the newest WordPress version obeys GDPR, you still need to do a few things to make sure your website completely follows the rules.
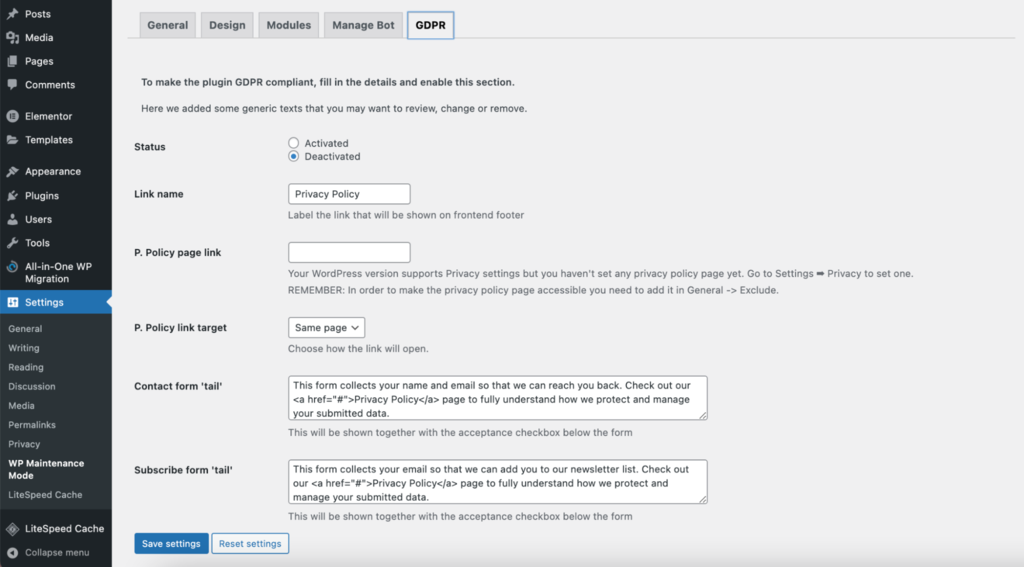
First, turn on the GDPR status here. Then, connect the Privacy Page and make checkboxes that people can click to agree when they use the contact form or sign-up form. If you haven't made a Privacy Page yet, you can set one up by going to Settings → Privacy.
When you finish adjusting the GDPR settings, just click "Save settings." Your maintenance mode will then be ready to use.
2. Using a Custom Function
Go to Appearance Theme Editor in your WordPress admin dashboard. A list of theme files will appear on the right side. Selecting Theme Functions will enable you to edit the code in the editor and access the functions.php file.
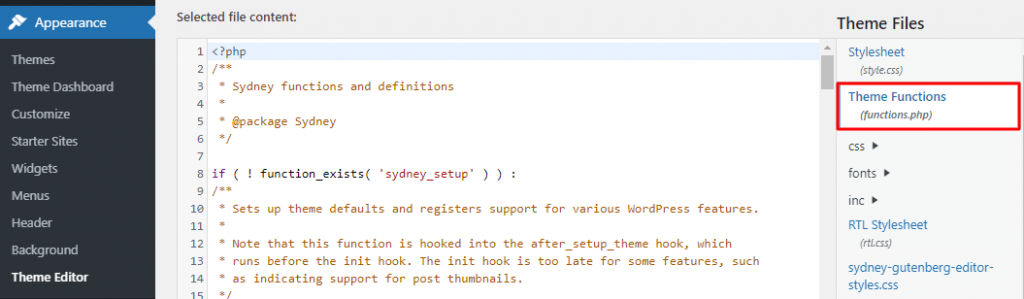
Add the following code at the file's end:
// Activate WordPress Maintenance Mode
function wp_maintenance_mode() {
if (!current_user_can(‘edit_themes’) || !is_user_logged_in()) {
wp_die(‘<h1>Under Maintenance</h1><br />Website under planned maintenance. Please check back later.’);
}
}
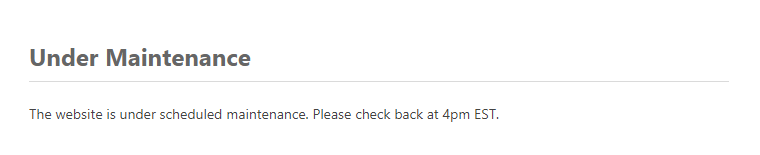
add_action(‘get_header’, ‘wp_maintenance_mode’);This will make WordPress' standard maintenance screen active. To change the HTML message that will display on the screen, you can modify the code.
You may find the wp_die function and the HTML code in parenthesis on the fourth line of the code. Change the message in this HTML text however you choose. The website is undergoing planned maintenance, for instance. Please return at EST 4pm.
Now, update the file.
When you're done, don't forget to delete the code from the functions.php file to bring the website back online.
Note: To use this technique, you must modify the functions.php file. Before continuing, we firmly advise creating a backup of your WordPress website.
3. Using the .htaccess File
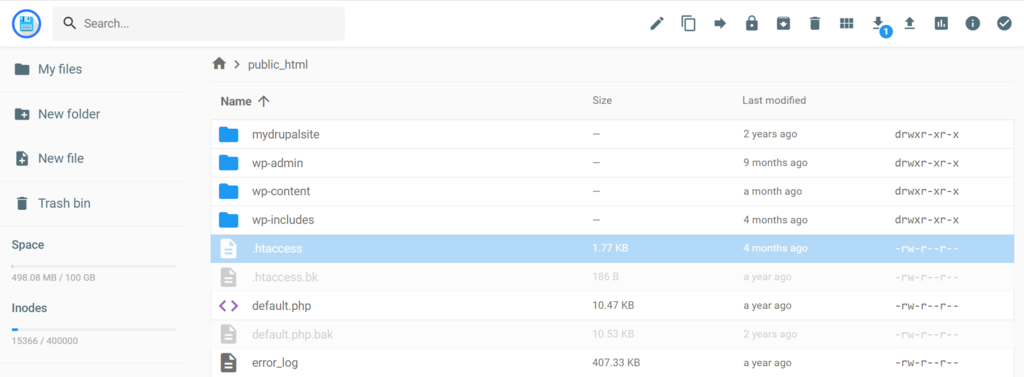
Find the .htaccess file in your website's folder. Log in to your cPanel and navigate to File Manager. Next, open the public_html folder. Make a file called maintenance.html with your construction message, or upload one if you already have it. This file will be your maintenance screen. Spot the .htaccess file in the public_html folder. Open it by right-clicking and choosing Edit.
If you want to make a backup, just copy everything in the .htaccess file and put it in a new file called .htaccess_default. After that, add this piece of code to the old .htaccess file:
RewriteEngine On
RewriteBase /
RewriteCond %{REQUEST_URI} !^/maintenance\.html$
RewriteRule ^(.*)$ https://example.com/maintenance.html [R=307,L]
This will send visitors to a maintenance page, so you can start working on the site.
Wrapping Up
You have different ways to put your WordPress site in maintenance mode and show a temporary replacement page. You can use a WordPress plugin, a hosting control panel like cPanel, or make changes to a WordPress file. Choose the method that matches your skills and preferences.
If you're not into coding, go for a plugin or cPanel. These are simpler options for beginners. But if you're comfortable with tech stuff, you can edit the code directly. Either way, you'll end up with a maintenance page for your visitors.
Remember, maintenance mode isn't just for fixing things. Next time you're about to launch a website, you can use it to create an attractive "Coming Soon" page too.


