
The WordPress media library is often assumed to be a storage space for media files. While the notion is not entirely wrong, it is somewhat incomplete. The WordPress media library can store media files but can also do a lot more.
When used to its full potential, it is a brilliant tool for your WordPress media management. In this tutorial, we will go over eight secret WordPress Media Library Features you should know.
Introduction To Media Library
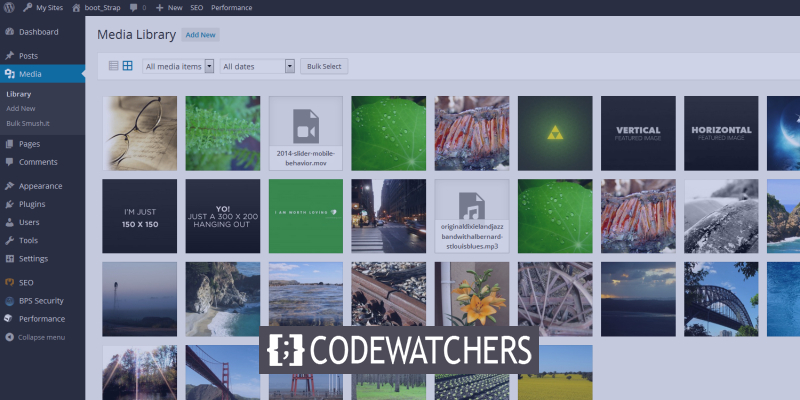
The WordPress Media Library is a directory that contains all of the media files posted to your website. Images, movies, music, and even papers are examples of media files. It will appear in the library, where you can view, edit, and manage your media assets, regardless of where you add them to your site.
You can also combine additional plugins with your library to kick things up a level. It's adaptable, portable, and versatile. Recent WordPress updates have improved this function, making it one of the most refined in the world's most popular content management system.
Create Amazing Websites
With the best free page builder Elementor
Start NowLet's move ahead and find out some of its quality features.
1. View And Search
By clicking Media on the sidebar, you can go to the library. There are two ways to view the media: Grid and List.
You can also filter and search for photos in WordPress by file type, date posted, and keyword.
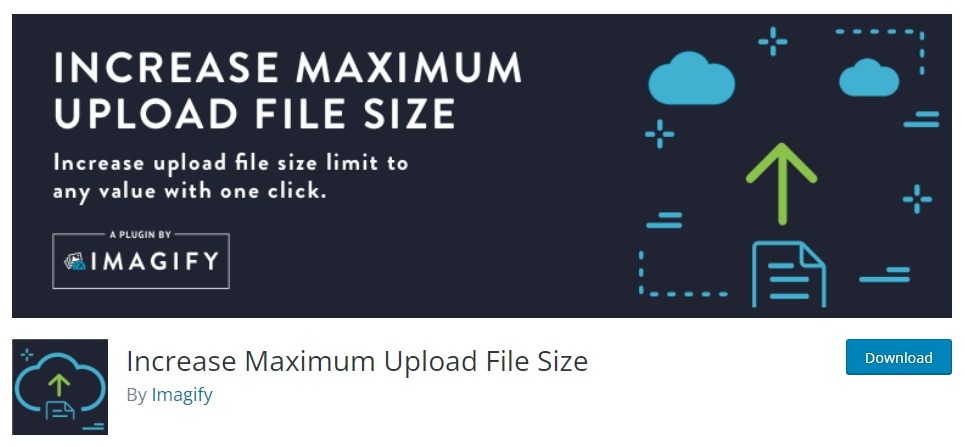
2. Media Library Upload Limit
If you've ever tried to upload a vast media file, you may have received an error. Fortunately, this issue is straightforward to resolve.
However, it is important to keep in mind that there is a reason to limit media files after a certain size. This enables two problems at once: the bigger the media files are, the longer it will take them to upload. Besides, they will also play a part in slowing down your website.
While to solve the problem, you can simply use a free WordPress plugin named Increase Maximum Upload File Size in order to increase the limit size of your media files in WordPress.
3. Enable Image Compression
The image file size is crucial for various reasons, and thankfully, compressing photographs with little to no perceptible difference is achievable within WordPress.
You may learn more about image optimization in our comprehensive tutorial, but for the sake of this tutorial, the essential step is to install Smush.
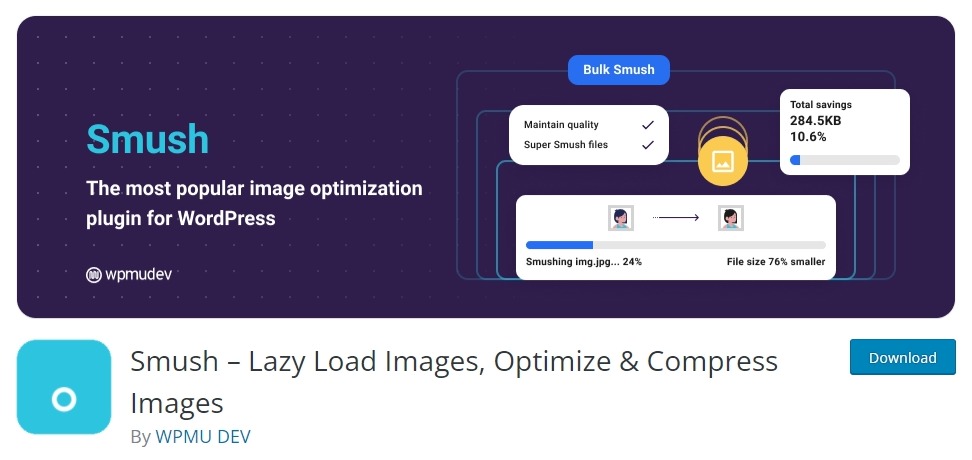
Once installed, just activate the plugin, and it will automatically work for you.
4. Disable Default JPEG Compression
JPEG photos are compressed to 82% of their original size by default in WordPress. You'll have a hard time seeing it, which is presumably why the core developers decided to add it.
When incorporating additional compression methods, however, you may run into issues. Your double-compressed pictures may begin to seem a little sloppy.
However, the solution is simple. You can simply install a Disable JPEG Compression plugin on your WordPress, and it will save you from sloppy images.
5. Duplicate Media Files
When you upload a picture on WordPress, it will very certainly be replicated into numerous sizes. This is handy if you want to display image thumbnails with links to larger versions, for example. On the other hand, those extra picture files are a waste of space for most individuals.
To find out the sizes WordPress creates, head over to the Settings and then Media.
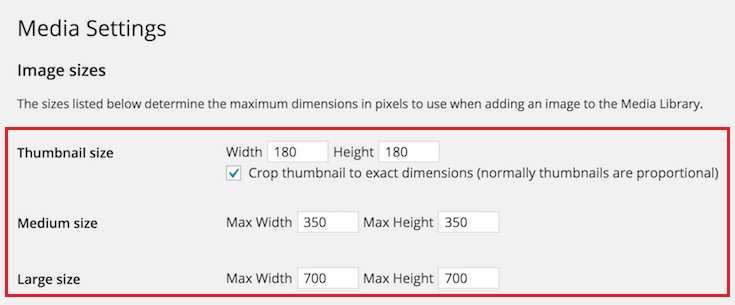
Simply set the width and height values to zero, and WordPress will no longer generate those annoying additional image files.
While you are at it., you can also clean the excess images that WordPress has created previously. You can do it easily using a free Media Cleaner plugin.
6. Edit Images
Did you know you can get decent image editing options within WordPress? While it is not entirely recommended, the whole media management idea does allow you to edit your images within the WordPress media library.
Select the image you wish to edit from the Media Library.
Press the Edit Image button, and you will be presented with the editing options.

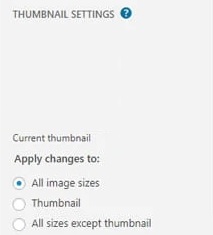
If you click the "All image sizes" radio button under Thumbnail Settings, the modifications will be applied to all sizes of the same picture.
7. Image Scalling
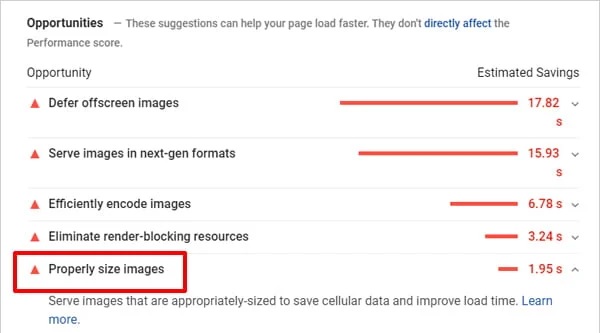
The importance of image scaling cannot be underlined. In fact, one of the most regular Google PageSpeed suggestions is to "correctly scale photos."
Scaling photos in WordPress is much easier than manually cropping and resizing them. All you have to do now is click Scale and input a new Width or Height. That's right, and it's that easy.
The sole disadvantage of scaling is that it can only be done in one direction. The pixel density would be ruined if the image was scaled up. There's no need to re-upload your image if you mistakenly scale it down to a smaller size; simply hit the Undo button and try again.
8. Export Media Library
Have you ever been compelled to download all of your Media? It might be that you have a fantastic collection that you wish to back up on your Workstation or that you just want the media files for distribution.
While there are numerous solutions on the internet that include FTP clients and complex tweaks, we bring you a simple method. All you need to do is install a free plugin named Export Media Library on your WordPress.
Once you have installed the plugin on your WordPress, it will allow you to download a zip file of your complete WordPress Media Library. Simple, isn't it?
These are some of the quality WordPress Media Library features that can come in quite handy if you use the media library daily. That's all from us for this tutorial. We hope this tutorial will help your day-to-day role in WordPress media management. Make sure to join us on our Facebook and Twitter to stay updated about our posts.


