
Do you wish to monetize valuable content on your WordPress site? If this is the case, you might think about putting up a paywall. A paywall is a feature that charges visitors a fee to view some or all of your content. In this manner, you may earn consistent revenue from your regular readers while still attracting new ones with your free content.

But how do you go about putting up a paywall on your WordPress site? What are the advantages and disadvantages of utilizing one? In this article, we'll address these concerns and demonstrate how to simply implement a paywall on your WordPress site utilizing some of the best plugins available.
What is a Paywall and Why Use One?
A paywall is a feature that hides or locks your material unless you pay for access to it. Paywalls are often employed by newspapers, magazines, and other online publications that seek to monetize their high-quality content.
Depending on your goals and tastes, you can employ many sorts of paywalls.
Create Amazing Websites
With the best free page builder Elementor
Start NowHere are a few of the most common:
- Hard Paywall: This type of paywall places a payment barrier in front of all of your content. Before they can read any of your material, visitors must subscribe or make a transaction. This is the most restricted and aggressive sort of paywall, but if you have a dedicated and engaged audience, it may also produce the most cash.
- Soft Paywall: This form of paywall lets users read portions of your material for free while charging them to access the rest. For example, you may provide a set amount of free articles each month or week, or you could provide free previews of your premium content. This is a more adaptable and user-friendly paywall, but it can impact conversion rates if your free content is not interesting enough.
- Metered Paywall: This form of paywall monitors the amount of content a visitor consumes and prompts them to pay after they hit a particular threshold.
For example, you may enable visitors to read 5 articles for free before requiring them to subscribe or purchase. This is a more dynamic and adaptable paywall, although it can also be influenced by browser settings, cookies, or VPNs.
Paywall Versus Membership
Although they can be used simultaneously, a paywall and a membership are not the same thing. A paywall is a feature that charges visitors a fee to view some or all of your content. A membership is a form of subscription that allows visitors to gain access to various perks such as content, community, discounts, and so on.
A paywall can be of various types, such as hard, soft, or metered. Membership can be classified as basic, premium, or lifetime. A paywall can be used to directly monetize your material from your readers. Membership can be utilized to build a loyal and engaged audience that appreciates your material and brags about it.
Using plugins such as MemberPress, WooCommerce, or Payments Block, you can implement a paywall or membership on your WordPress site.
You must select the appropriate plugin, type of paywall or membership, and content strategy for your site.
How to Set Up a Paywall on Your WordPress Site
The simplest approach to implement a paywall on your WordPress site is to use a plugin that allows you to establish and manage memberships, subscriptions, and limited content directly from your dashboard.
There are numerous plugins available for this purpose, such as MemberPress, Ultimate Memberships Pro, LearnDash, Restrict Content Pro, Leaky Paywall, and Pay For Post with WooCommerce.
In this piece, we will focus on using the MemberPress plugin to set up a Paywall on our website.
Install the MemberPress Plugin
To get started, go to the MemberPress website and purchase the MemberPress plugin. The plugin can then be downloaded to your computer from within your MemberPress account.
Select 'Plugins > Add New' on your WordPress website.

Select the MemberPress plugin from your stored files by clicking 'Upload Plugin > Choose file'. Click the 'Install Plugin > Activate' button. 'MemberPress' has now been added to your WordPress dashboard menu.
'MemberPress > Activate' should be selected. This will bring you to the 'Activation Page,' where you must enter your activation key. Then click the 'Activate Licence Key' button.
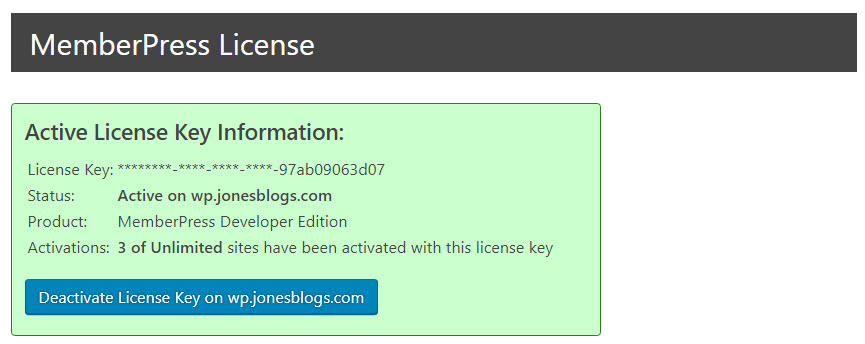
Your MemberPress plugin is now installed and activated.
Configure the MemberPress Plugin
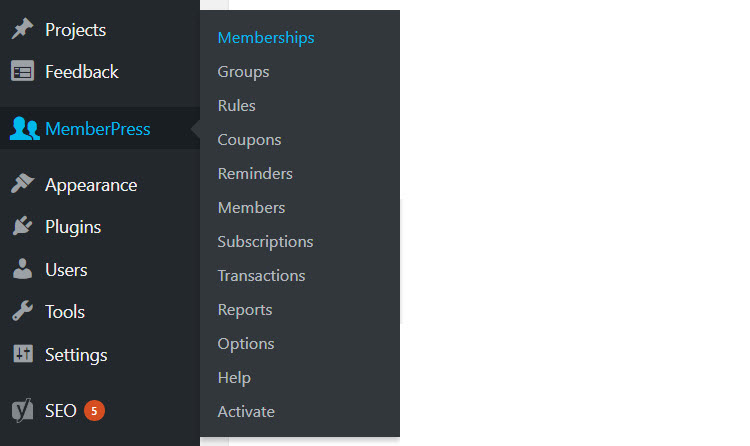
Your next step is to set up your MemberPress plugin. Select 'MemberPress > Options' from your WordPress menu. You can configure the plugin here to meet the needs of your WordPress Paywall.
The 'Options' page contains multiple tabs. Let's have a look at a few of the most significant ones…
You can customize your basic MemberPress pages in the 'Pages' section. The 'Reserved Pages' are required and must be set. These are the 'thank you', 'login', and 'account' pages.

If you want MemberPress to build the pages for you, check the 'Auto build New Page' box. Alternatively, you can design and select your own pages from the drop-down box.
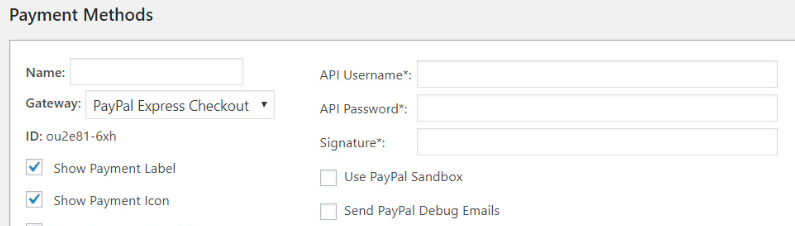
The 'Payments' area is where you may add your preferred payment gateways. As previously stated, MemberPress can be linked with a variety of payment sources. Simply click the 'Add' icon and enter the payment gateways you want to include in your membership site.
You can go through the other tabs and set things up properly.
A summary of the other tabs' functions is as follows:
Account: The ‘Accounts’ area allows you to customize member information. Here you can select the options you would like for your user’s accounts. You can also add a welcome message for members, that will be displayed at the top of their account page.
Fields: The ‘Fields’ tab will let you create custom fields for your sign-up form, and accounts page. Collect information about your members including their name, address, email, birthday, and much more.
Emails: There are an assortment of email types you can send out to your members. Select the ‘Emails’ tab. Then simply choose the email types that will suit your WordPress website.
Set Up Membership Plans
Select 'MemberPress > Memberships' from your WordPress menu to set up membership plans for your website. At the top of the page, click the 'Add New' button. Then give your membership plan a name (in this case, Premium).

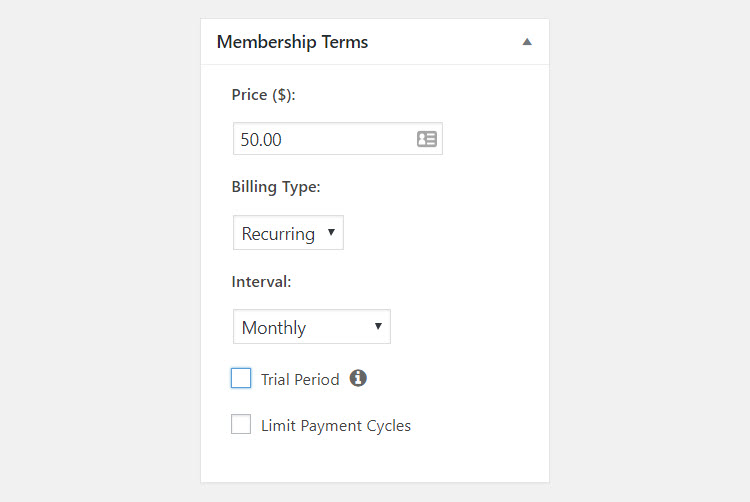
On the right-hand side of the screen, under 'Membership Terms,' you may choose the price of the plan, whether you want it to be a one-time or recurring payment, add a trial period option, and much more.
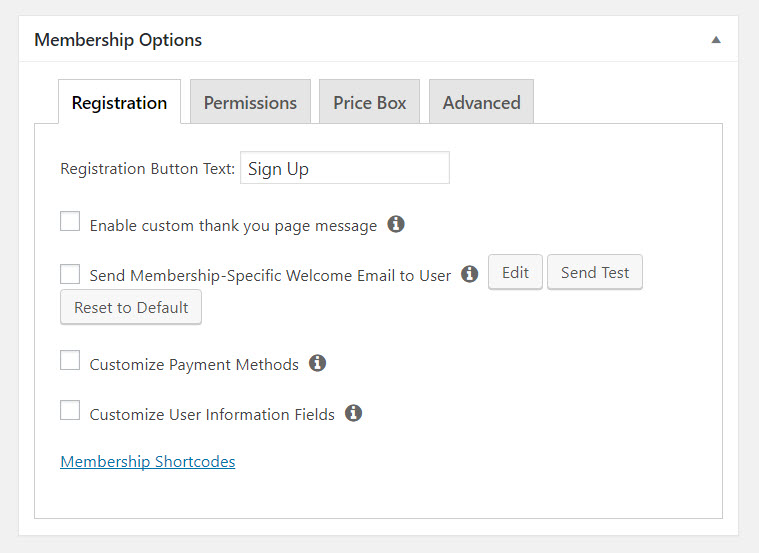
You can change the 'Membership Options' area further down the page. You may change the content on the registration button, add a personalized thank you message, and control who has access to the membership plan.
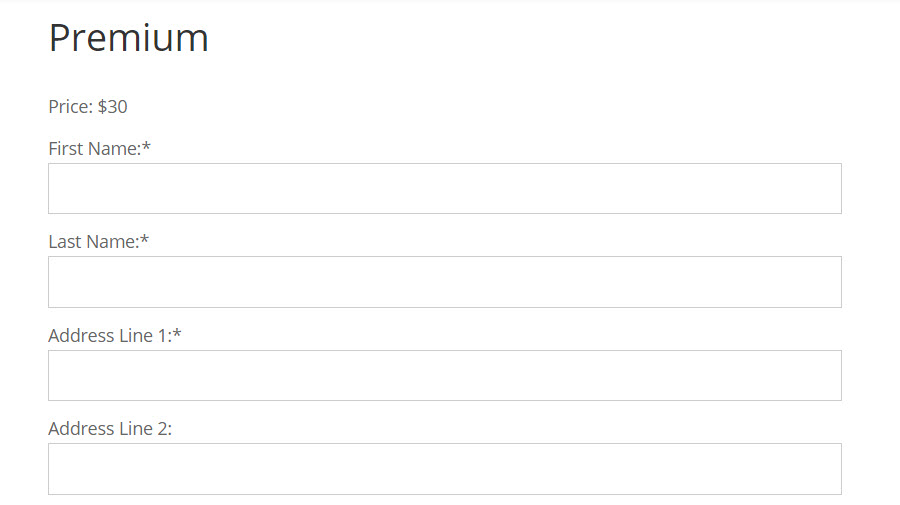
Once you're satisfied with your changes, you may publish the Membership page. Then, to access the page, log out of your WordPress account or open it in a new tab. The default membership signup form for the membership plan you just created will now appear.
If you wish to change the look of your membership pages, you may do so by using any of the page templates included with your theme. Simply choose a 'Custom Page Template' from the drop-down menu on the right-hand side of your editor on the membership page you're working on.
After creating your first membership plan, simply click 'Add New' to add additional. To add the signup form to any page or post on your WordPress website, use the shortcode located under 'Membership Options'.
Create Rules for Your Membership Plans
After you've developed the various plans for your membership site, you'll need to define the rules for each one. Setting the rules allows you to conceal content from non-subscribers and choose which sorts of content will be offered on each plan.
To begin, navigate to 'MemberPress > Rules' in the WordPress menu. Then select 'Add New'. A page titled 'Add New Rule' will now appear.
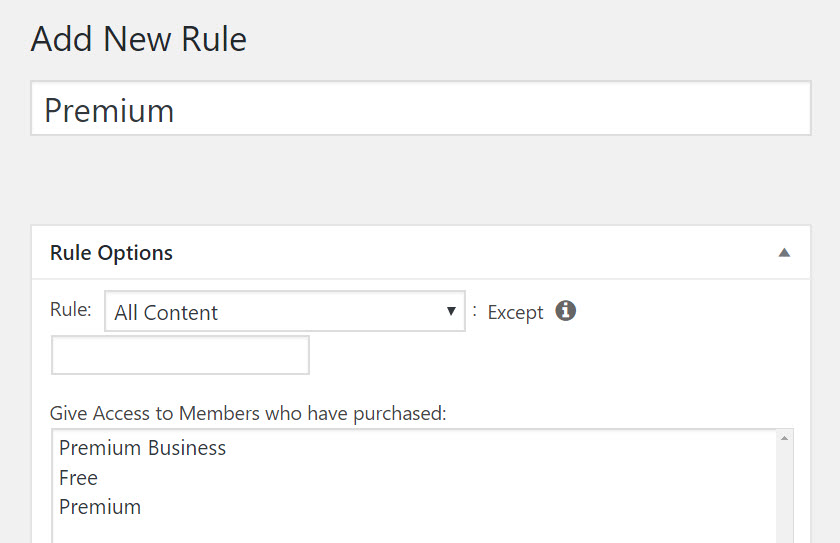
You can specify the content you want to keep hidden from non-paying members in the 'Rule Options' section. You can conceal all material, specific posts, pages, content categories, or tags, or select from a variety of other alternatives.
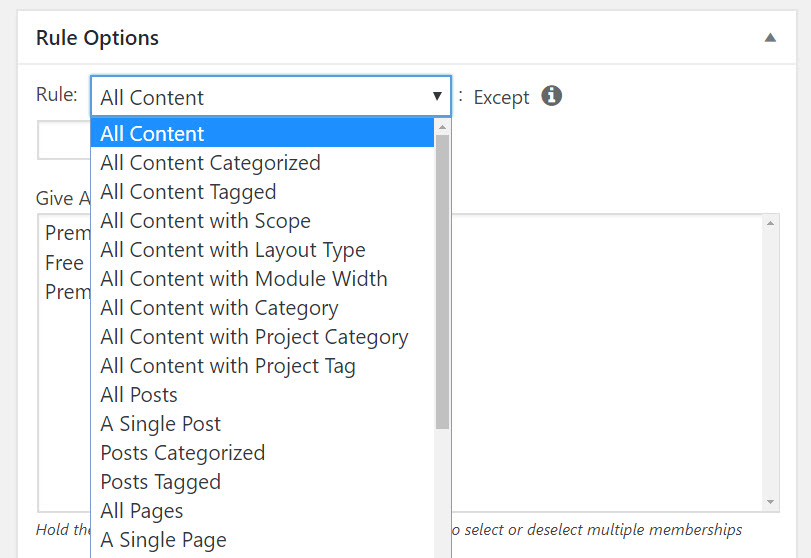
You can then grant members who have paid specific plans access to this content. Click 'Save Rule' and then add as many rules as you need to accommodate your various plan kinds.
Add a Registration Link to Your Site’s Menu
Once you've completed all of your membership plans, you should add a registration link to your website's menu to make it easy for people to become subscribers.
Conclusion
The main benefit of using a paywall is that it allows you to monetize your content directly from your readers, without relying on advertising or sponsorship. This way, you can create a more sustainable and independent business model that values your content and respects your audience.
Using a paywall also comes with some challenges that you need to be aware of. For instance, you need to:
- Produce high-quality and unique content that your readers are willing to pay for
- Balance your free and paid content to attract new visitors and retain existing ones
- Choose the right pricing and payment options for your target audience
- Promote your paid content effectively and communicate its value proposition
- Manage your subscriptions and payments securely and efficiently
We hope this post has helped you understand how to set up a paywall on your WordPress site using some of the best plugins available.


