
Continue reading to learn how to integrate your Facebook page reviews widget on your website. for we have you covered!

Facebook, regrettably, does not make it simple to have Facebook page ratings appear on your website.
Positive news? We will demonstrate how to integrate WordPress with Facebook page review widgets. And it will only take a few clicks to accomplish this; no coding knowledge is needed.
Let's examine how Facebook page reviews can benefit your brand first, though.
Create Amazing Websites
With the best free page builder Elementor
Start NowBenefits of Embedding Facebook Page Reviews Widget to Website
There are several reasons why embedding Facebook page reviews widgets to your website can be beneficial for your business. Some of the main reasons are:
- It can increase your credibility and trust among potential customers by providing social proof of your reputation.
- It can showcase your customer satisfaction and loyalty by displaying positive feedback and ratings.
- It can lower your costs by reducing the need for paid ads and increasing organic traffic.
- It can boost your conversion rates by inspiring confidence and influencing purchase decisions.
- It can improve your search engine optimization (SEO) by providing fresh, relevant content for search engines to index.
By adding positive customer feedback to your site, you’ll have an easier time convincing people to purchase your products.
How to Embed Your Facebook Page Reviews Widget
Let's now examine the various approaches for integrating a Facebook page reviews widget into your WordPress website.
There are 2 options available for showing Facebook review widgets in WordPress:
- Manual embed: Take a long time to copy and paste the HTML embed codes for each and every one of your Facebook client testimonials.
- Automated embedding: Show all of your Facebook page reviews instantly by using a reliable reviews aggregator plugin.
The process of connecting your reviews to WordPress may take a considerable amount of time and work if you choose the manual approach.
This is because, for each review you wish to display on your website, you must generate the widget code, edit it, and then upload it to your website. But unlike other platforms, like Shopify, Wix, or Weebly, WordPress offers a simple fix for you.
Alternatively, you can use a very user-friendly plugin that can automatically insert reviews, such as Reviews Feed.

Reviews Feed allows you to add Facebook, Google, Tripadvisor, Yelp, and many more other reviews on your website.
How to add Facebook Page Reviews to your Website (Step-by-Step)
Follow this guide and learn how to add a Facebook page reviews widget to your WordPress website:
Step 1: Install and Activate the Reviews Feed Pro Plugin
First, click this link to get your copy of Reviews Feed Pro. After that, install the plugin on your website by downloading it to your computer.
Step 2: Create Your Facebook Page Review Feed
With just a few simple clicks, you can now build your Facebook page review feed.
Go to Reviews Feed » All Feeds in your WordPress dashboard to get started. Then, to begin creating a new Facebook page review feed, click the Add New option.
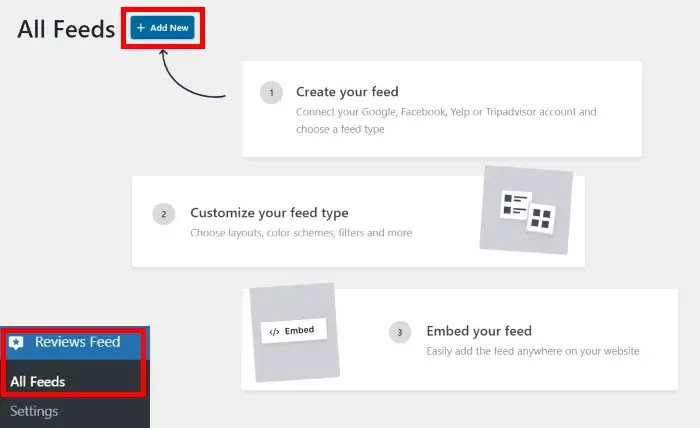
You will then be prompted by the plugin to choose the review website you wish to link to. You can display reviews from other websites, such as Google, Yelp, and Tripadvisor, in addition to Facebook.
Select Facebook and press the Next button to proceed.
After that, your website will get a fresh Facebook review feed. In step 3, you can then link this feed to your Facebook page.
Step 3: Connect Your Facebook Page
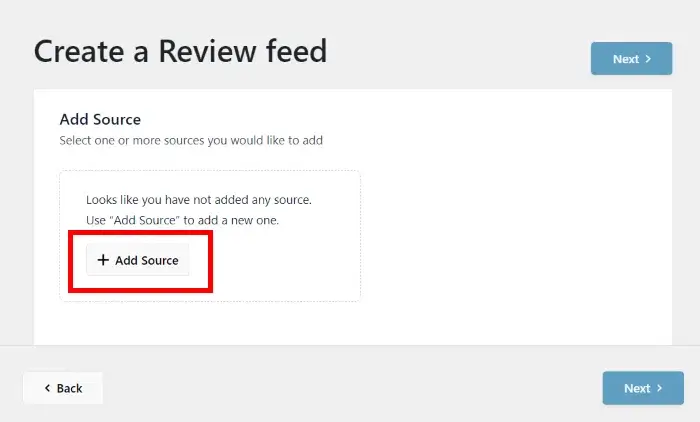
Only after you link your new reviews feed to your Facebook page will it be shown on your website.
Click Add Source in the box to get started.
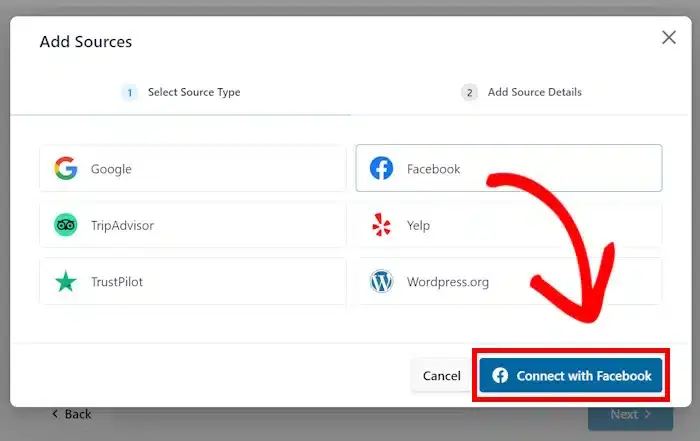
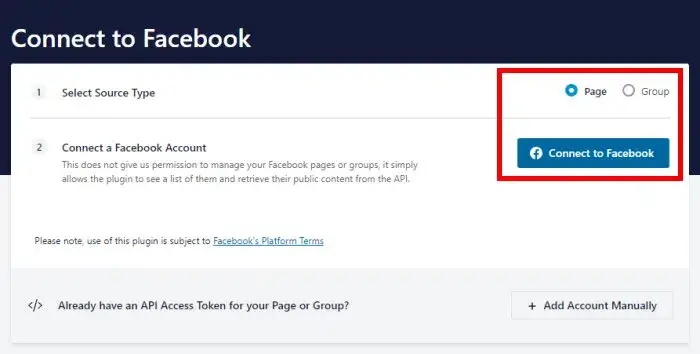
After that, you can choose to link your Facebook page or group.
Click the Connect to Facebook button after selecting the page option under Select Source Type.
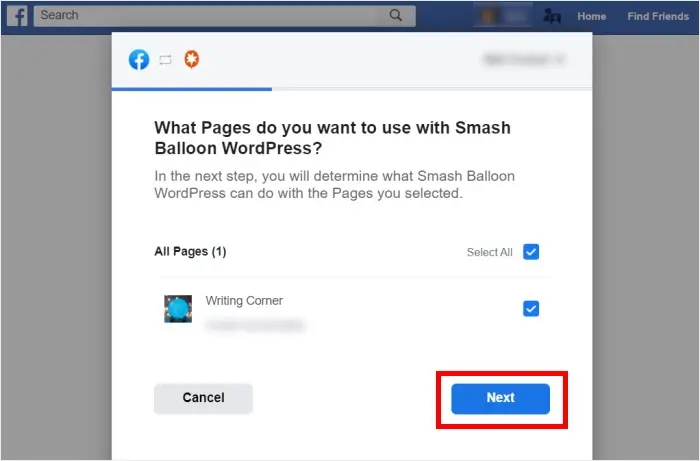
After that, Facebook will be forwarded to you. You can select the Facebook page you wish to connect to from a new popup window.
Select the desired page from the list above, then click Next.
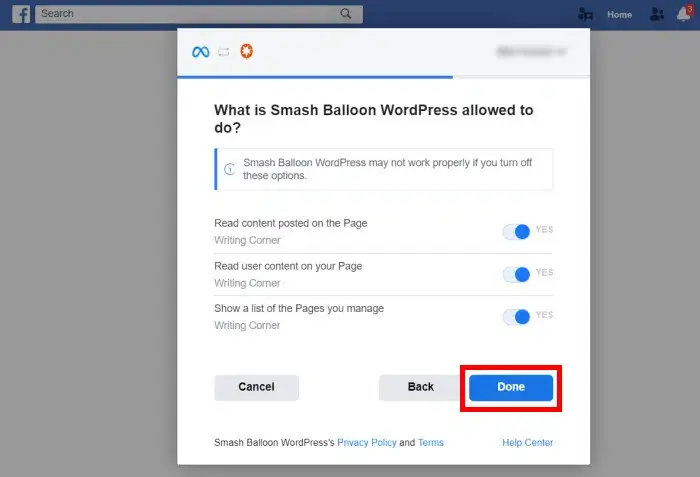
After that, you will be prompted to grant the plugin read-only access to the Facebook page.
Reviews Feed Pro can only read the details on your page and is completely safe. Changing anything on your Facebook account is prohibited.
You only need to click the Done button below to provide read-only access.
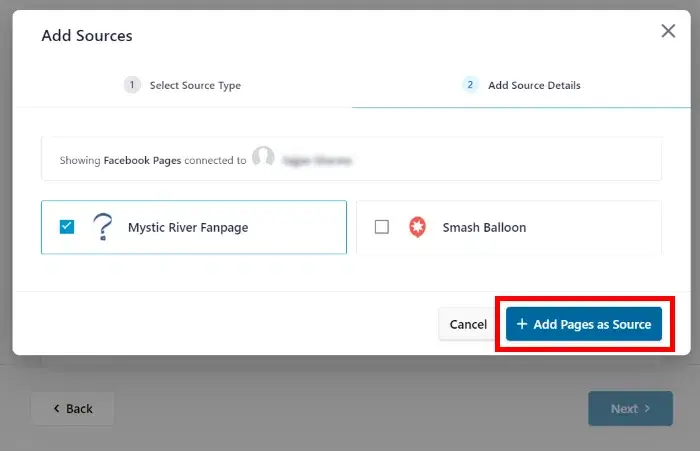
Once more, this will take you back to your website so you can verify that the page is a source for your reviews feed.
Choose the page from the popup window and click the Add Pages as Source button to accomplish this.
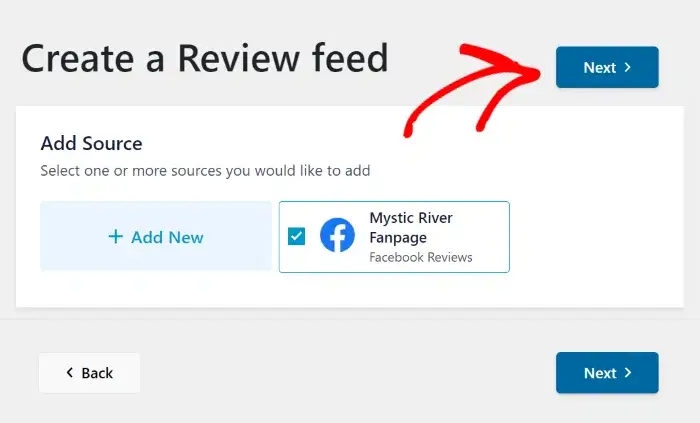
Now that the source is linked to the plugin, you can utilize it again without ever leaving your WordPress website for any new review feeds.
All you have to do to end this is click the Next button.
customize your review feeds look in the next step.
Step 4: Customize Your Facebook Page Review Feed
The Reviews Feed Pro plugin offers an extensive array of customization options.
To begin with, a variety of expertly created themes are available for you to choose from, offering customization choices for your feed's colors, header, button style, and much more.
Themes for Facebook feeds that you can select from include:
- Default
- Modern
- Social Wall
- Outline
- Overlap
Click Next once you've chosen your preferred theme.
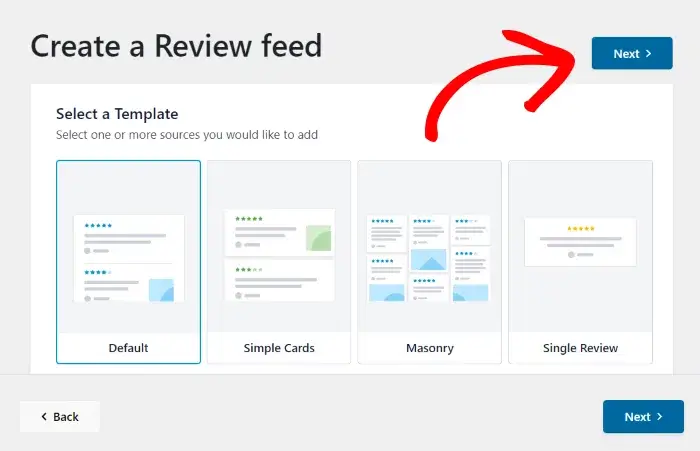
The template is able to be imported to add other customizations:
- Default
- Simple cards
- Masonry
- Single review
- Showcase carousel
- Carousel
- Grid carousel
Click Next once you've selected the feed template you want to use.
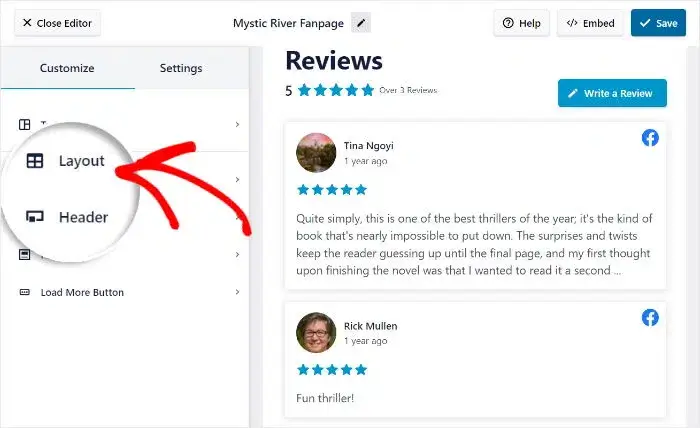
After that, the Reviews Feed Pro will launch the visual customizer, letting you carefully craft the layout of your feed.
You can alter the template, feed layout, review elements, header design, and other aspects by navigating to the customization settings, which are located on the left.

The live preview allows you to see any modifications you make in real-time on the right side.
Now let's get customizing!
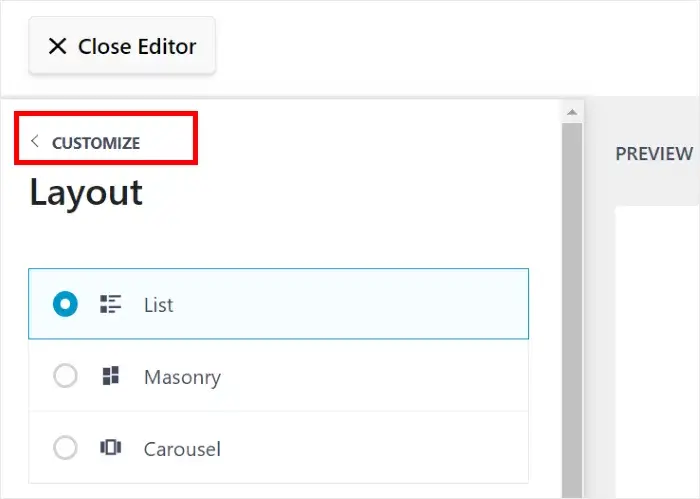
Go to the left-side panel and choose the Layout function to get started.
You can select from three different layout templates: list, masonry, and carousel.
Let's examine each of the layout options below now.
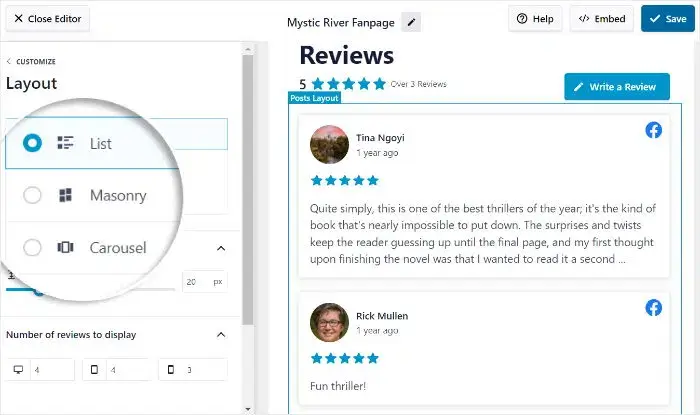
You can display many of your reviews at once by using the list option. Consequently, it will be easy to see the reviews feed like follows:
Facebook page reviews are shown in numerous columns using a masonry pattern. The embedded reviews appear as follows:

The Facebook page reviews are displayed in an interactive slideshow format using the carousel layout. The reviews appear as follows, and visitors can interact with them:

Once you've decided on your favorite layout, hit the Save button.
Click the Customize button to return to the customization options if you would want to make additional changes to your feed.
The remaining settings let you alter your button, review elements, header, and more.
Click Save to validate your modifications after you are satisfied with the appearance of your reviews feed.
To choose which reviews to display next, you can alter the review elements. To accomplish this, select Filters from the Settings menu.
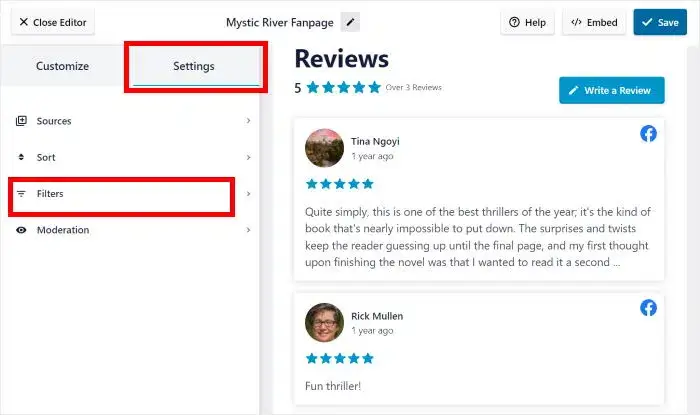
By including filters in the reviews feed on your Facebook page, you may manage which reviews appear on your websites.
With the options on the left, you can select the star ratings that you would like to see. The reviews feed will only display the reviews that have those ratings.
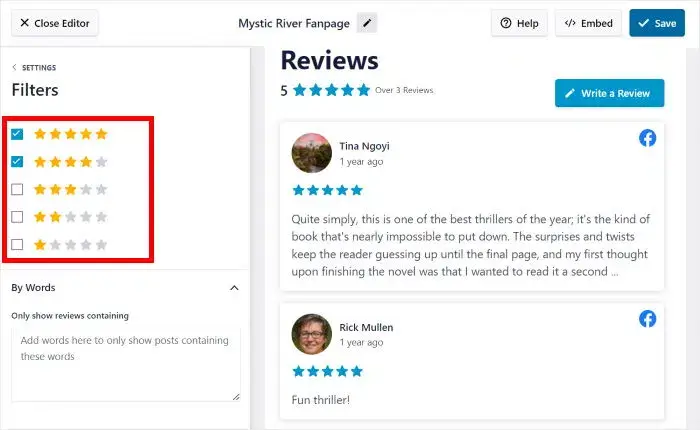
By doing this, you may display genuine Facebook page reviews on your website while keeping reviews hidden from trolls and spam bots.
Once more, use the Save button to verify your modifications.
With the remaining choices, you can conceal reviews that include prohibited words, pick individual reviews, make a blocklist, and much more. However, please never forget to click "Save" after making any modifications.
Step 5 allows you to eventually embed the Facebook page review feed on your website when you are happy with the filters and moderation settings.
Step 5: Embed Your Facebook Page Review Feed
When it comes to where you want your review feed to appear, you have two options:
- Add reviews from Facebook pages to a WordPress page.
- Embed the Facebook page reviews widget in the WordPress sidebar or footer
Let's embed the review feed on a WordPress page as an example.
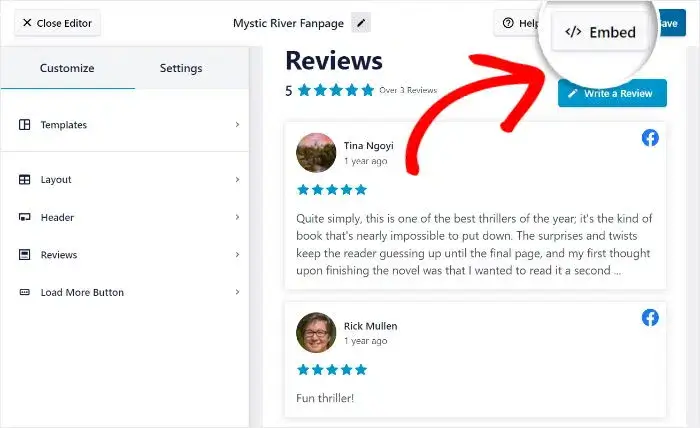
The visual customizer is where you may initiate the embedding process because the plugin is very user-friendly.
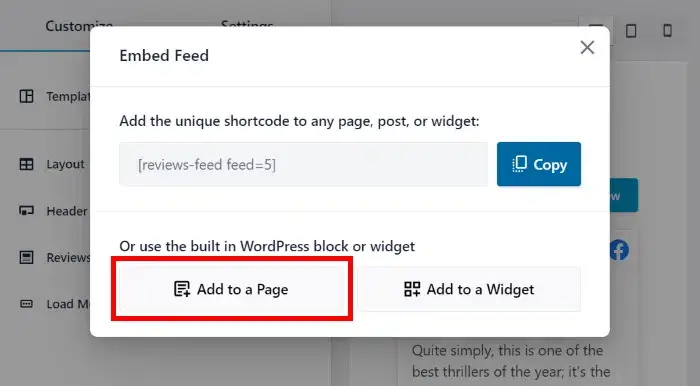
Click the Embed icon in the top right corner to get started.
You will be presented with options to embed the reviews feed on a webpage or widget-ready regions when this opens a popup. Alternatively, you may manually copy the shortcode.
Click the Add to a Page button to proceed.
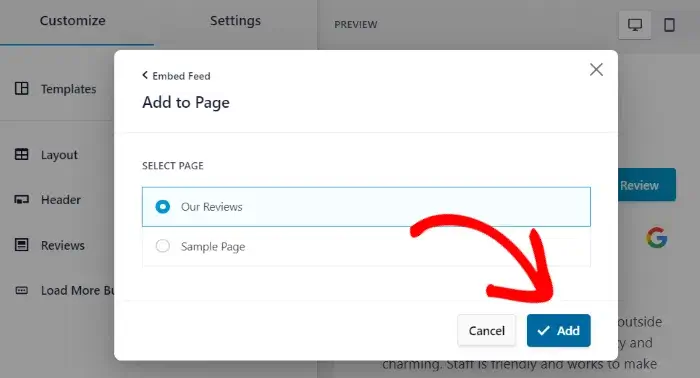
After that, you can decide which particular page to embed the reviews feed on.
Once the desired page has been chosen, click the Add button to finalize your selection.
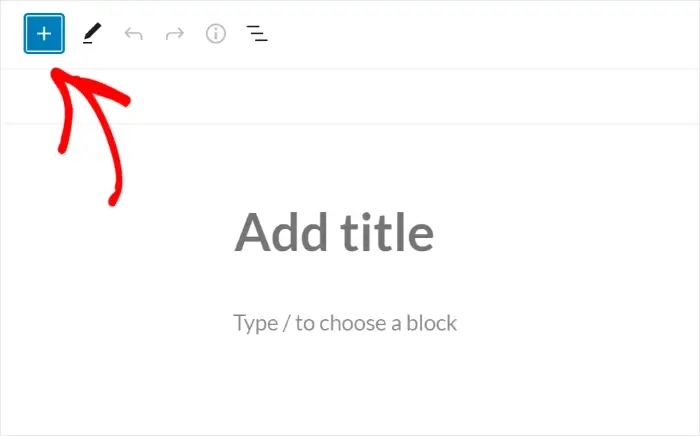
After that, you will be taken to that particular WordPress page.
Click the little plus sign (+) to add a new WordPress block to the page editor.
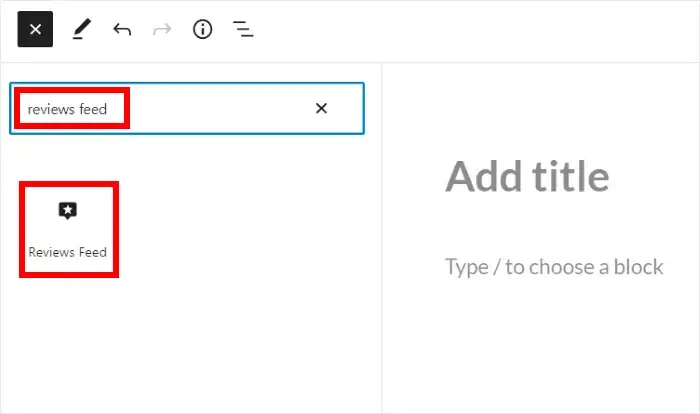
Next, sort through all of the options in the search field to locate the "reviews feed" block.
Finally, add the reviews feed to your page by clicking on the Reviews Feed block.
Once you are happy with the feed's appearance, click the Publish button.
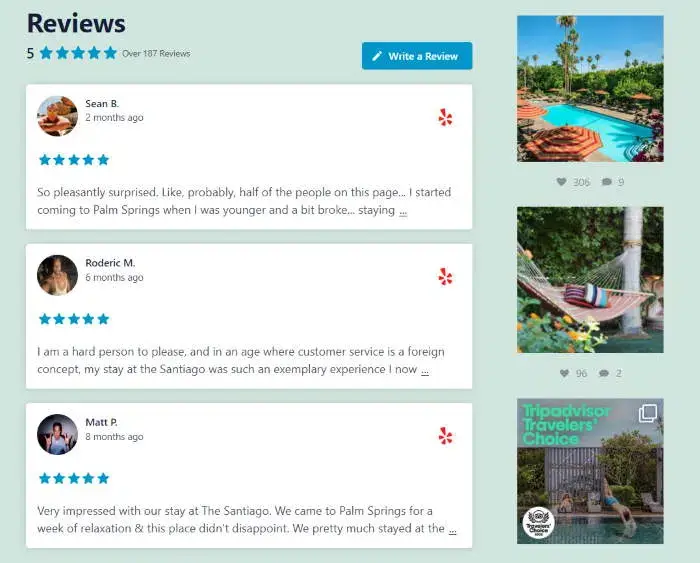
The embedded reviews feed will be visible to any consumers who visit your website now that your updates have gone live. An illustration of a Facebook reviews page is as follows:

And you are done!
Final Thoughts
You no longer need to be a tech whiz to add Facebook page review widgets to your website thanks to this easy-to-follow tutorial!
Authentic consumer testimonials and positive reviews are easy to post on your website when you use Reviews Feed Pro. As a result, you may increase conversion rates, establish credibility, and do a lot more.
So, don't hesitate to get Reviews Feed Pro right away if you're prepared for your sales to soar.


