
Making a pricing comparison website is not as tough as you would think. A robust Content Management System (CMS) is required, as well as an understanding of how to set up pricing comparison tables, reviews, and product ratings. You now have the foundation for a successful website.
WordPress is the most convenient platform for launching this type of project. You'll be able to develop pricing comparison tables and assist users in determining which product is the best fit for them with the correct plugins. If you play your cards well, you could earn affiliate commissions.
In this post, we will discuss the benefits of comparative shopping. Then, in a few simple steps, we'll show you how to create a pricing comparison website. Let's get started!
Advantages of a Price Comparison Website
A pricing comparison website is a place where you can see how different products compare to one another. These sites typically specialize in a single product or niche and link you to many stores that sell it:
Create Amazing Websites
With the best free page builder Elementor
Start Now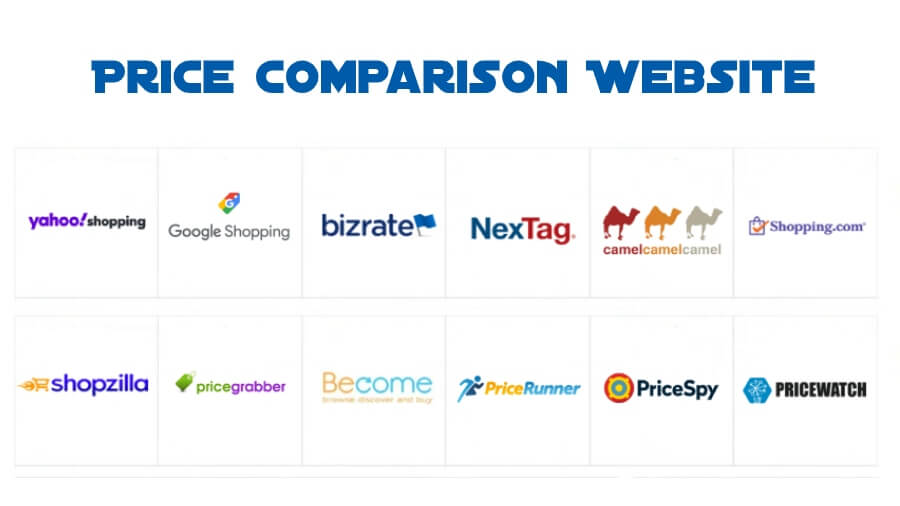
If you are a customer, you may easily see the benefits of comparison shopping. Comparing costs allows you to find the greatest bargains on the things you want. If you look hard enough, you might even uncover better product options at a reduced cost.
All that hard effort doesn't go unnoticed if you run a pricing comparison website. Being the go-to source for customers comparing pricing for a given product or niche provides you with a lot of influence over their selections.
Another advantage of understanding how to build a price comparison website is that you can "capture" people who are ready to buy. When you compare pricing, you're usually ready to buy a product, but you want to make sure you're receiving the greatest bargain available.
Benefits of Having a Price Comparison Website
- You can assist users in making purchases.
- This type of website can attract customers who are ready to make a purchase.
- Ads or affiliate partnerships might be used to monetize the site.
- You get to guide consumers to the greatest goods for their specific needs.
How to make a price comparison website (5 steps)
This tutorial will walk you through the fundamentals of creating a price comparison website. We'll link you to resources that will show you what you need to do during the steps that require additional setup. For the time being, let's concentrate on niches.
- Step 1: Identify a product niche.
- Step 2: Get a domain and hosting.
- Step 3: Configure WordPress and a theme
- Step 4: Include price comparison tables.
- Step 5: Include testimonials and ratings.
Step 1: Determine a product niche (with affiliate potential)
You should focus on a single product category or industry, such as electronics, travel, insurance, and so on. This will assist you in narrowing down your target audience, competition, and data sources. You should also conduct market research to validate your idea and learn what people want from a pricing comparison website.

If you only compare products of one niche, you will learn everything there is to know about them. This is an important ability since clients require advice to make the best purchasing decisions.
Step 2: Register a domain and get hosting
You will need to choose a domain name that reflects your niche and brand identity and register it with a domain registrar. You will also need to find a reliable web hosting service that can support your website’s traffic and performance.
A domain registrar and web hosting that I encourage you to use is Bluehost. It is fast, reliable, has an excellent support team, and has features that are perfect for WordPress development.
Even WordPress officially recommends you use Bluehost.

You can use WordPress as your content management system (CMS), which will make it easier to create and manage your website.
Step 3: Set up WordPress and a Theme
WordPress installation is straightforward. WordPress may come pre-installed on your website depending on the web server you use.
If this is the case, all you need to worry about is learning how to use the Content Management System (CMS). This includes making pages and posts, adding plugins, and selecting a theme.
Choosing a theme for a new website is one of the most essential decisions you will make. The topic you choose should reflect the niche you intend to target. Fortunately, there is no shortage of free and paid WordPress themes to select from. There are so many choices in the WordPress repository that it would take you a lifetime to comb through them all:
The best of those repositories where you can get stunning world-class themes is Themeforest.net
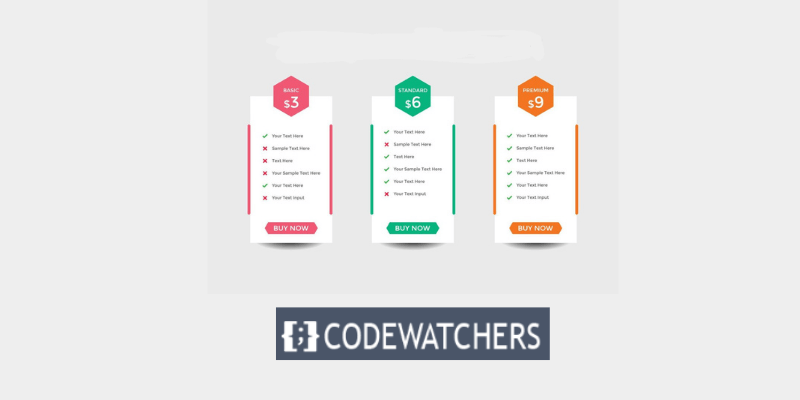
Step 4: Add price comparison tables
You must have price comparison tables on your website that illustrate the pricing and features of various products or services from various suppliers. To construct responsive and interactive tables, you can utilize plugins such as WP Table Builder or TablePress. You'll also need to figure out how to gather and update data from other sources, such as web scraping, APIs, affiliate networks, and so on.
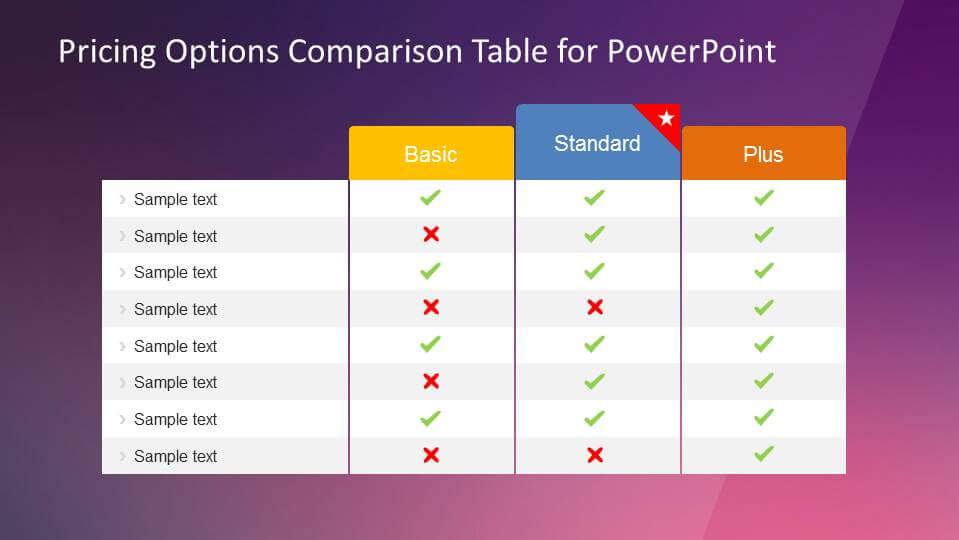
These aren't your typical tables. Price comparisons must be built in such a way that you can visually compare multiple products and guide customers toward the one you want them to buy.
Step 5: Include reviews and ratings
You must include reviews and ratings on your website so that consumers may get additional information and comments about the products or services they are comparing. To add review capabilities to your website, you can use plugins such as Ultimate Review. You can also encourage users to provide their own ratings and reviews, which will boost user engagement and trust.
If you use a plugin like Otter Blocks to create price comparison tables, you have access to the Product Review block. You can use that block to include rating sections in pages or posts that look like this:
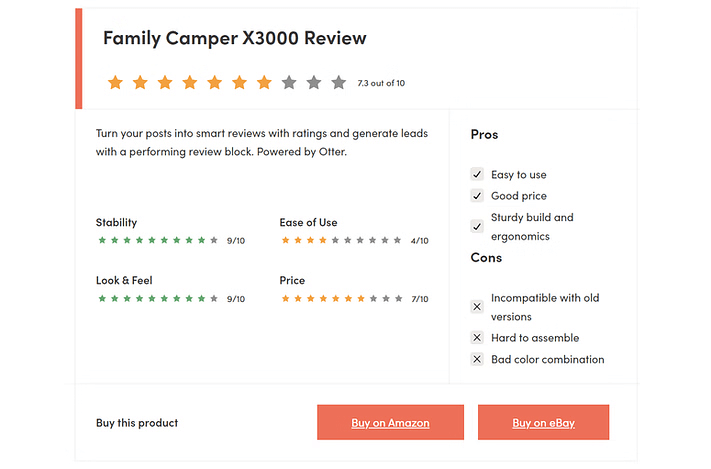
This block is completely configurable, so you can put any advantages and cons you like, as well as which characteristics of a product to grade. You can also add numerous purchase buttons to each block, allowing you to advertise multiple stores with which you have affiliate partnerships.
Keep in mind that this review block is intended for reviews written by you, the website owner. It is not intended to assist you in gathering feedback from customers or users. If that's what you're looking for, take a look at our other post, which includes some of the top review plugins on the market.
Conclusion
These are some fundamental stages of creating a pricing comparison website. However, you may need to modify them depending on your niche, goals, and budget.
If you’re thinking about building a price comparison site, using WordPress will make the process a lot easier.
I hope this article has helped you understand how to create a pricing comparison website.


