
Simply Scheduled Appointments is a handy plugin for setting up meetings, and the name exactly serves the purpose. Without any confirmation hassle or returning mail - this is really a great way to arrange meetups in a short time. You can use this plugin for all kinds of customers. Especially if you are running a counseling firm or coaching center-type organization where you have to schedule sessions every day - this is a great tool. Today, we will take a close look at this plugin and see how things go around this.

Plugin Installation
You can find the plugin on the store. Just install and activate it. Also, you can go to the Official Website and select a package according to your necessity.
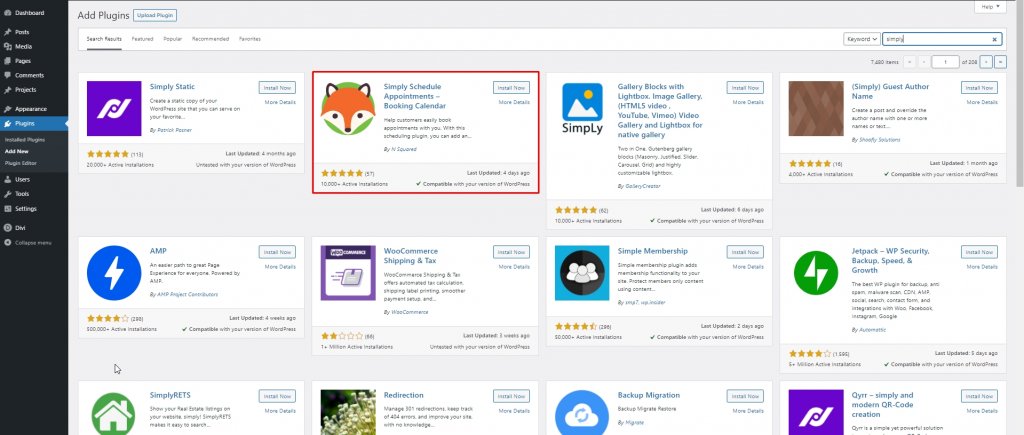
- In the WordPress dashboard, go to Plugins > Add New
- Search for Simply Schedule Appointments
- Click Install Now
- Once the plugin is installed, click Activate
Then you'll see an option labeled "Appointments" on the dashboard panel under settings.
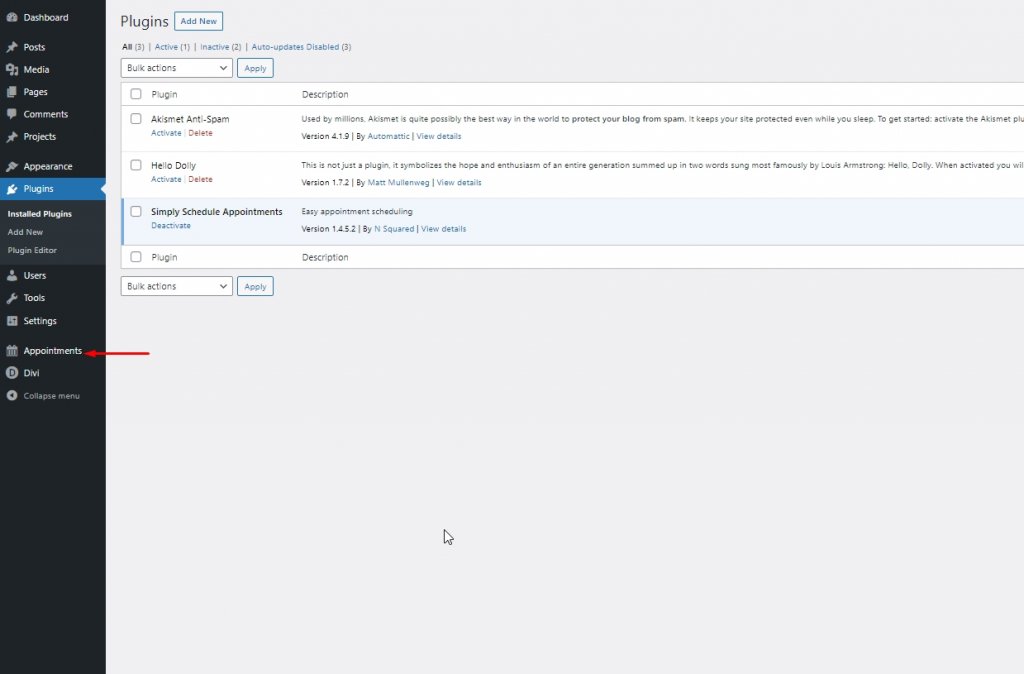
Click on that option, and a new setup window will open.
Create Amazing Websites
With the best free page builder Elementor
Start Now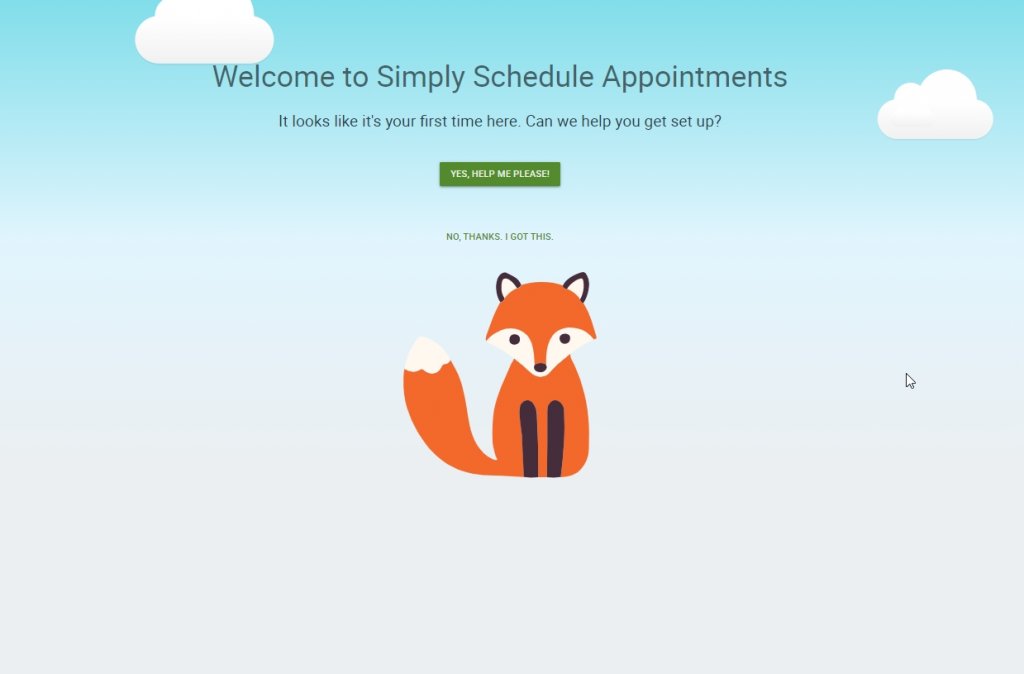
Move forward with the green texted button labeled as "YES, HELP ME PLEASE," and the setup will begin.

Fill in all the information according to your need. Go through all the options and manage appointment types, availability, scheduling options, Google Calendar, customer information, notifications, etc.
This plugin is an excellent choice for Divi users. Simply scheduled appointments help users to set up appointments without making any phone calls or emails. The schedules will be arranged by mutual time zone, and also plugin will send reminders before the meeting.
Using Simply Schedule Appointments On Divi
In earlier days, you had to add a shortcode to the page to use the schedule panel. Simply schedule appointments have recently added a module called Appointment Booking, and it's as simple as any other module.
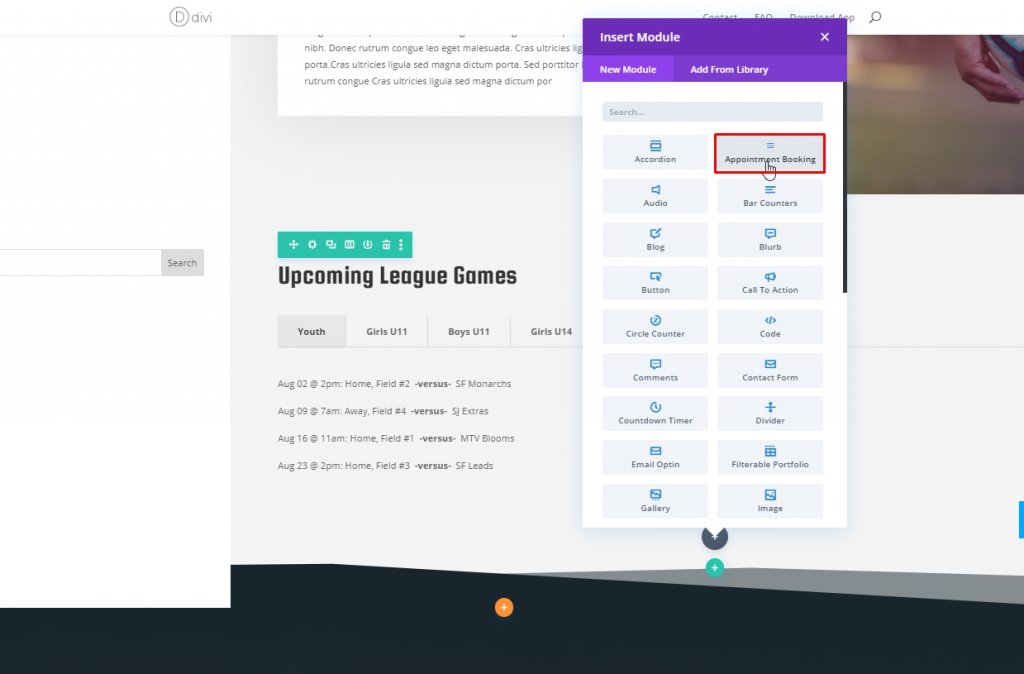
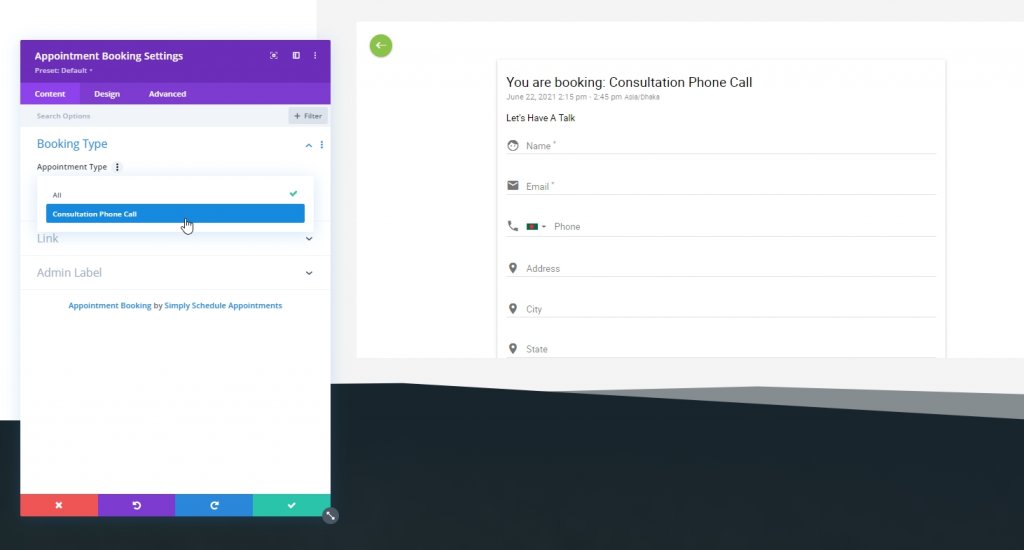
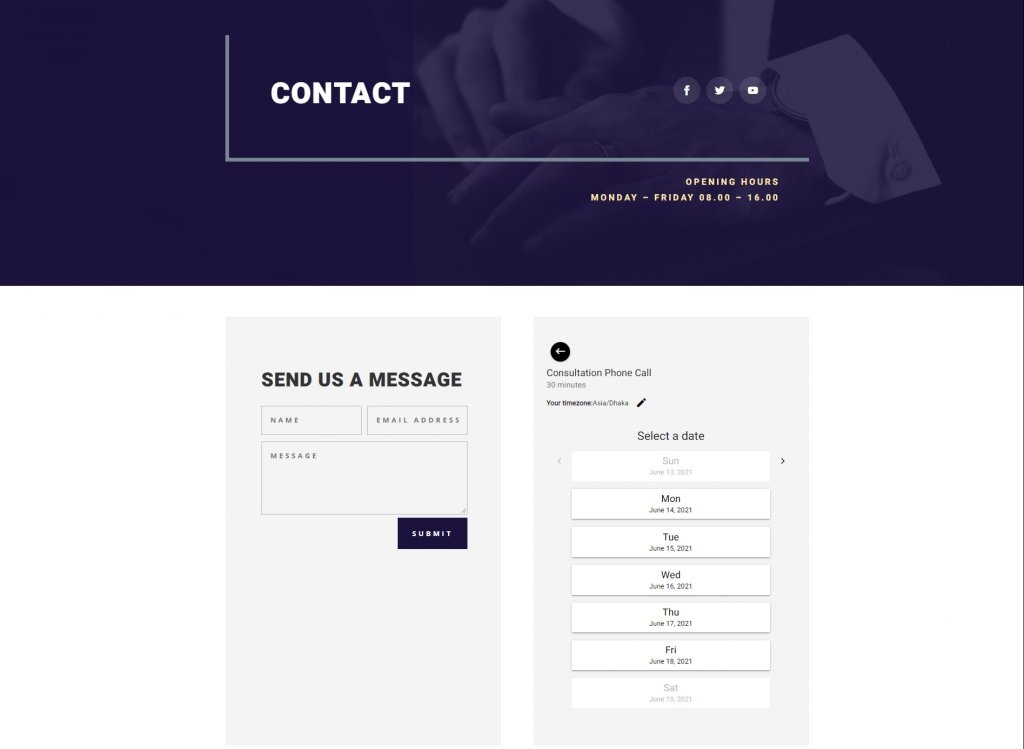
You'll see a consultation fixing module that you have created earlier during the plugin setup.
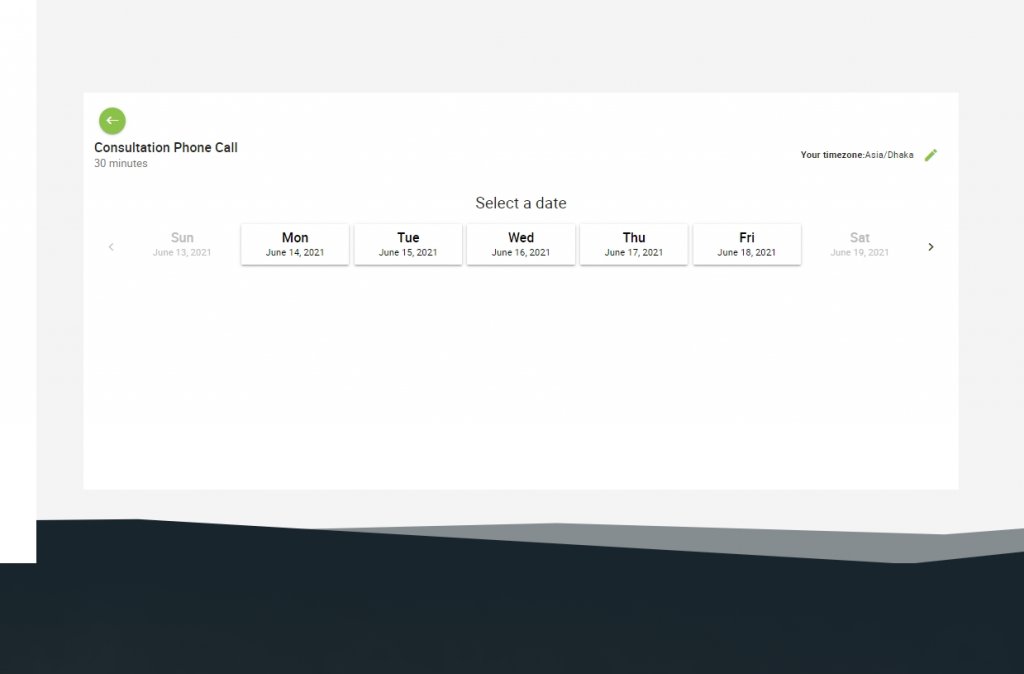
Inside the Divi layout, this module will install a multipage form. The first page will ask the time zone and then the dates. Remember, only your available dates are clickable. You can move forward to dates by clicking the front arrow.
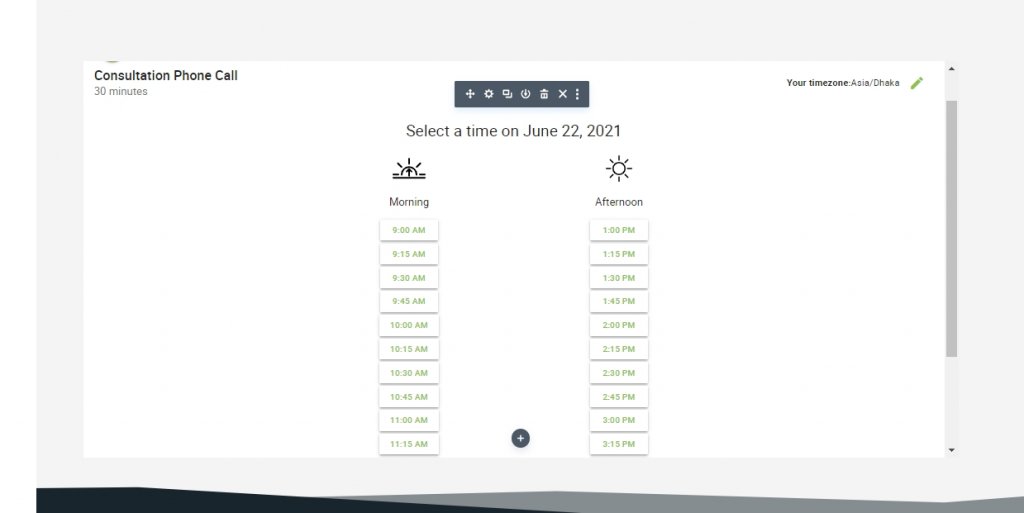
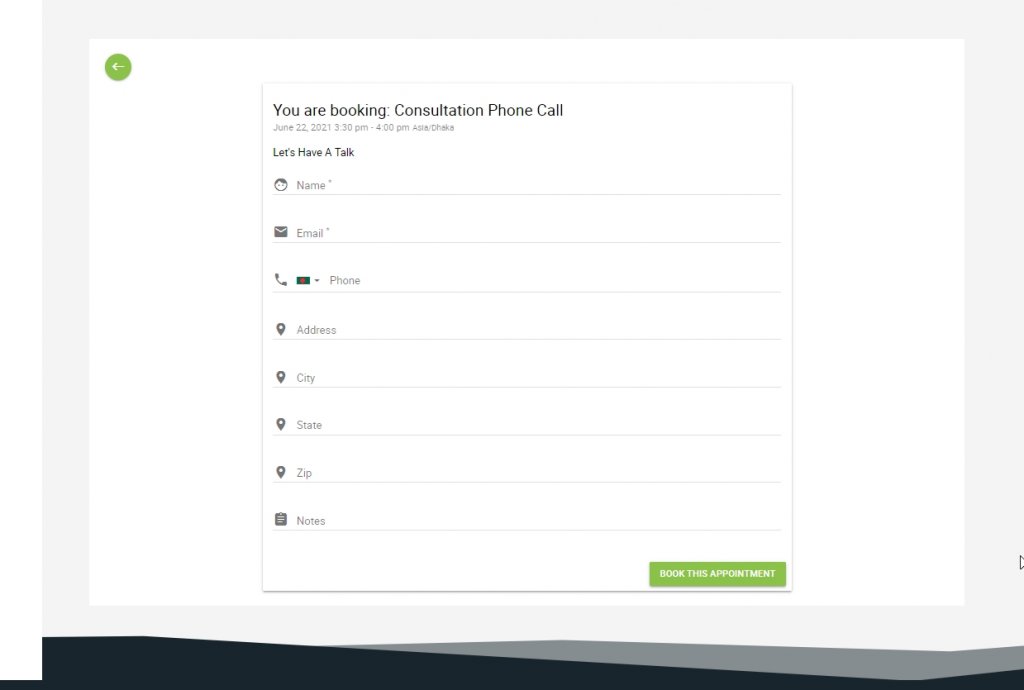
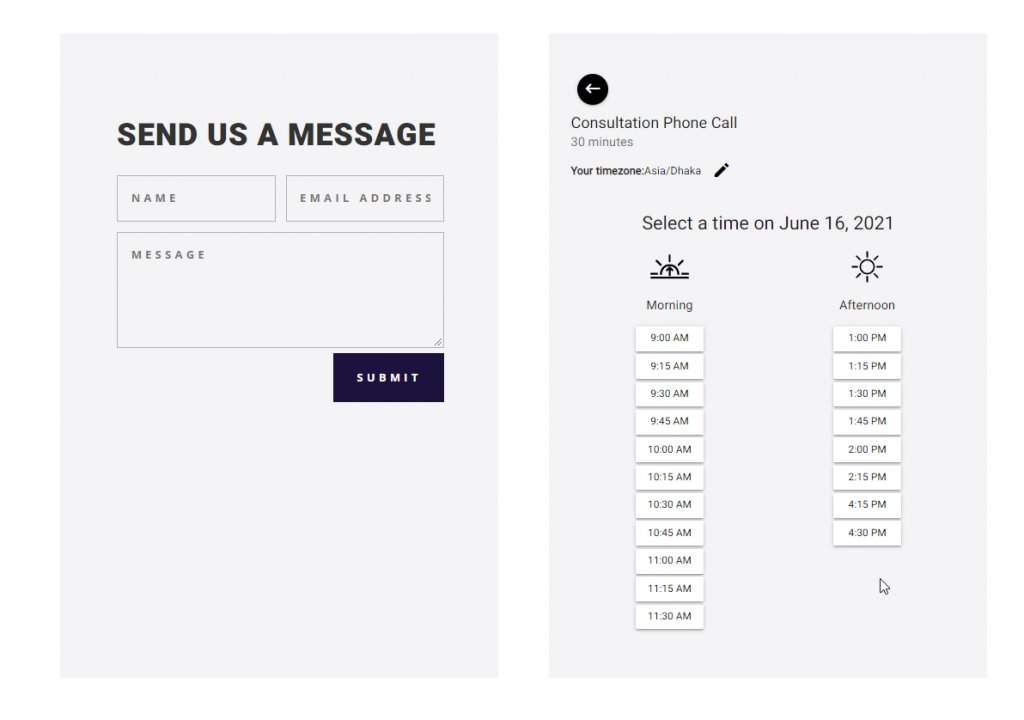
Click on time to fix the meeting at your convenience. Now, fill in all the info to book a meeting.
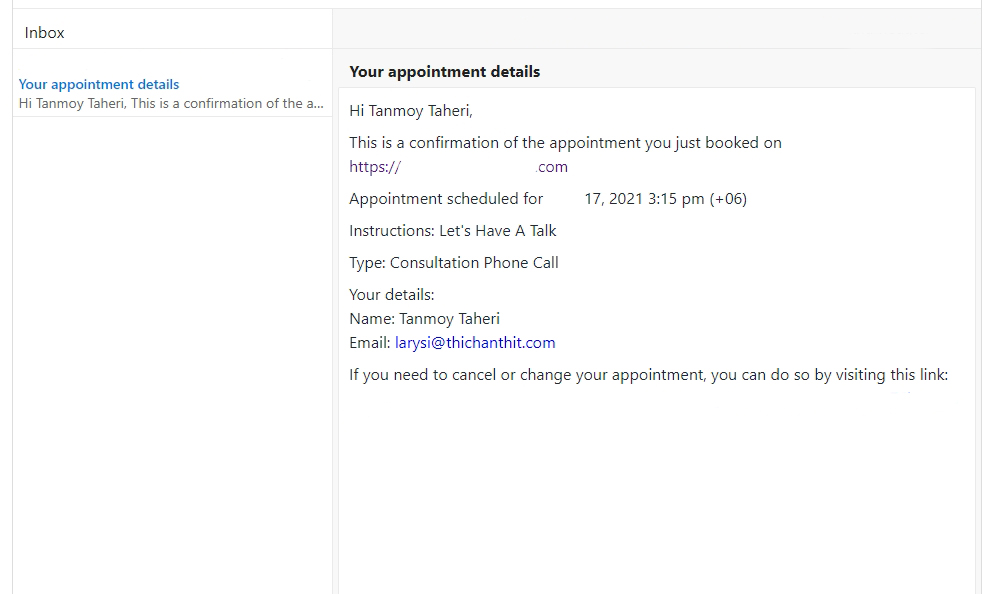
You'll get a confirmation with a thank you message that will display all your inputs. Gladly you can change them and reschedule the matting.
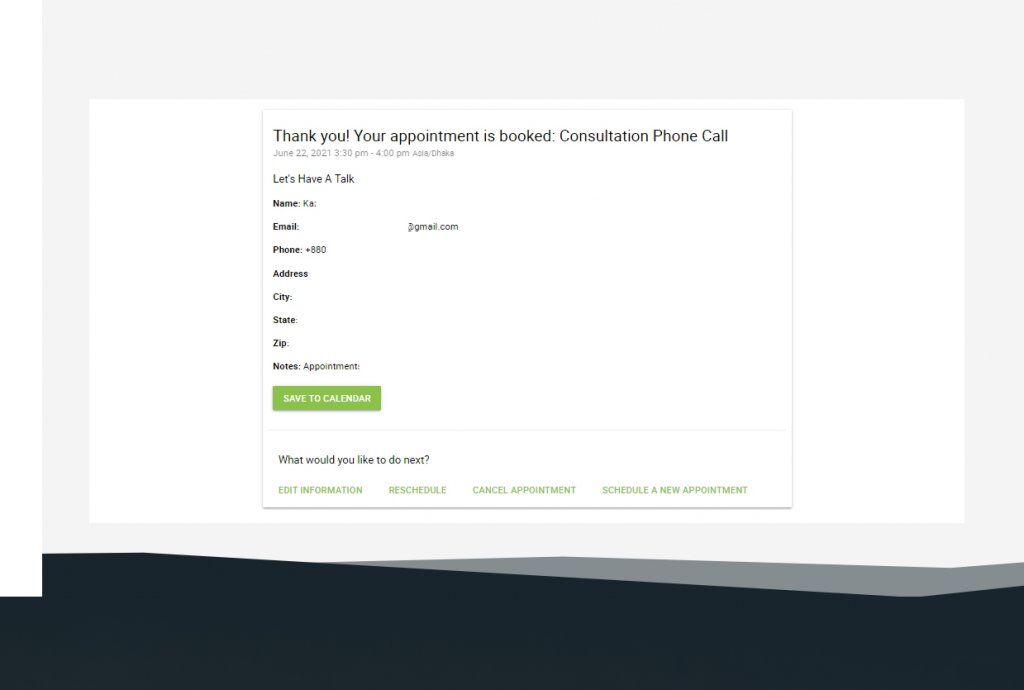
You can add the meeting on Google calendar to add a reminder.
Module Settings: Simply Schedule Appointment
The settings of this plugin are elementary. There are no extras - everything is on point. For example, let's say you have several types of booking panels for different jobs, and you can add all of them by having different pages on one website. You can select a separate booking module for each page.
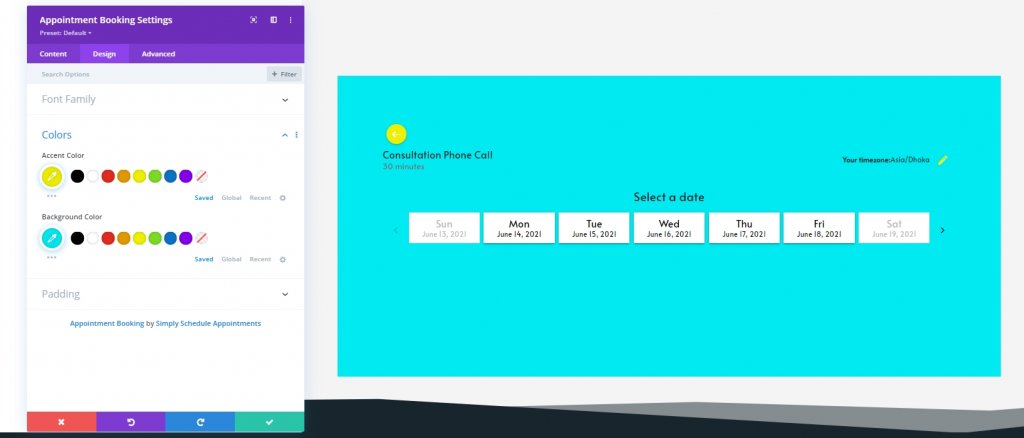
From the design tab, you can change font family, color and add padding to the module.

Change according to your need to match your website style.
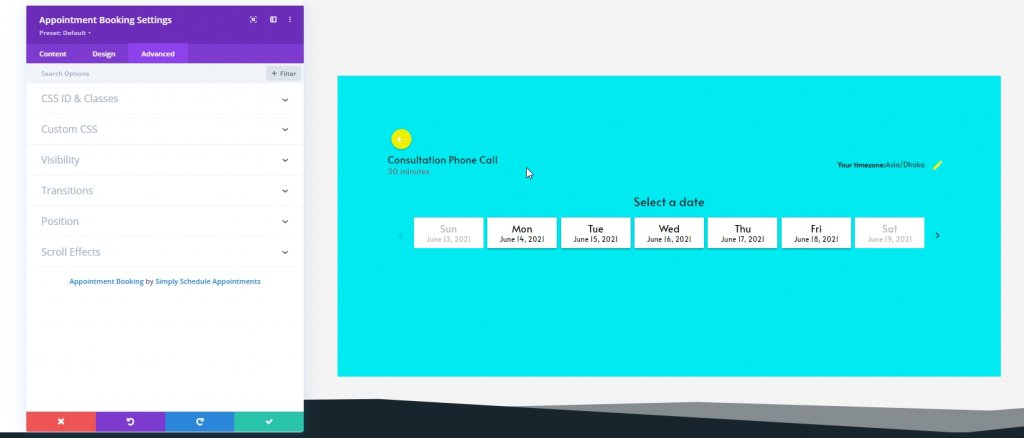
Note that padding cant be visualized on editing. However, it's only available on a live page. The Advanced tab includes settings for the CSS ID and classes, custom CSS, visibility, transitions, position, and scroll effects.
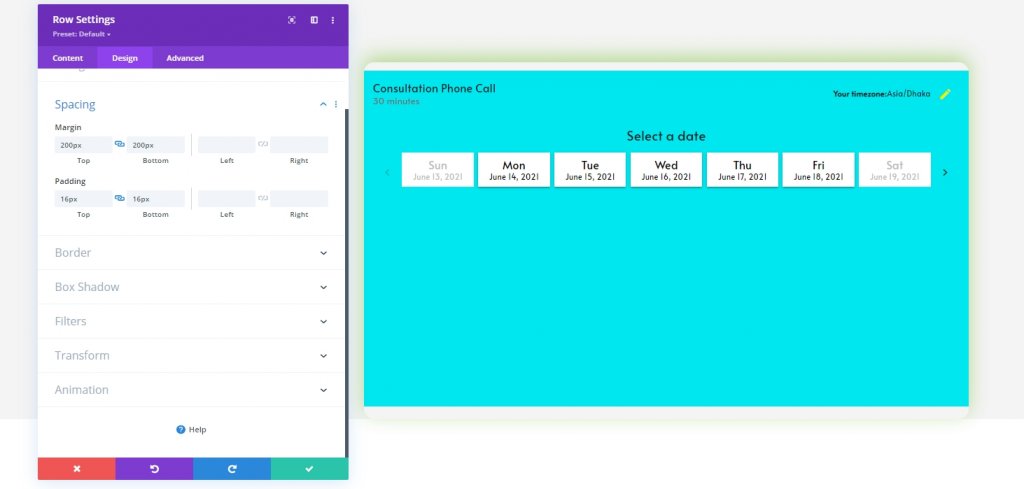
There aren't many options to make adjustments to the module. But you can do further design by putting it in a row and then make changes to that row settings. All the modifications will be external, but it will look good in every screen size as the module is responsive.
Form Default Styling
You can work on some stylization to the form. Some settings are given to modify by default, such as font, background color, accent color, padding, and adding custom CSS.

Upcoming Appointments List
By clicking on the Appointments option, you can see who is done with scheduling and waiting for the meeting. By clicking here, you will get some more options such as details of the person, cancel options, etc.

Design Example
For this example, we have imported a premade template called PR Firm Contact Page from Divi library and removed the contact info section since we are setting up an appointment scheduling module to contact. We have matched the template's color with the booking module, and now it looks perfect with the page.
Select the date, and it will ask for your preferred time. And then, it will ask for further contact information.
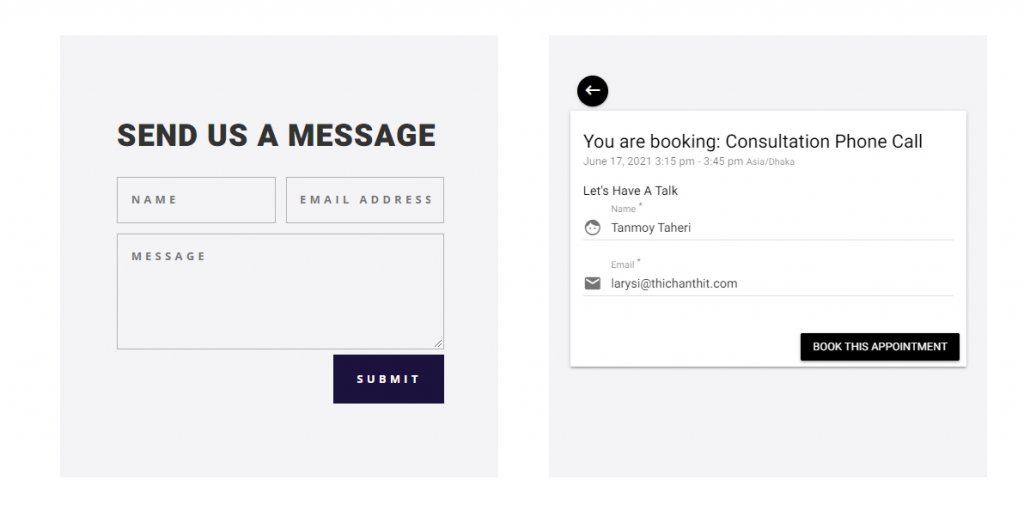
Click on the book this appointment, and you are done! It will show a confirmation message. You can edit the provided info, cancel or reschedule the appointment or maybe add another one for your family member. You can also add this appointment to the calendar for a further reminder.
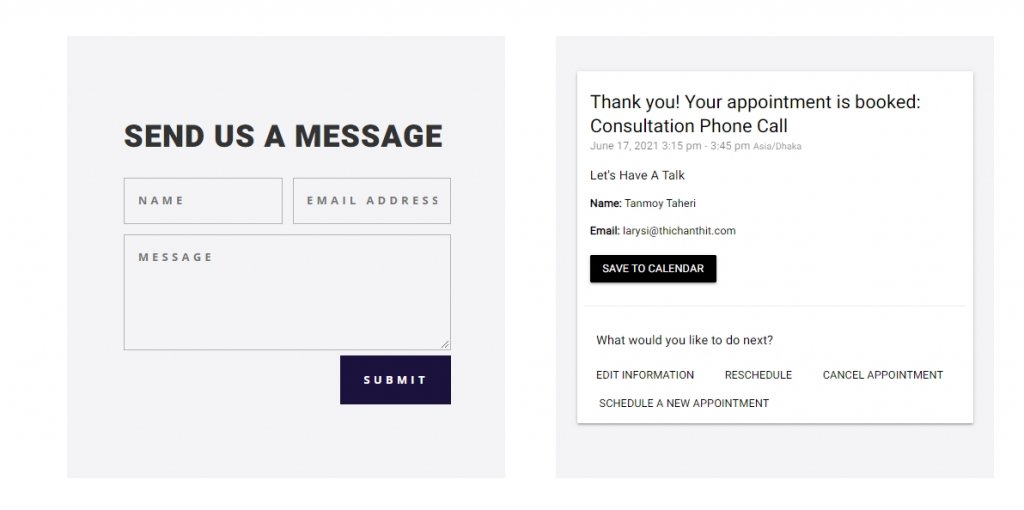
There is no blender in this module, and it works perfectly fine. Soon you have finished the booking; It will send a confirmation email to you.
Pricing
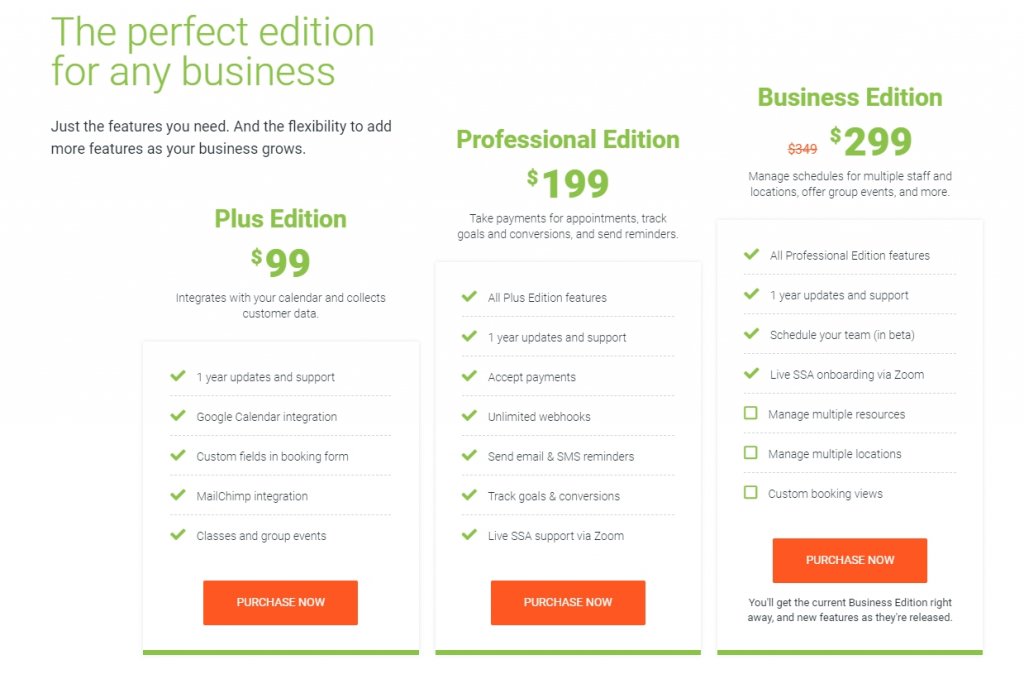
There are four types of price packages for the Simply Schedule Appointment plugin. Premium packages are given in the picture, but there is also a free version. You can enjoy different benefits in different pricing packages. I hope you will choose a convenient package according to your choice.
Conclusion
Finally, the Simply Schedule Appointments plugin is straightforward to use. You can use it on the website without any extra coding. But I think there was a need for some more designing options because, ultimately, the entire design matters. It would have been better to have options like alignment, inside customization, icon icons, etc. Maybe we can change a lot through CSS customization, but since we are working on Divi - it is better to have all the options available by default.
So, This was our opinion about the plugin. I hope you will benefit from this. If you like the review, share the review with your developer friends because you are AWESOME!


