
Since the release of the Kadence Theme, conditional headers have been one of the most often requested features in the Kadence community.

With conditional headers, you can take your Kadence Theme-built website to a whole new level. Kadence conditional headers are commonly used in the following scenarios:
- Display a different header on your blog site based on whatever blog post category the user is reading.
- For membership sites, present a header to users who are logged out and a different header to users who sign in.
- Simplify the header throughout the checkout process for WooCommerce sites so that the user remains focused on purchasing.
In this tutorial, I'll show you how to implement Kadence conditional headers on your website to provide your visitors with a one-of-a-kind experience.
Let's get started.
Create Amazing Websites
With the best free page builder Elementor
Start Now1. Enable Kadence Conditional Headers
First and foremost, you must activate Kadence conditional headers.
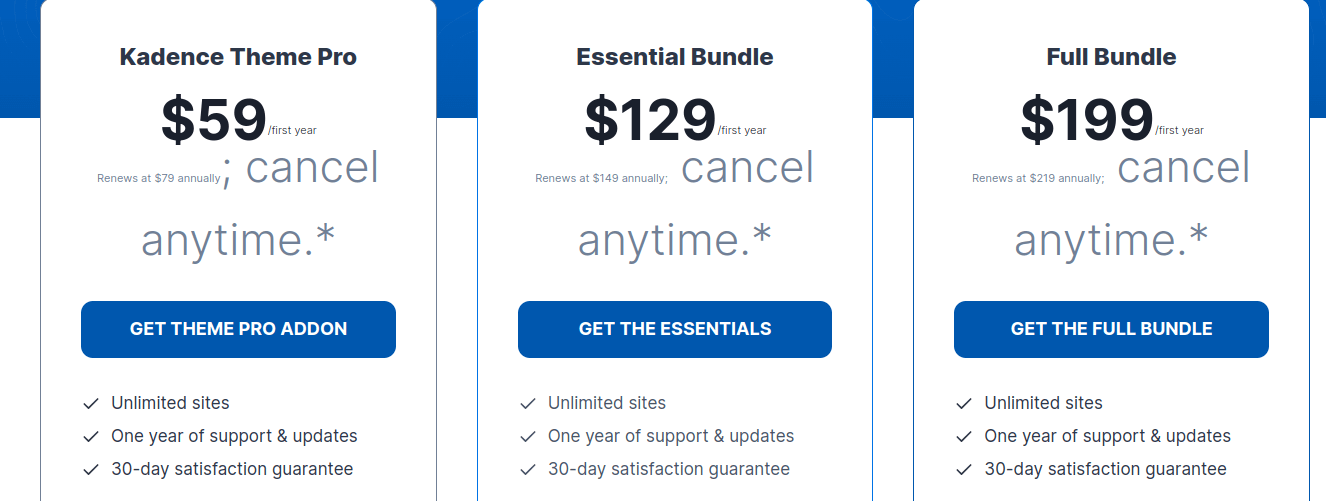
The conditional headers feature in Kadence requires the Kadence Pro Theme to be enabled, therefore be sure to purchase and activate Kadence Pro if you haven't already in order to see "Conditional Headers" show in your Kadence configuration settings.
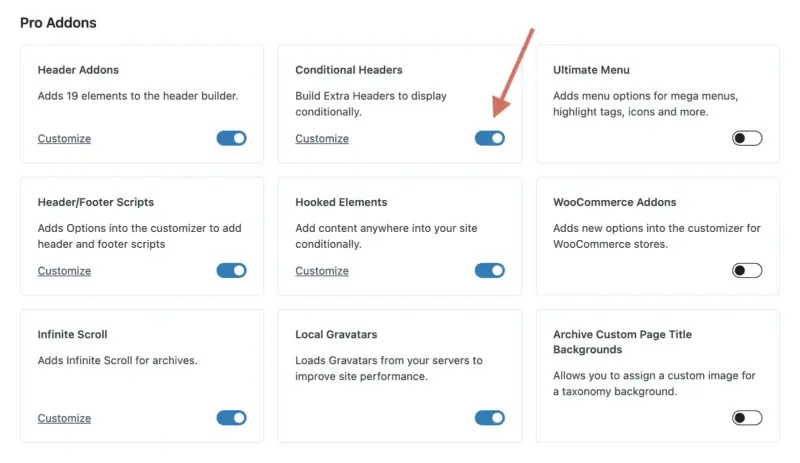
With Kadence Pro enabled, navigate to Appearance > Kadence to see a list of all the Pro Addons that can be enabled.
To enable Conditional Headers, locate the toggle and click it.
2. Add New Conditional Header
Now that you've enabled the Kadence Conditional Headers feature, you may make a new conditional header to use on your website.
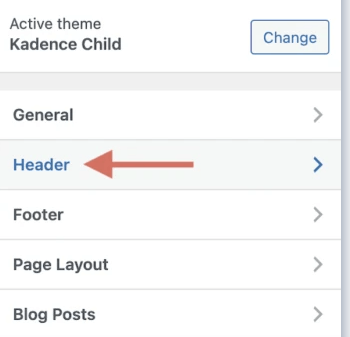
To access the WordPress customizer, go to Appearance > Customize. When the Kadence customizer is active, click on "Header" to access the header modification options.
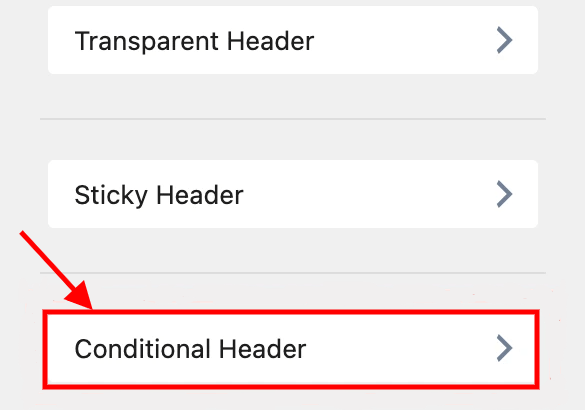
Scroll down to the bottom of the header section to find a new item called "Conditional Header" beneath "Transparent Header" and "Sticky Header." Select that option.
A new screen will appear, where you can do all the configurations for your Kadence conditional headers.
Let's go over what we're looking at quickly.
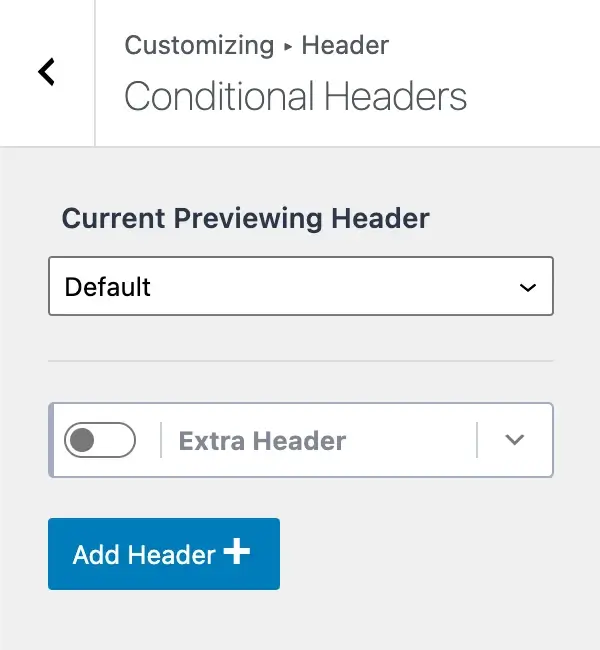
There is a label that says "Current Previewing Header" and a dropdown menu with the option "Default" in it. This implies you're currently viewing your website's default header (the one you initially set up and utilize throughout your website).
To add a new Kadence conditional header, click the "Add Header" button and you'll be presented with three options:
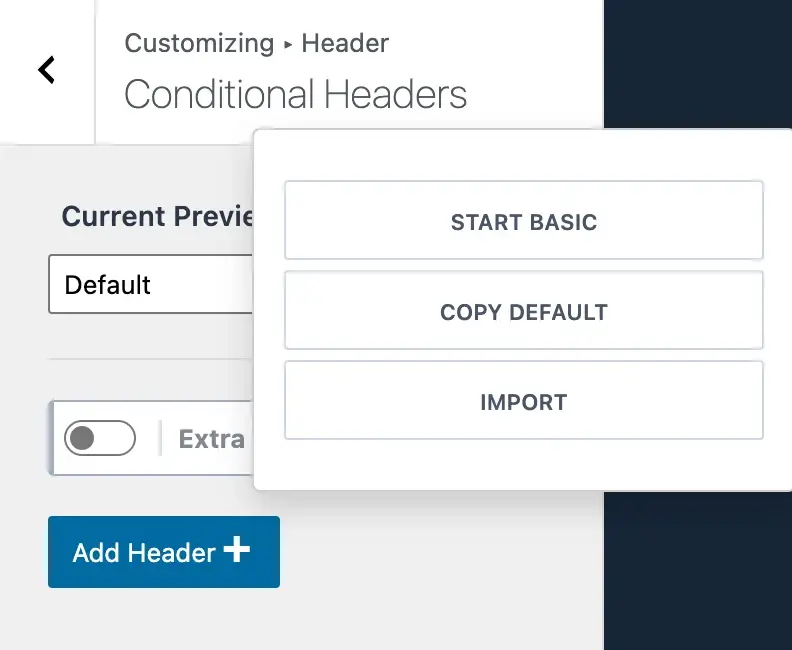
- Start Basic: This option allows you to begin with a simple header and build a new one as you go. This is the ideal option if you want to design a new header that is significantly different from your default header.
- Copy Default: With this option, you may copy your whole default header from your website and use it as a beginning template. This option is appropriate if you want to design a header that is extremely similar to your usual header but with a few differences, such as a new CTA button, new menu items, and so on.
- Import: This option lets you import a header. This option is useful if you want to quickly import a predesigned header onto your website.
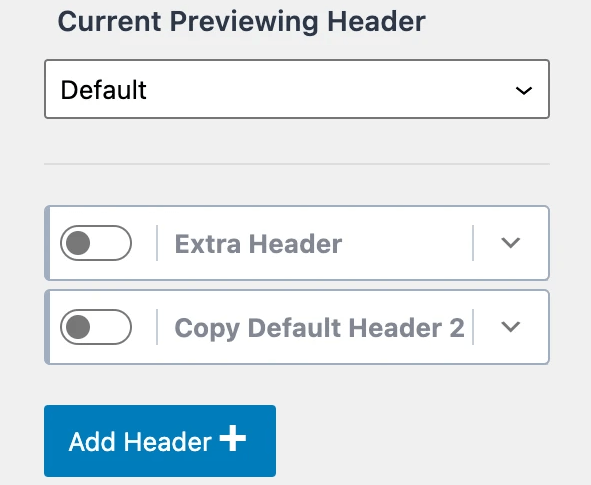
For this Kadence conditional header tutorial, I'll select "Copy Default" to duplicate my site's default header. In your customizer, you'll see a new conditional heading called "Copy Default Header 2."
This may be a slightly different name depending on whether you opted to start basic or import a header instead, but it should appear similar.
Now that we've learned how to create a new Kadence conditional header, let's look at how to customize it.
3. Rename New Conditional Header
Once you've added a new conditional header to your customizer, the following step is to rename it to something more user-friendly. When you click the arrow dropdown symbol next to your header, a tray of options will appear.
The first section that appears is labeled "Header Label." This is where you can change the name of your Kadence conditional header to something more friendly.
Assume you have a health coaching website with blog postings in a variety of areas, such as nutrition and fitness.
One ideal use case would be to develop a header with two CTA buttons: one to book a call for nutrition coaching if the blog post is in the nutrition category and another to book a call for personal training if the blog article is in the fitness category.
With Kadence conditional headers, this is now extremely simple and opens up a plethora of possibilities for providing your users with a more tailored experience.
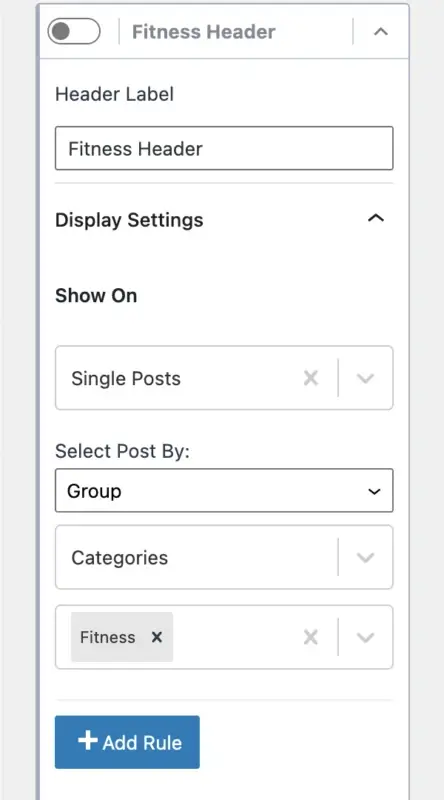
For this lesson, I'll call my new conditional header "Fitness Header" so that it appears on any page with the category "Fitness" (which I'll explain momentarily).

As you put in the "Header Label" box to rename your conditional header, the title will change.
Obviously, you should name your header whatever makes sense for your application.
4. Configure Display Settings
You should have added a new Kadence conditional header and renamed it to something more user-friendly by this time.
The next step is to adjust the display settings, which allows you to designate where you want your new header to appear on your website. This is where the true power resides. A header could be displayed on a specific WordPress category, specific landing pages, your home page, your complete site, and much more.
To access the Kadence conditional headers display options, click the arrow dropdown to the right of "Display Settings [UNSET]".
Also, keep in mind that the "[UNSET]" label indicates that you still have options to configure before the header can function properly.
That "[UNSET]" label will be removed once we have successfully configured our display settings. Following the display settings options, there will be a section labeled "Show On" with a dropdown.
This "Show On" selection allows you to specify which pages your new header should appear on.
Returning to my example of wanting this new header to appear just on blog posts with the category "Fitness," I'll select "Single Posts" from the "Show On" dropdown, which refers to all blog posts.
However, we do not want our header to appear on every blog entry. This header should only appear on blog articles with the category "Fitness." This is where we can go very particular and show your header on specific Groups or Individual posts.
To resolve this problem, simply select the "Group" option under the title "Select Post By."
Then, a menu for "Select Taxonomy" will appear, from which you can select "Categories" or "Tags." In this case, I'll select "Categories."
Finally, another menu will appear where you can click and select which categories you want this header to appear in. I selected the "Fitness" category.
What a powerful statement! You can go down and select which pages or posts you want this new header to appear on.
If you wish to add more conditions, click the "Add Rule" button. Assume you want to display this header on blog entries with the category "Fitness" AND the tag "coaching." You can do the same thing by adding more rules.
After you've set your conditional header's display settings, it's necessary to decide which users will see your header.
5. Configure User Settings
Let's now decide who will be able to see your newly built Kadence conditional header.
The "User Settings" area allows for even more customization.
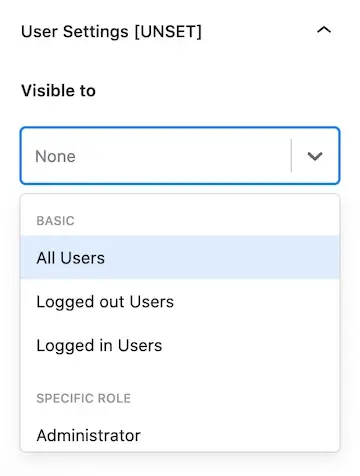
When you open the "Visible to" dropdown, you'll see a list of users and roles for whom you can display your conditional header.
- Basic
- All Users
- Logged out Users
- Logged in Users
- Specific Role
- Administrator
- Editor
- Author
- Contributor
- Subscriber
Users will be able to sign in and out of your website if you use the Account function from Kadence Pro in your header, for example.
You can display a specific element to All Users, Logged-out Users, or Logged-in Users.
NOTE: If you do not yet have the "User Settings" configured, you will see [UNSET] next to User Settings, indicating that you must select an option before your conditional header will operate. When you select an option, the [UNSET] label will be removed.
You can also choose which roles on your site should see your conditional header, such as Administrator, Editor, Author, Contributor, or Subscriber.
This is a fantastic feature, especially if you have a membership site where users must log in, including any specific membership roles you establish.
For example, you could use a WordPress membership plugin to create several membership levels and then display a different header based on the user's level.
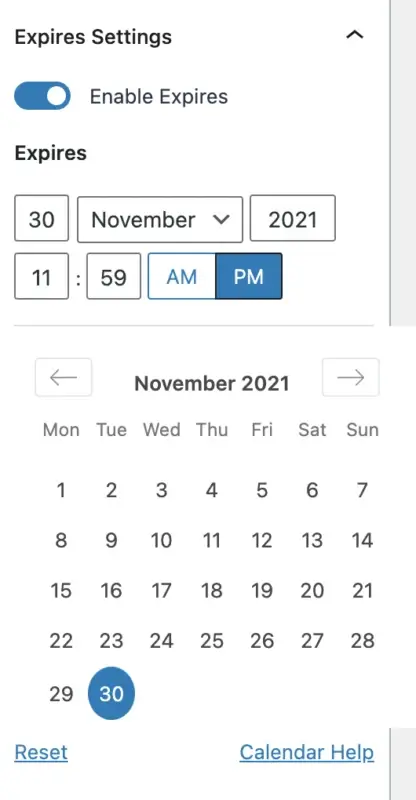
6. Set Expires Settings (optional)
The "Set Expires Settings" portion is absolutely optional, although it is a very powerful function.
Assume you develop a Kadence conditional header with certain time-sensitive information. For example, a banner with an offer on it, a CTA button with an expiration date, and so on. You can specify a date and time for your header to expire by using the expires settings.
When that time comes, your entire header will expire, returning it to the "default" header used by your site.
To use Expires Settings for your Kadence conditional header, just turn on the "Enable Expires" option and then choose a date and time for your header to expire.
The header will then be deleted from your site after it expires. It's that easy!
7. Build Conditional Header
Okay, now that you've defined your Kadence conditional header settings, including your display, user, and optional expires settings, it's time to really build out your header to appear the way you want.
The first thing we need to do before we can change your conditional heading is preview it. To do so, navigate to the top of the conditional header choices in your Kadence customizer and look for the area labeled "Current Previewing Header."
Select your new conditional heading from the dropdown menu. In my case, I'll select the "Fitness Header."

When you choose to preview a header that is not the current header you are previewing, you will receive the following message:
“Previewing another header requires reloading the customizer in a preview mode. Click confirm below to save your settings and enter into preview mode.”
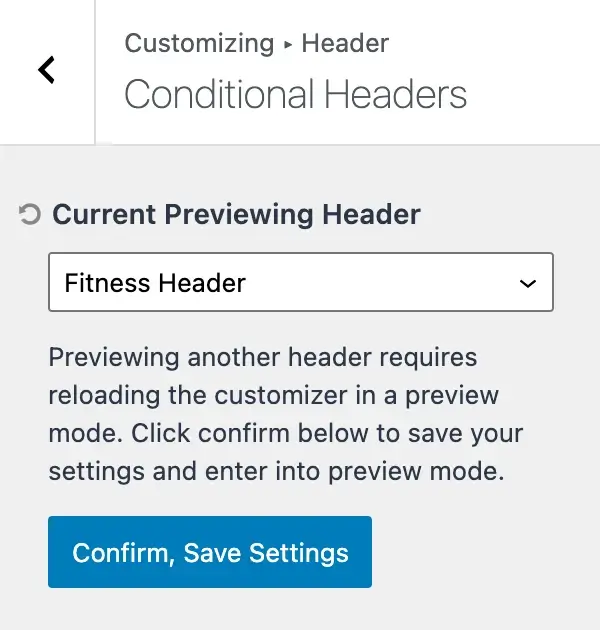
Hit the "Confirm, Save Settings" button
This saves your settings and reloads the page, allowing you to edit your new conditional header.
To validate that you are now modifying the right Kadence conditional header, an explanatory notice will appear at the top of your customizer that states "Previewing Header: [Header Name]."
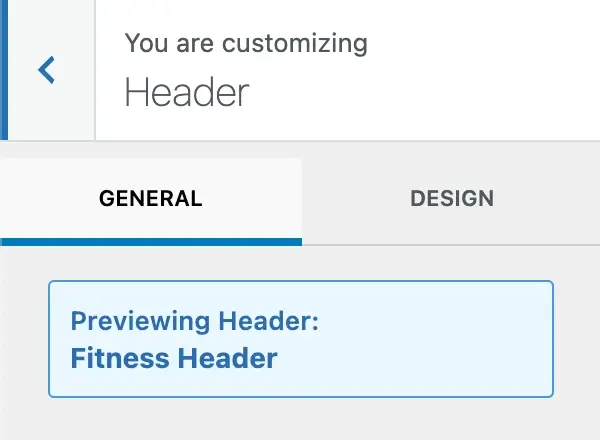
Great! We are now seeing your new conditional header and can design it precisely how you want it.
All of the header elements are accessible for usage in your customizer.
Also, ensure that the "Header Addons" functionality from step 1 is enabled.
Kadence Pro allows you to include many more header elements in your header, allowing you to construct highly personalized, complex headers to present to your visitors.
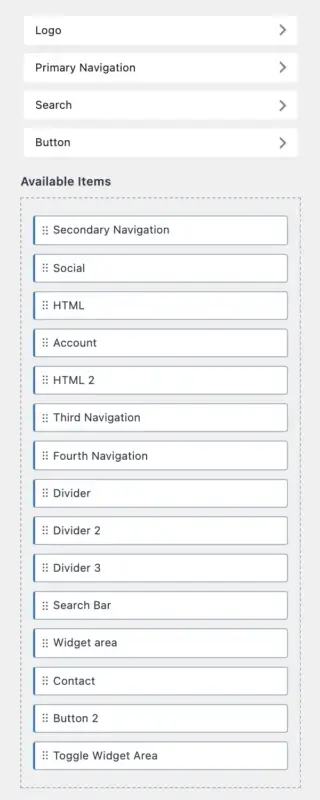
With all of these header elements at your disposal, you can use the Kadence header builder to drag and drop your elements onto and build out your new conditional header in any way you see fit.
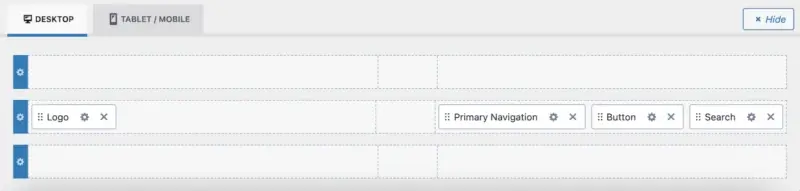
Remember that there is a page for creating the desktop version of your Kadence conditional header, as well as one for tablet/mobile.
After you've finished customizing your header, be sure to click the blue "Publish" button in the upper-right corner of your customizer to save your changes.
We're almost finished! Only one more fast step remains before our new conditional header is fully operational.
8. Activate Conditional Header in Customizer
The final step before your new conditional header goes live on your Kadence site is to activate it in the customizer. Assuming you just finished generating your new header with the Kadence header builder, you'll want to return to the "Conditional Header" area where we previously defined your conditional header.
All that remains is for us to activate the header on your site by clicking the toggle on your new header and then clicking the "Publish" button.
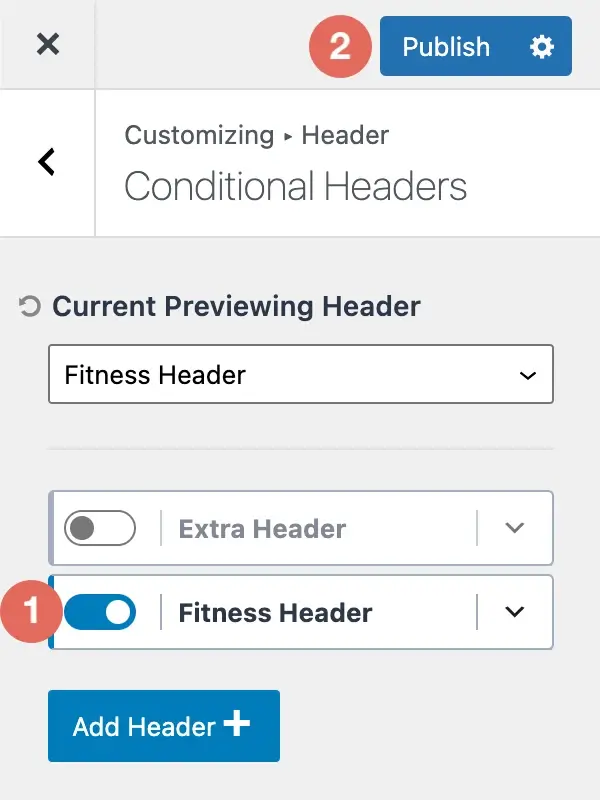
Congratulations! Your new Kadence conditional header has been enabled and published on your website!
How to Delete a Kadence Conditional Header
If you're wondering how to remove a Kadence conditional header from your customizer, you're in luck.
To delete a Kadence conditional header, follow the steps below:
- In your Kadence customizer, go to the "Conditional Headers" area.
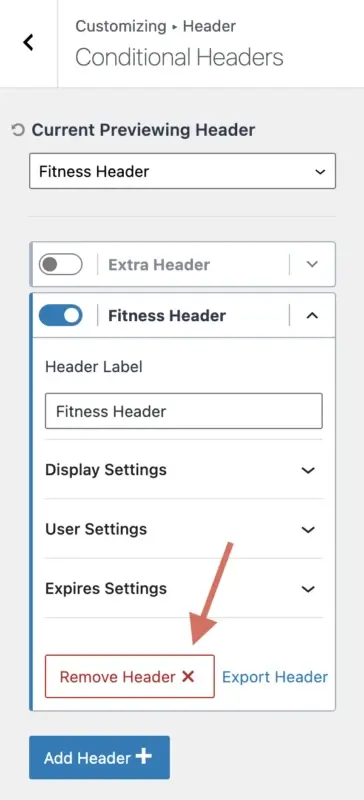
- Expand the conditional header settings for the desired heading.
- Select the "Remove Header" option.
When you select to remove your Kadence conditional header, you will receive the following confirmation message:
“Note, this will permanently remove all the header settings connected to this conditional header.”
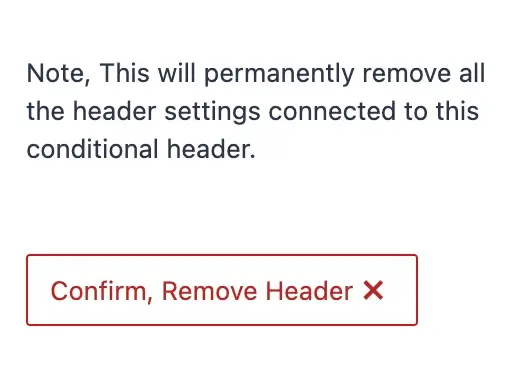
As long as you agree to the removal of the conditional header and all of its settings, click "Confirm, Remove Header."
How to Import/Export a Kadence Conditional Header
I'll show you how to import and export a Kadence conditional header in this part.
To import a Kadence conditional header, follow the steps below:
- In your Kadence customizer, go to the "Conditional Headers" area.
- Select the "Add Header" option.
- Select the "Import" option.
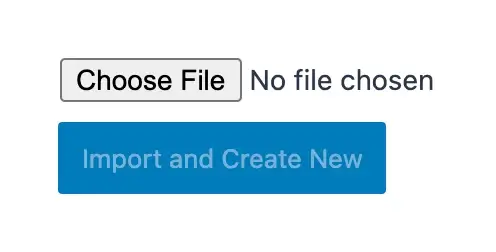
- Select your Kadence conditional header file using the file uploader.
- The "Import and Create New" option should be selected.
To export a Kadence conditional header, follow the steps below:
- In your Kadence customizer, go to the "Conditional Headers" area.
- Expand the conditional header settings for the desired heading.
- Select the "Export Header" option.
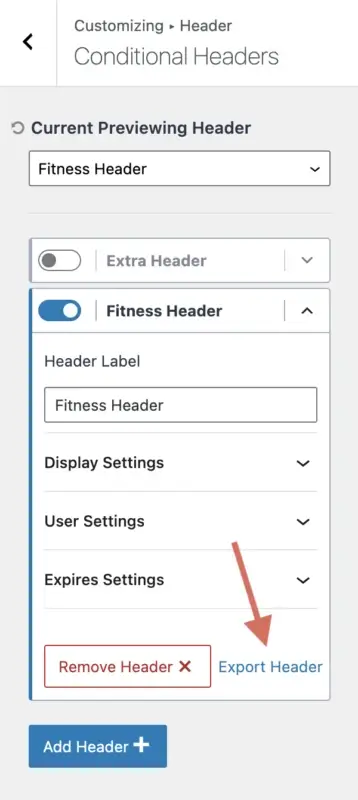
A file will be downloaded to your computer, which you can subsequently import into another of your websites or email to someone else so that they can import your conditional header into their site.
Kadence Conditional Header Use Cases and Configuration
Let's go over several Kadence conditional header usage scenarios and what you'd choose for your "Display Settings" and "User Settings" to properly configure it:
- Show your conditional header to all logged-out users
- Display Settings: Entire Site
- User Settings: Logged out Users
- Show your conditional header to all logged-in users
- Display settings: Entire Site
- User Settings: Logged-in Users
- Show your conditional header on all blog posts with the category of “Fitness”
- Display settings: Single Posts → Group → Categories → Fitness
- User Settings: All Users
- Show your conditional header on all pages with a tag of “marketing”
- Display settings: Single Pages → Group → Tags → marketing
- User Settings: All Users
- Show your conditional header on the front page of your site only
- Display settings: Front Page
- User Settings: All Users
These examples should help you understand how to utilize the "Display Settings" and "User Settings" to display your Kadence conditional header on the appropriate pages of your website.
Conclusion
Kadence conditional headers are a powerful feature that allows you to create different headers for different pages, users, and situations on your WordPress website.
With Kadence conditional headers, you can customize your site’s appearance and functionality to suit your needs and goals. In this tutorial, I have shown you how to use Kadence conditional headers step by step, from enabling the feature, adding a new header, configuring the display and user settings, setting an expiration date, building the header, and activating it in the customizer.
You also learned how to delete, import, or export a Kadence conditional header if you need to.
I hope this tutorial has helped you understand how to use Kadence conditional headers on your website.


