
Looking for a way to make a stacked column on your website with Elementor? This article will show you how to make a stacked column in the easiest way possible. When you're making a website, a stacked column can help you in many ways. If you know how to use the inner section widget right, using Elementor to make a stacked column is a very simple task.
Creating Stacked Column Using Elementor
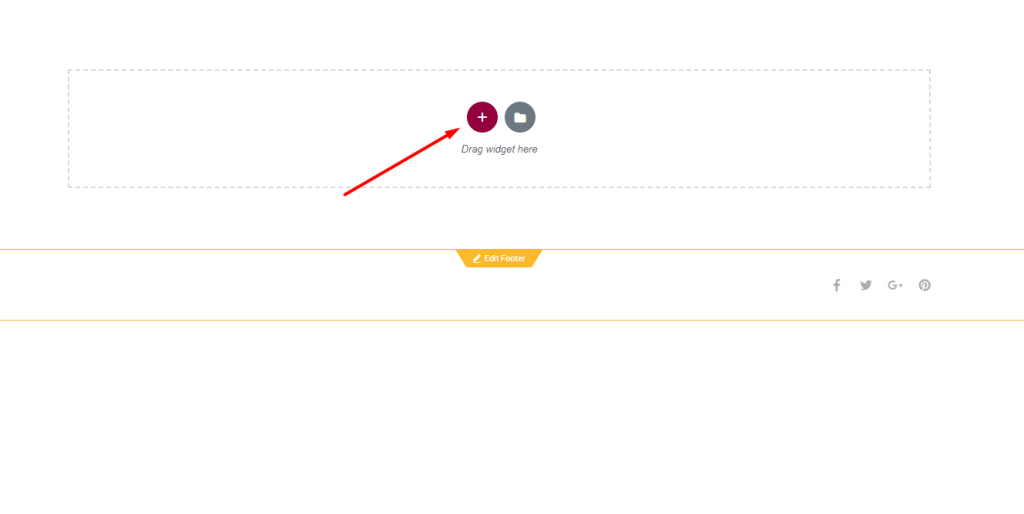
First, open the Elementor editor and go to the page where you want the stacked column to be. Now, click the "+" sign to add a new section.
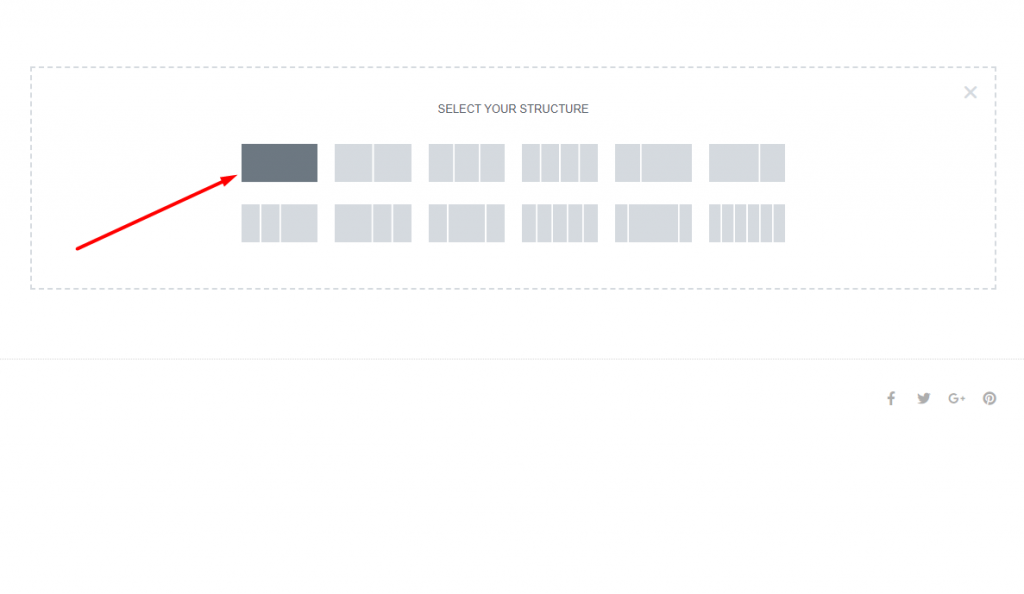
Now you have to add a column for your section. There are several columns to choose from. For this tutorial, we'll be using a section with one column.
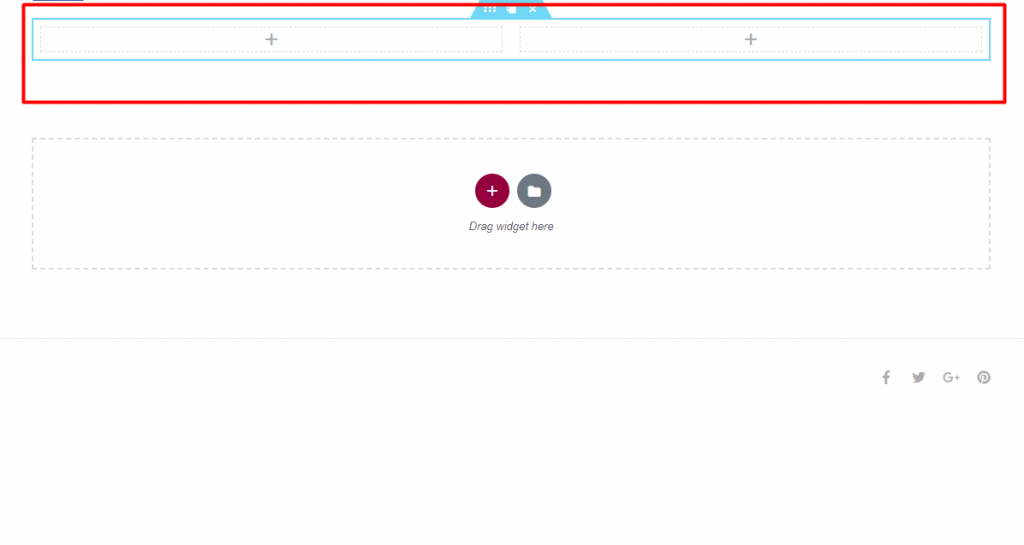
Now, look for the Inner Section widget on the left side of the dashboard. Drag the widget for the inner section and drop it into the section you just made.
Create Amazing Websites
With the best free page builder Elementor
Start Now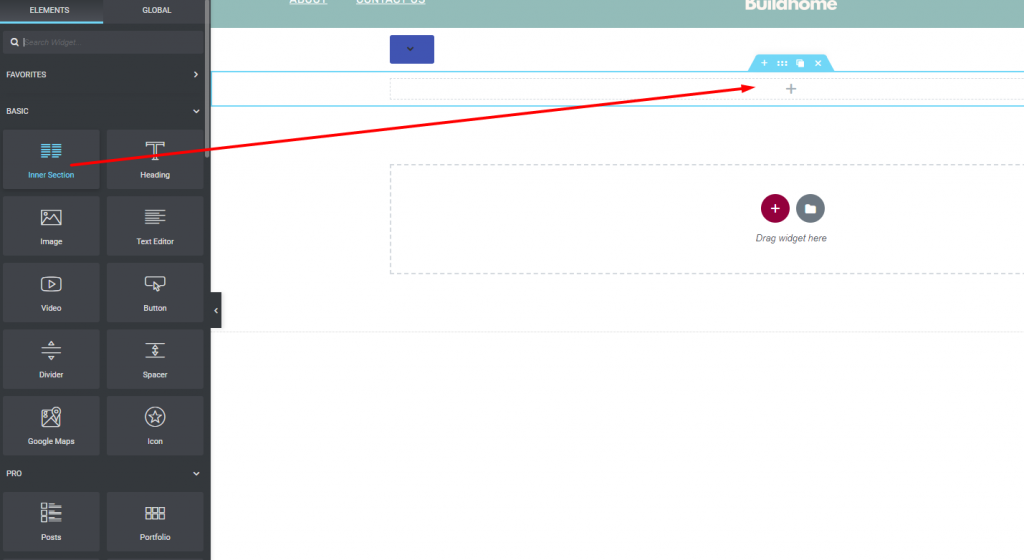
Once you add this, you will see a structure like this.
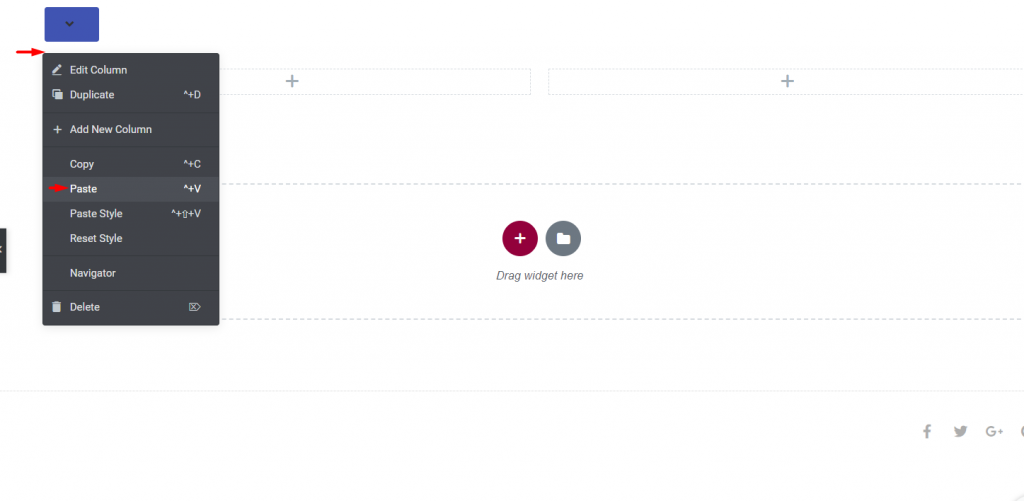
Now, to make a stacked column, copy the column above it and paste it into the column below it. Right-click on the icon for editing the parent column, then click the Copy option.
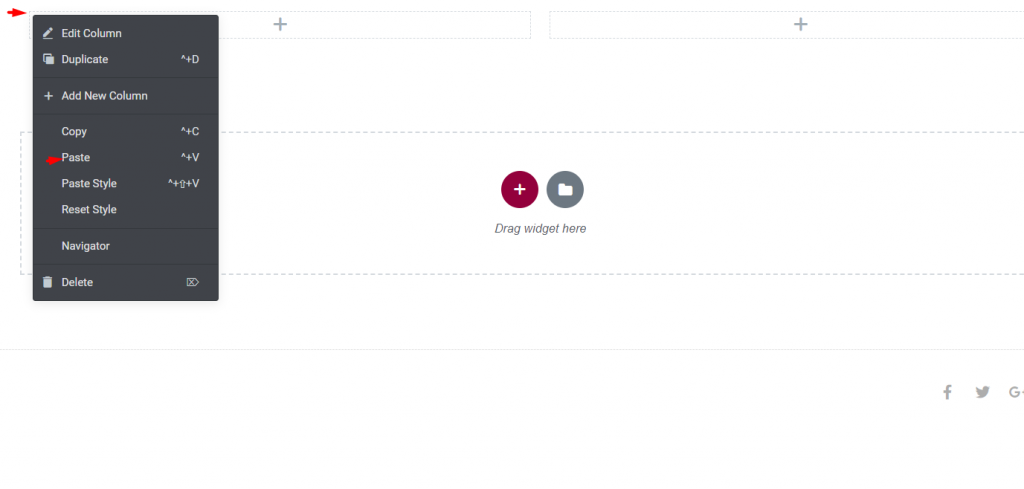
Now, click on the "Edit" icon inside the section and then click on "Paste." This will copy the column from the parent and paste it into the inner widget section.
After you copy the parent column correctly, you will see a section with columns that are stacked on top of each other.
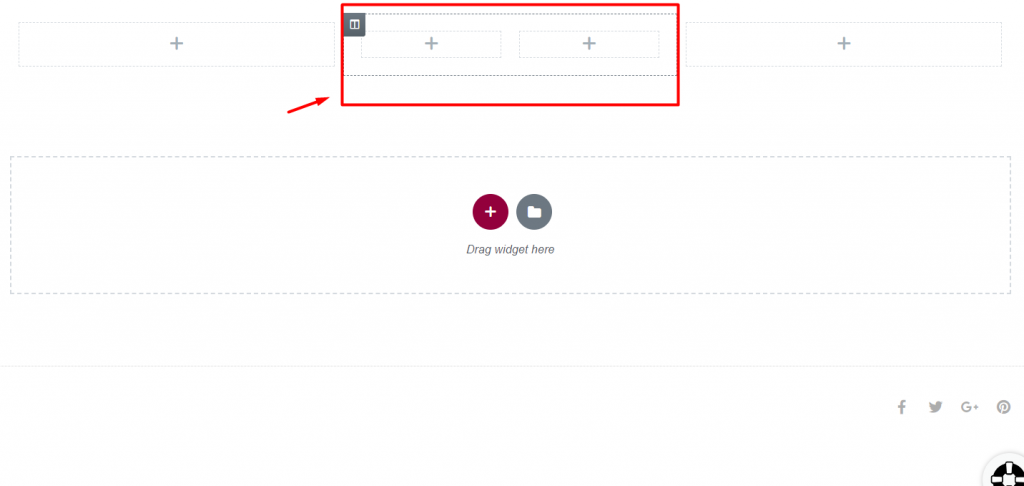
You can now put whatever you want in the stacked column section.
Wrapping Up
If you follow the steps, you can use the Elementor page builder to add a stacked column section to your WordPress site. If you want to learn more, you can look at some of our other articles or elementor tutorials. If you like this demo and it helps you in any way, tell your friends about it.


