
Divi's built-in design options can help you create an eye-catching background for your website. Divi's backdrop gradients, masks, and patterns can already be combined in a single section utilizing the background choices. Although we've pushed the boundaries of background design, today we're going further. In this lesson, we'll teach you how to use Divi's gradients, masks, and patterns to create dynamic backdrops. For a single background design, there are now twice as many possibilities to choose from. The number of conceivable design choices skyrockets when all of those other design layers are included.

Design Preview
Here is what our final design will look like.

Concept
This design's idea is a basic one. Our first stop is a section that takes advantage of Divi's pre-installed backdrop design features (gradient, masks, patterns, etc.). After that, a row is created and positioned to fully enclose the region (like an overlay). We now have two layers of background possibilities (the section and the row) to build a background for our content because of the built-in background design capabilities in Divi.
Design Procedure
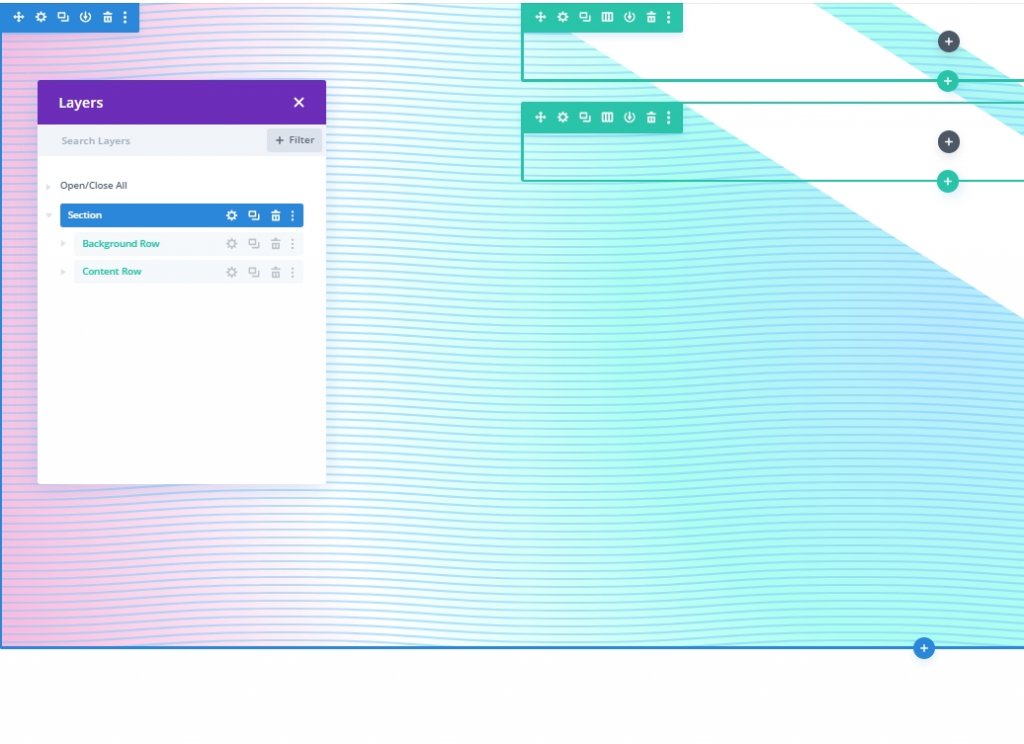
Add Rows
To start, add a row with one column to the section that is already there in the builder. Eventually, this row will be used as the second backdrop design layer.
Create Amazing Websites
With the best free page builder Elementor
Start Now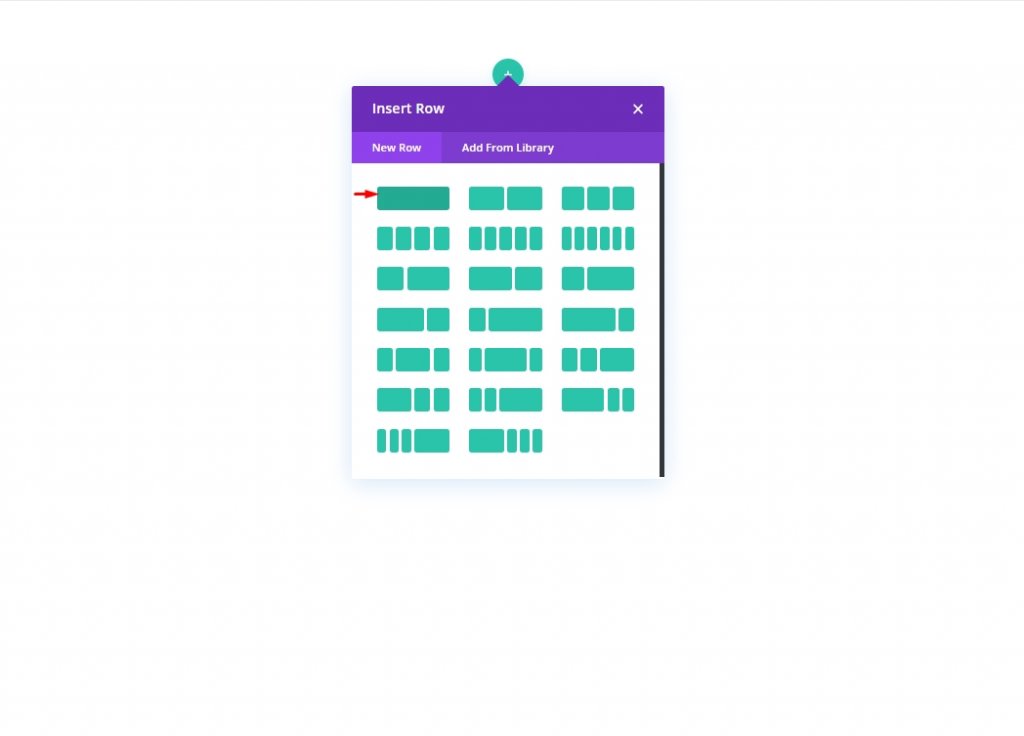
The next step is to make a copy of the newly generated row. Our content will be placed in the second (duplicate) row as usual. A backdrop layer should be added to the top row, and a typical content row should be underneath it.
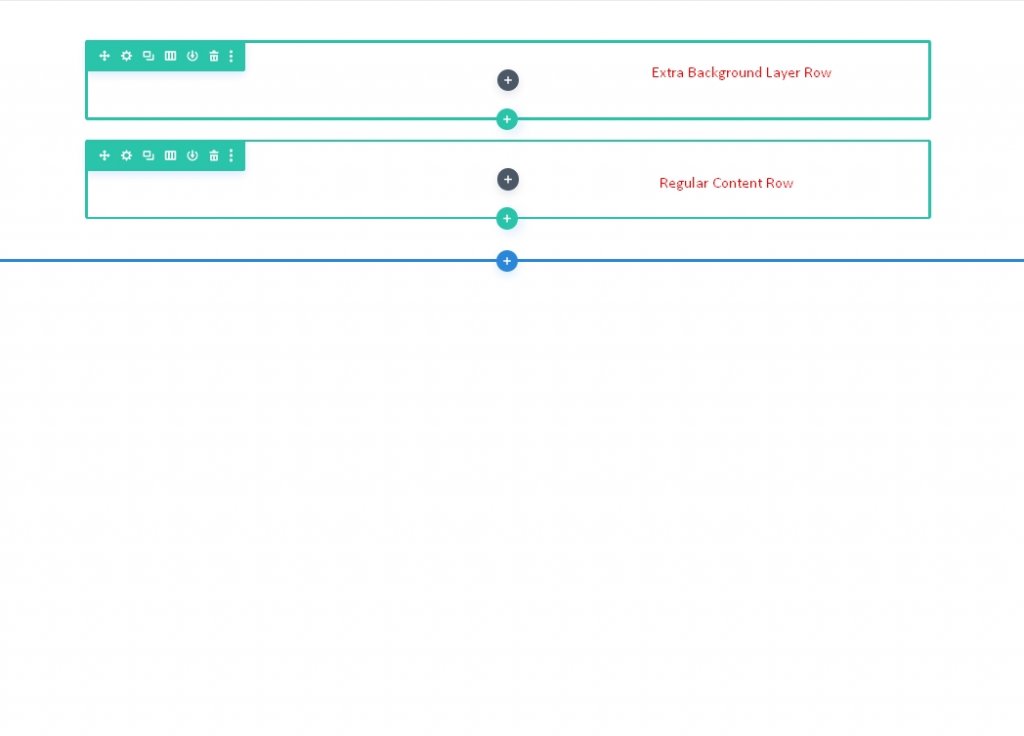
Later, we'll return to the rows. For the time being, we'll use the section to create the initial layer of our background design.
Section Vertical Spacing
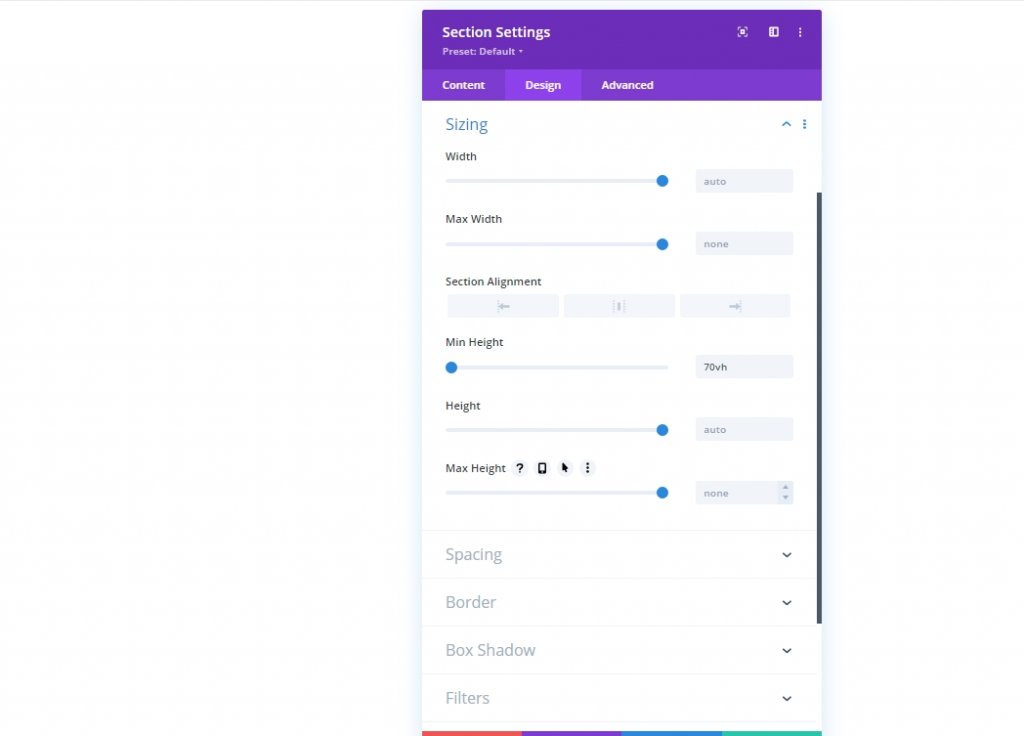
We must increase the section's vertical height in order for our backdrop design to full fill the browser. In this case, adding a minimum height to the section would suffice.
Go to the section's settings page. Update the padding and height as follows in the design tab:
- Min Height: 70vh
- Padding: 0px top, 0px bottom
Section Background Design: First Layer
Now that we've established the section height, we're ready to begin designing the first layer of our background. There are a plethora of backdrop design possibilities accessible in Divi. For this article, we'll focus on gradients, masks, and patterns for the background.
Background Gradient
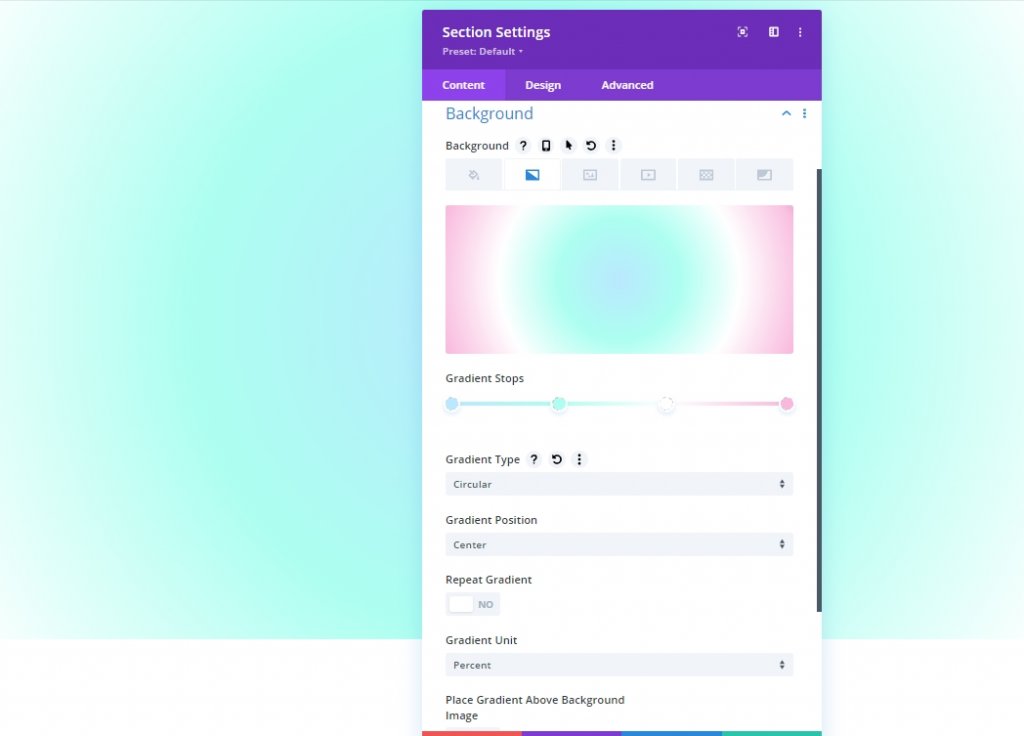
A custom gradient can be used as our initial backdrop design element. We'll add four gradient stops that are spaced rather evenly for this gradient. For the first layer of our background design, we'll use these four colors to create a lovely multicolored gradient effect.
Before you begin, open the section settings in the content tab and enter the first two gradient stops there. To create a new gradient, go to the Gradients tab and click the + sign. The default gradient colors will be increased by two. Add/update the following gradient stops by changing their color and location, starting with the first one on the left.
- Gradient Stop #1: Gradient Stop Color: #bae9ff, Gradient Stop Position: 0%
- Gradient Stop #2: Gradient Stop Color: #adfff1, Gradient Stop Position: 32%
- Gradient Stop #3: Gradient Stop Color: #ffffff, Gradient Stop Position: 64%
- Gradient Stop #4: Gradient Stop Color: #f9b8dd, Gradient Stop Position: 100%
- Gradient Type and Position: Gradient Type: Circular, Gradient Position: Center
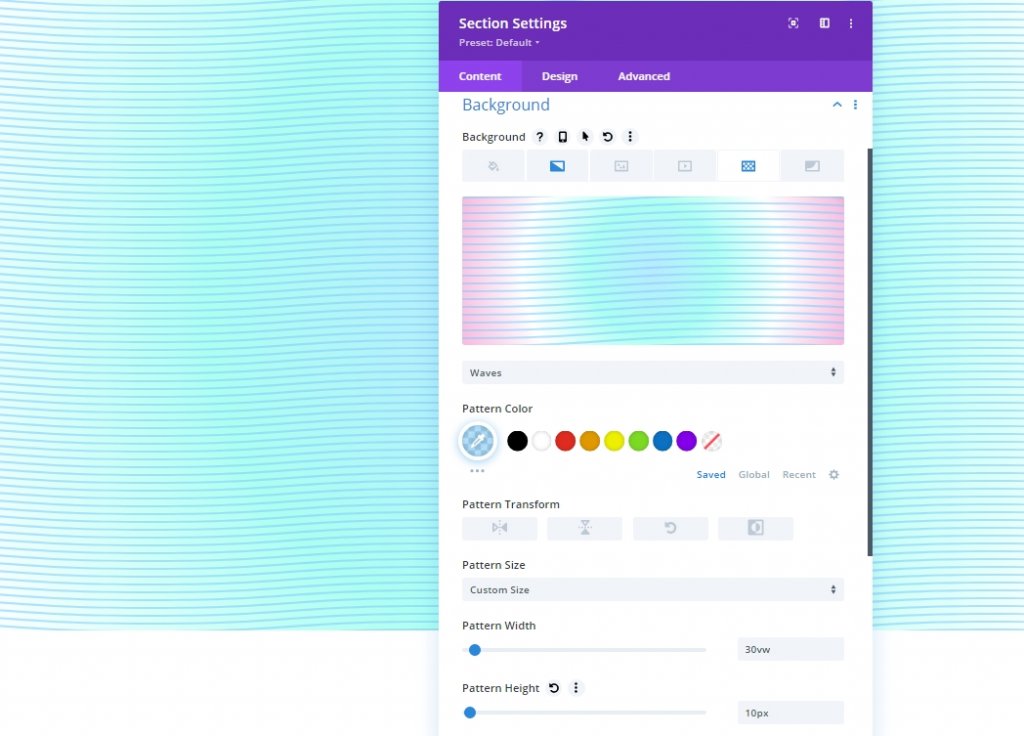
Section's Background Pattern
Now that our background gradient is ready, we can add a background pattern to compliment the design. In this example, we are going to create a subtle pattern using the Waves pattern.
Under the patterns tab, update the following:
- Background Pattern: Waves
- Pattern Color: rgba(127,206,255,0.59)
- Pattern Size: Custom Size
- Pattern Width: 30vw
- Pattern Height: 10px
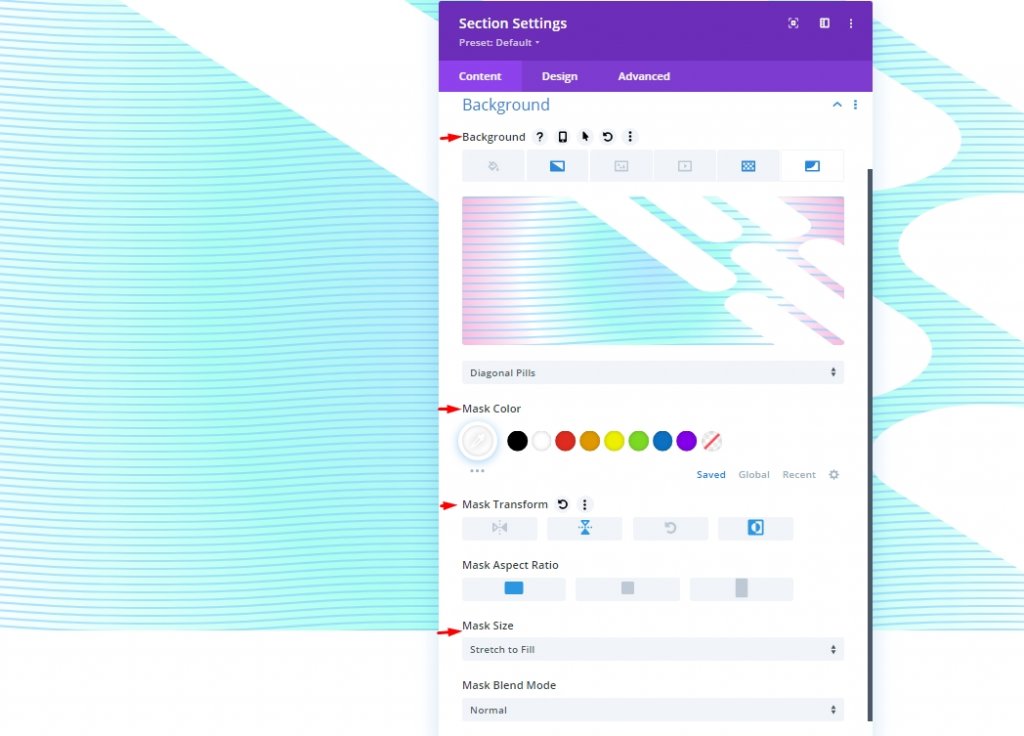
Section's Background Mask
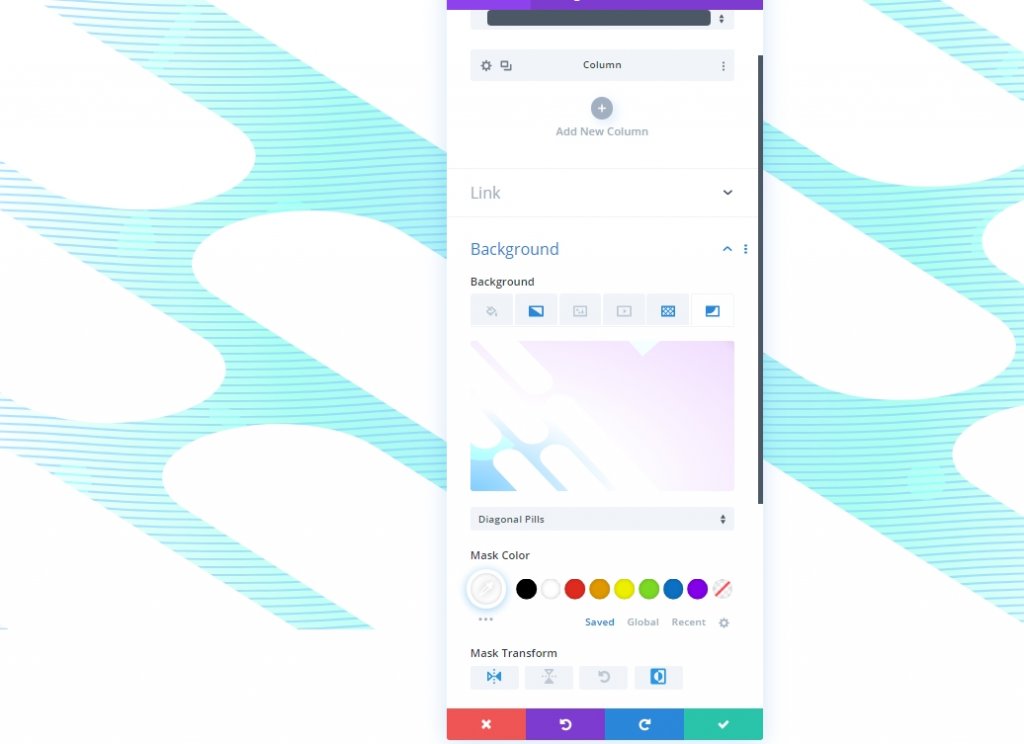
Now that we have our background pattern in place, we can add a background mask to finish off our first layer's background design. A wide variety of alternatives are available to select from. We'll be using the Diagonal Pills mask for this example.
The following should be updated in the masks section:
- Mask: Diagonal Pills
- Mask Color: #ffffff
- Mask Transform: Vertical Flip, Invert
- Mask Size: Stretch to Fill
Row Position As Second Layer
Because now our section background design is complete, we can use the row we established earlier to add a second layer to the design. Click the gear icon in the section's top row to make changes to the row.
The top row must be used so that the background design does not cover up the material in the second row (an easy way to avoid dealing with Z Index).
The following should be changed on the Advanced tab:
- Position: Absolute
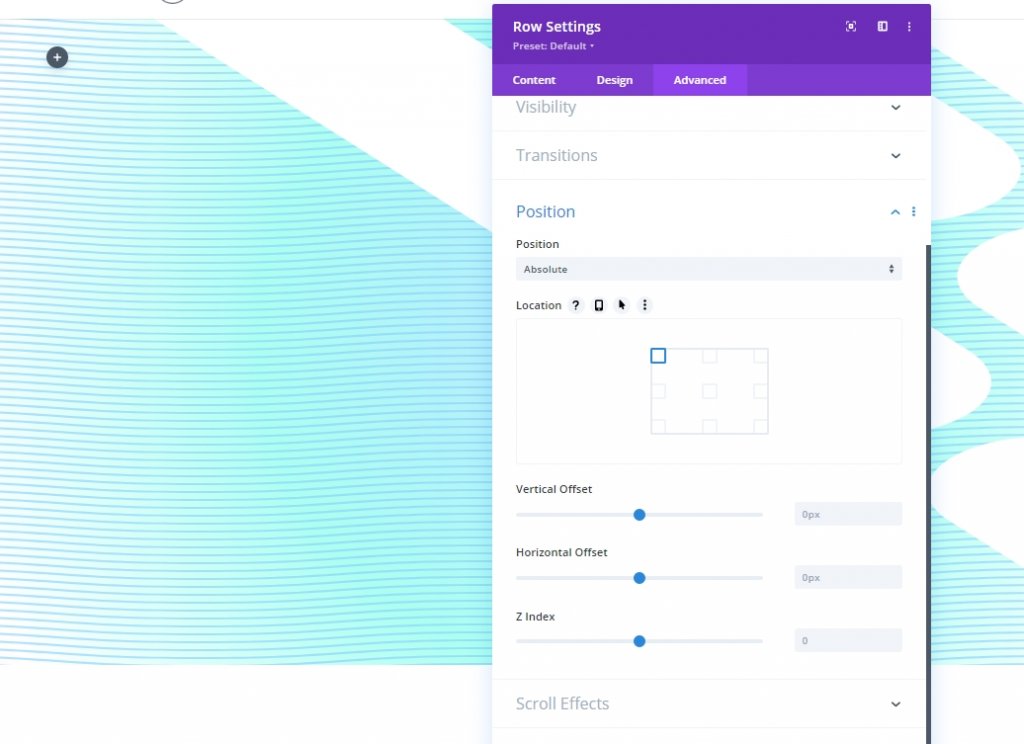
Using this method, the row will be able to sit over (or overlay) the section without filling up any actual page space. Now, all that's left to do is adjust the height and width so that they match the section's actual dimensions. This will provide the overlay and the second background design layer that we require.
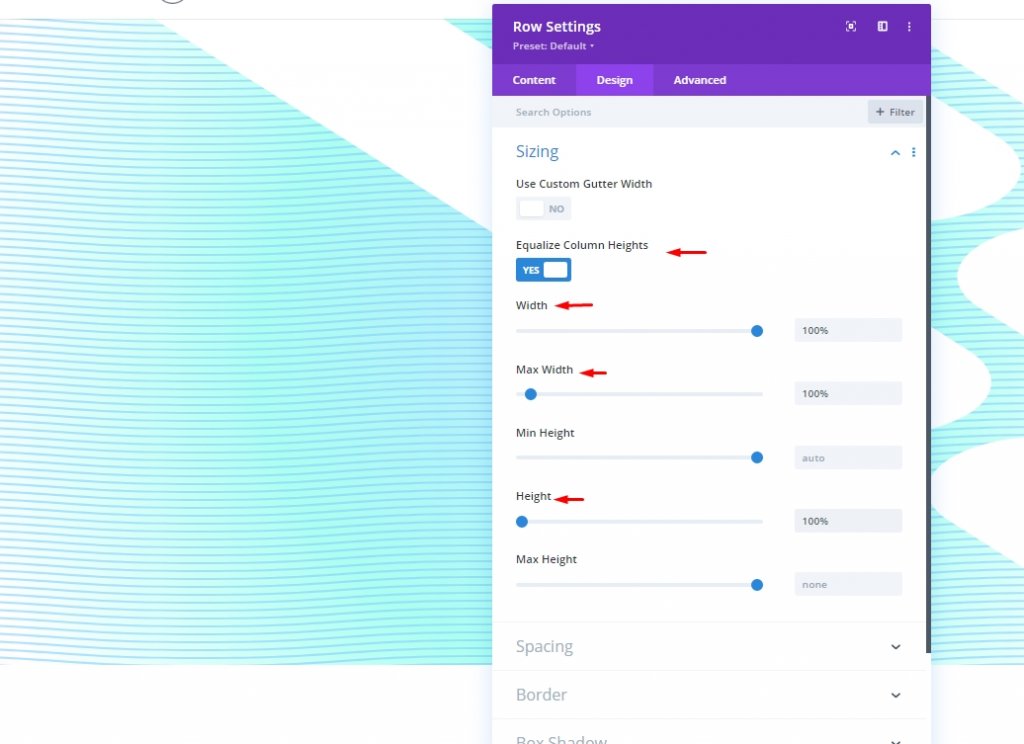
Update the sizing settings as follows in the design tab:
- Equalize Column Heights: YES
- Width: 100%
- Max Width: 100%
- Height: 100%
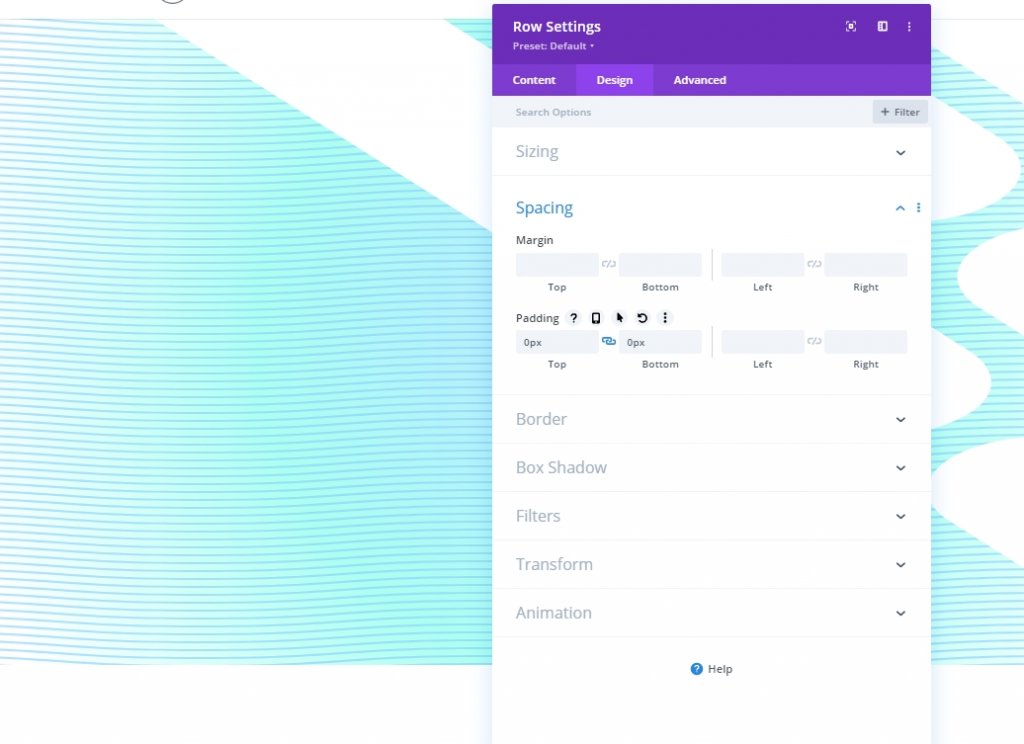
Also, add some padding.
- Padding: 0px top, 0px bottom
Section Background Design: Second Layer
Because of this, you may not be able to make out any of the row's content. We now have a second canvas on which to build our design, which serves as our second layer.
Background Gradient
In order to keep the colors of the first layer gradient visible, we need to utilize transparent (or semi-transparent) color stops in this second layer gradient. With more than one layer of gradients, you can mix colors in a way that isn't possible with a single gradient layer.
We're going to make this gradient have three evenly spaced gradient stops. Transparency in the center of the gradient stops reveals the gradient design of the first layer. Colors that are similar to the gradient in the first layer work well together in this second layer.
Before you begin, open the section settings in the content tab and enter the first two gradient stops there. To create a new gradient, go to the Gradients tab and click the + sign. The default gradient colors will be increased by two. Add/update the following gradient stops by changing their color and location, starting with the first one on the left.
- Gradient Stop #1: Gradient Stop Color - #7fceff, Gradient Stop Position - 0%
- Gradient Stop #2: Gradient Stop Color - transparent, Gradient Stop Position - 40%
- Gradient Stop #3: Gradient Stop Color - #f1ddff, Gradient Stop Position - 100%
- Gradient Type and Position: Gradient Type - Elliptical, Gradient Position - Bottom Right

Section's Background Pattern
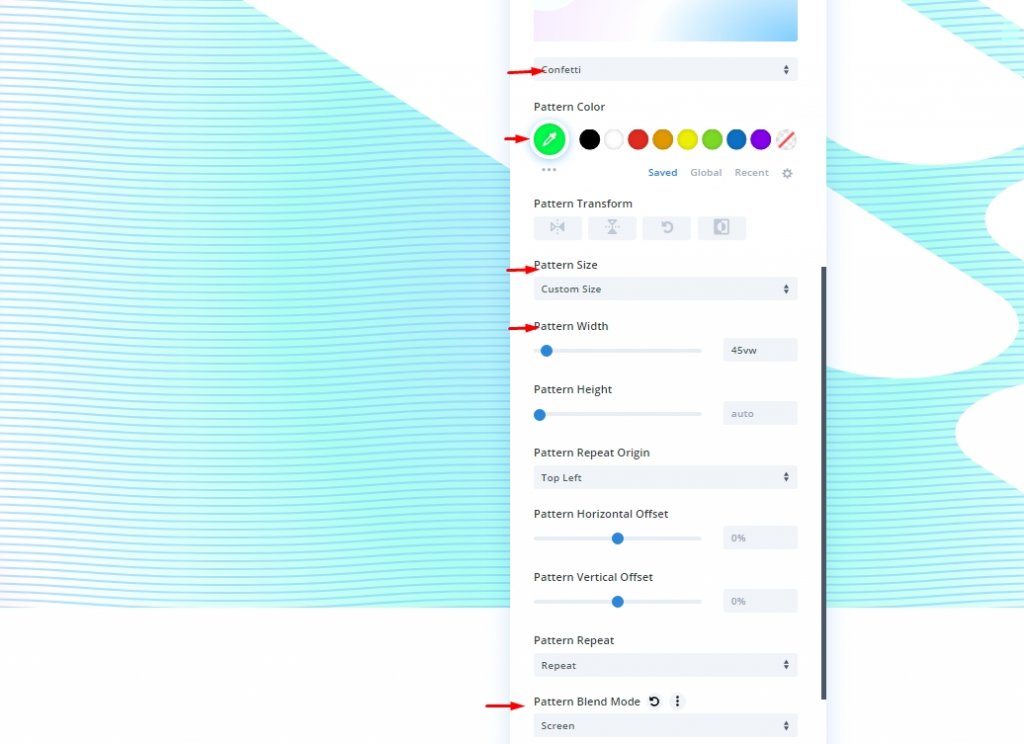
Background patterns can now be used as a last touch to complete the design. The Confetti pattern will be used for the second layer.
The following should be changed in the patterns section:
- Background Pattern: Confetti
- Pattern Color: #00ff4c
- Pattern Size: Custom Size
- Pattern Width: 45vw
- Pattern Blend Mode: Screen
Section's Background Mask
In order to finish our two-layer background design, we will need to add a second layer mask. Diagonal Pills will be used as a second layer mask, inverted and flipped horizontally such that it emerges on the left side of this section and is positioned directly across from a mask from the previous one.
The following should be updated in the masks section:
- Mask: Diagonal Pills
- Mask Color: #ffffff
- Mask Transform: Horizontal Flip, Invert
Final Preview
Here is how our design look with two different layers.
Heading Addition: Optional
You can also add text to the row. Add your desired tagline and set up the measurements as necessary.
- Body Text: [add heading with H1 tag]
- Heading Font: Inter
- Heading Font Weight: Bold
- Heading Text Color: #000000
- Heading Text Size: 8vw (desktop), 62px (tablet), 32px (phone)
- Margin: 30vh top, 30vh bottom
Wrapping Up
Divi's background settings make it surprisingly simple to develop eye-catching backdrops. Adding a second layer of backdrop design expands the number of design options available to you. In addition, we missed using the third layer, which is also included in the tutorial's design. What do you think it is?


