
What if you hover a mouse over an element and it becomes a button and clicking it will redirect you to another page? We often set a button at the bottom or side of the image gallery or article/product tiles to take us to the detailed page of that element. What if the button is not set visually? We set it with the hovering effect of the mouse so that the mouse becomes a button as soon as it lands on the image or article tiles and clicks anywhere in the specific area that will take us to the desired page. Yes! With Divi, we have many options to customize our website and today's tutorial all about how to turn a cursor into a creative button while hovering on the element. Isn't is exciting?
So let's not wait further and jump into the tutorial.
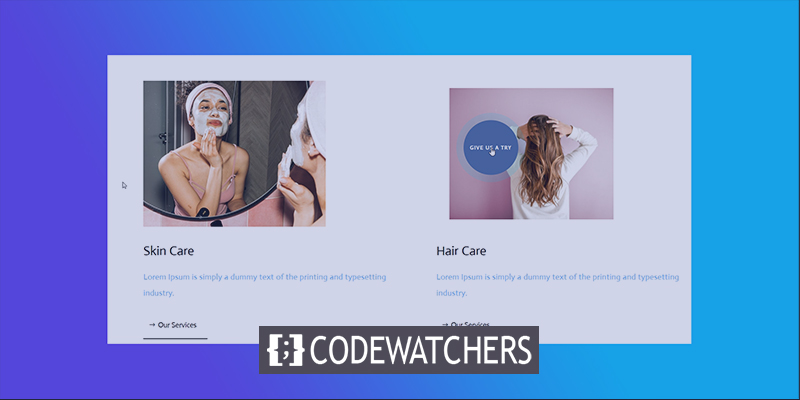
Sneak Peak
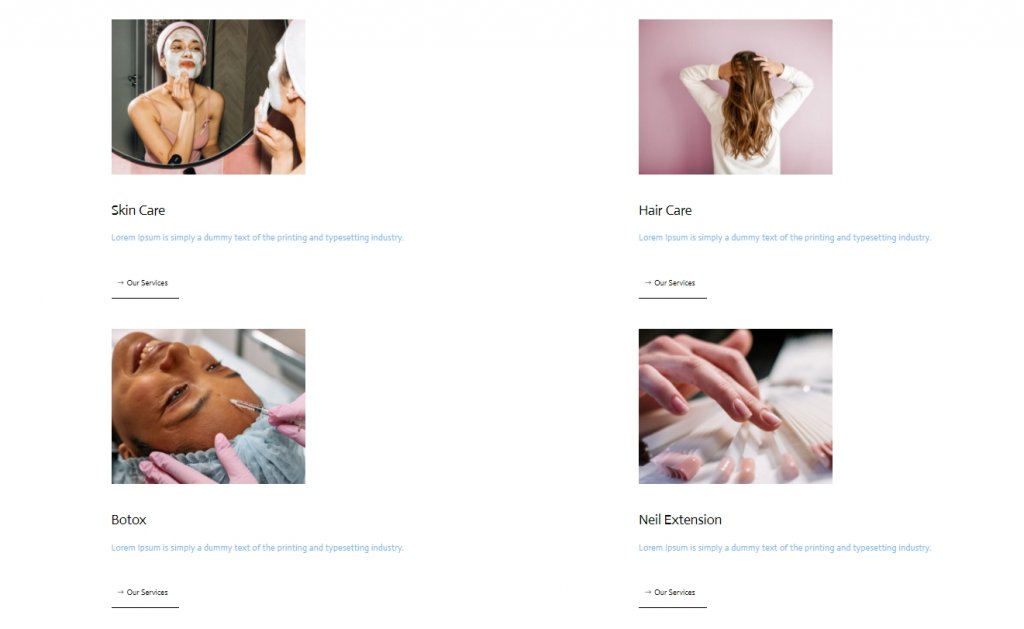
Before we move further, this is what our today's design will look like.
Part One: Building Element Structure
Add a page from your WordPress dashboard and open it with Divi builder. Move forward with "Build From Scratch."
Create Amazing Websites
With the best free page builder Elementor
Start Now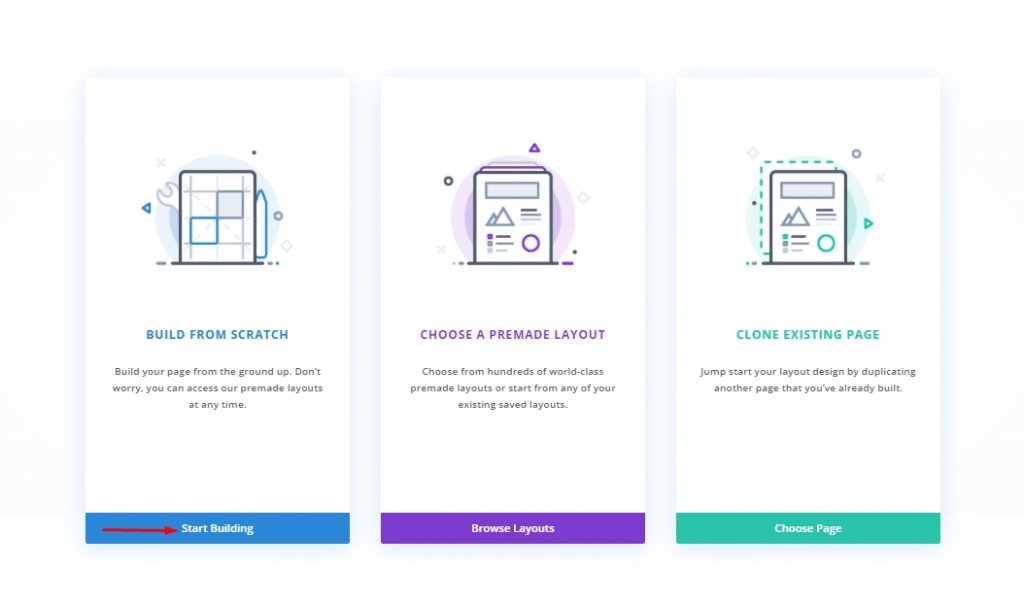
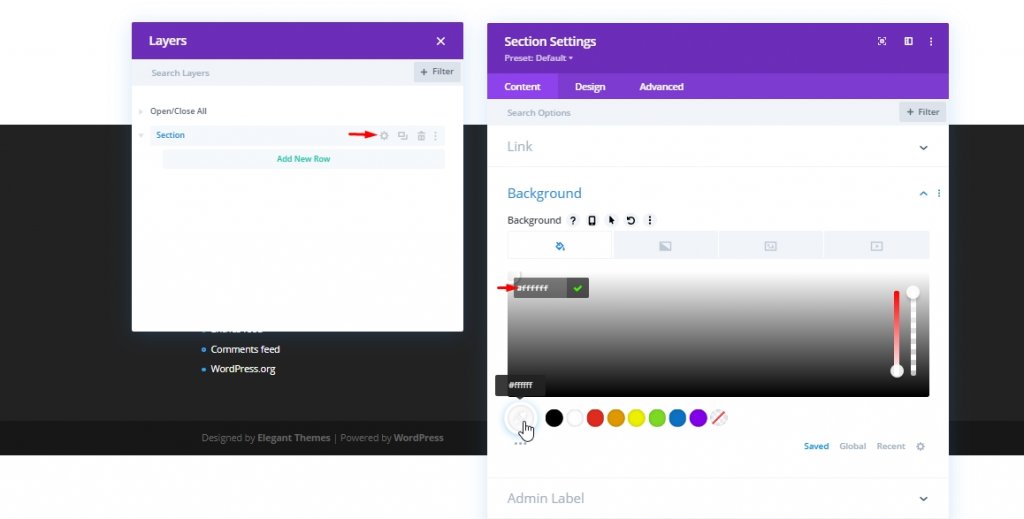
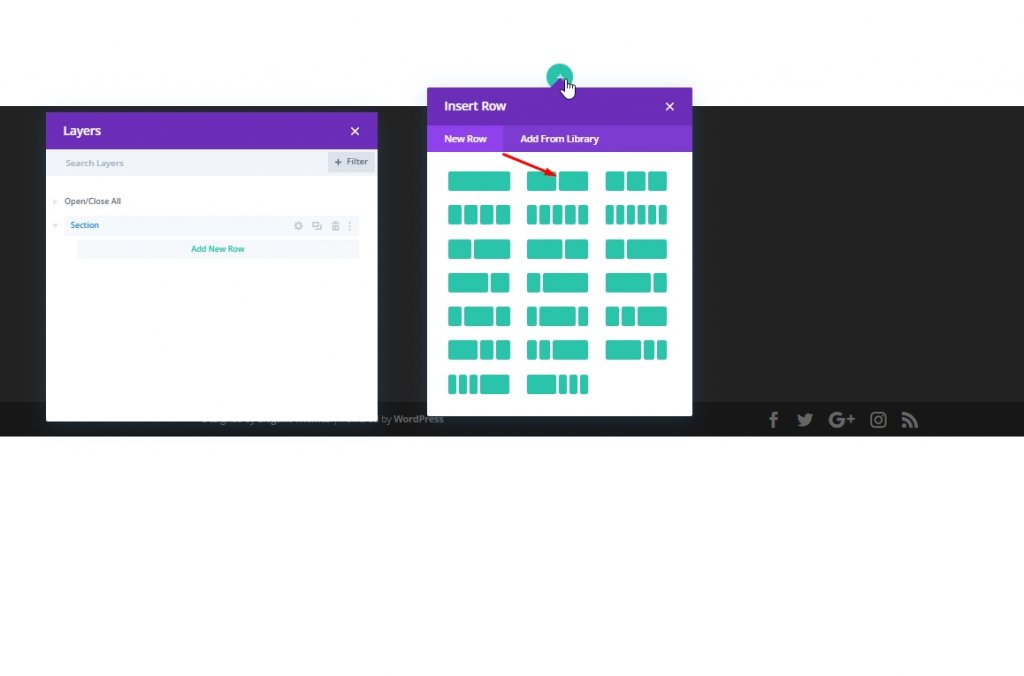
Adding: New Section
Background Color
We will add white as background color to our initial section.
- Background Color: #ffffff
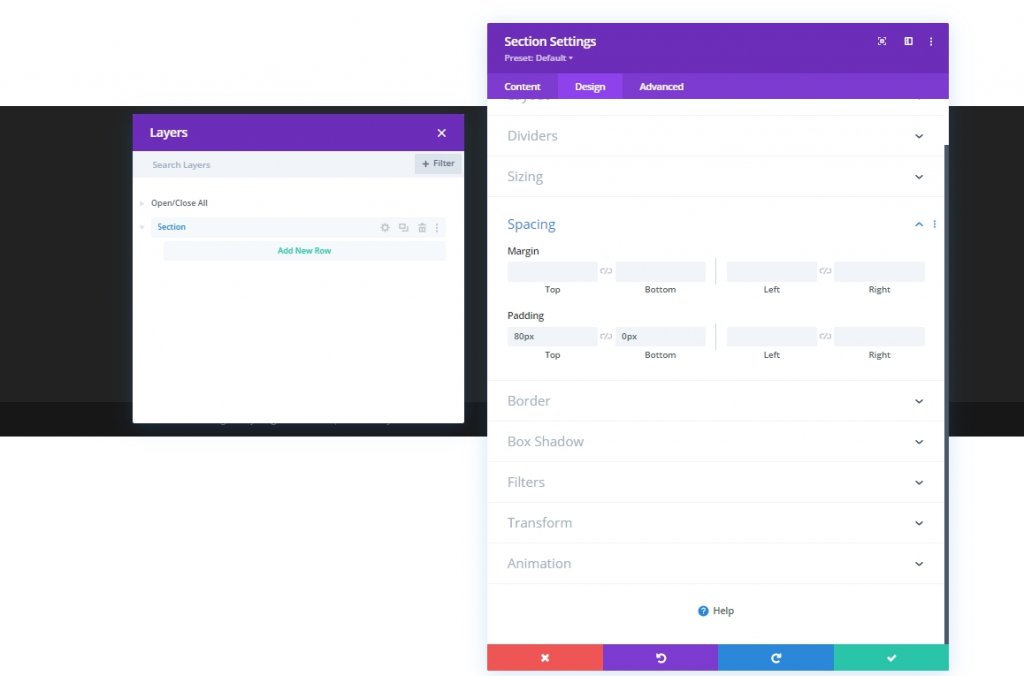
Spacing
Now from the design tab, add some spacing to the section.
- Top Padding: 80px
- Bottom Padding: 0px
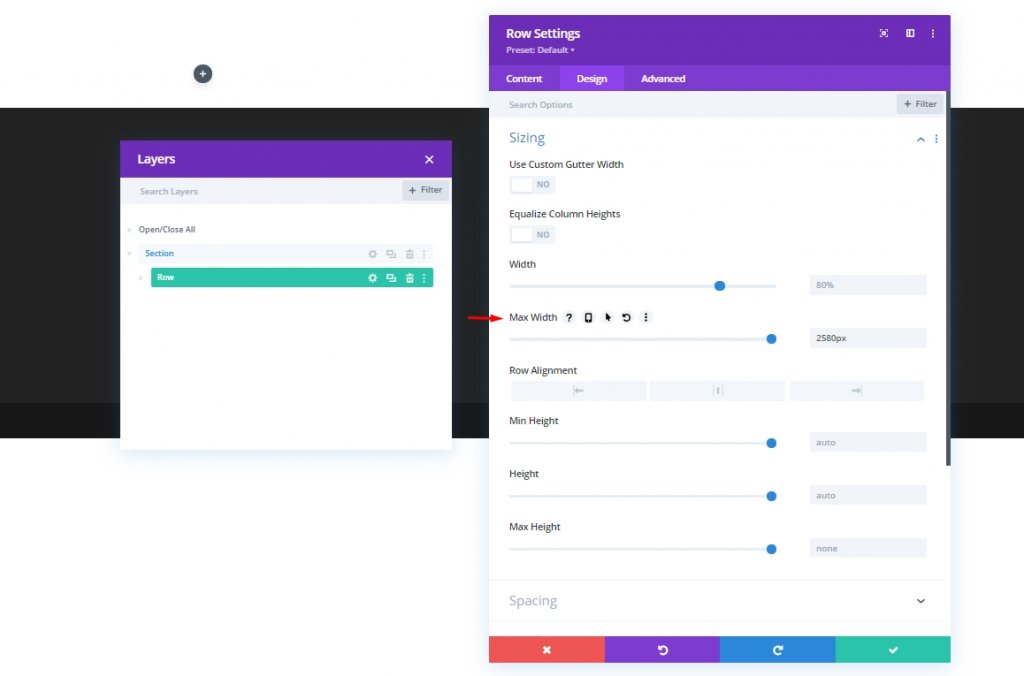
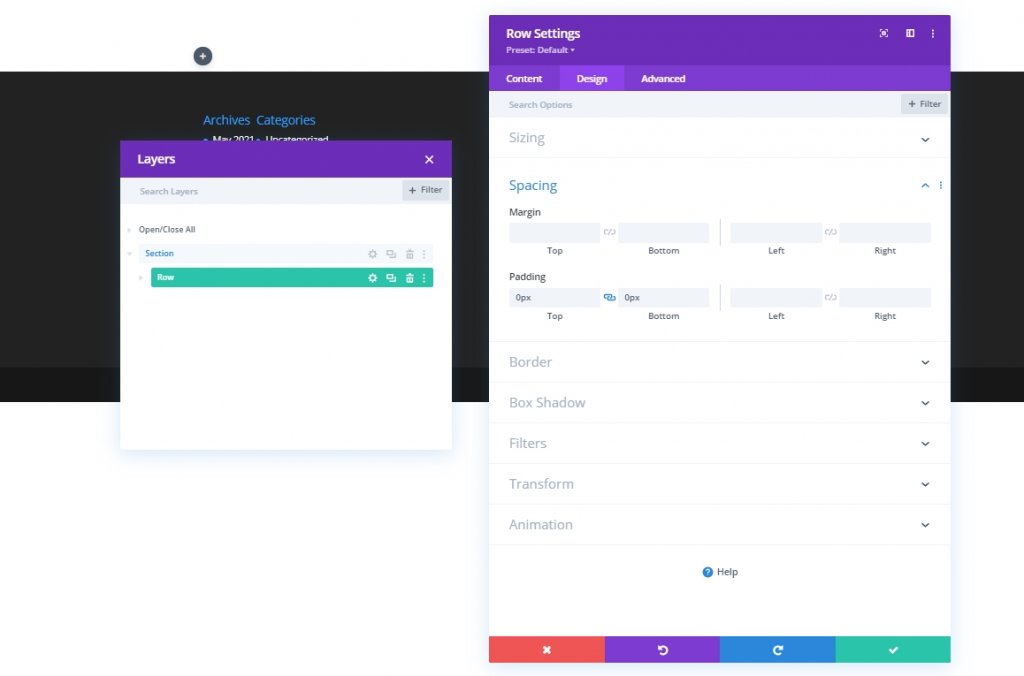
Adding: New Row
Column Structure
Now we'll add a two column row to our section.
Sizing
Now, before adding any other modules, lets change the sizing settings of this two column row.
- Max Width: 2580px
Spacing
Now, make some changes in spacing.
- Top Padding: 0px
- Bottom Padding: 0px
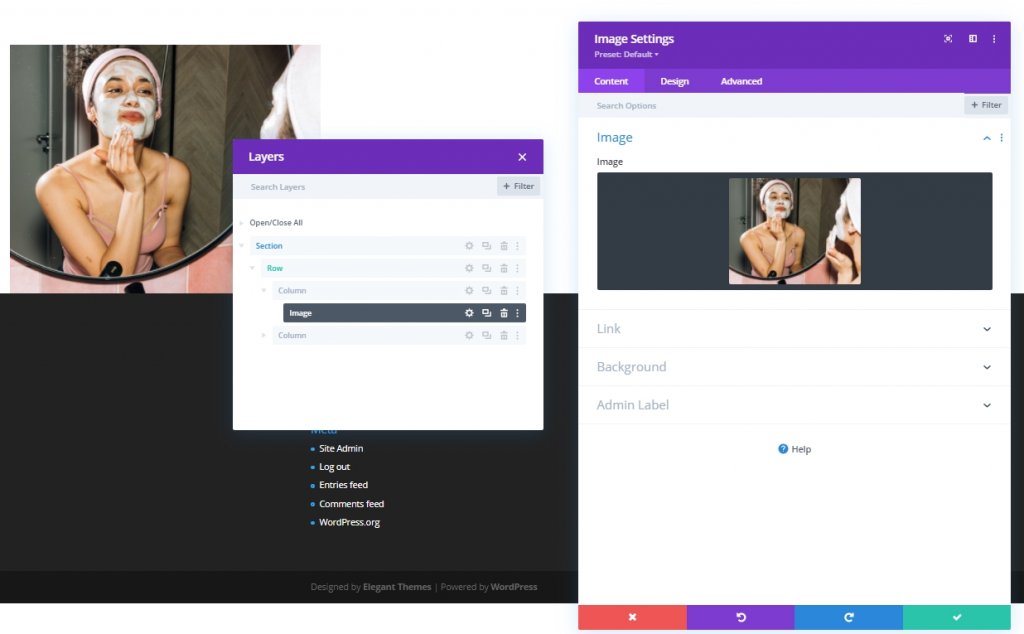
Adding: Image Module To Column 1
Add Image
Now add an image module to column 1 and add an image of your choice.
Add Link
Now add a link to this image.

Hover Scale
Now, move to the design tab and lets change hover scale settings of this image module.
- Both: 90%

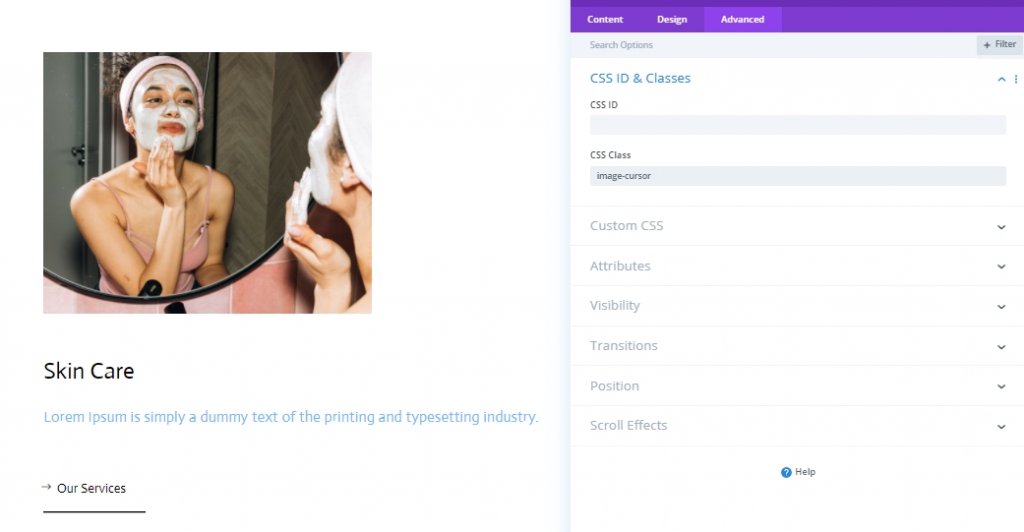
CSS Class
Add some CSS Class from the advanced tab.
- CSS Class: image-cursor
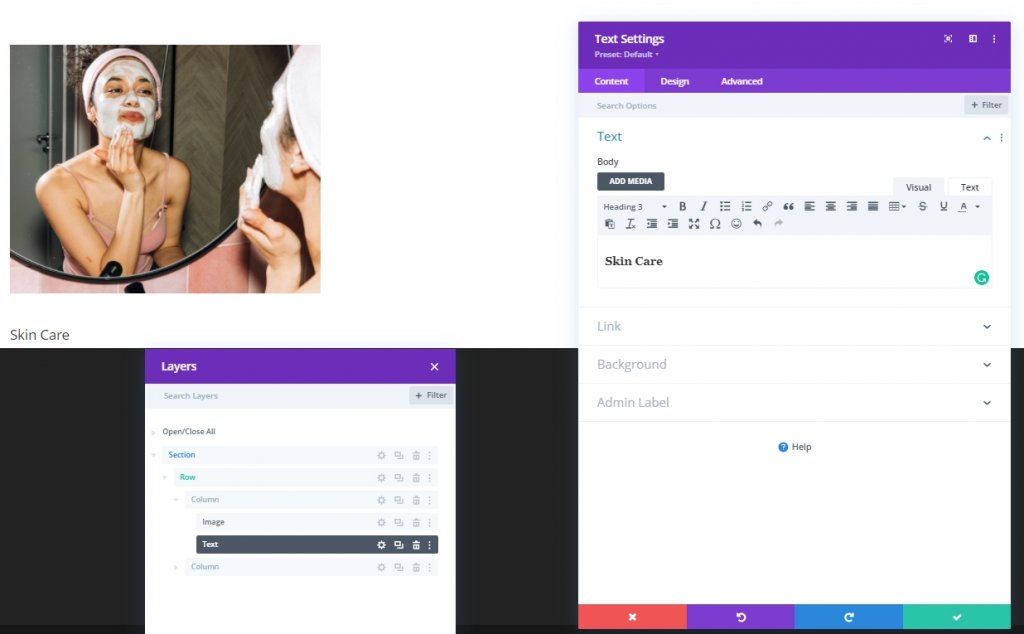
Adding: Text Module 1 To Column 1
H3 Content
We'll add a text module to column 1 and add some H3 content as per need.
H3 Content Settings
Modify the H3 content settings from the design tab.
- Heading 3 Font: Actor
- Heading 3 Text Color: #000000
- Heading 3 Text Size: Desktop: 35px, Tablet: 28px & Phone: 22px
- Heading 3 Line Height: 1.4em

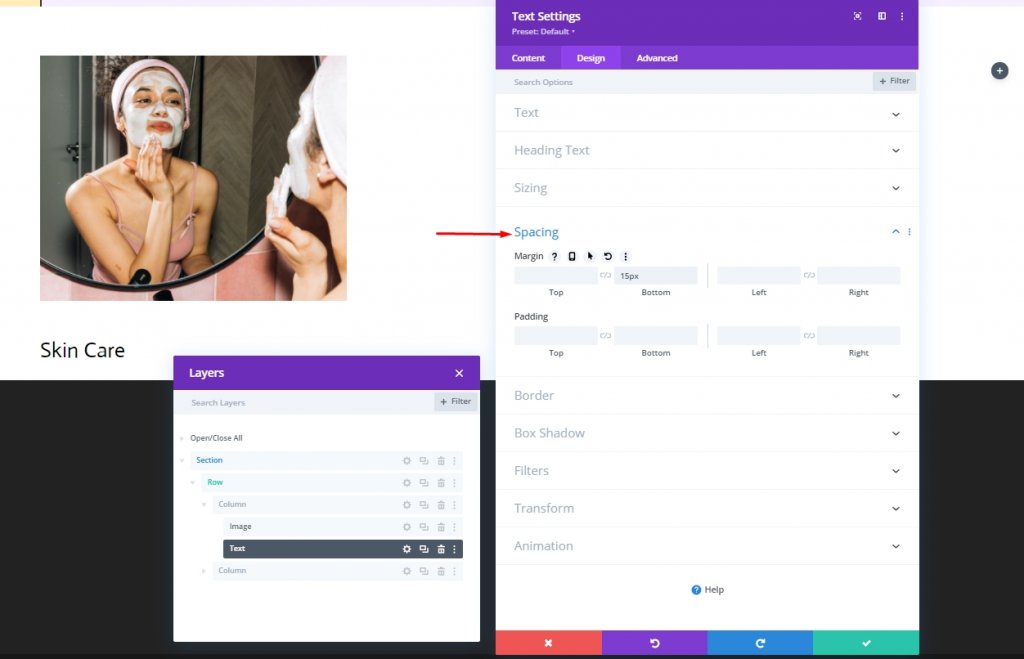
Spacing
Add spacing to the text module.
- Bottom Margin: 15px
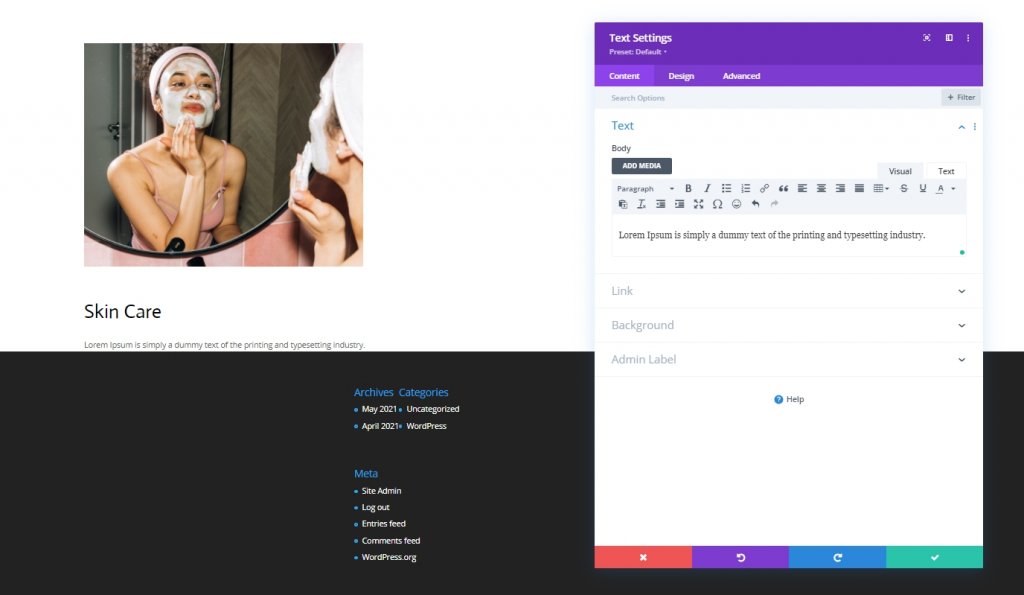
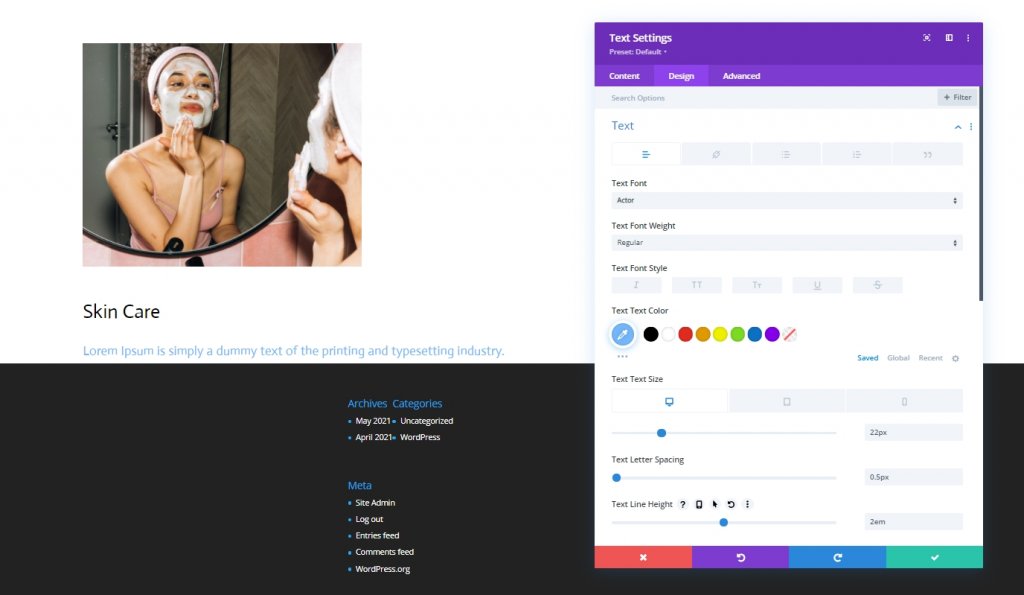
Adding: Text Module 2 To Column 1
Text Content
Add another text module right under the previous text module and add some descriptive content to that module.
Text Content Settings
Modify the text content settings from the design tab.
- Heading 3 Font: Actor
- Heading 3 Text Color: #75BAFF
- Heading 3 Text Size: Desktop: 22px, Tablet: 18px & Phone: 15px
- Text Letter Spacing: 0.5px
- Heading 3 Line Height: 1.4em
Adding: Button Module To Column 1
Button Text
Finally, add a button module to column 1 and add a relevant copy.

Button Text Settings
Move on to the module’s design tab and change the button settings accordingly:
- Use Custom Styles For Button: Yes
- Button Text Color: #000000
- Button Border Width: 0px
- Button Border Radius: 1px
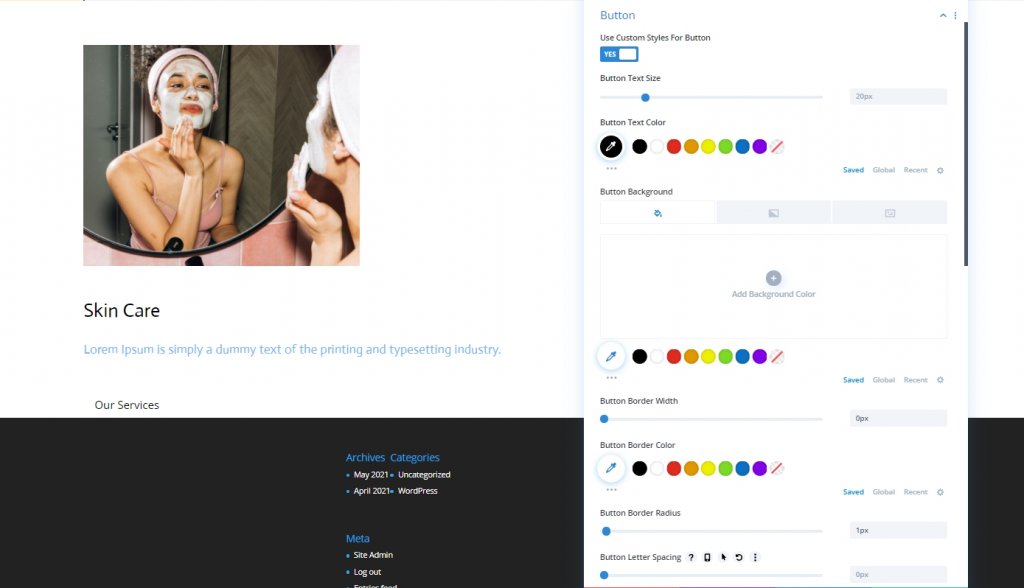
- Button Font: Actor
- Show Button Icon: Yes
- Button Icon Placement: Left
- Only Show Icon On Hover for Button: No

Spacing
Adjust the spacing values.
- Bottom Margin: 80px
- Bottom Padding: 20px
- Right Padding: 30px
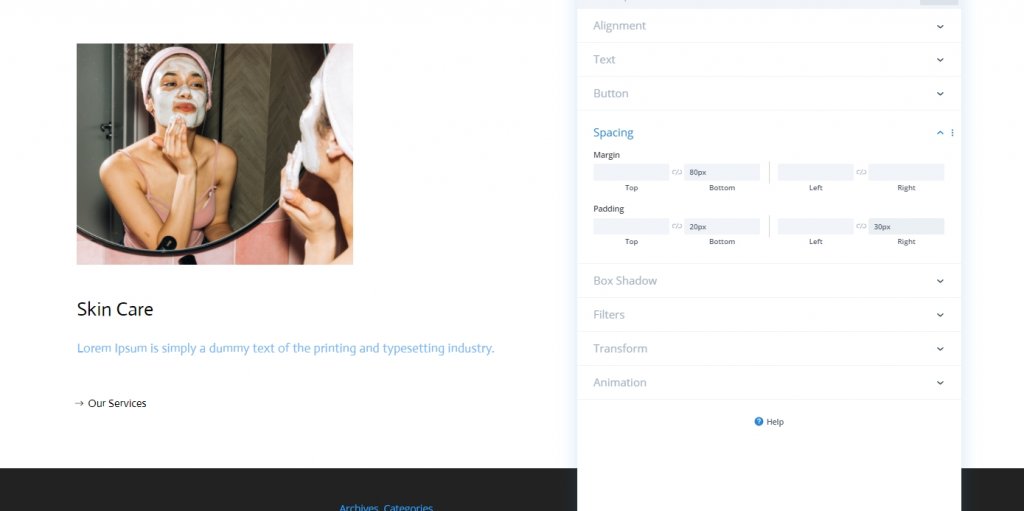
Box Shadow
Finish the module settings by applying the following box shadow settings:
- Box Shadow Horizontal Position: 0px
- Box Shadow Vertical Position: 2px
- Shadow Color: #000000

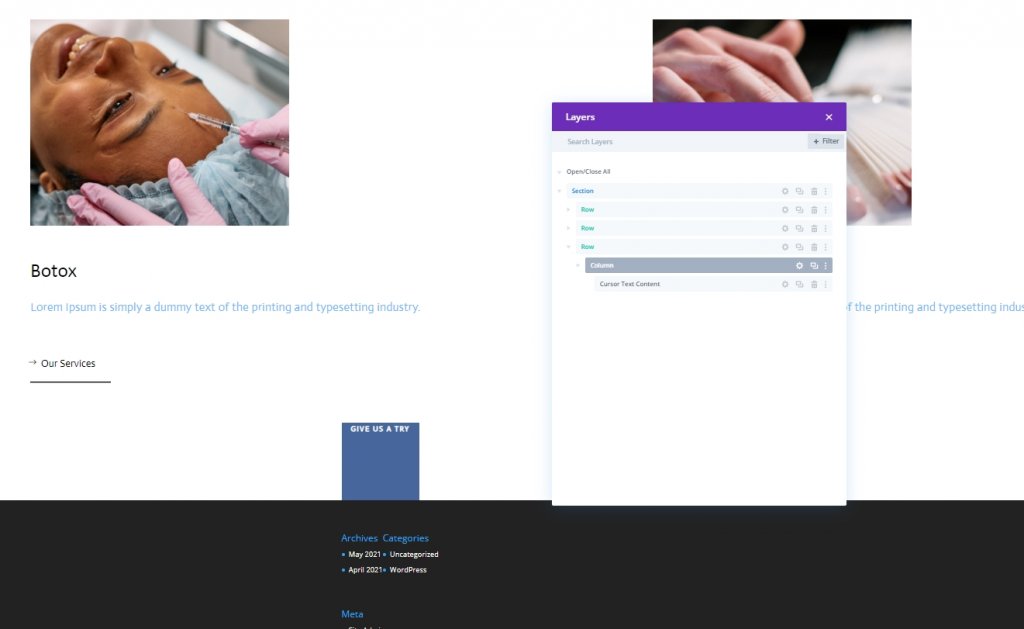
Duplicate The Content
Here we'll do a couple of things. First, we'll delete the second column.
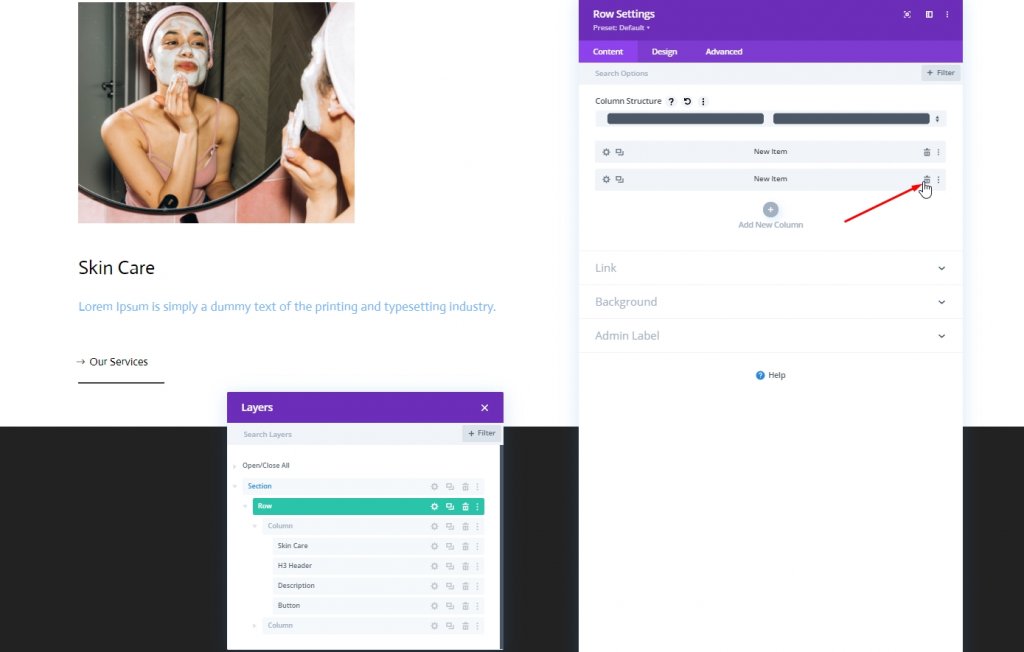
Now, we'll clone the first column.
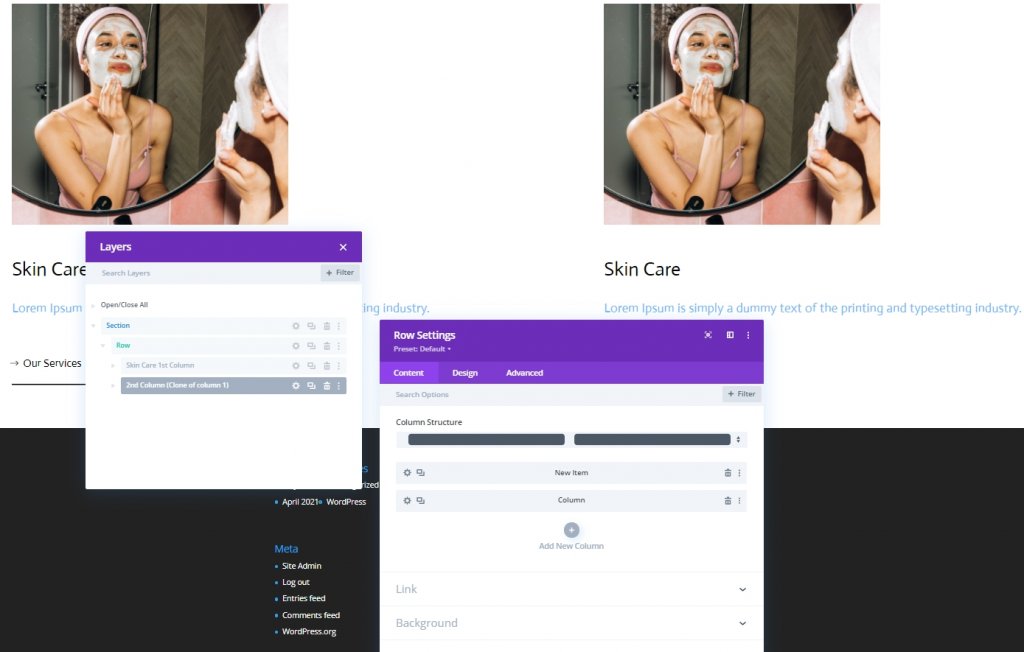
Now duplicate entire row and change the contents.
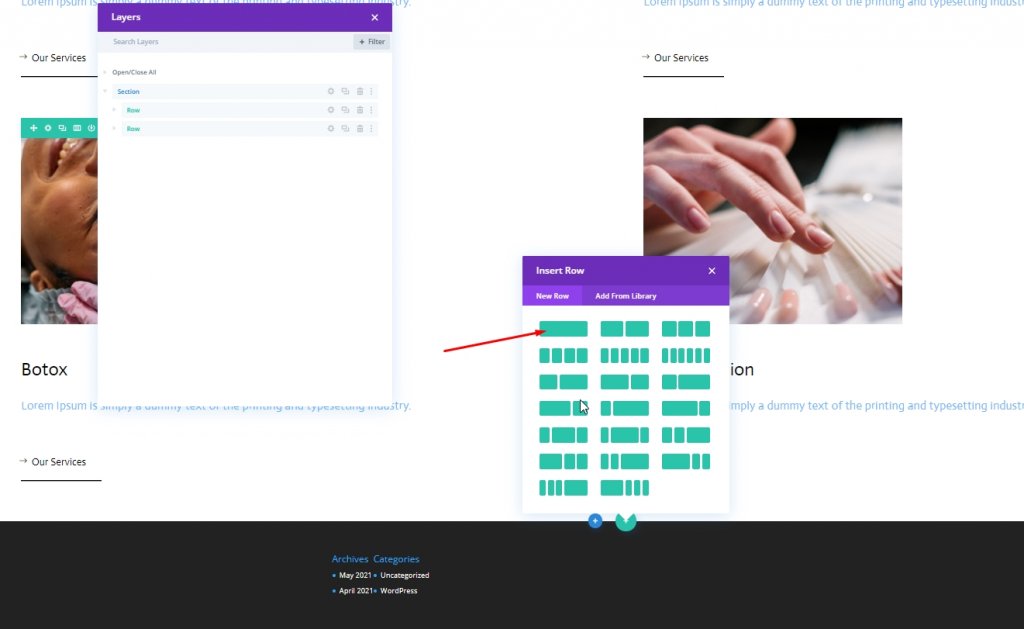
Part Two: Add Cursor
Add New Row
Column Structure
Since we are done with design structure, we'll do the cursor design. Add a new row to the section with following column structure.
Spacing
Open the row settings do some changes as mentioned below.
- Top Padding: 0px
- Bottom Padding: 0px

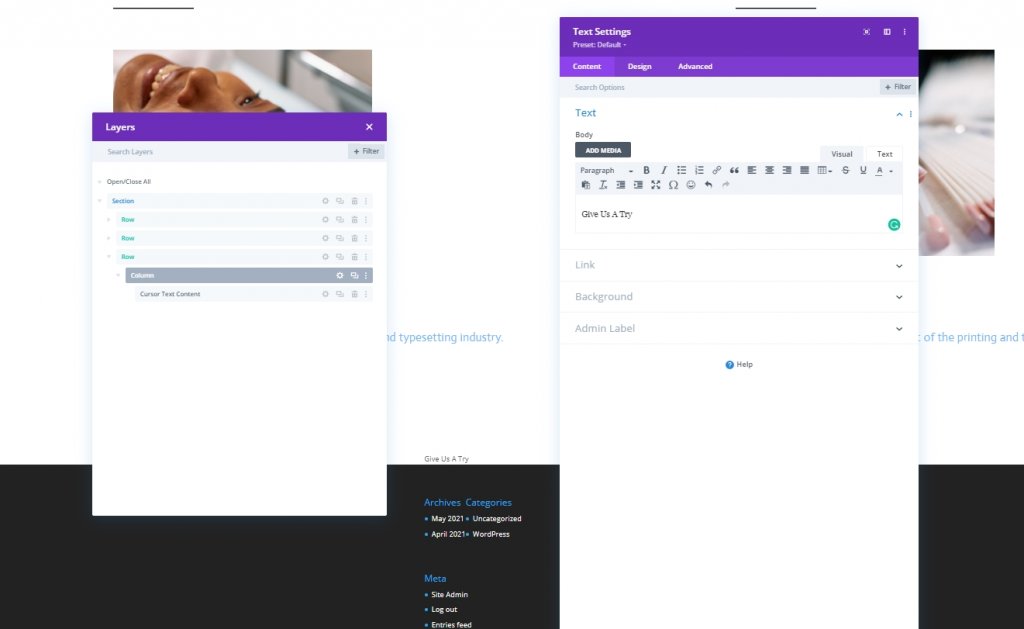
Adding: Text Module For Cursor
Add Copy
Now add a text module to newly created row and add some copy of your choice.
Background Color
Then, add a background color.
- Background Color: #47669b
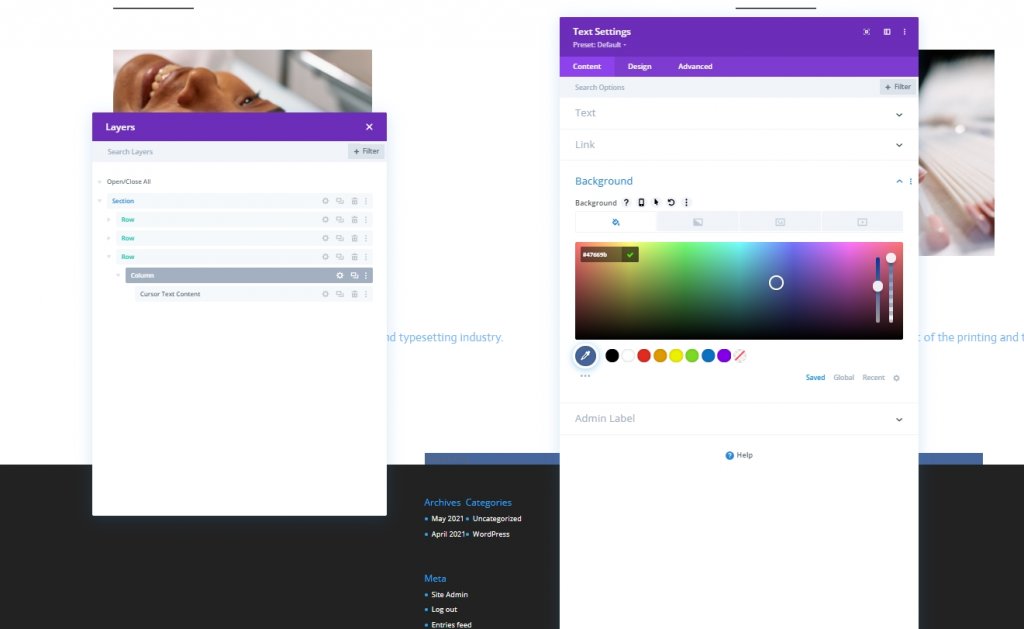
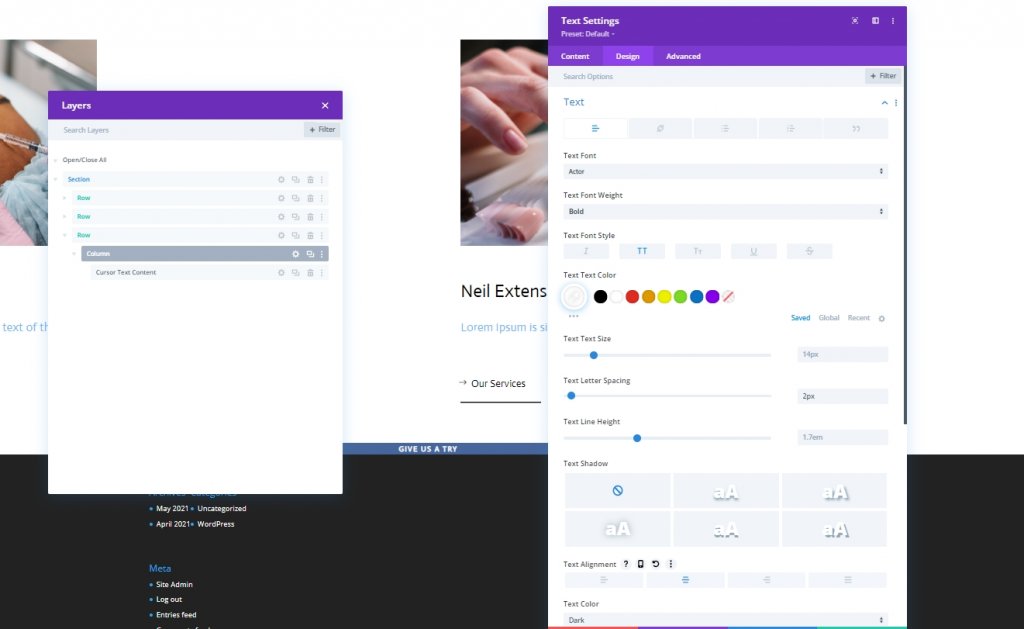
Text Settings
From the design tab, change the text style.
- Text Font: Actor
- Text Font Weight: Bold
- Text Font Style: Uppercase
- Text Color: #ffffff
- Text Letter Spacing: 2px
- Text Alignment: Center
Sizing
Do some adjustment in sizing section.
- Width: 150px
- Height: 150px
Border
We'll change the border settings to make this circle.
- All Corners: 100px
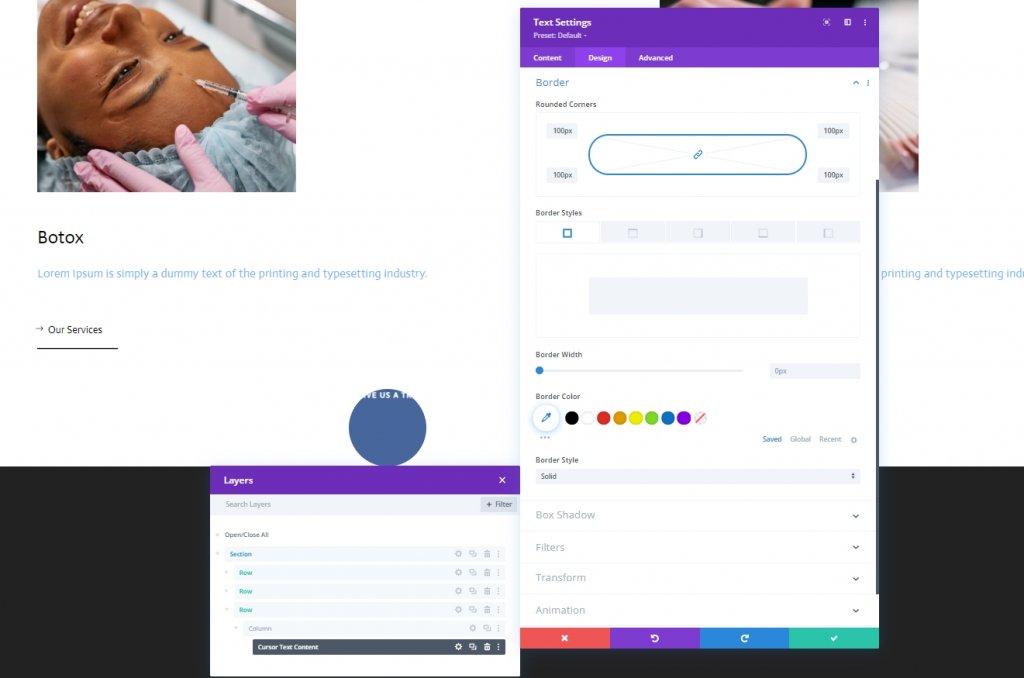
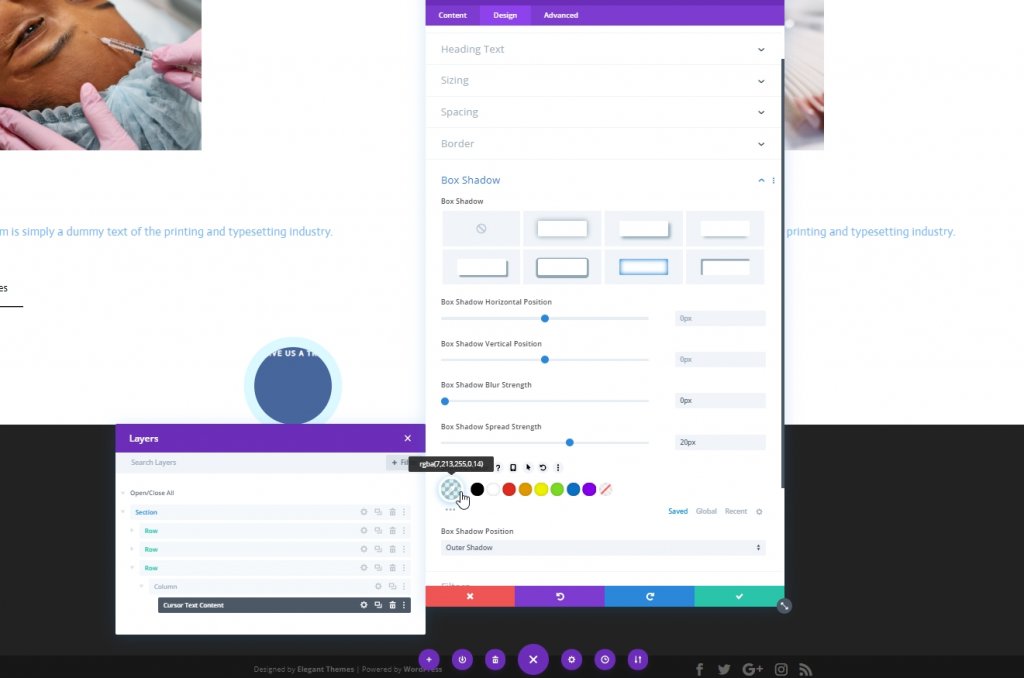
Box Shadow
We’ll add a light box shadow too.
- Box Shadow Blur Strength: 0px
- Box Shadow Spread Strength: 20px
- Shadow Color: rgba(7,213,255,0.14)
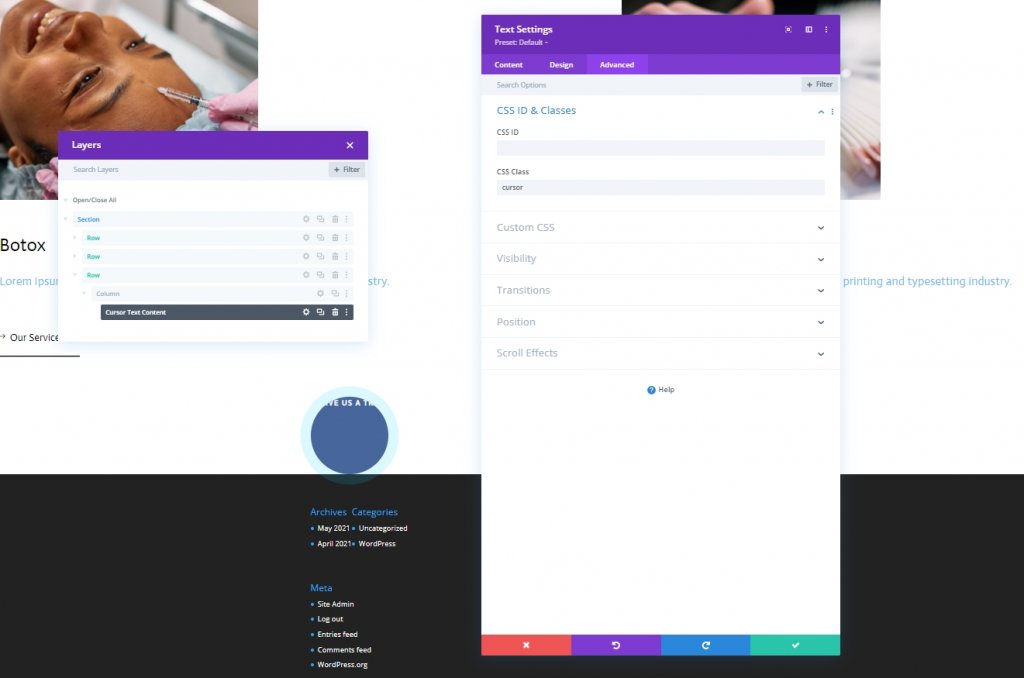
CSS Class
Then, we’ll give our module a CSS class.
- CSS Class: cursor
CSS Main Element
Now add the CSS code to main element box.
transition: all .1s linear;
pointer-events: none;

display: flex;
justify-content: center;
align-items: center;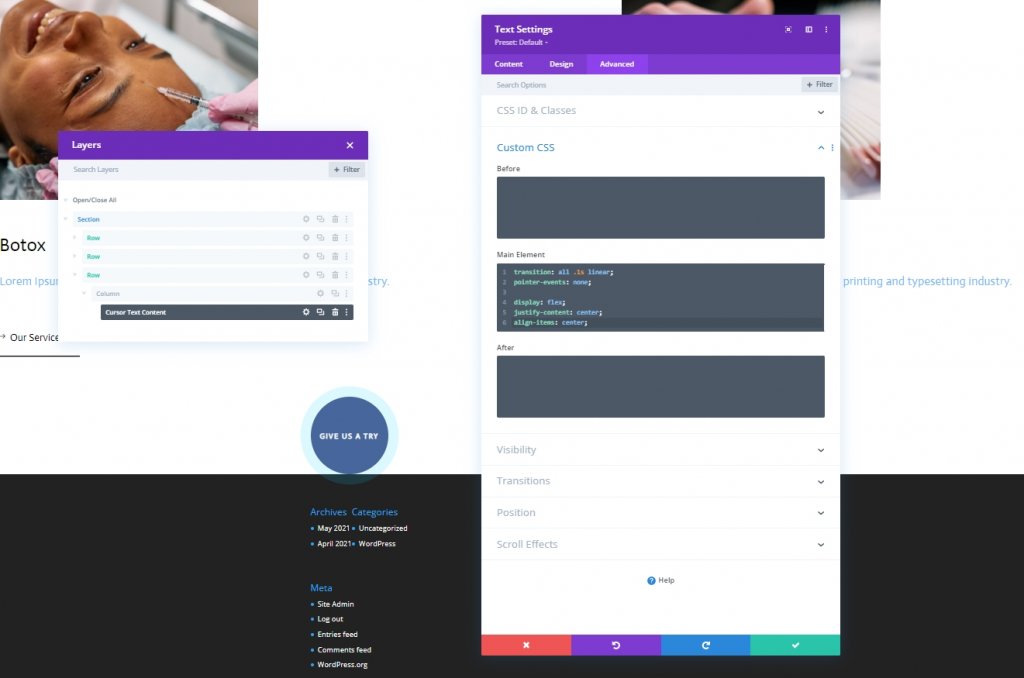
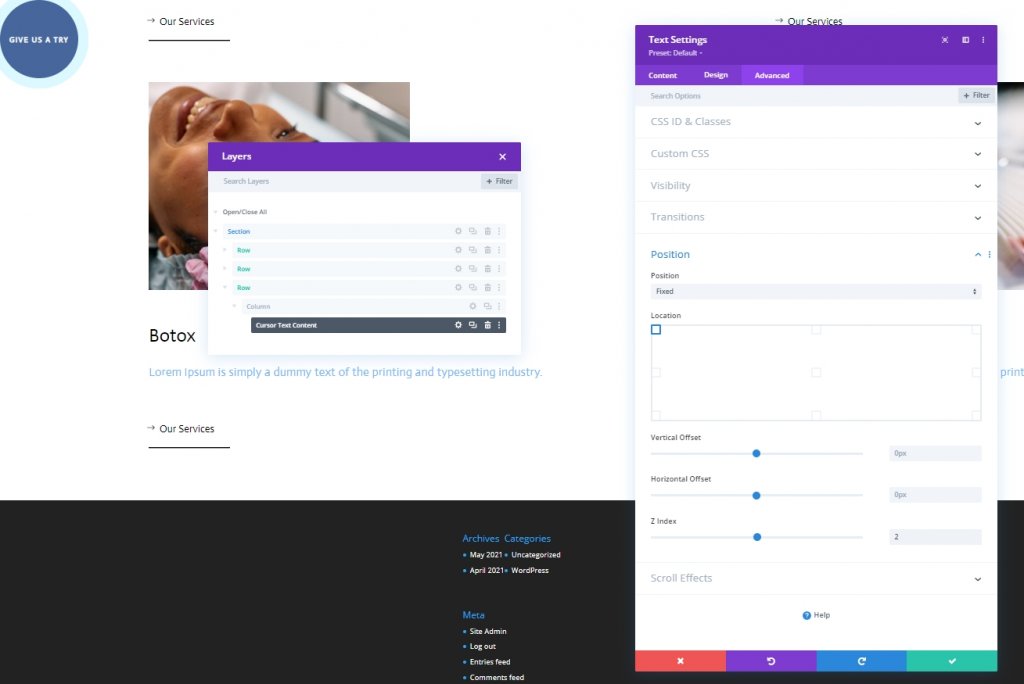
Position
Now, we'll finish this module by making some changes to the position section from the advanced tab.
- Position: Fixed
- Location: Top Left
- Z Index: 2
Adding: Code Module
Now add a code module below the last text module. Add Style and Scripts tags inside the code module.
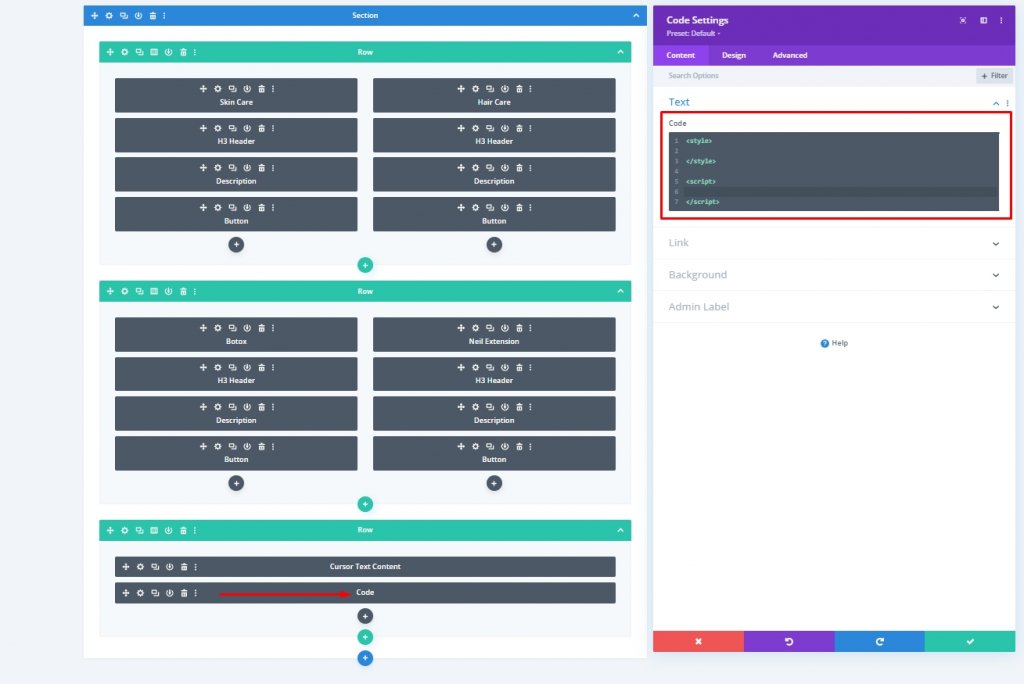
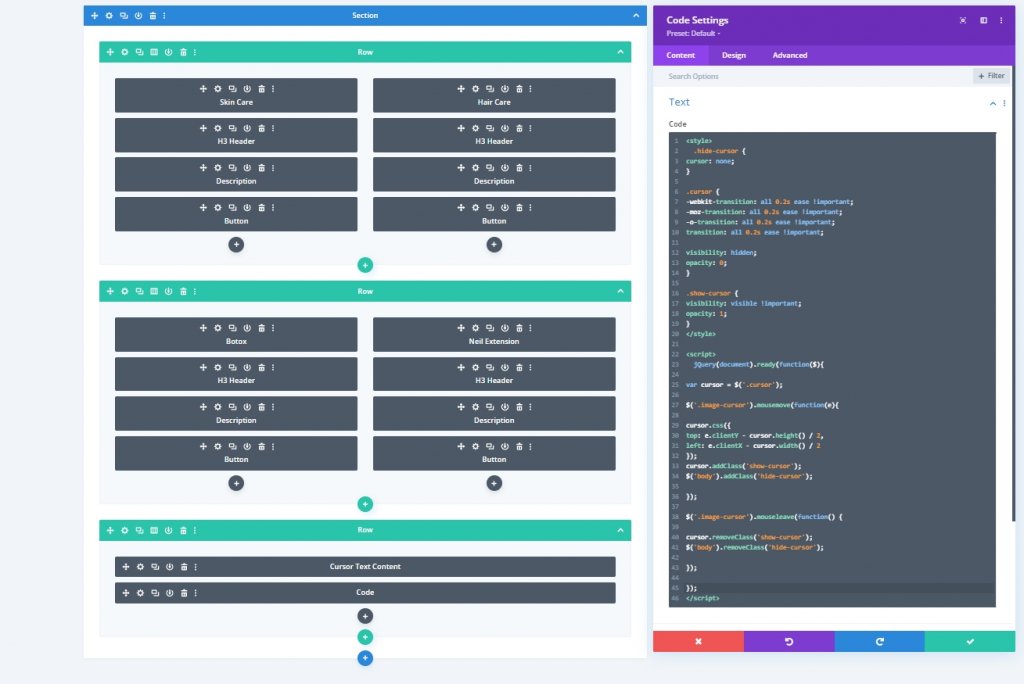
Add CSS Code
Paste the following CSS code inside the the Style.
.hide-cursor {
cursor: none;
}

.cursor {
-webkit-transition: all 0.2s ease !important;
-moz-transition: all 0.2s ease !important;
-o-transition: all 0.2s ease !important;
transition: all 0.2s ease !important;

visibility: hidden;
opacity: 0;
}

.show-cursor {
visibility: visible !important;
opacity: 1;
}
Add JQuery Code
Paste the following CSS code inside the the Script.
jQuery(document).ready(function($){

var cursor = $('.cursor');

$('.image-cursor').mousemove(function(e){

cursor.css({
top: e.clientY - cursor.height() / 2,
left: e.clientX - cursor.width() / 2
});
cursor.addClass('show-cursor');
$('body').addClass('hide-cursor');

});

$('.image-cursor').mouseleave(function() {

cursor.removeClass('show-cursor');
$('body').removeClass('hide-cursor');

});

});
Final Result
Here is what our final design look like, Stunning!
Conclusion
Today's tutorial was based on how you can bring more interactive design to your website. Divi gives you a huge opportunity to draw more visitors' attention to your website by making the design clean and gorgeous. I hope you like today's tutorial, and if so, a share will be AWESOME!


