
Push Notifications can play an essential role in enhancing your user website's user engagement. Adding to that, push notifications also help in making your site remembered by your users.

It helps you bring your users back to your site and increase the traffic further leading a longterm relationship between your website and its users. Let's move ahead and understand what really are Push Notifications and how you can add them to your WordPress website.
What Are Push Notifications?
Push Notifications appear on the top of your desktop or in the notifications area. These clickable notifications popup even when the user is not active on your website or even using their browser.
You must have encountered push notifications in your mobile phone or desktop as well. These notifications appear in the notification area on your phone while on your desktop they appear at the right bottom.
Create Amazing Websites
With the best free page builder Elementor
Start NowImportance Of Push Notifications
Push Notifications should be considered in high regards for marketing purposes alongside email, social media or SMS marketing.
They can be very effective with other marketing strategies as it is known that around 70% of the users that leave your site do not come back. And in order to bring them back to your websites push notifications can be very helpful.
Adding to that, Push Notifications have 50% higher open rate than emails as they are much instant and accessible to the users. Famous websites such as Facebook, LinkedIn, Instagram, etc are already using push notification and we think you should too.
Setting Up Push Notifications Using PushEngage
To send Push Notifications, PushEngage is one of the best services to use. You might need to create an account on PushEngage to use its services for adding push notifications to your WordPress.
How To Create An Account On PushEngage
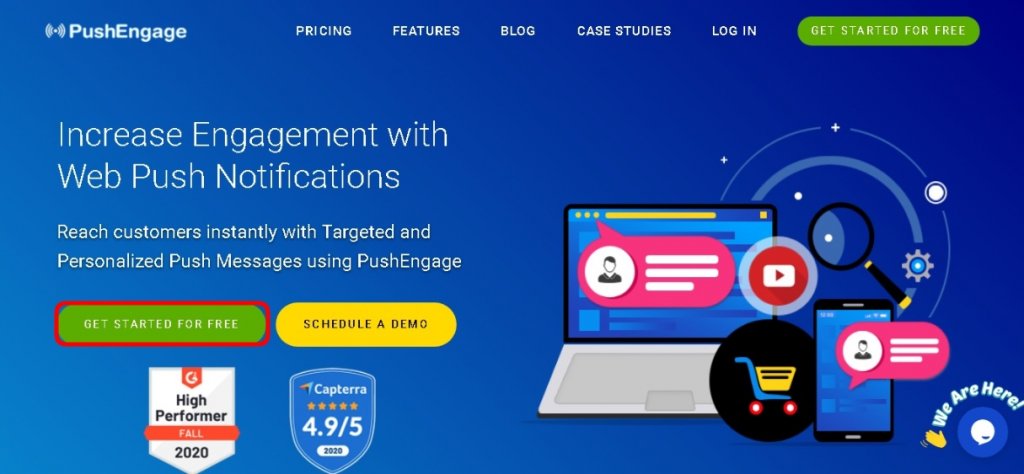
In order to create an account on PushEngage, go to their website and click on Get Started.
A great thing about PushEngage is that it lets you cover up to 2500 subscribed users and 120 push notifications each month with their free plan.
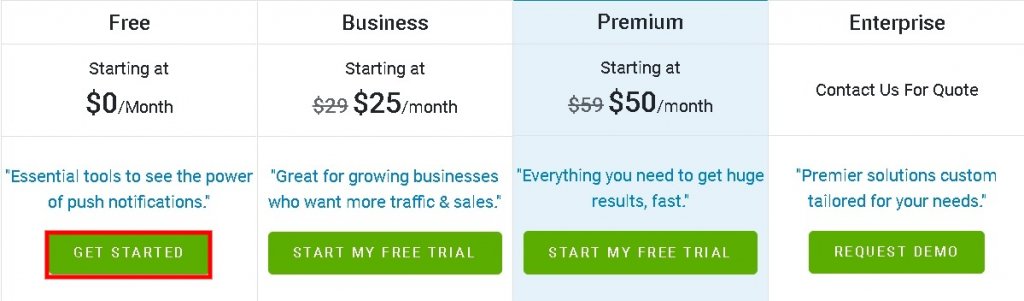
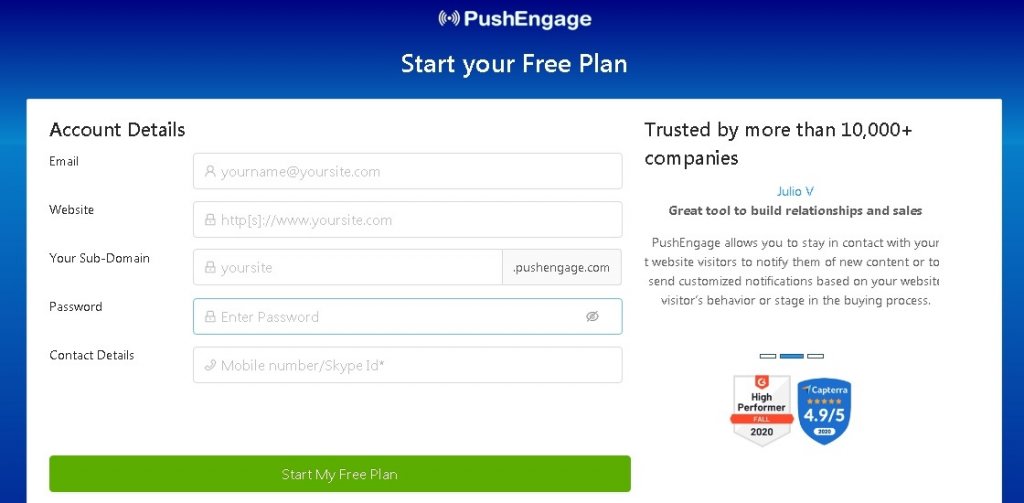
Once you choose your desired plan, you will be directed to the registration page.
When you are done with signing up, you will be directed to the PushEngage Dashboard.
Next, head over to the Installation Settings from Site Settings in your PushEngage dashboard.
Make sure you have an image for push notifications as it will be uploaded here. Press the Change button below Site Image.

Pictures can be in either JPG or PNG format while the recommended size is 256 x 256.
The information needed to set up push notifications is complete. Now, we need to connect our WordPress site to PushEngage.
How To Connect Your WordPress Site With PushEngage
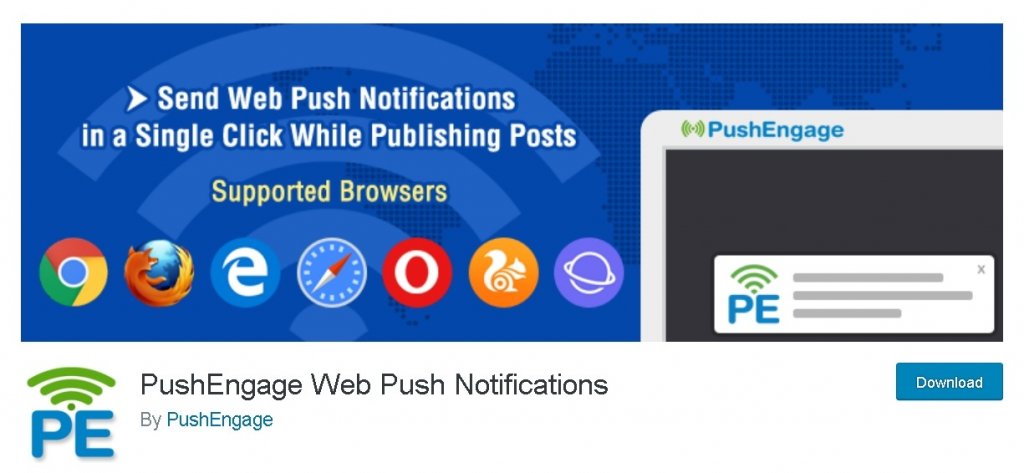
To link up your website with PushEngage, the first thing you need to do is to install the PushEngage WordPress Plugin to your WordPress.
If your website uses HTTPS, you might need to download the JavaScript file from your PushEngage Dashboard and upload it to your WordPress site's root folder.
Sounds complicated? Don't worry we will break it down for you. Head over to your PushEngage dashboard and go to Site Settings and then Installation Settings.
You will be asked to Choose your Website Type and Add Script, move to the WordPress panel and press Download Package File.
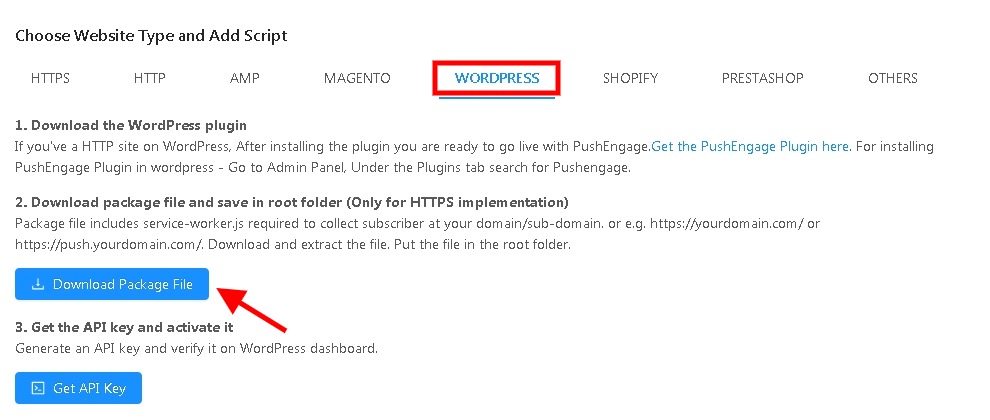
Once your file is downloaded, go to the designated folder and right click your file to unzip by pressing the Extract button.
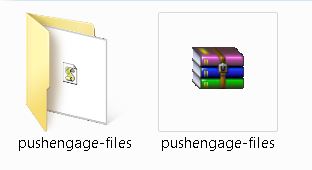
A new file named service-worker will be available to you in the newly created folder. You need to upload this file to your site's root folder in your WordPress hosting account.
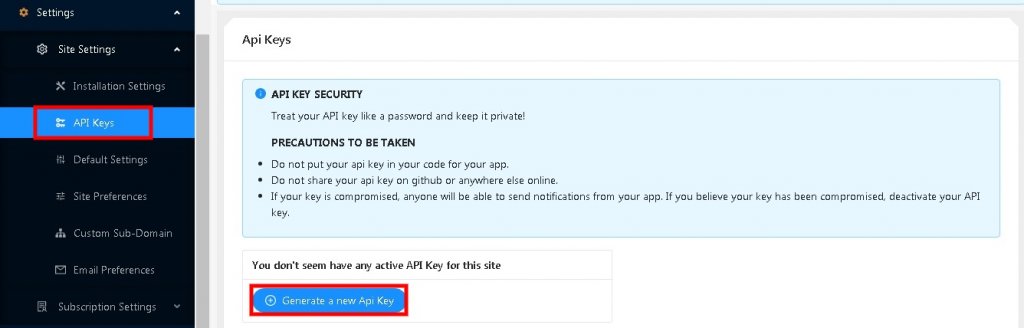
After uploading your file, get the API Keys from your PushEngage dashboard by going to the site settings and then API Keys. Press the button saying Generate a New API Key.
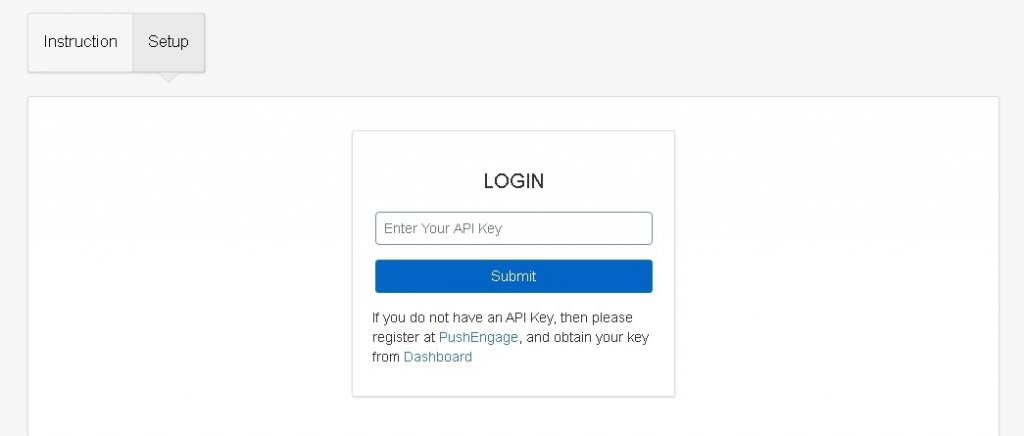
Now go to your WordPress Admin and then to PushEngage Page. Click on the Setup button and enter the API Key in the box given.
Now you can go ahead and set up push notifications for your WordPress site.
How To Set Up Push Notifications
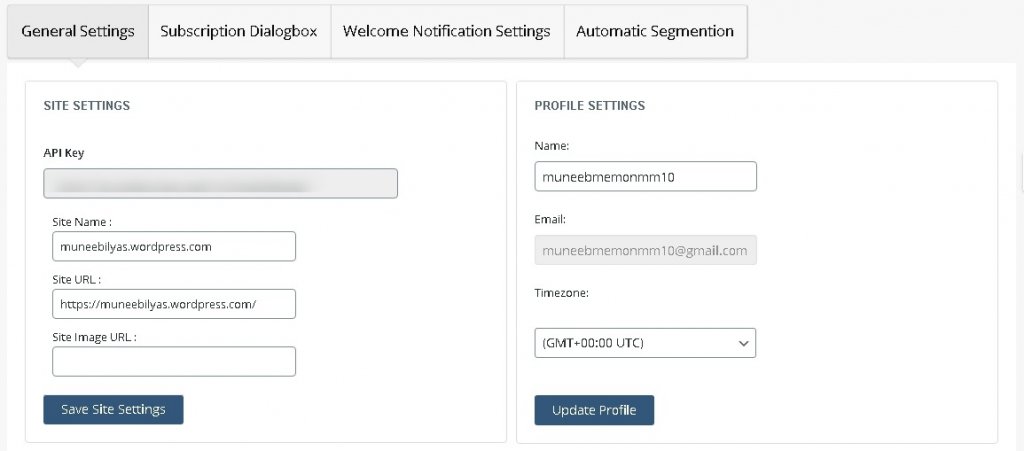
You have almost completed your settings part which you can review again and see if you are happy with all the changes you made by going to the General Settings in PushEngage.
Next, you need to set up a subscription dialogue box which your users while arriving at your website. Press Subscription Dialogbox and make the changes.
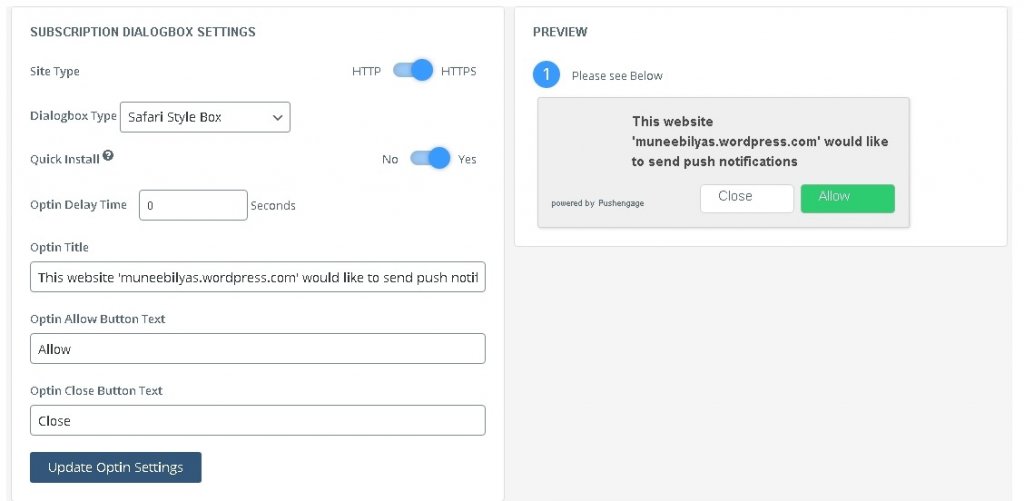
Moreover, you can change the optin settings i.e. the title and the default text by putting your own message there and pressing Update Optin Settings.
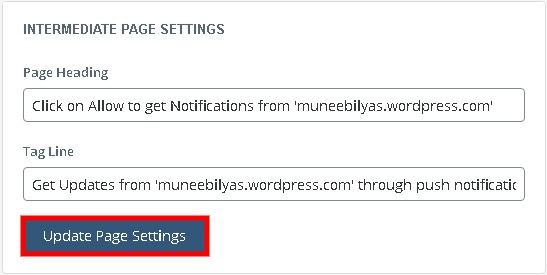
After this, you can change the message that appears after the user has allowed push notifications. Do not forget to press the Update Page Settings button.
Once you have made all the changes, you might want to set up a welcome notification for those who subscribe to your push notifications.
Head over to the Welcome Notifications Tab where you will need to update the title and the message while for the URL you can use your homepage or redirect your subscribers to a specific page.

Press the Update button to save your settings.
How To Create Custom Push Notifications
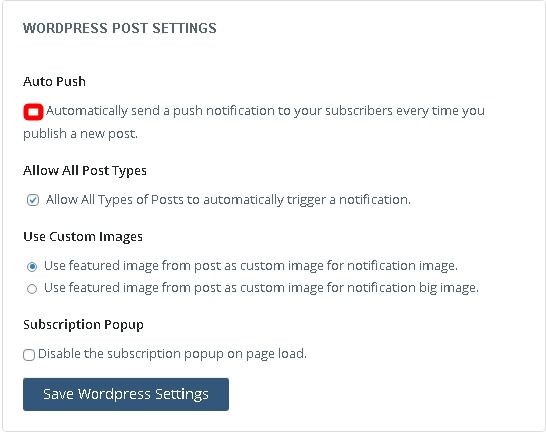
Whenever you post something new PushEngage automatically sends a push notification to the subscribed users that include the post title and a small featured image.
However, you can easily turn these automatic push notifications by going to the General Settings in your PushEngage dashboard.
In the WordPress Post Settings section, uncheck the Auto Push box.
To create a custom notification, go to your PushEngage account and from there go to Notifications.
Select Create and then New notification.
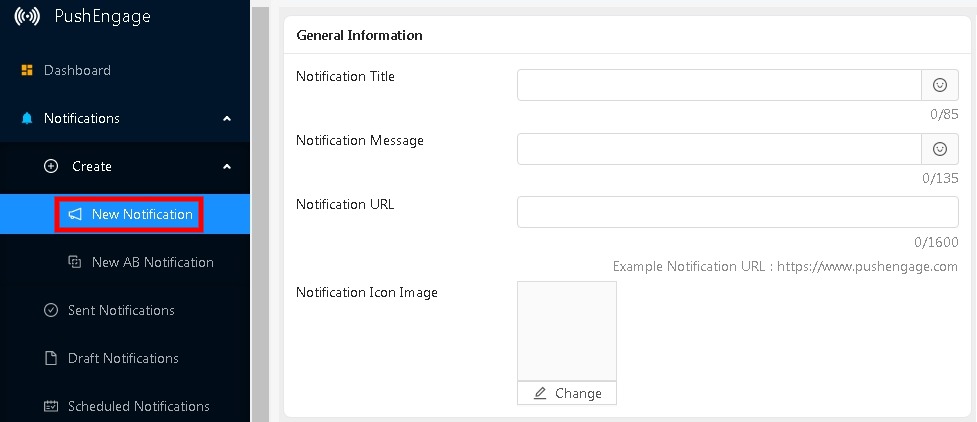
It will allow you to have a different title, message and URL. You can send the custom notification immediately while you can also schedule it for later.
That's all for today's tutorial. We hope this tutorial will help you in increasing engagement on your site using and making it more active.
For our other publishments and updates, make sure you follow us on our Facebook and Twitter.


