
Your website Logo is said to be the soft image of your brand. Hence, how your logo is displayed is really important. the size of the logo should also go hand-in-hand with your website's overall design.
It is quite unclear for most of the users, regardless of the theme they are using, that they can resize their website's logo. In this tutorial, we will go over some ways to change the size of your WordPress logo.
How To Resize WordPress Logo Using Customizer
Using WordPress customizer to resize your logo is the simplest and the quickest way to do it if your theme supports it. A lot of common themes do have a tool to resize your WordPress logo. However, your WordPress logo can only be as big as the picture you have uploaded, so make sure to upload a bigger picture if you want a larger logo.
In this tutorial, we will use themes like Divi, Ultra Theme and Astra to change the size of our WordPress logo. However, the process is somewhat the same for all WordPress themes.
Create Amazing Websites
With the best free page builder Elementor
Start NowHow To Resize Your WordPress Logo In Divi Theme
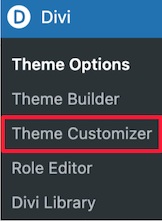
In your WordPress dashboard, go to Divi and then select Theme Customizer.
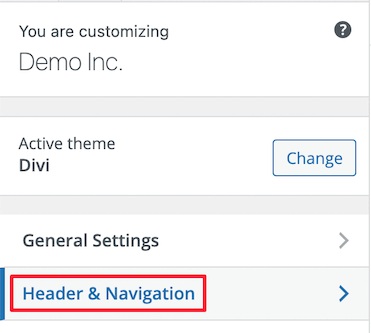
Next, you need to press the Header and Navigation menu from the list.
Drop down the Primary Menu Bar option where you will be able to change the size of the logo.
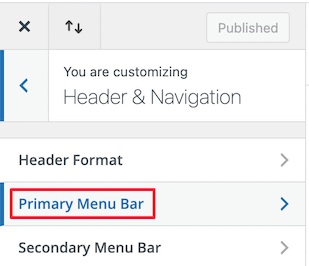
The Menu Height option controls the height of your navigation menu and will also dictate the size of your logo. Whereas the Logo Max Height defines the total menu height.
Make sure to publish your settings when you are done.
How To Resize Your WordPress Logo In Ultra Theme
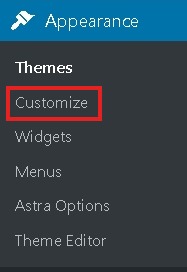
In Ultra Theme on WordPress, you can change the size of the logo by going to the Customize option in the Appearance panel in your WordPress dashboard.
Click on the Site Logo and Tagline dropdown.
Next, from the three circular buttons, you will need to select Logo Image.
Here, you will be able to add your new logo or work with the existing one. You will be able to set up entirely new dimensions for your logo and the size of your logo will change in real-time.
How To Resize Your Logo In Astra Theme
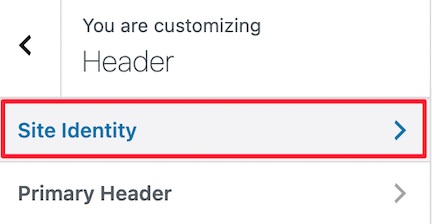
Go to your WordPress dashboard and select Customize from the Appearance panel and then press the Header dropdown button.

Press the Site Identity option where you can change the size of your logo.
On the given scale, move the Width Bar to left or right and you will see the size of your logo change in real-time.
Once you are happy with your settings, publish the logo and move ahead.
If your theme does not support WordPress customizer, here are some other ways to change the size of your WordPress logo.
How To Resize Your WordPress Logo Using Custom CSS
You don't need to worry if your WordPress theme does not support WordPress customizer. You can resize your WordPress logo by adding custom CSS.
To begin, you need to go to your WordPress homepage and right-click to select the Inspect Option which will display all the codes of the page.
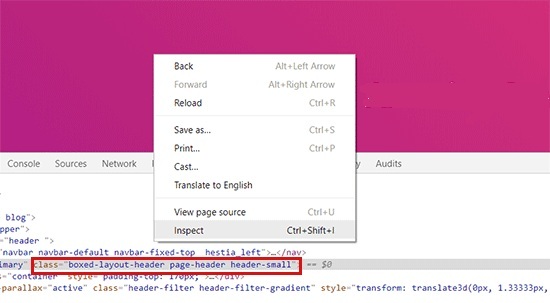
To select the logo element of your website, click on the top right mouse pointer icon.

Then navigate to your website logo and the CSS class will popup like shown in the image below. This CSS class will be used to resize your logo, so cope and save it in a text editor like Notepad.
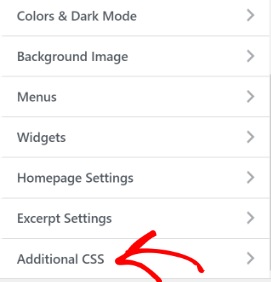
Next, head over to Customize from the Appearance panel in your WordPress dashboard and then choose the Additional CSS menu.
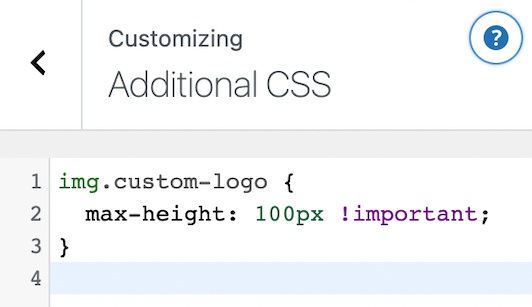
Next, you need to add the CSS class you copied before and then add new dimensions for your logo. Here is an example that you can use.
img.custom-logo {
     max-height: 100px !important;
}
You also need to change the img.custom-logo class to the CSS class that your theme supports and the max-height to your preferred height.
Once you are done with the changes, make sure to publish them.
How To Resize Logo Using A Plugin
This third method is for those who can't use WordPress customizer and are not comfortable using the CSS method. Using a simple styling plugin you can change the size of your logo.
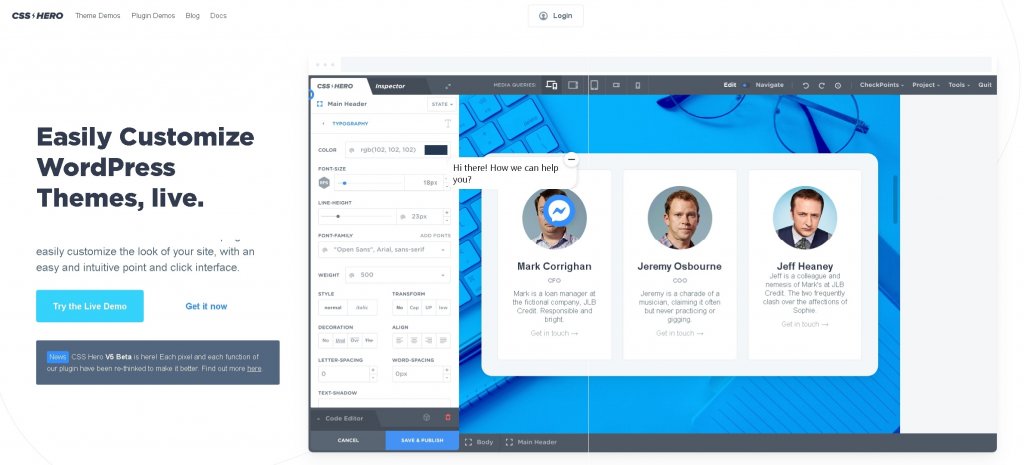
CSS Hero is one of the best WordPress styling plugins that you can use to change the size of your logo. It allows you to edit almost every CSS element on your WordPress website without having to use coding.
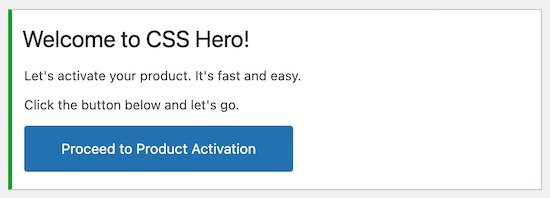
Once you have installed and activated the plugin. You will be asked to activate your product. Press Proceed to Activation and then enter your credentials.
When you are redirected to your website, press Customize with CSS Hero right at the top.

It will take you back to your website with CSS Hero running in the background. Using CSS hero as soon as you place your cursor on an element, there pops up a menu on the left for customization.
You must have assessed that you need to put your cursor on your WordPress logo. Then in the customization menu on the left press ShowAdvanced Props.
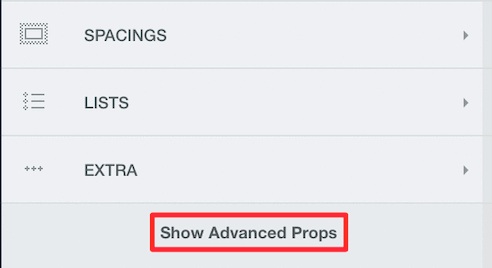
Using the measures options you will be able to change the sizes of your logo. You will have both the Max Width and the Max Height option.
When you specify your dimensions, it will show you the changes in real-time. Once you are satisfied with the changes, make sure to publish your settings.
This is how you can resize your WordPress logo no matter what theme you are using. We have listed methods for all the possible situations for you to change the size of your logo.
This is all from us for this tutorial. Make sure to follow us on our Facebook and Twitter to never miss an update.


