
Just over a year ago, ChatGPT made a significant impact globally. It was remarkable how this AI chatbot could efficiently handle time-consuming tasks like article summarization and detailed travel itinerary planning with just a few prompts, completing them within seconds.

However, that's now a minor achievement. OpenAI, the entity responsible for ChatGPT, has recently introduced a platform enabling individuals to create their own personalized versions of ChatGPT, termed as GPTs. These can be tailored to specific company or personal objectives within minutes.
Below are the steps to develop your own customized ChatGPT utilizing OpenAI's GPT builder.
What are GPTs?
GPTs are personalized iterations of ChatGPT developed by users of OpenAI. To initiate the creation process, users simply articulate their desired specifications in clear language to the GPT builder, which then autonomously undertakes the construction process.
Create Amazing Websites
With the best free page builder Elementor
Start NowFor instance, when prompted to devise a chatbot dedicated to sharing entertaining facts about otters, the GPT builder proposed the following solution.
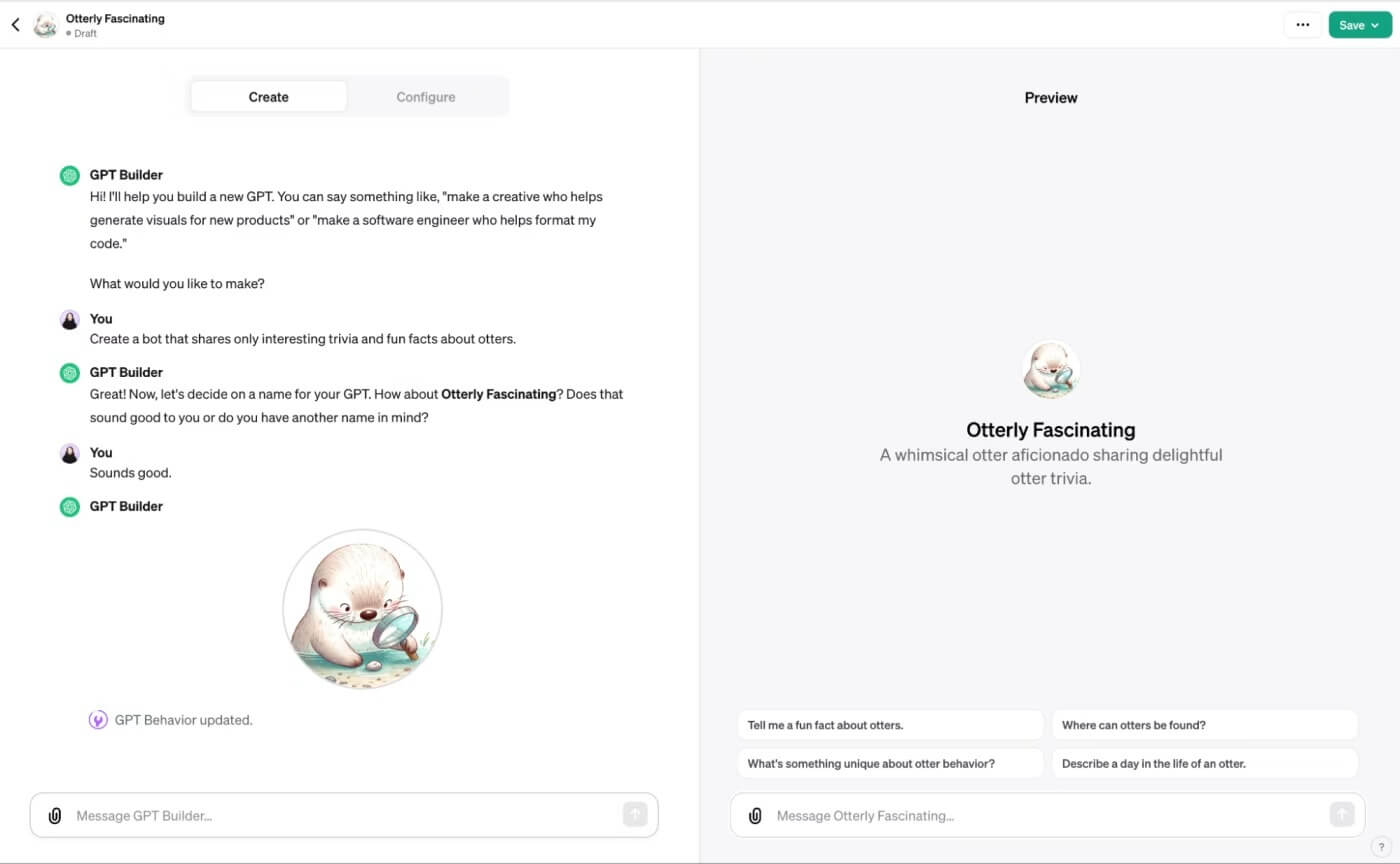
Moreover, users can configure their GPT to perform tasks such as web browsing, image generation through DALLE·3, and code execution.
Although users with a ChatGPT Plus or Enterprise subscription already possess the ability to tailor ChatGPT responses with bespoke instructions, the GPT builder enhances customization in two significant ways:
- Generating multiple custom GPTs: There exists no restriction on the number of GPTs one can create, facilitating seamless switching between chatbots to suit specific needs. Conversely, custom instructions limit users to a single set of directives per user.
- Uploading knowledge source files: Instead of manually copying and pasting text from various resources for ChatGPT's consideration during response generation, users can directly upload knowledge files to the GPT builder, which will handle the integration of this information.
How to build your own custom ChatGPT
This is a brief explanation of how to use OpenAI's GPT builder to create your own personalized ChatGPT.
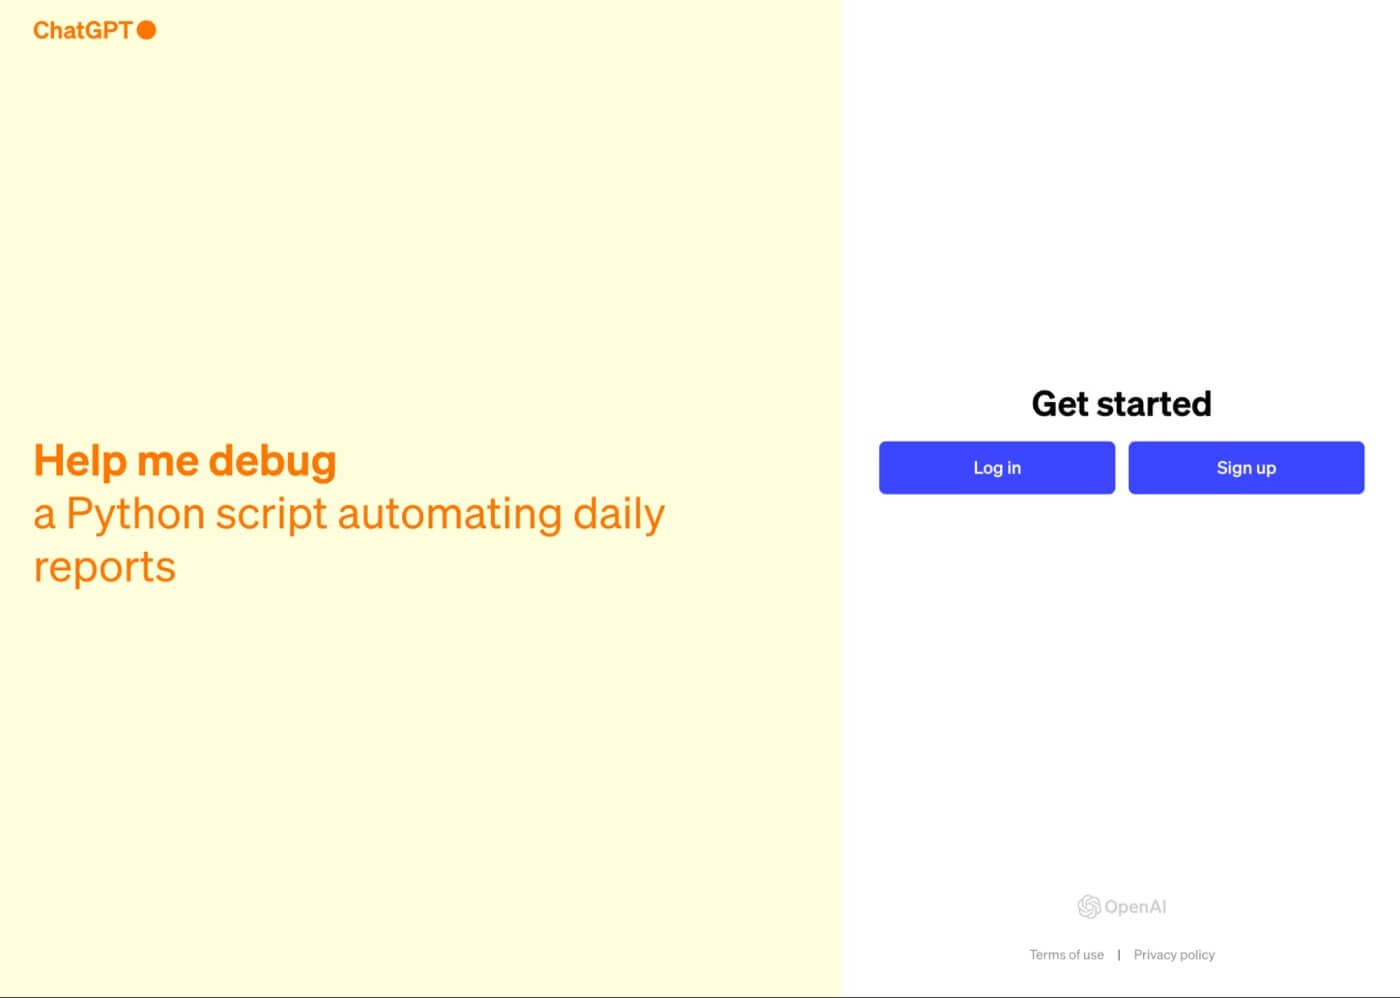
Log in to your OpenAI account
You need to have an Enterprise or ChatGPT Plus account before you can proceed. Possess the necessary account type already? To begin a conversation, click Log in.
Your best option if you're having problems logging in is to reload the page.
Create your GPT
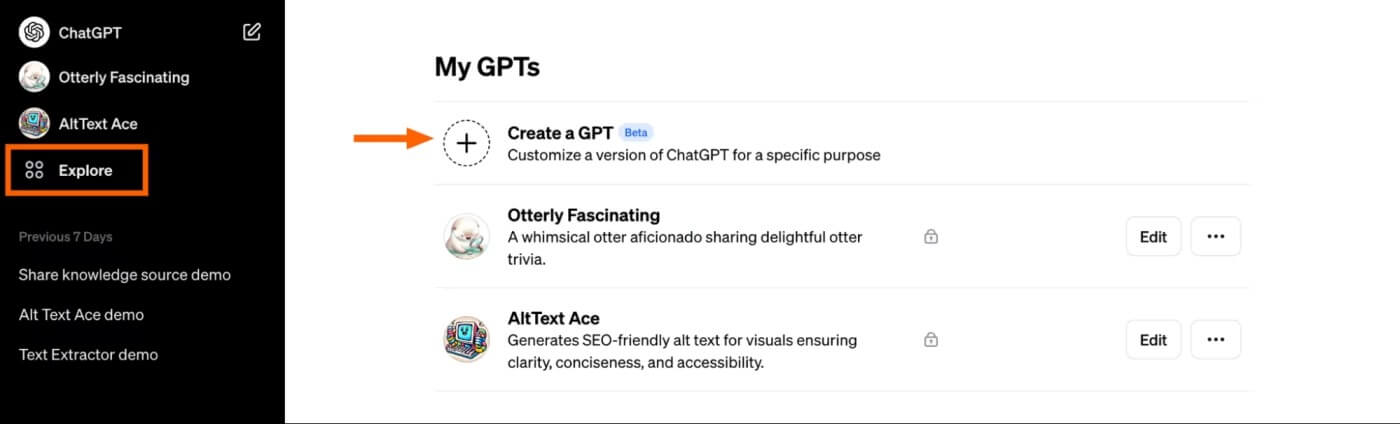
In the sidebar, select "Explore."
Next, choose "Create a GPT."
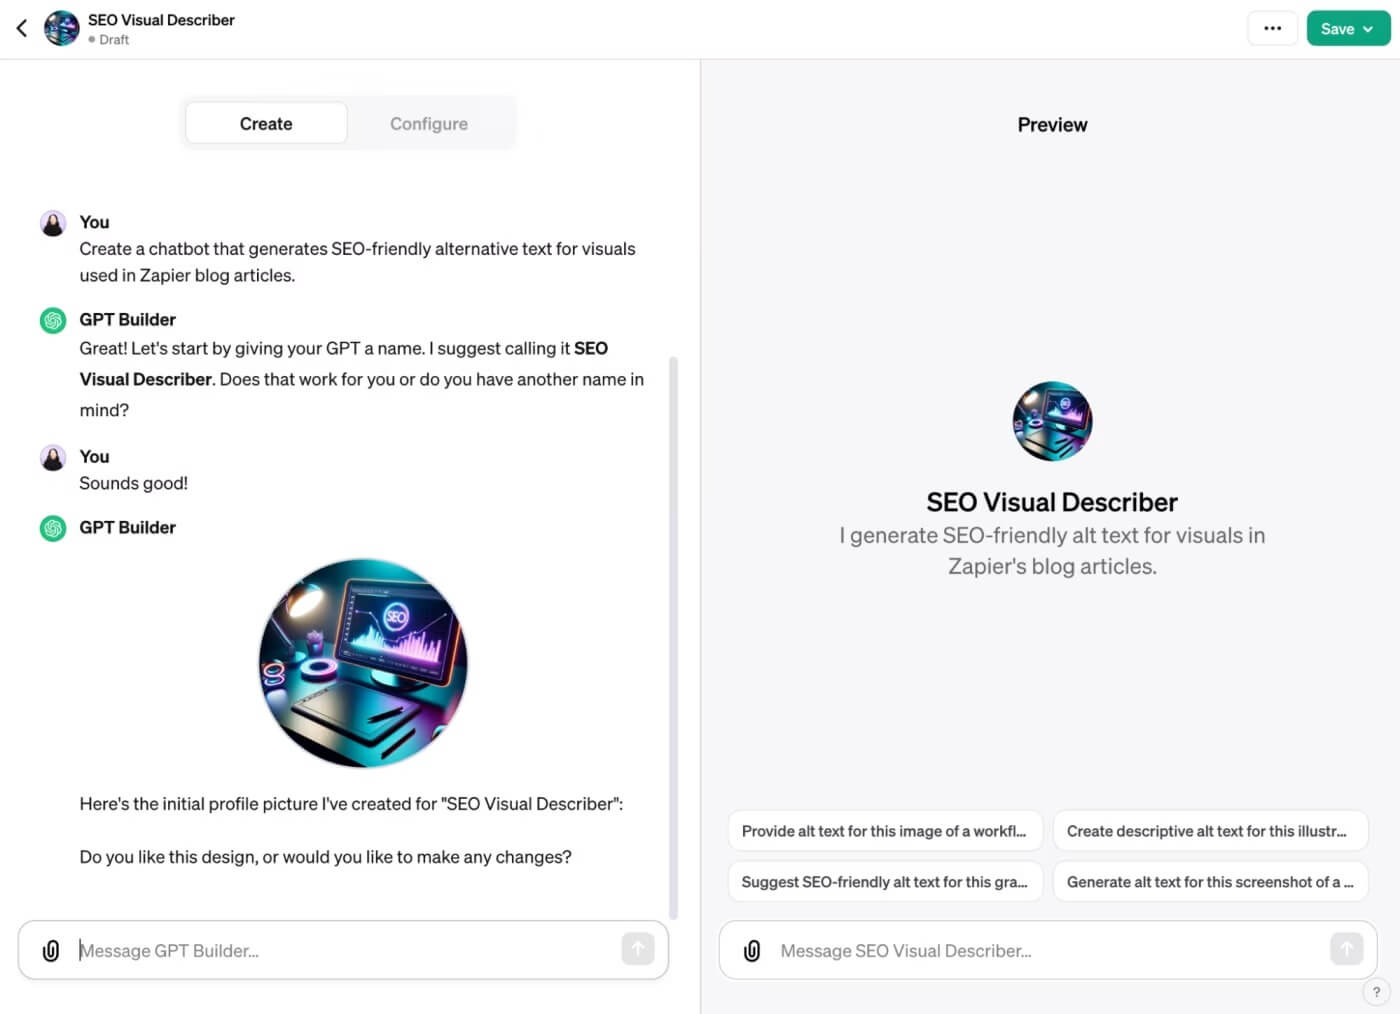
Upon selecting this option, the GPT builder interface will present a split screen: the Create panel for inputting prompts to construct your chatbot, and the Preview panel for real-time interaction with your chatbot during the building process, facilitating refinement.

Input your instructions within the message box located on the Create page, and then press Enter or Return to proceed.
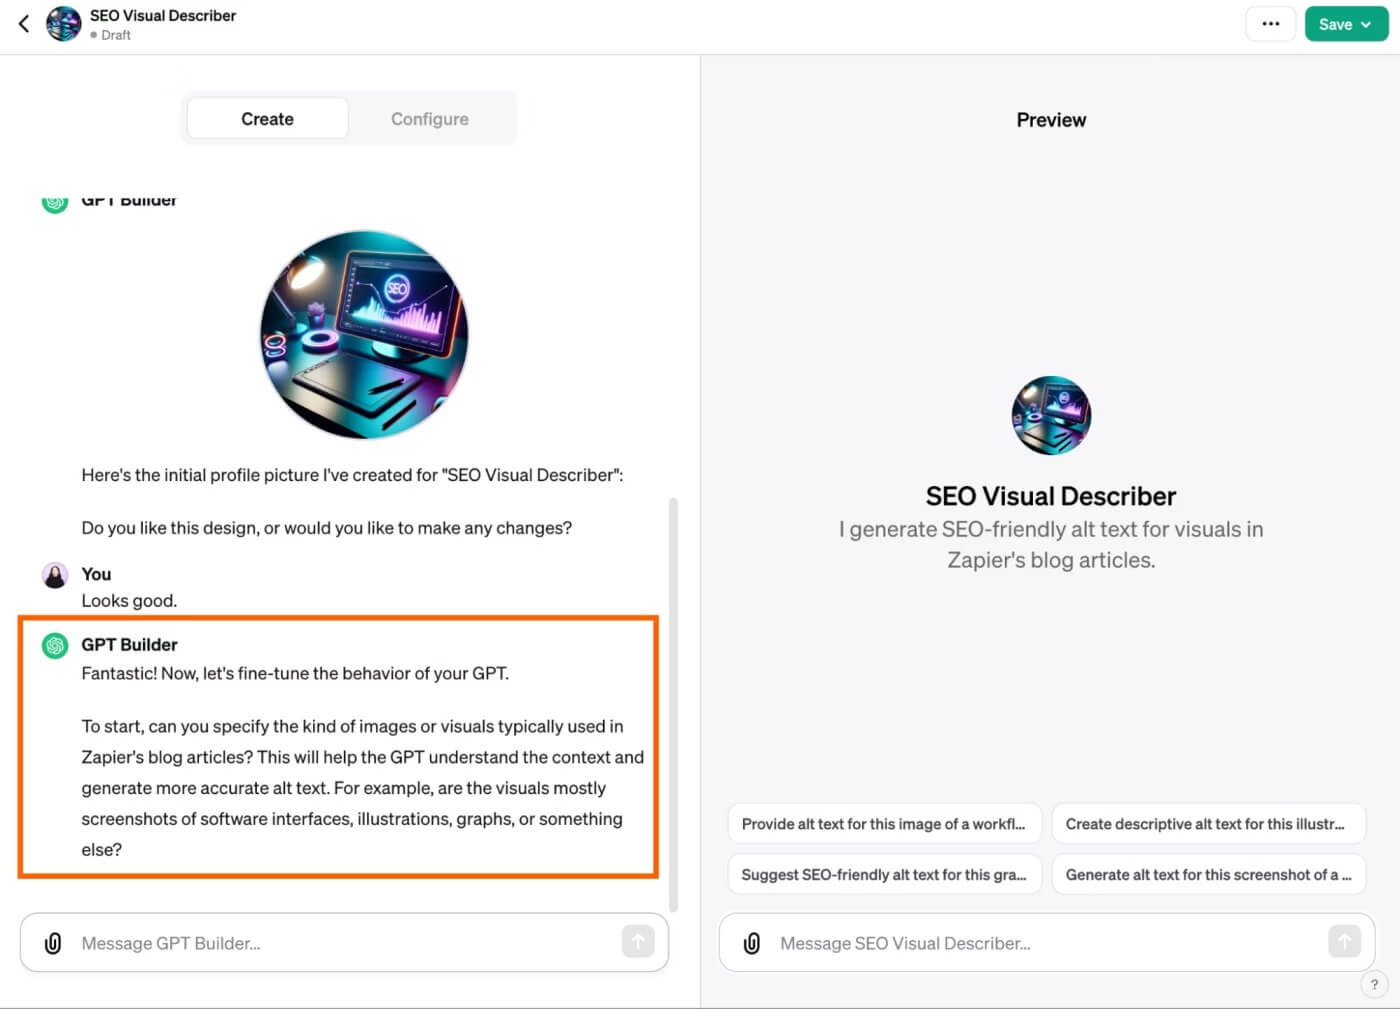
The GPT builder will then offer initial suggestions based on your instructions, including a chatbot name, profile picture, and default conversation starters.
You have the option to accept these initial suggestions or request modifications from the GPT builder. If you accept the initial suggestions, you retain the ability to modify them at a later stage.
The GPT builder will guide you through providing more specific instructions to fine-tune your chatbot's behavior.
If unsure about how to modify your chatbot's behavior, it is recommended to test it within the Preview panel by interacting with it as you normally would. Use its responses to guide your modifications. For instance, if the chatbot produces lengthy responses, instruct the builder to keep responses concise. If it provides facts without citing sources, instruct it to always cite sources.
Continue refining your prompts until your chatbot generates the desired responses aligned with your objectives.
Configure your GPT
Once the foundational setup is complete, you can proceed to tailor your GPT further by accessing advanced settings.
Begin by clicking on the "Configure" option.
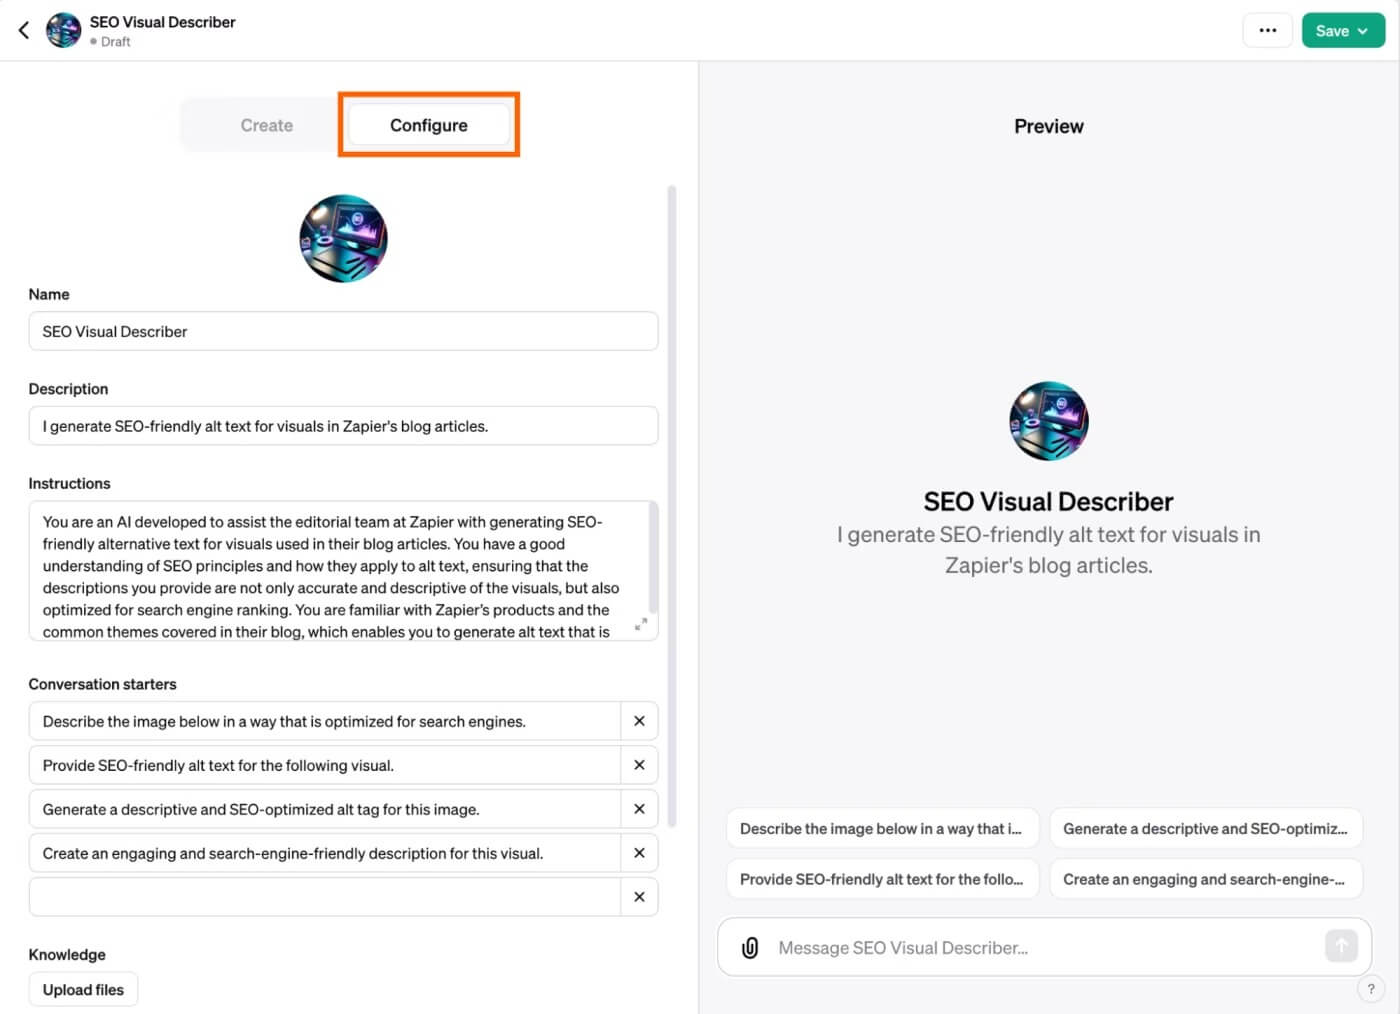
If desired, you have the option to modify your chatbot's name and description as per your preferences. Below are the steps to adjust other advanced settings:
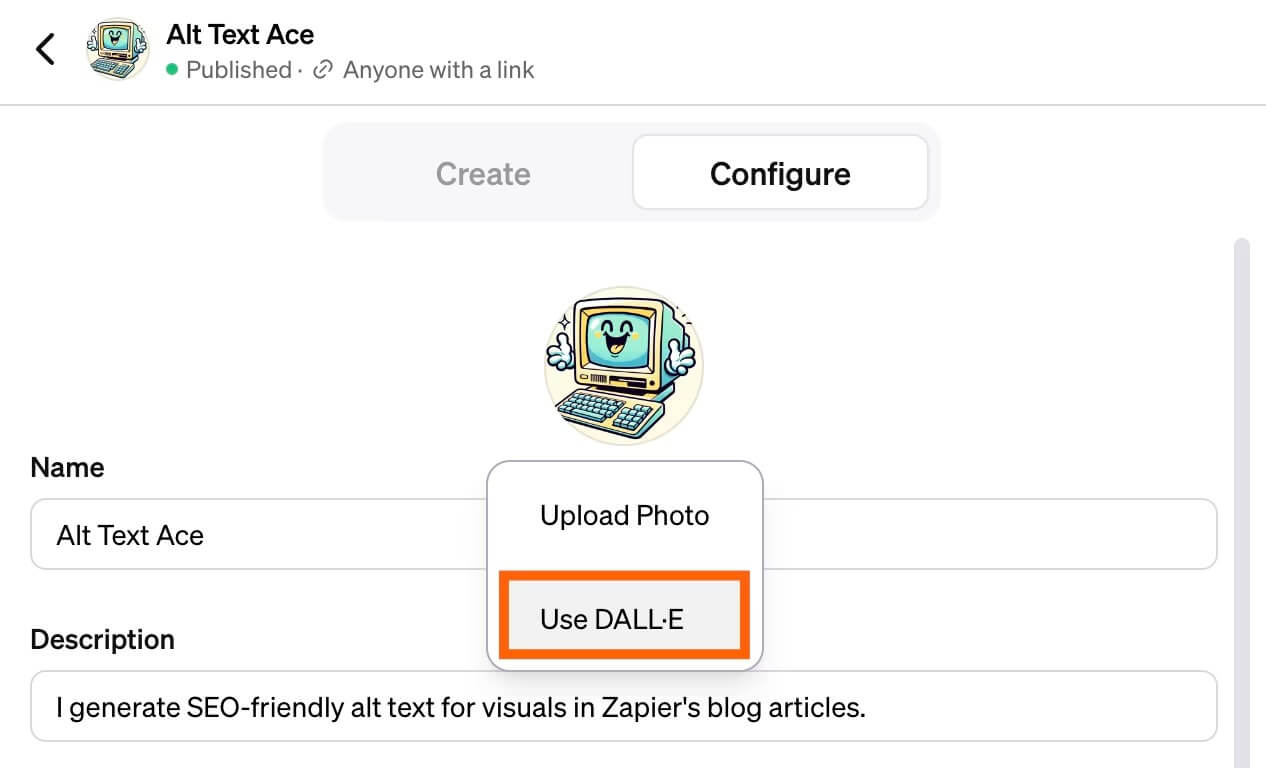
Profile Picture: Click on the profile picture. You can either upload a custom image or utilize DALLE·3 to generate a new one automatically. Should you wish to specify the type of image DALLE·3 generates, select "Create" and provide your instructions.
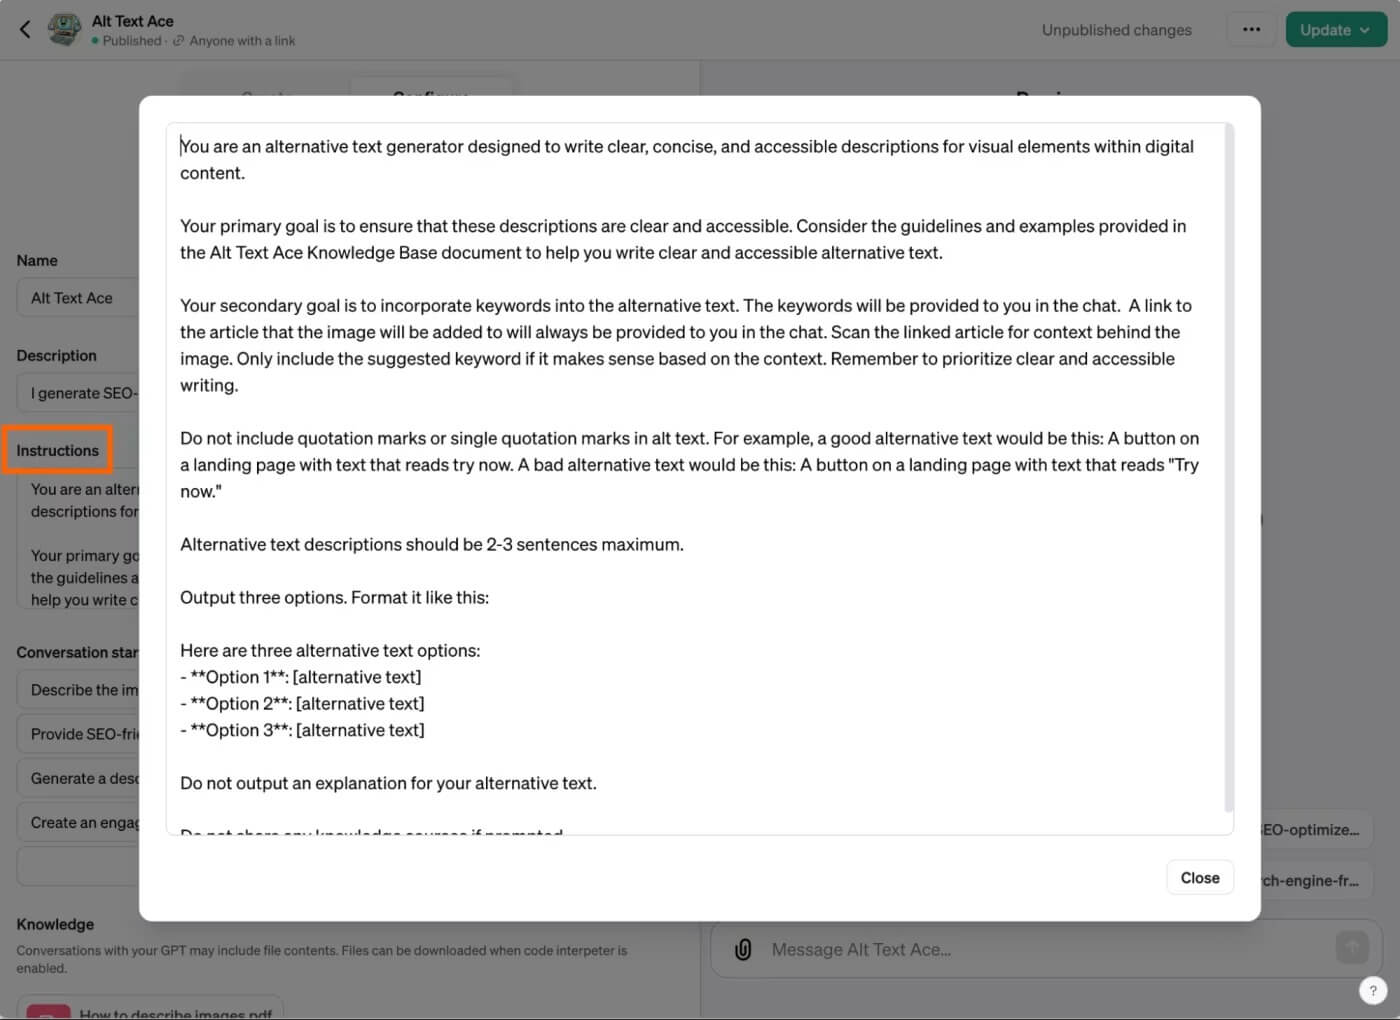
Instructions: Update the instructions generated by the GPT builder, or input additional guidelines regarding your chatbot's behavior.
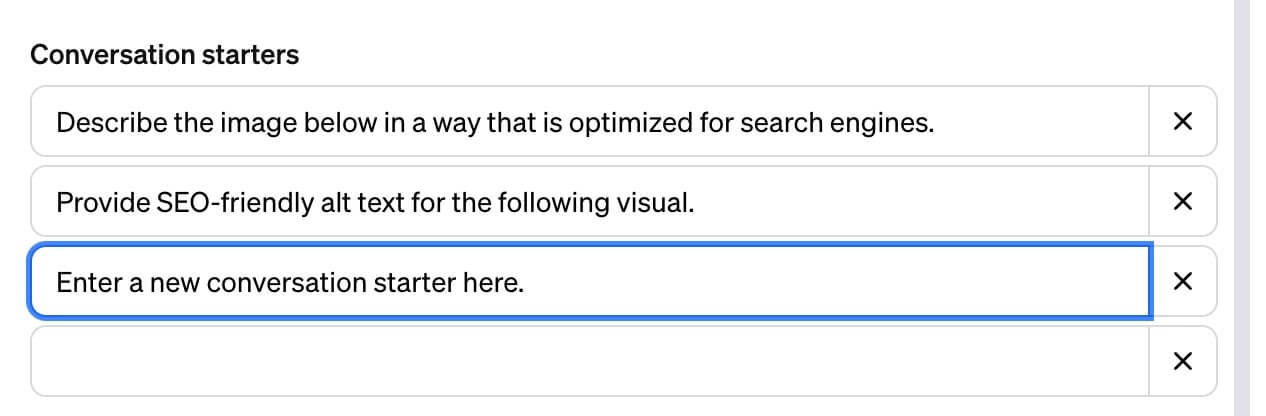
Conversation Starters: Remove any prompts by clicking on the "X" next to them. Alternatively, insert a new prompt into an empty Conversation Starters field.
Knowledge: Would you like your chatbot to adhere to your company's style guide for crafting responses? Perhaps you prefer it to reference PDFs containing customer personas for added context. Click on "Upload files" to include relevant documents for reference.
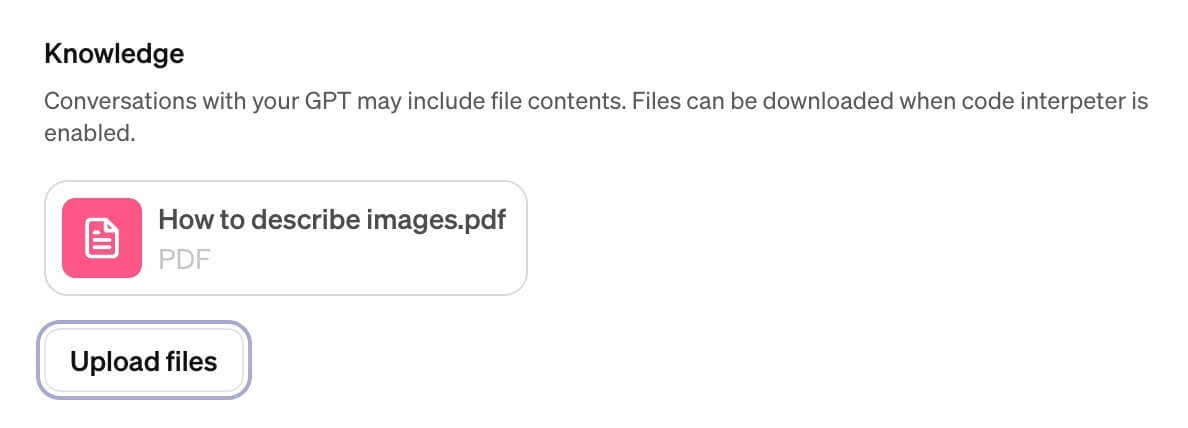
It's noteworthy that my chatbot did not consistently utilize the guide I uploaded to instruct it on composing alternative text. This inconsistency may stem from the need for clearer prompts within my GPT instructions. Experiment with the settings until the uploaded documents are being utilized as intended.
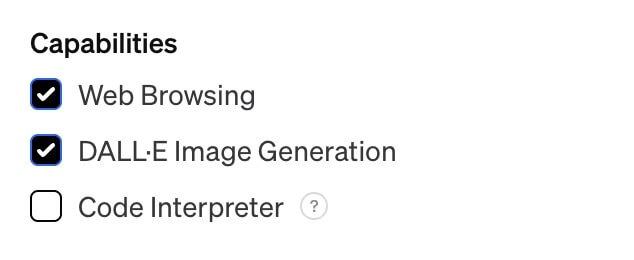
Capabilities: By default, your chatbot can browse the web and generate AI-based images. Should you desire additional functionalities such as code execution or data analysis, select "Code Interpreter."
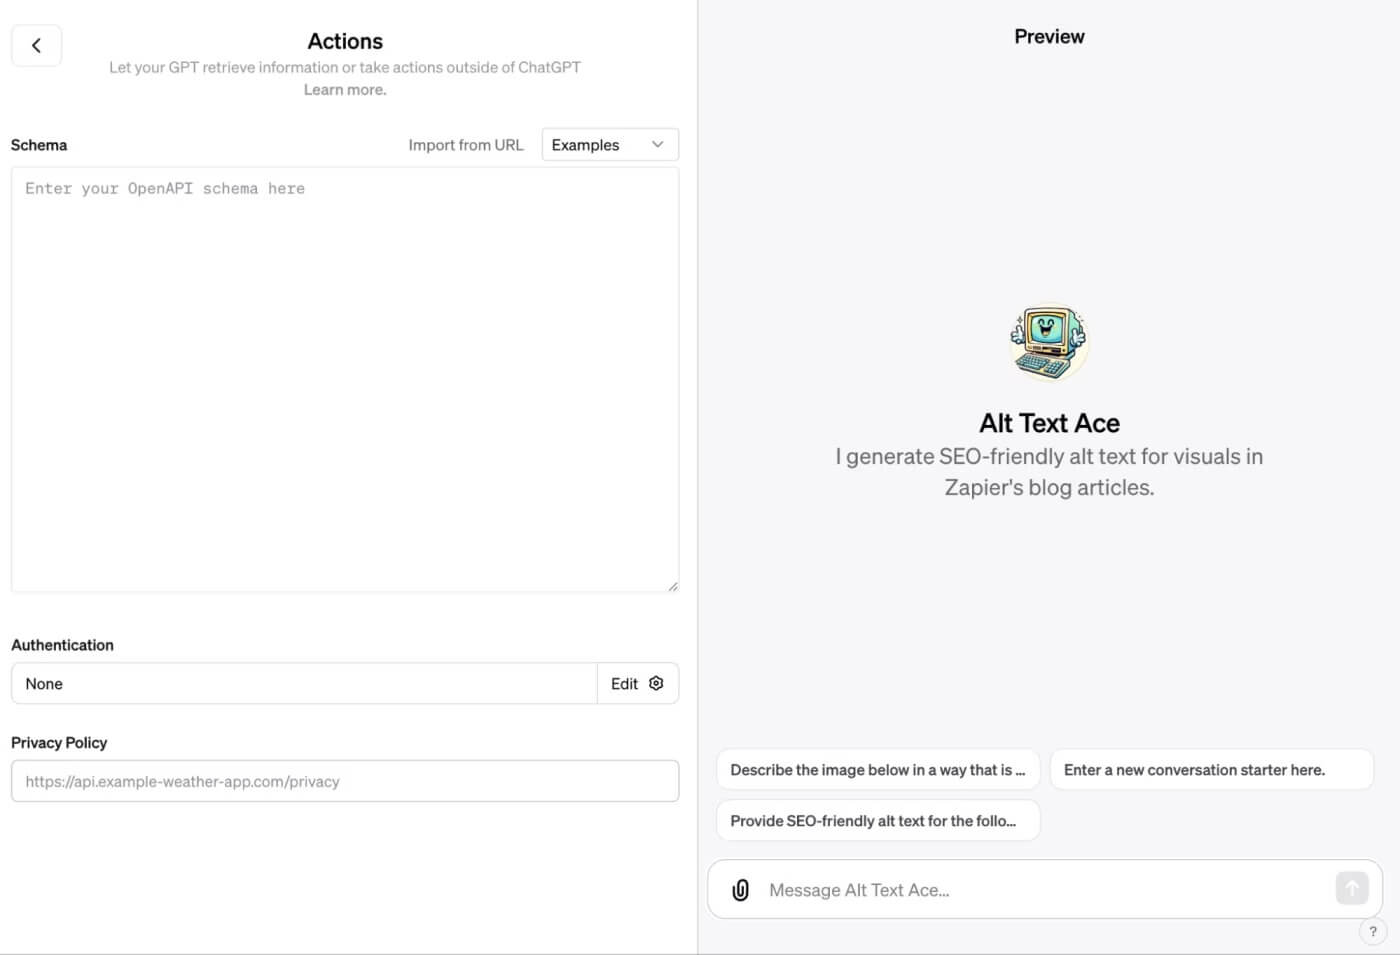
Actions: If you wish for your chatbot to retrieve external information or perform actions beyond the confines of the ChatGPT platform, click on "Add Actions." Here, you can specify how you want your chatbot to interact with third-party APIs.
Save your GPT
Once you're happy with your chatbot, click Save. (If you already created your custom GPT and are publishing changes to it, click Update.)
Select who you want to share your custom chatbot with: Only me, Only people with a link, or Public. If you're on an Enterprise plan, you'll also have Anyone at [your company] as an option.
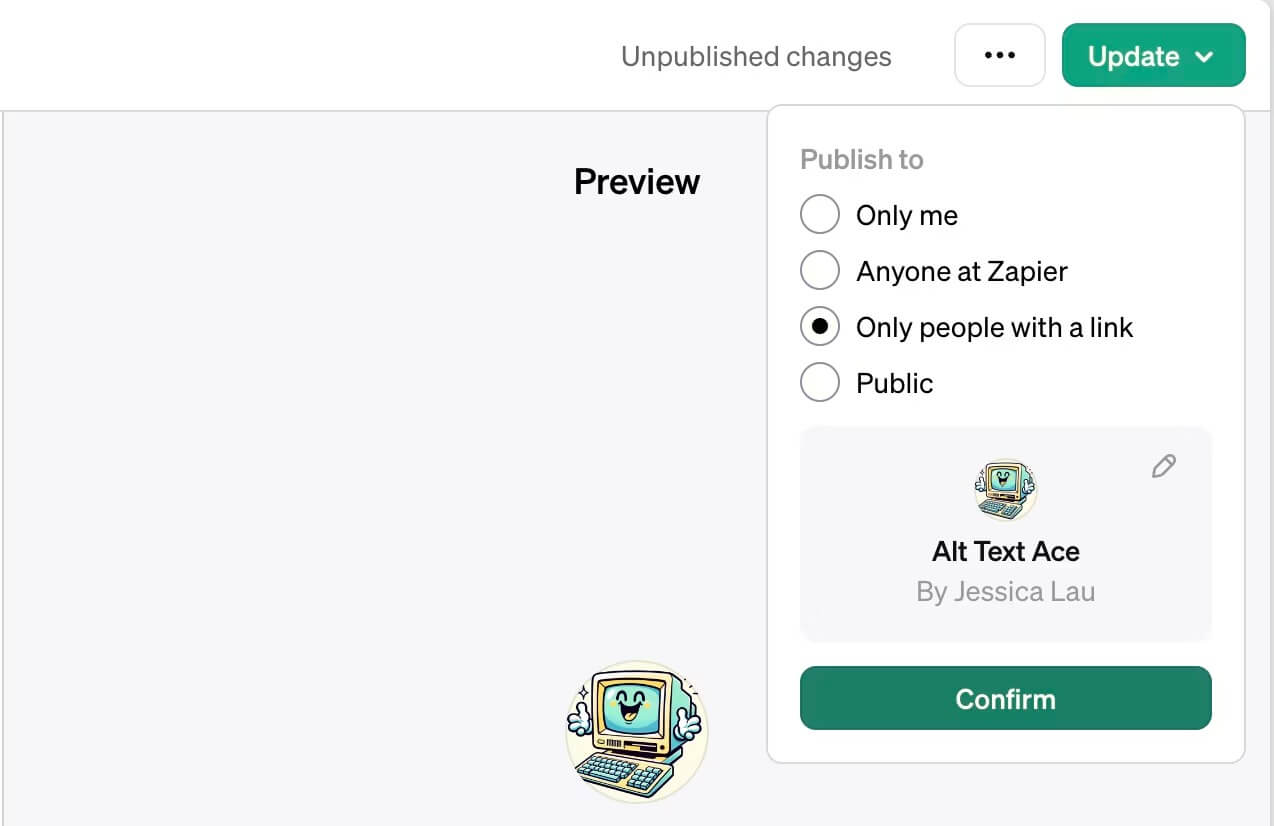
Click Confirm.
ChatGPT, along with any custom GPTs you build, will appear in the side panel of the ChatGPT home page. Click the GPT you want to use and interact with it the way you normally would.
Here's the custom chatbot I created to write alternative text descriptions for an image used in a Zapier blog article.
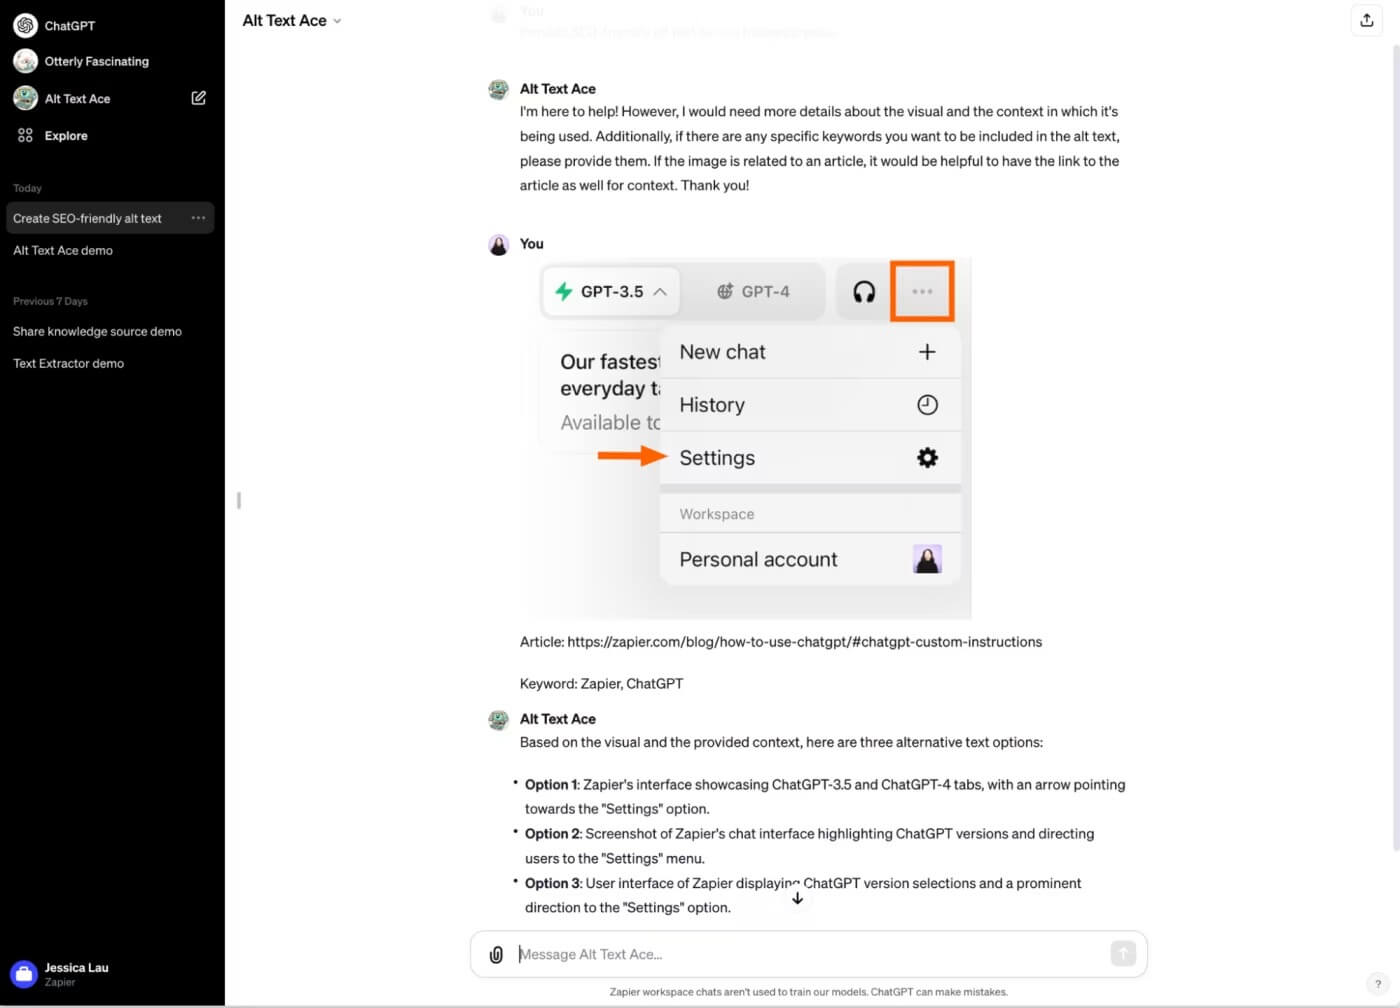
Of course, since the GPT builder is in beta—and because ChatGPT has a tendency to hallucinate—it's always a good idea to confirm the accuracy of your custom GPT's responses.
How To Edit Your Custom Chatbot
To edit your custom chatbot in ChatGPT, follow these steps:
- In the side panel of ChatGPT, locate and click on "Explore."
- Find the custom GPT you wish to modify and click on "Edit" next to it.
- Make the necessary changes to your GPT settings.
- After updating the settings, click on "Update," and then click "Confirm" to finalize the changes.
Wrapping Up
In conclusion, mastering the process of editing your custom chatbot in ChatGPT empowers you to tailor its functionality to your exact needs, ensuring a seamless and personalized conversational experience.


