
The last thing any web designer wants is for a disgruntled user to abandon their website owing to a cluttered, difficult-to-navigate layout. Therefore, it's critical to understand that even the slightest nuances in website design can significantly affect bounce rates, conversion rates, and more. As a result, we've compiled a list of the absolute best practices for optimizing website layouts with Elementor in this article.

According to Stanford's web credibility research, up to 75% of internet users judge a site's legitimacy on its visual style. In contrast, another study found that 38% of consumers abandon a website due to an ugly layout.
Nobody enjoys browsing slow websites with cluttered layouts, conflicting color palettes, or an unreadable and difficult-to-navigate design. Yet, when a client encounters one of these websites, the most usual response is to click away and choose another to visit in its stead.
As a result, it is critical to building web posts and pages for your site utilizing the most effective strategies. A visually appealing, optimized website layout developed using best practices can boost your site's traffic, conversion rate, engagement, and ranking. Keep an eye out for an explanation on how to accomplish all of this.
Create Amazing Websites
With the best free page builder Elementor
Start NowOptimizing With Elementor

Use Elementor, one of the most popular free WordPress website builders, to quickly make a web page. It's a drag-and-drop page builder that lets you make a website without writing any code in just a few minutes.
Note: Use lightweight, fast-loading, and responsive themes like "Hello" or "Flexia" to help you make your website layout as unique as you want it to be.
You can quickly make high-performance WordPress website layouts with Elementor by following the best practices for website layouts.
Header & Footer
Headers and footers keep your content together and make your site look more professional in no time. These are the two places where you put the logos for your website and links to the most important web content or pages. They are essential because they show the world who you are.
However, these sections could also be awful for your site's performance if they have too many columns, widgets, and logos.
We suggest that you keep the number of columns on your header section to a maximum of two. This will make the layout look better.
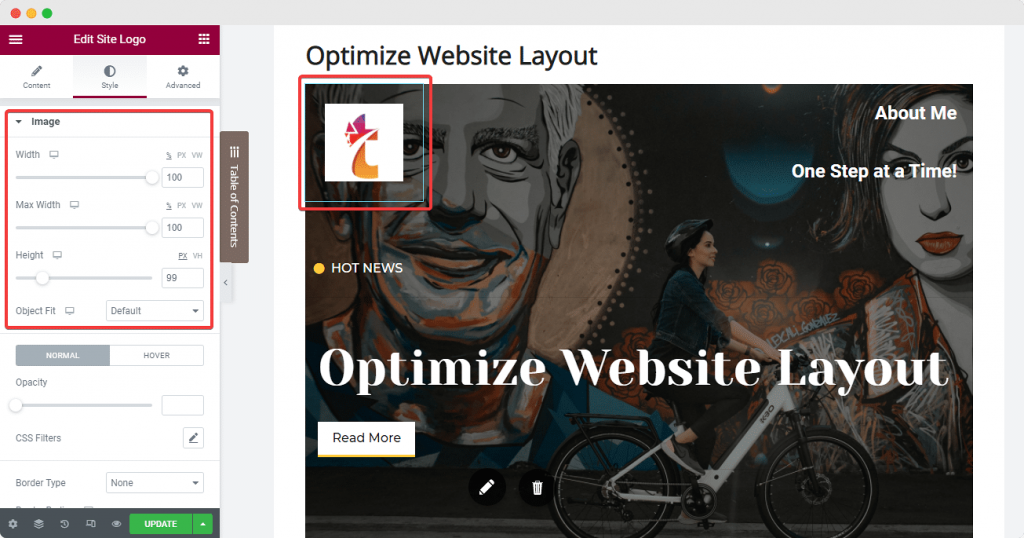
Elementor has a particular widget that lets you make and style your website logos and make them look like they belong to your business. Elementor's 'Style Tab' can help you set the correct dimensions for the image you want to use when you upload it. This will ensure the layout doesn't shift when the web page loads. Also, don't forget to add a relevant image title and alt tags to your site to improve your search engine rankings.
Next, we have the Nav Menu widget from Elementor that we can put on the 2nd column of our site. Add important pages and posts by setting up the "Menu Screen" on your website's dashboard. Then, use Elementor's "Content" and "Style" tabs to change the layout. This is one of the best things you can do to keep things clean. You should set the pointer to "none."
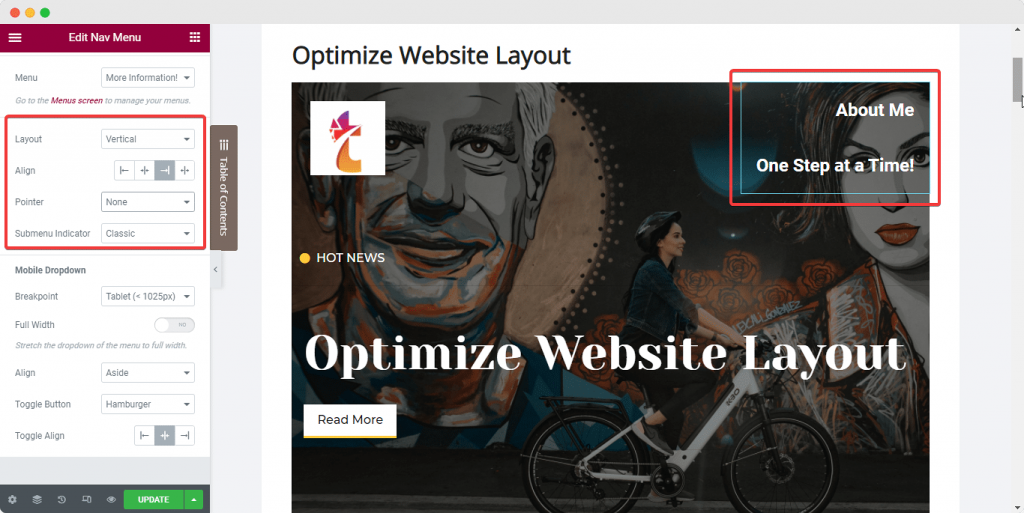
You can add any other widgets you need to your header (like an Icon List widget) right next to the Nav Menu in the same column.
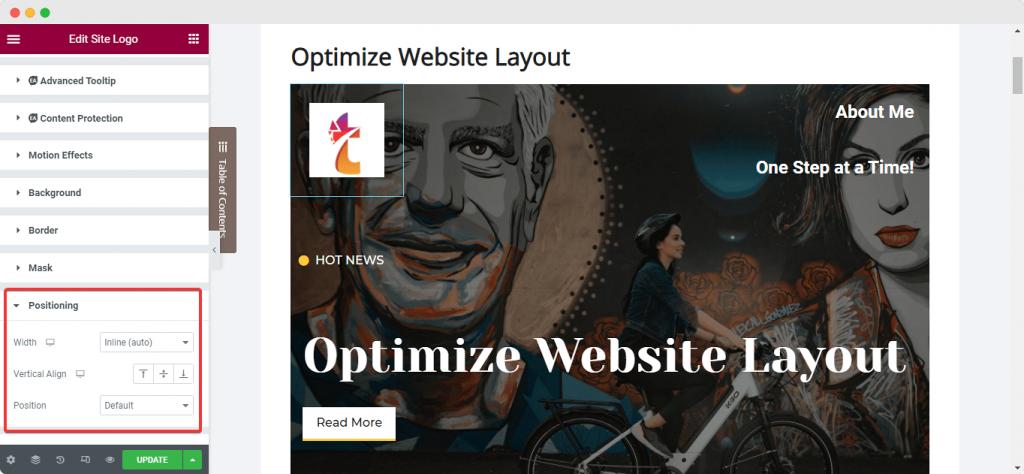
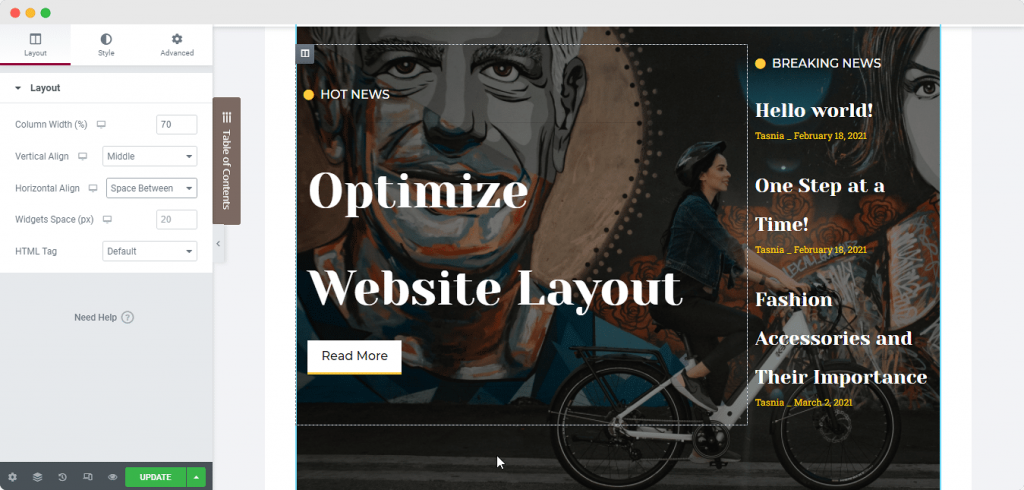
To make sure everything looks good together, set the elements in line with each other and set the column's position to fit with the other elements. Here are the steps you need to follow to get the best layout possible:
Make sure you've chosen your widget. Then, from the Elementor side panel, click on the "Advanced" tab. Then, under "Positioning," choose "Inline" and set the width of the widget to that. You can do this right now, and the widgets will be lined up with each other right away.
Next, choose the column and go to the 'Layout' tab. Then, set the column to be in line with the widgets. Then, under "Vertical Align," choose "Bottom." Under "Horizontal Align," choose "Space Between."
Let's talk about the Footer now. Many website creators make the same mistake: They use multiple widgets in the Footer to add descriptions, links, and copyright symbols. In this case, the best way to make your website layout more efficient is to use widgets that can do many things and cut down on the number of sections in the Footer.
You can combine some widgets into a single section to keep the Footer clean and beautiful. You can now also make a Footer that changes with the Dynamic tags from Elementor. To find out more, read this dedicated piece of text.
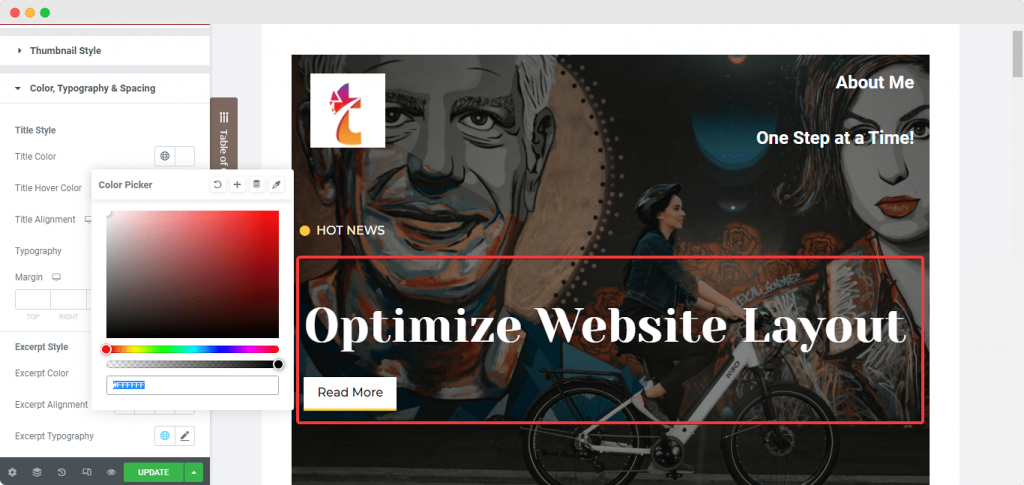
Website Hero Section
In the next part, we'll talk about the Hero Section of your website page or the banner that shows up on top of the page. The best way to make this section look good is to use a banner with bold text that is easy for people to see on the website.
To make the text stand out over any background or image in your Hero Banner, use the column alignment options to place the text where you want it. You'll want to do the same thing as you did for the header section. Select the column again, set the vertical alignment to "Middle," and then set the paddings as needed to ensure the layout is as efficient as possible.
Utilize Global Styling Options
To make sure your website looks the same worldwide, we recommend that you follow the Global Styling standards. If you want to learn how to make your website look better with Elementor, check out the tips below:
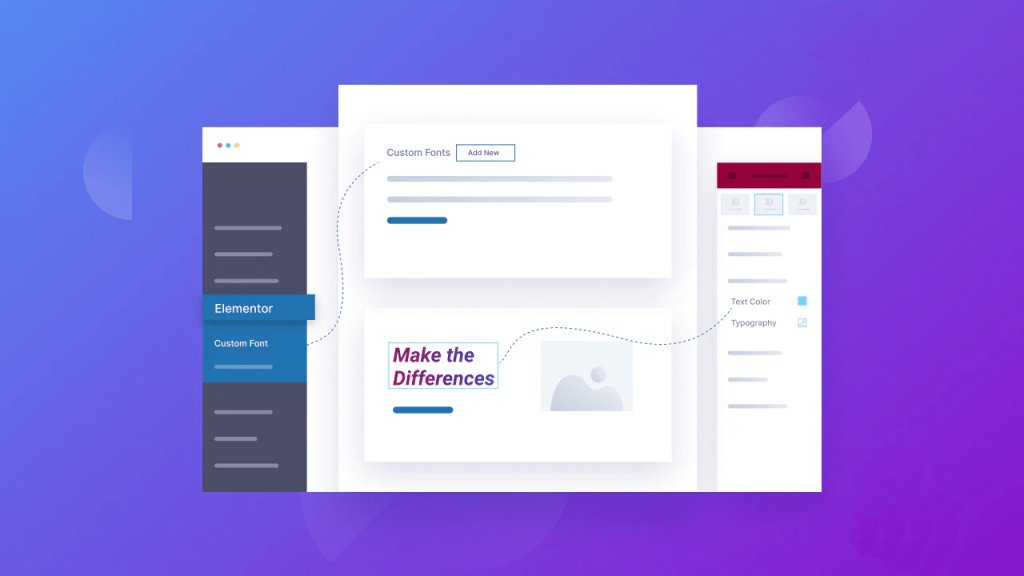
Use Global Fonts
An excellent way to make your site look better is not to use more than two different text fonts. Instead, we suggest that you use Elementor's Global Fonts to set a font that is the same on your whole website.
Using Elementor's Design System feature, you can quickly set up a color palette and a set of font styles that you can use on all widgets and web pages on your website from one place. You'll also be able to keep all of your web pages and posts looking the same because of this.
You can set global fonts to stay the same if you choose them from the hamburger menu in the top left corner of the Elementor side panel. To do this, click on the hamburger menu and choose "Site Settings."
Click on the 'Global Font' option under the 'Design System' section. Then choose the primary, secondary, text, and accent fonts as you like, as shown in the picture below.
Use Global Colors
Like Global Fonts, Elementor lets you set some Global Colors for your website. You can do this the same way. You can do this again from the Elementor side panel on any web page: click on "Site Settings."
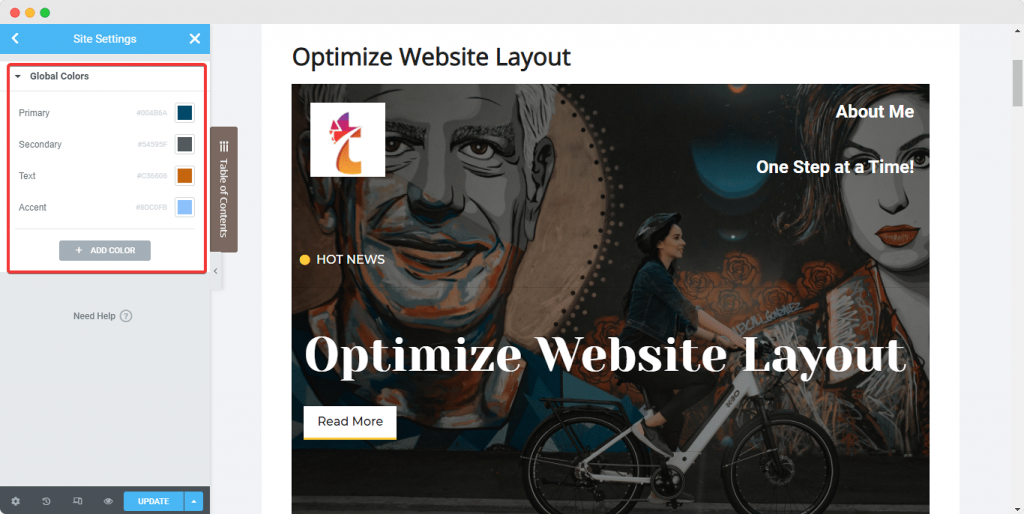
This time, click on the "Global Color" option. You will see four default, Elementor base colors: Primary, Secondary, Text, and Accent. You can choose which one you want to use. These colors can be changed and given new names. You can also add new colors. As soon as you change these Global Colors, you can see the changes right away, and they will be applied to the whole site at the same time!
Separate Text From Background
Good contrast between the text and the background is important for every website, so make sure there is enough of both. Non-readable information hurts your website's score and can also make people leave. The text must always be easy to read, no matter what.
Always make sure that the text on your website is clearly visible and easy to read by making sure that the text stands out against the background color or image it is placed on. And with the help of the 'Styling' tab of the Elementor side panel, you can change the color of the text on any of the widgets you use.
Image Optimizing
It's a good idea to add images to your blog posts if you want them to do well with your readers. Images and GIFs help you keep your users' attention for a longer time. For the best user experience and best website layout, you must use high-quality images on your website to make it look the best. Use ALT text and attributes for all of your images on your site to make them more accessible.
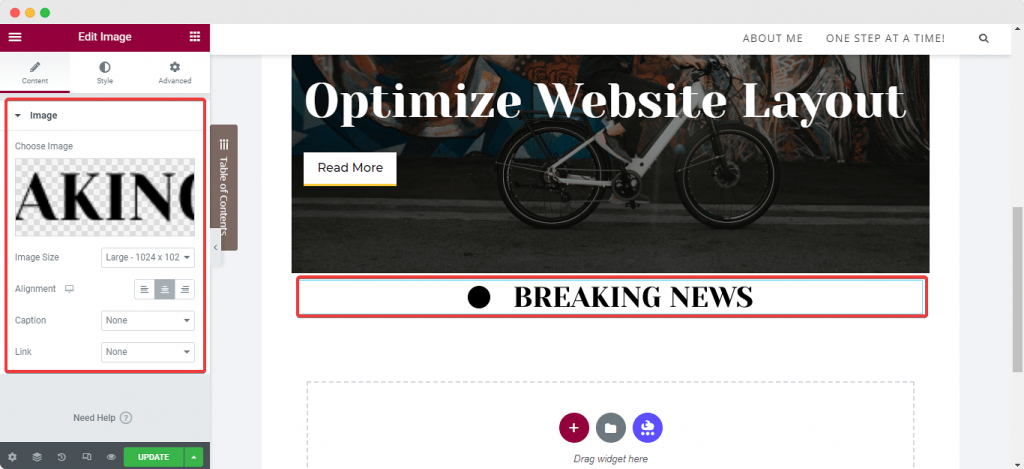
Another way to make your site run faster is to set the dimensions of your images. It makes it easier for things to load quickly while still having good quality. Using low compression rates can also make your images look better on your site. When you use the 'Image' widget from Elementor to add an image to your web page, you can set the size and alignment from the widget's 'Content' tab.
For example, you can change the image's padding and position from the 'Style' tab. You can also change the image's dimensions, CSS filters, opacity, borders and so on from this tab, as well as the image's padding.
Ensure Responsiveness
If you want to look at a website, you're more likely to do it on your phone now than you were before. So if you don't make your WordPress website layout more mobile-friendly, you'll miss out on many chances to make more money.
To ensure that people have a good experience on their mobile devices, you need to make simple and clean, optimized website layouts. Using the 'Custom Width' setting for Elementor widgets and elements, you can make them bigger. When you use custom widths, you won't change the sections on your website. Instead, the widths of the sections will be changed so that all of the content can be seen on any device.
Final Words
Having a well-optimized website is very important because it helps people who visit your website be more successful. It's the goal of every person who comes to your site: to get an answer, solve a problem, or finish a task of some kind. Elementor pushes you one step forward in this project so that you can get the best outcome for your money. I hope this article will help you improve your Elementor site.


