
Images take up a huge part of our website no matter what type of website you have. In fact, sometimes image sources take up most of our website. In such a case it is important to optimize spaces for the better working of the website.

A better performing website always has more chances of retaining users and image optimization is one of the key factors in making your website perform better. In this tutorial, we will discuss how to optimise images with Elementor on WordPress.
Optimole
Optimole is a WordPress plugin fully compatible with Elementor that allows optimization for your WordPress images and boosts performance.
Optimole optimizes in the cloud which means all the images delivered will be on the cloud and you still get to keep your original images. Besides, Optimole allows you to optimize GIFs, set exclusions and watermark your images.
How To Optimize WordPress Images With Optimole
Once you have installed and activated the Optimole plugin on your WordPress, it will ask you for an API as it uses cloud networking. This API will connect your WordPress to Optimole services. Press Register and Email API Key to proceed ahead.

You will receive an API Key on your email that is related to cloud networking. Enter the API Key and you will be directed to the Optimole Panel.
Create Amazing Websites
With the best free page builder Elementor
Start Now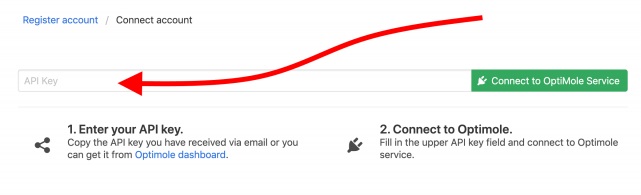
Your main Optimole dashboard will appear on your screen.
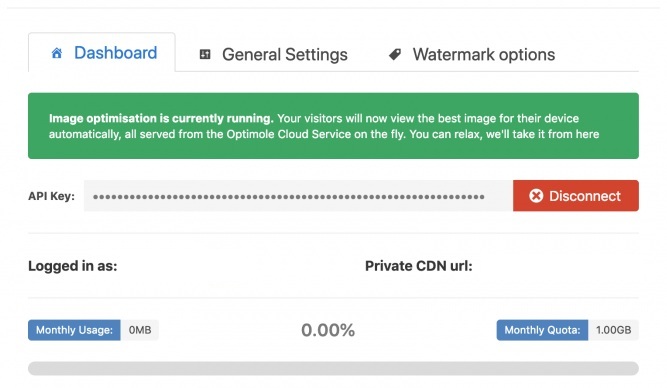
At this point, Optimole is good to go and works on autopilot for most of the websites. For more settings, let's move over to the Settings Tab.
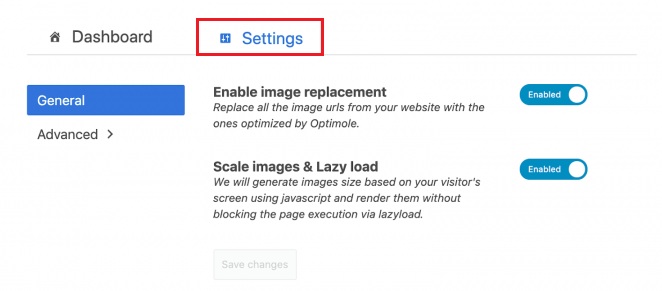
Here you will see two options and you must enable both of them. For the first one, Optimole will replace all your previous images with optimized ones. The latter option is rather more useful as it will optimize images based on the user's device and viewport.
For more settings options, switch to the Advanced Tab.
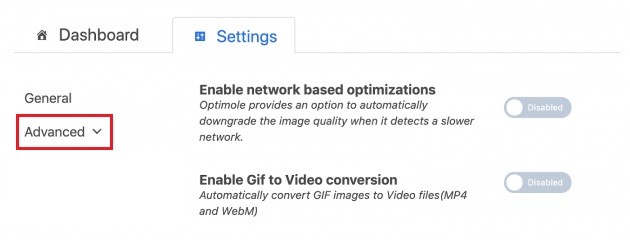
Let's take a moment and understand all these advanced options.
- Network Based Optimizations: This options is pretty useful if you want to deliver heavy images to users with slower internet connections. Optimole will downgrade the image quality as soons as it detects a user with slow internet connection.
- GIF to Video Conversion: If you upload a lot of animated GIFs this options is pretty handy. As it will take all your GIFs and turn them in a video automatically.
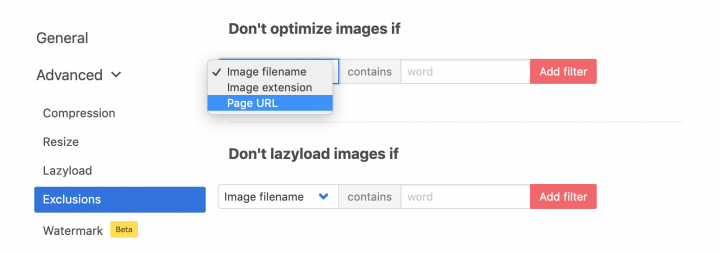
- Exclusions: This option is for all the images that you don't want to optimize. You can specifically choose those images and they will elimated from the optimization process.

- Compression Level: This one is pretty self-explanatory. Make sure to choose the right amount of compression if you don't want your image to lose quality. We recommend you to preview the image at each level to have a better idea.
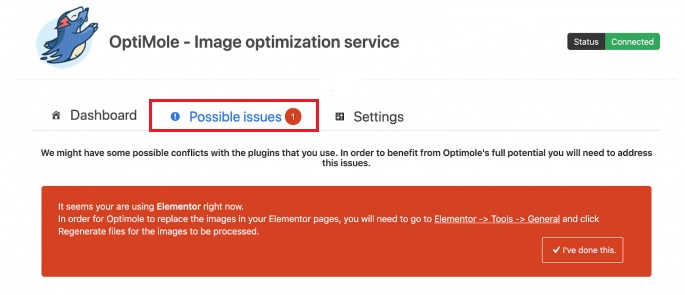
How To Integrate Elementor With Optimale
If you have Elementor enabled on your website, the following option will appear on the Optimole dashboard.
Go to Tools from Elementor in the WordPress Admin and then Regenerate CSS.
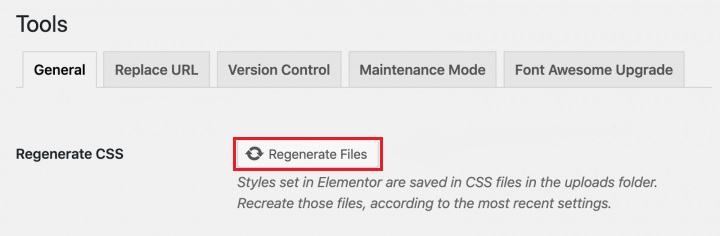
And now Optimole will start working perfectly on your WordPress alongside Elementor.
This is how you can optimize your images with Optimole and Elementor Page Builder. For more of our posts, make sure to join us on our Facebook and Twitter.


