
The comment section on a blog is often where people have meaningful discussions. But there might be a situation when you wish to create your own online community. Thanks to the Divi Condition Options feature, you can stop users who are not part of your blog from leaving comments on your posts. This can be useful for a community that's exclusively for members or as a special benefit for those who have a membership on your site. In this guide, we will demonstrate how to make Divi's Comments Module visible only to users who are logged in. This will enable you to engage directly with your community! To start, we'll use the Film Lab Blog Post Template as the foundation for this Divi tutorial.

How to Make a Comment Section Exclusively for Members
Divi's Condition feature lets us pick certain rules for how modules, rows, columns, and sections on our website behave. In our case, we want to set these rules based on whether a user is logged in or not. Here's a quick overview of the steps we'll follow in this guide to make our exclusive comment section for members:
- Add your blog post template to the Divi Theme Builder (or create a new blog template if you haven't already).
- Create the special comment section for members and include a Login Module in it.
- Set up rules for when the row with the Login Module should appear using Display Conditions.
- Set up rules for when the row with the Comment Module should appear using Display Conditions.
- Save your changes and test the template in a private browsing window to make sure it works as intended.
Design Layout
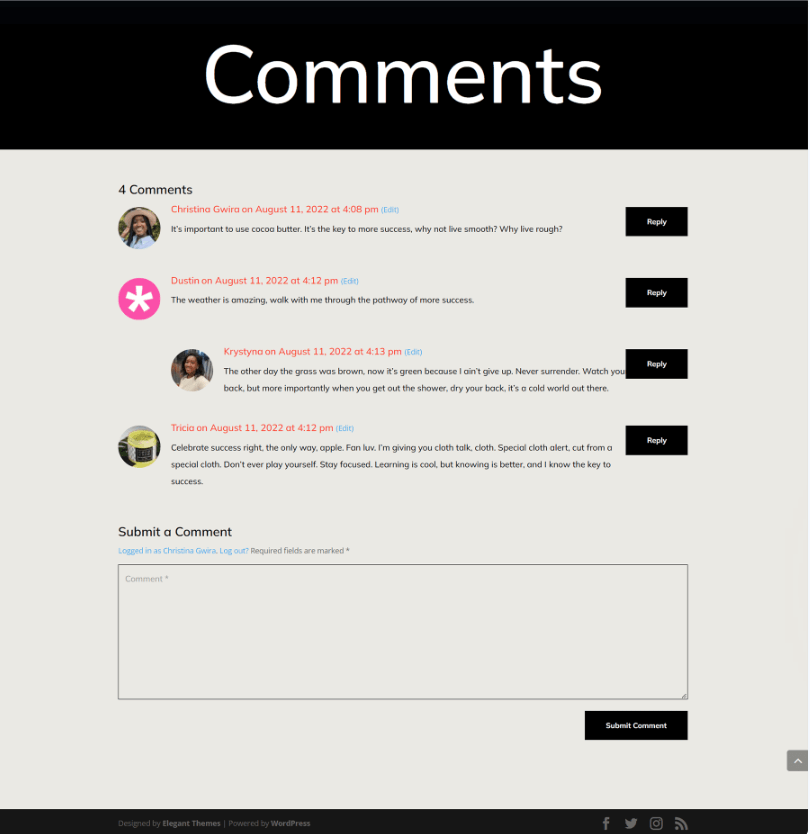
Here's how the Film Lab Blog Post Template appears when you remove the members-only comment section. Please observe that anyone can visit a blog post, read it, and engage with the comments section.
Setting Up the Blog Post Template
To begin creating our members-only comment section, we should first obtain the template we'll be using. You can access and download the Film Lab Blog Post Template easily.
Create Amazing Websites
With the best free page builder Elementor
Start Now
Head to the Divi Theme Builder
To upload the template, go to the Divi Theme Builder located in the back end of your WordPress website.

Upload your website template
and then, in the upper right corner, you'll find an icon featuring two arrows. Simply click on this icon."

Go to the "Import" tab, and then upload the JSON file you obtained from this post. Afterward, click on the 'Import Divi Theme Builder Templates' button.

Save Your Divi Theme Builder Modifications
After you've successfully uploaded the file, you will see a fresh template with a new section designated for all your posts. Make sure to save the changes you've made in the Divi Theme Builder when you're ready to activate this template.

Customising the Template
Access the Post Template
With our template installed and assigned to all blog posts on our site, it's time to create our exclusive comment section for members. To get started, we simply need to open the template.

Row into the Comment Module
To simplify this, switch to wireframe view. Next, click on the green plus icon to include a new row just above the existing one that holds the Comment Module.

Afterwards, we’re going to add one column to the row.

Login Module
We intend for users to sign in to our website to gain access to our exclusive comment section for members. Scroll within the Module modal box until you locate the option.

Text in the Login Module
Now, we will put a title in the Login Module. We will use this title to request users to log in before they can view our comments section."

Customising the Login Module
To set the background colour for the Login Module, follow these steps:
- Background Colour: #ff4125
- Use Background Colour: Yes

Background and Text Styling
- Fields Background Colour: #eae9e4
- Fields Text Color: #000000
- Fields Focus Background Colour: #eae9e4
- Fields Focus Text Color: #000000
The fields will likewise have a border but no rounded corners. This will mimic the Comment Module's look.

Background and Text Styling
- Fields Rounded Corners: 0
- Fields Border Styles: All
- Fields Border Width: 1px
- Fields Border Color: #000000
- Fields Border Style: Solid
Title Modification
The title must use the same font used throughout the template and it needs to be white.

Heading Text
- Title Heading Text: H2
- Title Font: Mulish
- Title Text Colour: #ffffff
Take note of the responsive sizes we added to the title to make it suitable for various screen widths.

Heading Text: Font Size
- Title Text Font Size (Desktop): 64px
- Title Text Font Size (Tablet): 48px
- Title Text Font Size (Mobiler): 48px
How to Style a Button
Copy the button settings from the Comment Module and paste them into our Login Module to save time. The Comment Module's settings icon should be clicked.

Go to the Design tab by navigating. To reach the Button tab, scroll down. Copy Button Styles by using the right-click menu on the button tab.

Then close the Comment Module. The Login Module can be accessed by clicking the gear symbol.

Once more, select the Design tab, then navigate to the Button tab. Then click again and choose Paste Button Styles. Voila! The button and the button in the Comment Module appear to be very similar.

Now, the button on our Login Module nearly resembles the buttons on the Comment Module. Yay us!

Display Condition to the Row
After styling our Login Module, it's time to set up our first Display Condition. This step is crucial for creating a comment section exclusively for members. Divi offers a range of options within the Display Condition feature to make this happen. To get started, click on the gear icon to access the settings for the row that holds the Login Module.

Within the row options, select the Conditions tab after selecting the Advanced tab. Next, select the + icon.

There are numerous options available when you click the + symbol for the condition under which you want to show (or conceal) this row. Click Logged In Status after scrolling down to User Status.

After completing this step, another pop-up window will appear. Inside this pop-up, we need to select the dropdown menu that currently says "User is Logged In" and switch it to "User is Logged Out." This action is essential for our exclusive comment section, which is only accessible to registered site members. To gain access to our comments section, individuals must have a valid login username and password. Without valid credentials, they won't be able to enter the comment section on our website
 Display Situation
 Display Situation
 - Display Only If: User is Logged Out
- Enable Condition: Yes
After choosing your display condition, be careful to save your changes by selecting the modal box's green checkbox. Pay attention to the warning about caching plugins.

Activating the New Members Only Comment Section Display Rules
The last step in this tutorial involves configuring the Display Condition for the row that holds the Comment Module. To do this, simply click on the gear icon to access the row settings.

Once inside the Row Settings, we'll click on the Advanced tab, then choose the Conditions tab and press the + icon to add our Display Condition. This is similar to how we did inside the row containing the Login Module.

Instead of just displaying if the user is logged out for the row containing the Comment Module, we want it to only display if the user is logged in.

And, Its Done!
With Display Conditions applied to both the Comment Module and the row containing the Login Module, let's perform a simple test. Open a blog post on your website using an incognito or private browsing window.

We employ a private browser or incognito window for testing display conditions. This window logs us out of our website temporarily during our browsing. When returning to regular browsing while being logged into your website, the comment section should become visible. Alternatively, you can log out of your WordPress website to view your completed work. While we demonstrated this tutorial using a Comment Module, you can apply these steps to any module, row, column, or section within Divi without requiring any extra plugins. Feel free to experiment with various display settings to see what you can create.
Wrapping Up
Establishing a community on your WordPress website is a great way to build trust among your most frequent users. One effective approach is to set up a members-only comments section, enabling members to easily interact with each other. Divi simplifies this process with its built-in tools and features.
With Divi's native Display Conditions, you can restrict interactions to registered users only. Additionally, you can effortlessly customise the appearance of your Comments Module using the Design tab and Divi's comprehensive editing tools. You can create a dynamic private community without the need for a separate membership plugin when you utilise Divi.
By activating specific features within Divi's core, you can establish a comment section exclusively for logged-in users, strengthen your online community, and keep your WordPress website streamlined. Before considering a plugin for adding basic membership functionalities, explore Divi's Display Conditions to enhance various aspects of your website today.


