
In today's fast-paced digital world, where information is just a click away, keeping your website subscribers updated with your latest content is crucial. As a website owner, you put a lot of effort into creating quality content for your readers, and it is equally important to make sure that your subscribers are aware of it. That's where blog post notifications come in handy.

Sending notifications to your subscribers about your new blog posts not only keeps them informed but also helps to build a loyal readership. However, manually sending notifications to each subscriber can be a tedious and time-consuming task. The good news is that there are several automated ways to notify your subscribers of new posts in WordPress.
In this blog, we will explore three simple and effective ways to send blog post notifications to your subscribers. Whether you are a seasoned blogger or just starting, these methods will help you keep your subscribers engaged and informed about your latest content. So, let's get started!
Method 1. Email Newsletter To Subscribers
One of the most effective ways to inform subscribers about new blog posts is through email marketing. To get started, it is essential to choose a reliable email marketing service provider.
Create Amazing Websites
With the best free page builder Elementor
Start NowFor beginners, Constant Contact is recommended as it offers an easy-to-use interface and comprehensive features suitable for small businesses. With Constant Contact, users can enjoy unlimited emails, social media sharing tools, segmentation, simple tracking and reporting, and access to a free image library. Additionally, Constant Contact offers exceptional customer support through various channels such as live chat, email, and phone.
Constant Contact offers all the necessary tools to send new posts to email newsletter subscribers, including the ability to embed new blog posts directly into emails.
For users of other email marketing services such as HubSpot, ConvertKit, Drip, or other providers, the process is likely to be similar.
Method 2. Automatic RSS Email
WordPress incorporates a technology known as RSS feeds, which allows regular updates to be sent out whenever a new blog post is published. RSS feeds function by organizing the latest content in a structured XML document, which is not easily readable for humans.
Fortunately, the RSS feed can be utilized on a website to automatically send out an email every time a new blog post is published. This eliminates the need to manually create an email newsletter each time.
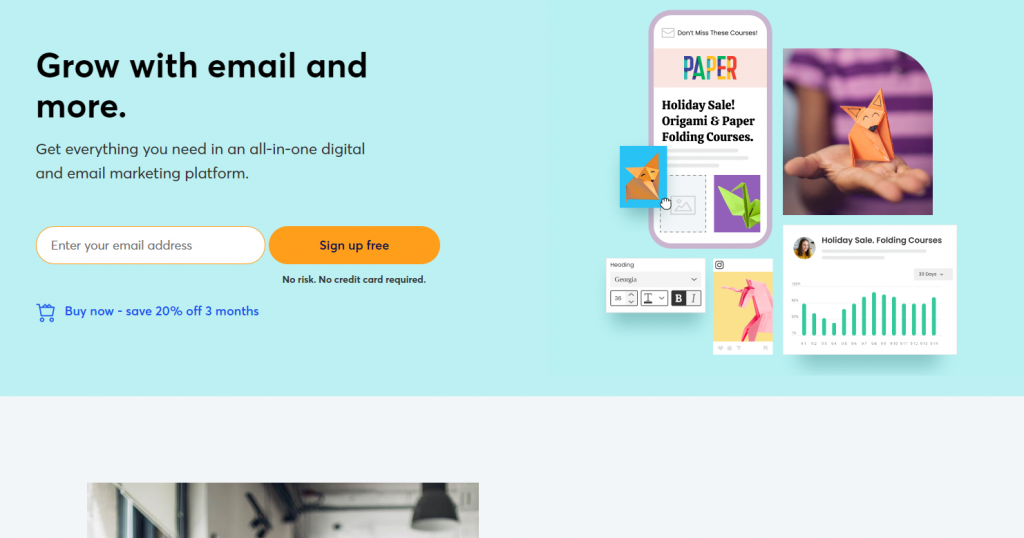
It is advisable to use Sendinblue, a popular email marketing service that offers a free plan to send up to 300 emails daily and supports unlimited email contacts. In addition, Sendinblue enables users to effortlessly create email workflows, send transactional emails, and identify the optimal time of day to send emails.
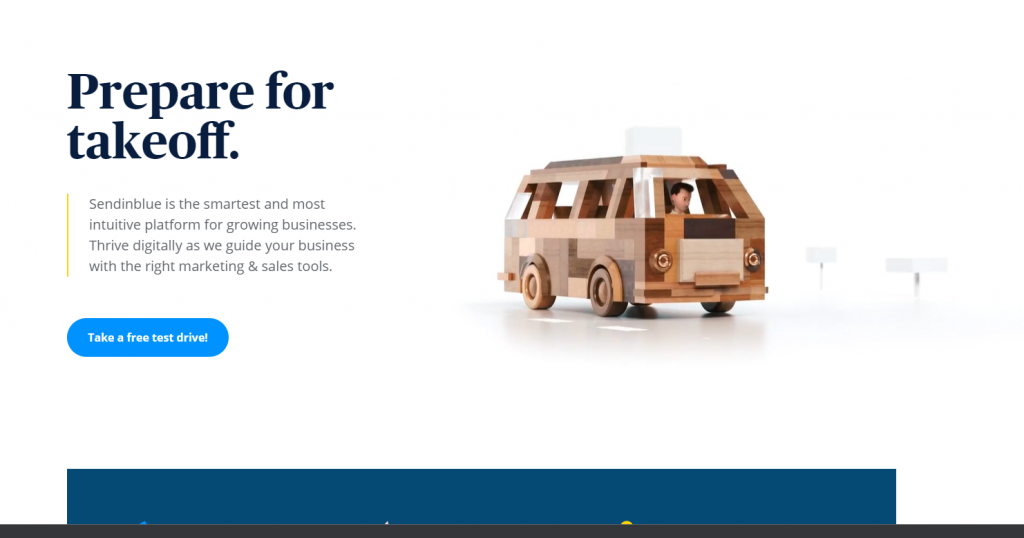
To begin, the user must create an account on the Sendinblue website by clicking on the ‘Sign up free’ button and following the necessary steps.
You must then enter your email address and password to create your account.
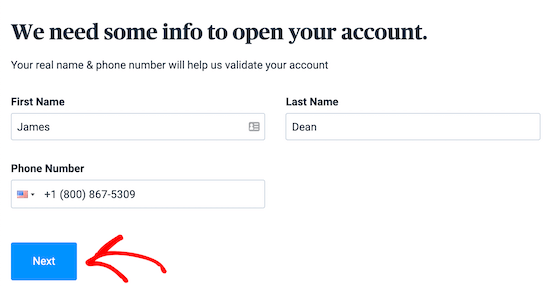
You will be directed to a site where you can complete creating your profile after confirming your email address.
You must fill out both your personal and business information before clicking the "Next" button.
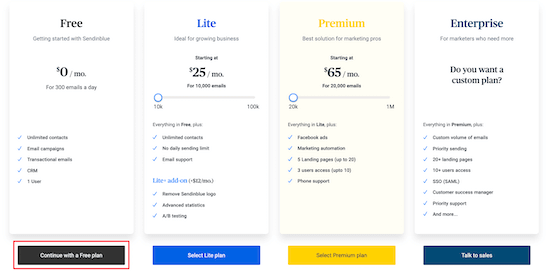
The next step is for you to select your plan.
We'll use the Free plan for this tutorial, but you're free to upgrade to a Pro subscription at this time.
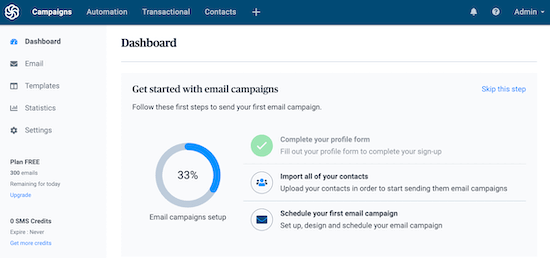
You'll see your Sendinblue dashboard once you've registered for an account.
You will be requested to complete your profile if you didn't during setup.
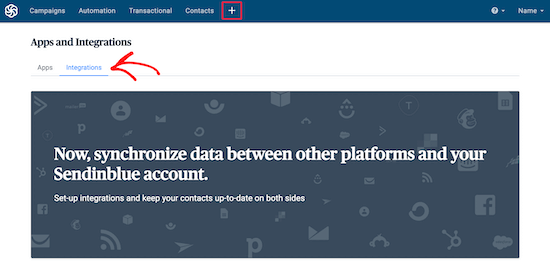
Next, select "+" from the top navigation menu.
Then select the menu option for "Integrations" underneath that.
The RSS campaign option will appear when you enter "RSS" into the search bar.
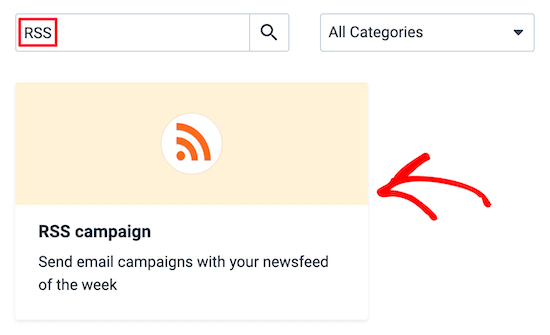
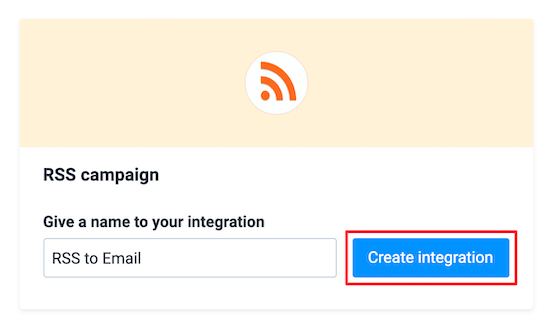
You are taken to a screen where you must name your integration and click the "Create integration" button after clicking "RSS campaign."
Although the name won't be visible anywhere, it will aid in your memory of the integration's goal.
You now need to set up the integration settings.
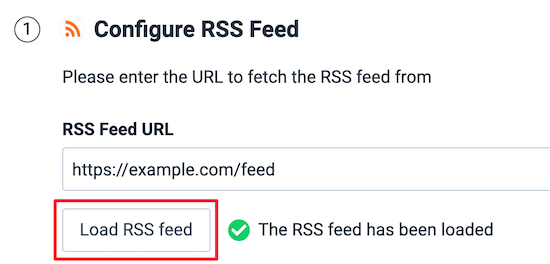
Enter your RSS feed's URL first. Your website already publishes an RSS feed because WordPress is being used. Simply append /feed/ to the end of the address of your website to find your RSS feed.
Then, select "Load RSS feed" from the menu. If it loads successfully, a confirmation will be given to you.
Then, click the "Continue" button under your RSS feed by scrolling down.
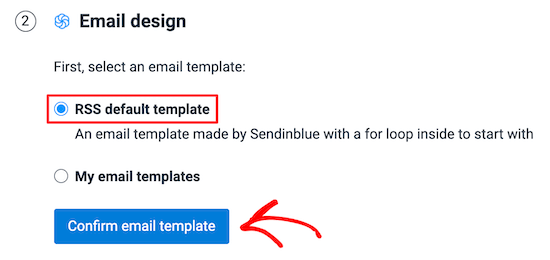
After that, you have the option of using a previously made email template or using the default one.
Since the default template is fully set up and properly formatted, we advise utilizing it.
Click "Confirm email template" after that.
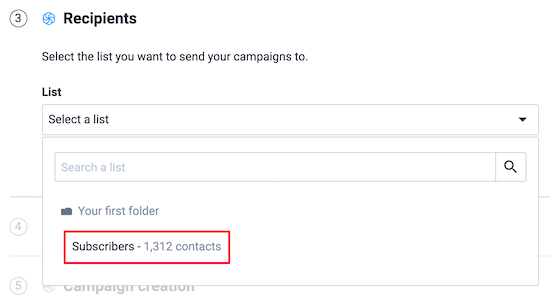
The email list you want to send the RSS email to must then be chosen.
Just select your list from the drop-down menu and press the "Continue" button.
You may now change the settings for your email campaign.
You'll remember the campaign's purpose better if you know its "Campaign Name."

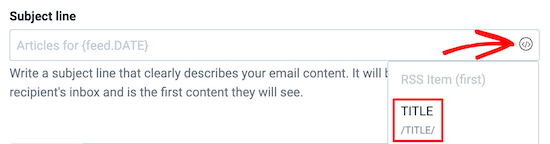
What will show up in your subscriber's inbox is the "Subject line." As this is the first thing they will read, it must be pertinent to the email's subject line.
The dynamic content fields can be used to automatically create fresh subject lines. Simply select "TITLE" from the drop-down box when you click the "Add dynamic content" button.
The title of your most recent blog post will automatically be added as the subject line.
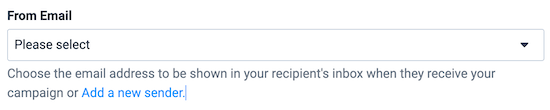
Simply choose your email address from the drop-down list for the "From Email" field.
This could be the email address you added to your account or the one you used to create it.
Your name or the name of your business can be used as the "From Name."
This will aid in the visitors' retention of the sender of the email.
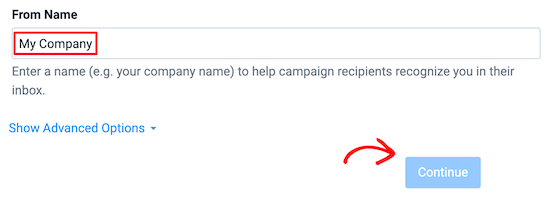
Click the "Continue" button after that.
Next, select the days of the week on which you want RSS emails to be sent.
Simply select the boxes next to the days of the week you want emails alerting you to new blog posts to be sent on.
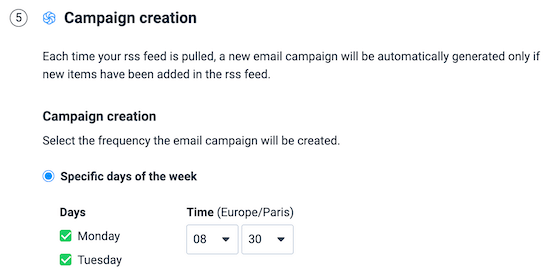
Make sure the radio button for the automatic campaign is chosen, and then click "Continue".
When you do this, Sendinblue will send an email as soon as something new occurs in your RSS feed.
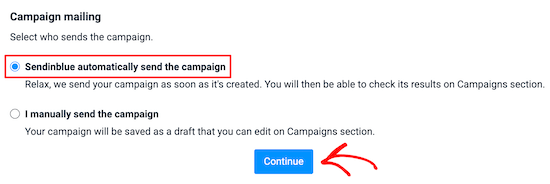
After finishing, press the "Save and activate" button.
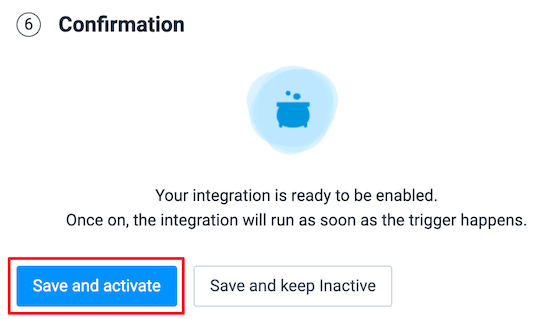
There you have it! Now, an RSS email will be automatically sent to your subscribers whenever you publish a new post.
Method 3. Send Push Notification Subscribers
By signing up for your push notifications, users can subscribe to your website in another method. You may communicate with visitors via desktop and mobile popup alerts.
Push notifications are quite useful since they allow you to reach your visitors as soon as a new post goes up rather than having to wait for them to check their email inboxes.
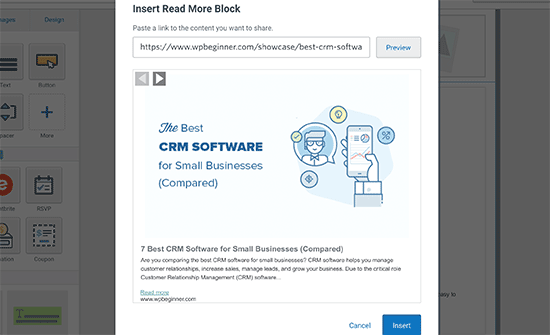
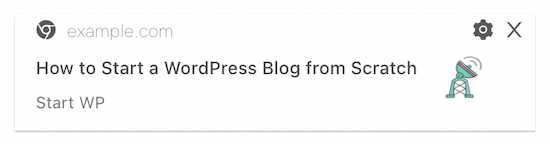
For your subscribers, an example of a post notification is shown below:
Using PushEngage is the simplest way to add push alerts to WordPress. Almost 10,000 businesses use the best push notification software available on the market.
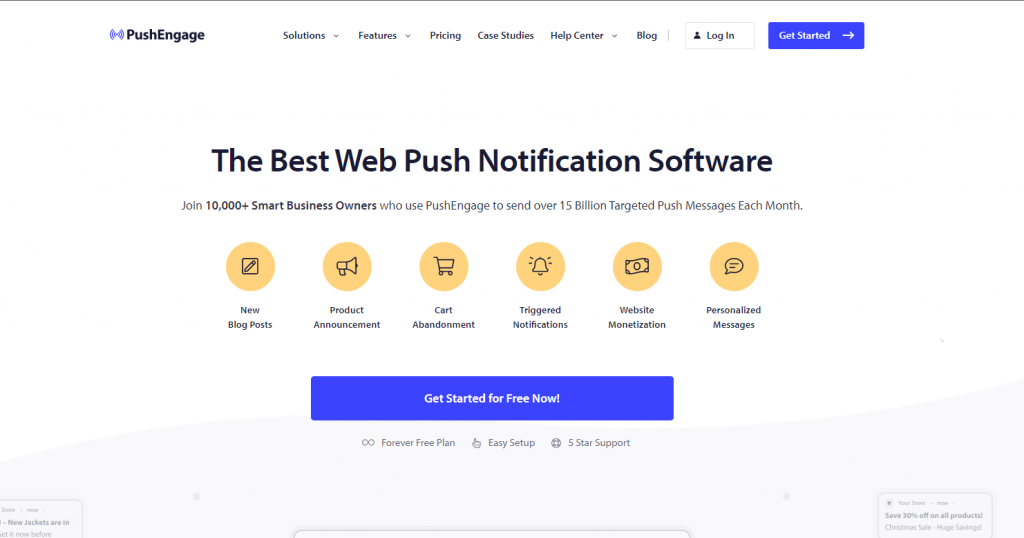
The plugin will automatically enable push notifications for your new posts once you've activated it and configured it.
The post title and a scaled-down version of the featured image are included in the notification. When they click the notification, they will be transported directly to your most recent WordPress blog entry.
Final Words
In conclusion, notifying subscribers of new posts in WordPress is a crucial step towards building a loyal and engaged audience for your website. By following the methods discussed in this blog, you can ensure that your subscribers are always up-to-date with your latest content.
Whether you choose to use plugins, email marketing services, or RSS feeds, the key is to make it easy for your subscribers to receive your updates and stay connected with your brand. By doing so, you can not only increase your website's traffic but also build lasting relationships with your audience.
So, if you're looking to boost your website's visitor engagement and loyalty, start implementing these methods today and watch your subscriber list grow!


