
It is extremely simple to migrate an existing WordPress website to Cloudways. In reality, you don't have to do anything because when you sign up, you get a free managed migration. If you prefer a do-it-yourself approach to WordPress migration, here's how to migrate your WordPress hosting to Cloudways in six simple steps.

Why is Cloudways better hosting?
Cloudways has grown by leaps and bounds within the WordPress community over the last decade, taking great care to fulfill the changing demands of consumers through innovation and regular back-and-forth input. WordPress customers favored Cloudways primarily because of its customer-centric services that address pain areas that no other hosting provider does.
In this article, I'll highlight the main reasons why WordPress developers are so fond of Cloudways, and then let you read what the community has to say about it.
Here are a few of the features that make Cloudways appealing to WordPress users.
Create Amazing Websites
With the best free page builder Elementor
Start Now- No Traffic Limit on Any Plans
- More Than 60 Data Centers
- 5 Different Cloud Providers
- Vertical Scaling
- Pay as You Go
- Pre-Installed Object Cache Pro
- Unlimited Free WordPress Migrations
Migrate Any WordPress Website To Cloudways
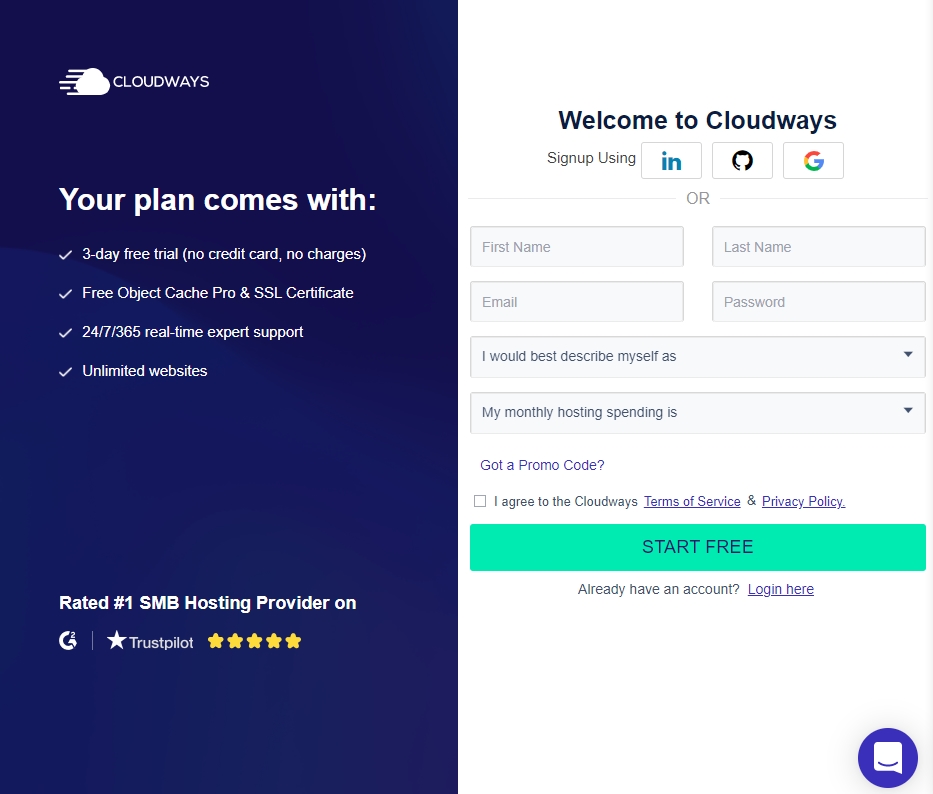
Sign up for Cloudways
Cloudways offers 3 days of free trials, so use that and sign up there. Through free trials, you will be able to test how this server actually performs and does that match their commitment level.
Launch A New Server
The $10/month DigitalOcean server with 1GB RAM will be more than adequate for a tiny WordPress site. You can always upgrade in the future.
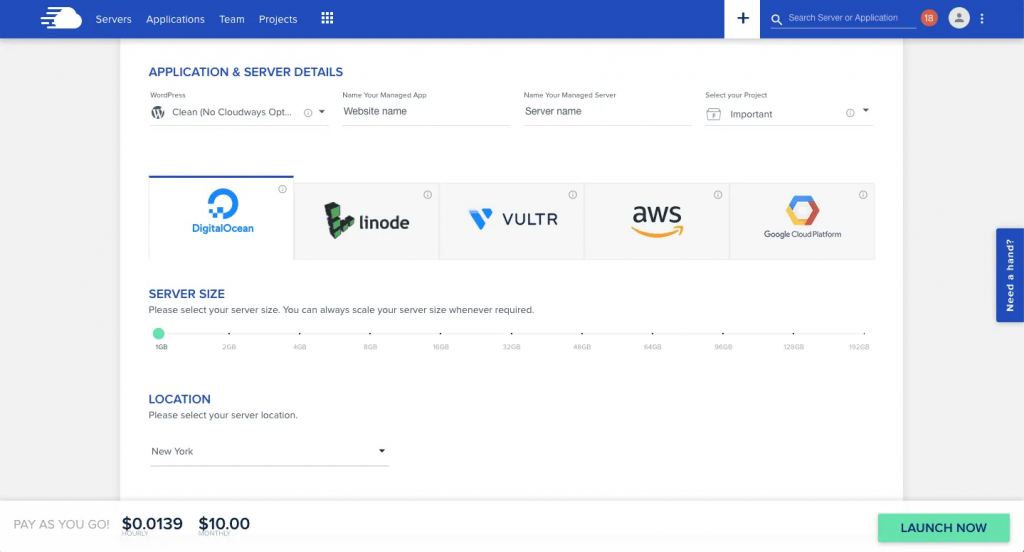
Choose "Clean (No Cloudways Optimization)" for your WordPress installation. This installation will be replaced whenever you move your existing WordPress site.
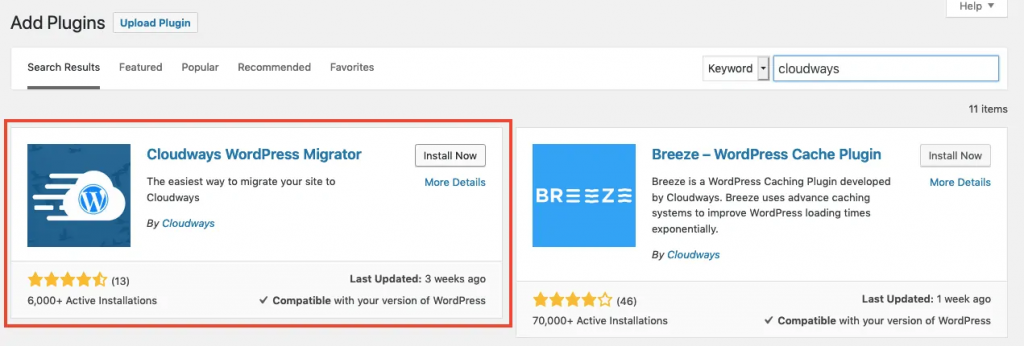
Install the Cloudways Migrator Plugin
Log in to the WordPress website that has to be migrated. Go to Plugins > Add New in the WordPress dashboard and search for Cloudways. To install the Cloudways WordPress Migrator plugin, click "Install Now," then "Activate" to get started.
Put Server Details Into The Plugin Settings
Go to the Cloudways WordPress Migrator plugin settings and fill out the six required fields. Begin with your email address because this is only to receive an email confirming that the migration was successful; it does not have to be the same as your WordPress
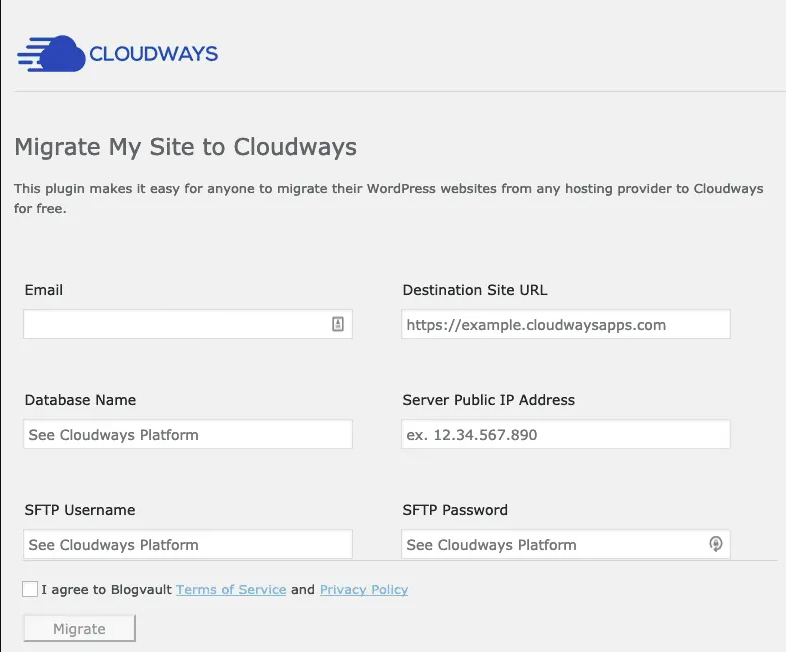
account email.
Go to "Applications" in the Cloudways dashboard, then click on your new blank WordPress installation. The major Access Details options are found under "Application Details."
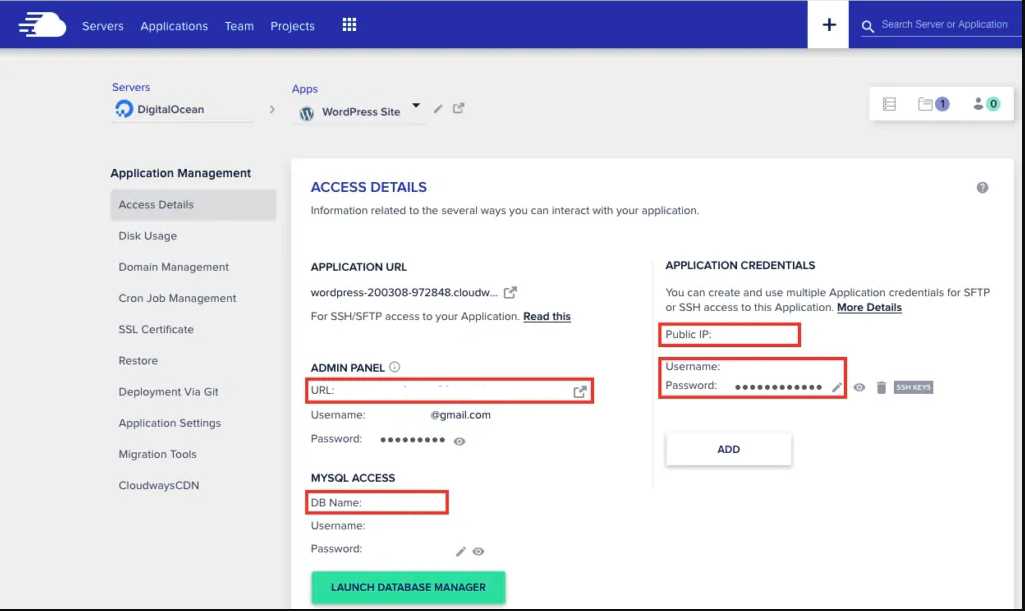
You'll see the fields to copy/paste into the plugin settings box from there.
- Destination Site URL - this is the URL that will look something like wordpress-2390484757.cloudways.com (you won't use your WordPress site domain main yet; you'll add that when you've verified the migration works).
- Database Name – under MYSQL Access > DB Name
- Server Public IP Address – under Public IP
- SFTP Username and Password - Create a strong username and password under Application Credentials, then copy/paste.
Finally, read and agree to the terms before clicking "Migrate" to begin the procedure. Remember that your WordPress site will now be cloned to the Cloudways server; your current site on its current hosting will be unaffected.
You may go to the temporary Cloudways domain (for example, wordpress-2390484757.cloudways.com) to make sure everything is working properly, and even log in to see the admin side of things.
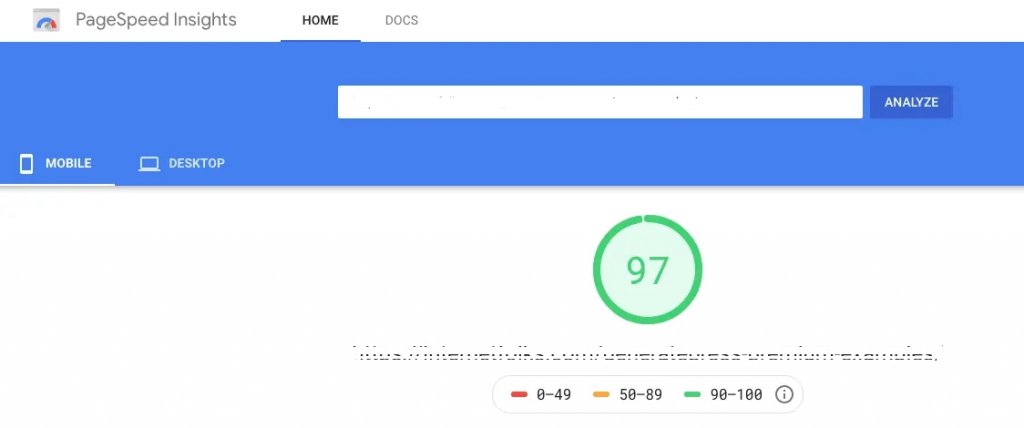
To see how much faster Cloudways is than your current host, do a speed test like Google's PageSpeed Insights. The identical page should be tested on both your old host and the new Cloudways-hosted clone. You'll be surprised at how much faster it is on Cloudways.
Once you're confident that everything is working well, you may proceed to the final step: making the official switch to Cloudways.
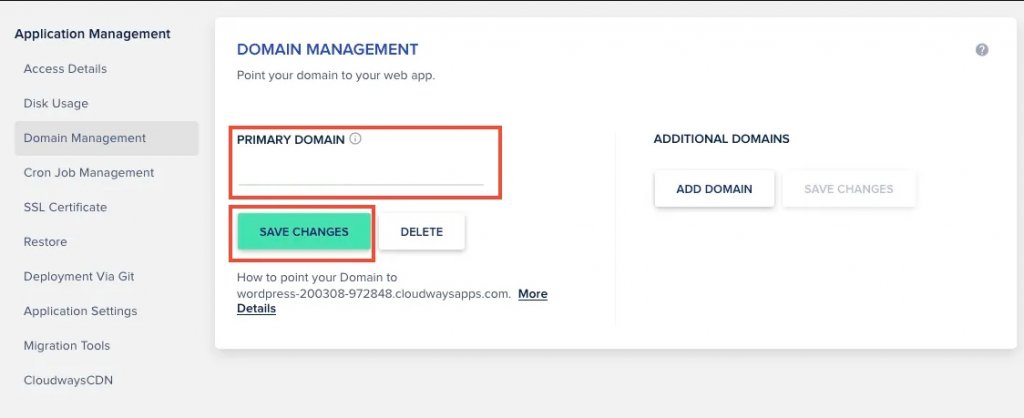
Add Domain Name & SSL
In Application Management > Domain Management, enter your domain name in the "Primary Domain" column and click "Save Changes."
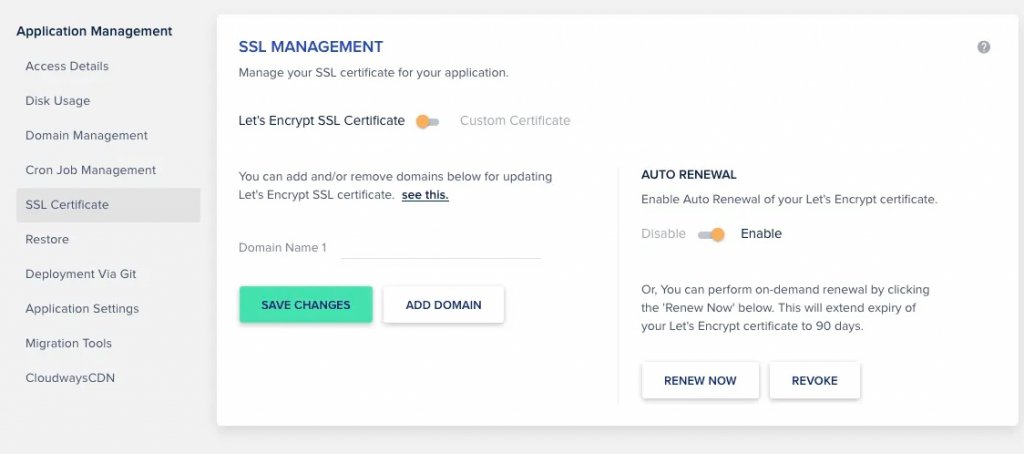
Simply go to Application Management > SSL Certificate and enter your domain name to add a free Let's Encrypt SSL certificate. I also recommend that you enable the auto-renewal feature to prevent your SSL certificate from expiring.
Setup DNS
There are several DNS setup techniques available (including simply adding an A record at your registrar, such as Namesilo), but I recommend utilizing Cloudflare alongside Cloudways to manage your DNS settings and CDN - it's free and helps keep your WordPress site secure and fast.
You do not need to use Let's Encrypt because Cloudflare will manage your SSL certificate (shown above).
If you don't already have one, sign up for a free Cloudflare account. At your domain registrar, modify your nameservers to something like tom.cloudflare.com. Don't worry, you can do this without disrupting your current hosting arrangement because Cloudflare will import your current information.
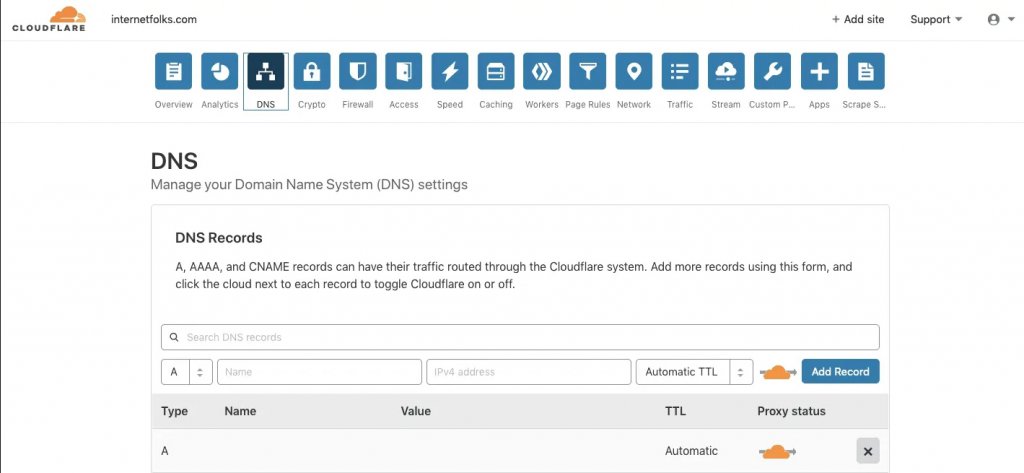
To switch to Cloudways, create/edit an A record with your domain's name and input the Public IP address from the Cloudways application settings under Access Details > Application Credentials > Public.
Wrapping Up
That's all there is to it - your WordPress website is now hosted by Cloudways! By updating the A record IP address in Cloudflare, you may quickly move between your old and new hosts. When you're ready to make the permanent switch, don't forget to cancel your old hosting account.
Whichever cloud hosting service you choose, I strongly advise you to avoid shared hosting. Cloud hosting isn't cheap (DigitalOcean starts at $5/month, Cloudways at $10/month), but it's worth it just for the speedier speeds. And it's a lot less expensive than premium WordPress hosts like WPEngine and Kinsta.


