
There are many products that can help you set up an email management service for marketing your platform. But most of these media have their own work center and thus require you to leave the WordPress admin area to design and send emails. However, we have discovered one that makes this work operational without having to leave the dashboard: it is MailPoet.

Indeed, this WordPress plugin allows you to design and schedule marketing emails from your dashboard. Let's see how it works together!
What is MailPoet?

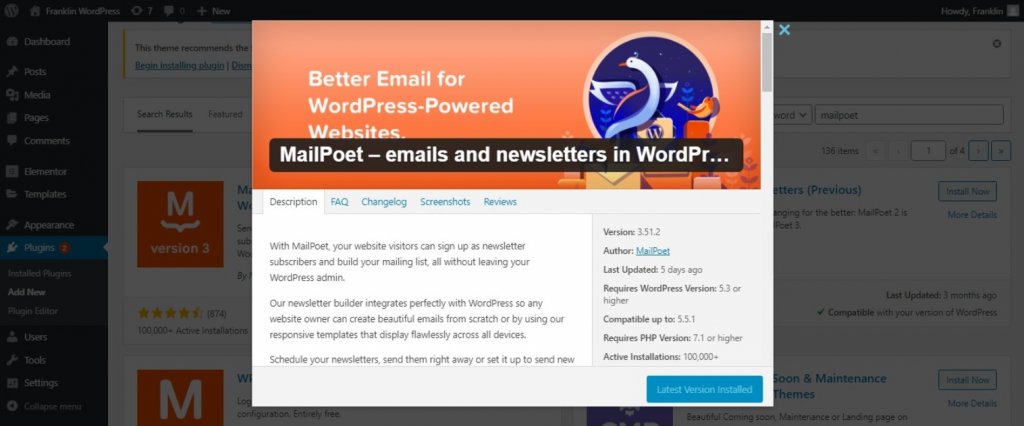
MailPoet is a WordPress plugin for managing your website newsletter. Thanks to it can create email list signup forms, design campaigns, schedule messages, and more. It has nothing to envy to other similar services like MailChimp or Aweber. In fact, it even stands out among these services because, as it is primarily a plugin, you can operate it from your dashboard. And this is the feature that we find particularly interesting here.
The MailPoet plugin provides you with many very interesting features. You get access to an intuitive email builder that works with the Block Editor, and a library of templates you can use to kickstart your next email campaign. As far as deliverability goes, MailPoet enables you to use its own service or connect the plugin with other SMTP providers (such as SendGrid).
Create Amazing Websites
With the best free page builder Elementor
Start NowIt must be said that the above functions are available for free. Nevertheless, it is possible to access the Premium plan without paying anything if you have less than 1000 subscribers. The latter offers additional functions such as the ability to remove the plugin's logo from your email footer, or to check who's opening and clicking on your emails.
Key Features:
- Set up email subscription forms on your website.
- Use an intuitive builder to design email newsletters, welcome series, and more.
- Get access to email templates for your campaigns.
- Send email notifications when new posts go up on your site.
- Send transactional emails for WooCommerce.
- Configure the plugin to work with multiple SMTP providers.
- Monitor key email engagement metrics.
Running an email campaign from your WordPress dashboard with MailPoet in 4 steps
What does "Running an Email Campaign" mean? This involves 3 processes: creating an email list, designing at least one message, and sending it to all emails on the list. We will see in a concrete way how it works through 4 steps:
Step 1: Configure the MailPoet Plugin
First of all, you need to install and activate MailPoet. Then, go to the MailPoet tab, and run the plugin configuration. It's quick and easy.
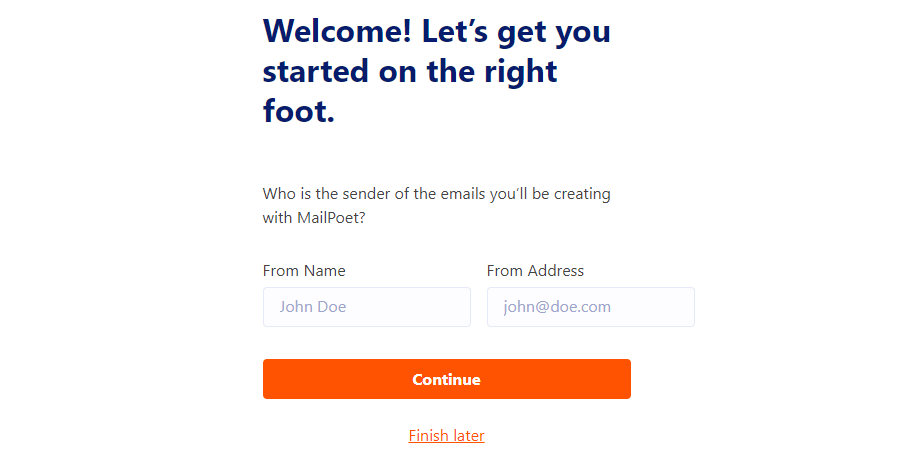
Now, you need to configure the sender's name and address. It is this information that will be displayed on messages coming from your site. By default, it will be "admin" on both sides.
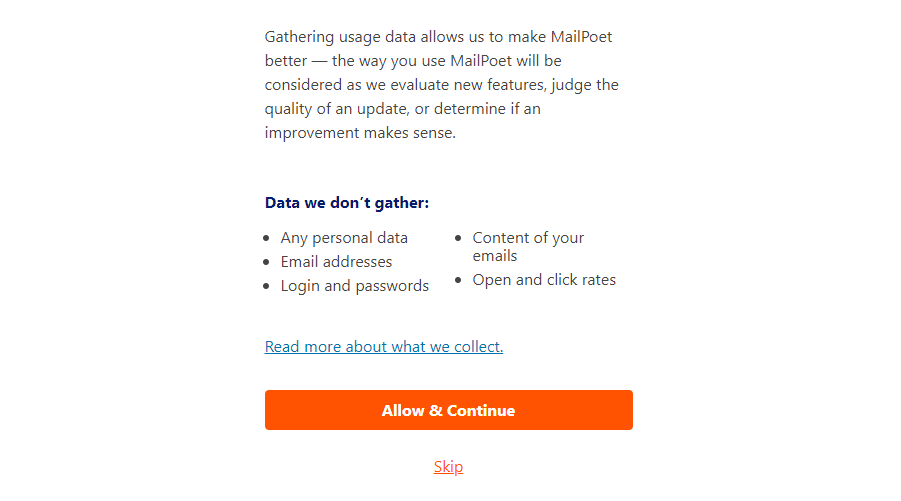
Next up, MailPoet will ask if you want to contribute anonymous data to the plugin’s development. The decision is up to you and it won’t affect any of the plugin’s features:
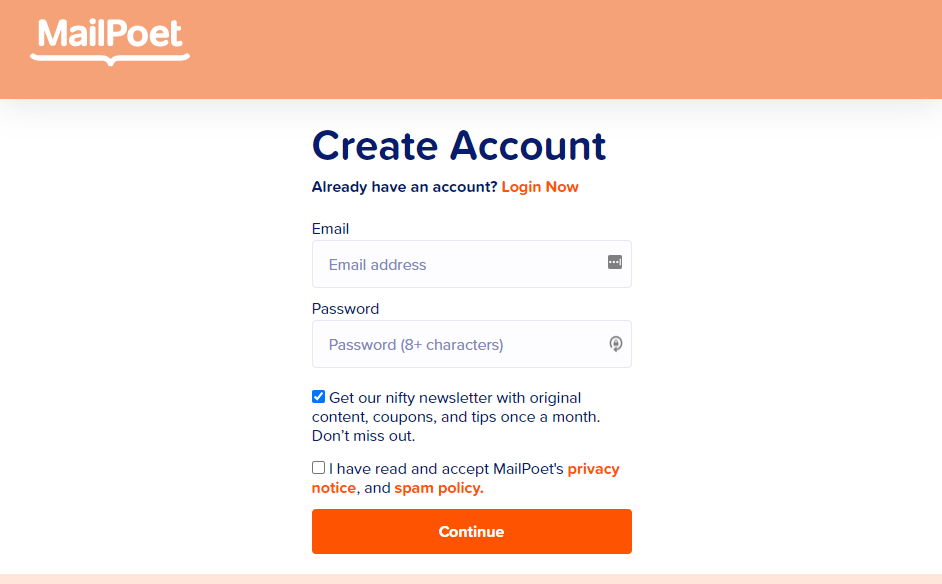
After that, the plugin gives you the possibility to access the Premium plan if you wish. Of course, it's free as long as you have less than 1000 subscribers as we said earlier. You must then sign up for a free MailPoet account.
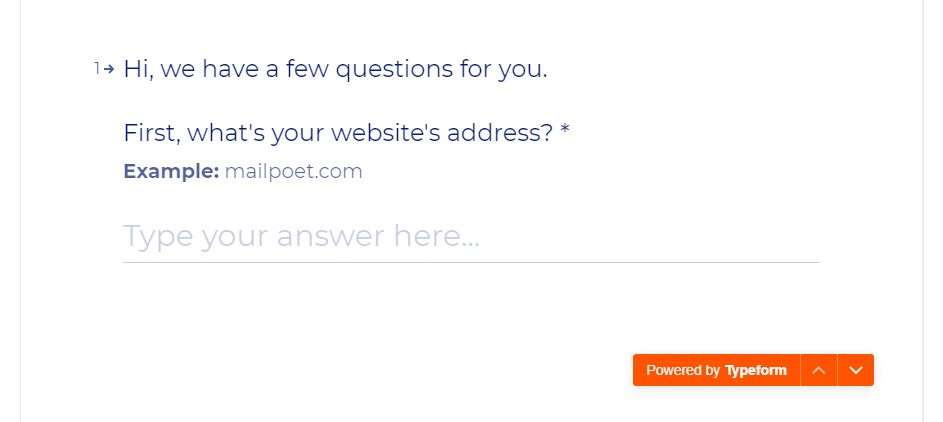
After you confirm your email address, MailPoet will ask for your website's URL (notice it's using Typeform):
Note: For this article, we will be using the Premium version of MailPoet, although this is not a requirement.
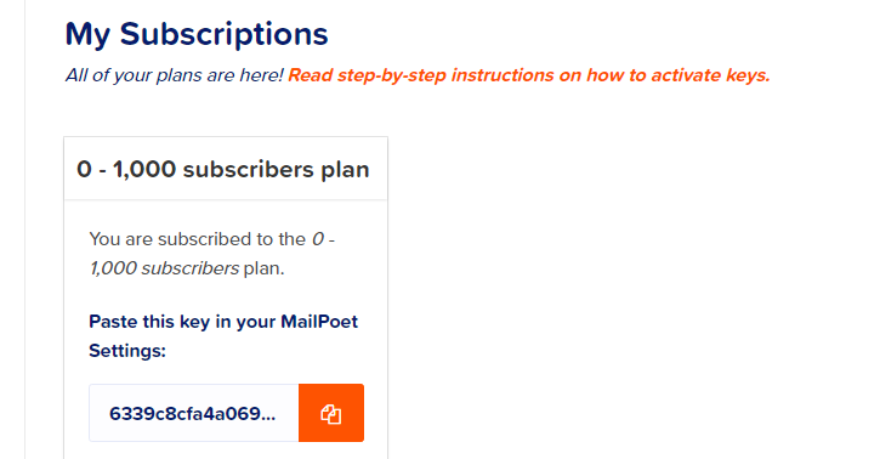
At MailPoet's request, you will specify the number of marketing emails; which will give you access to your free account. An access key will be sent to the MailPoet dashboard. Copy this key and come back to WordPress:
Go to MailPoet > Settings > Key Activation and paste your key in the field within, then click on Verify:
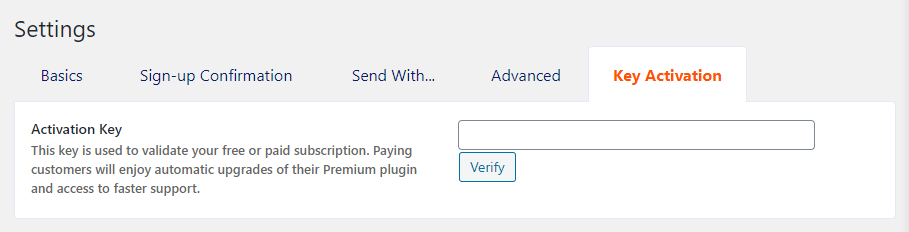
A few seconds are enough for the key to be validated and give you access to all of MailPoet's Premium features. Let's take the next step.
Step 2: Set Up an Email List
By default, the MailPoet plugin provides you with two preconceived email lists: the first concerns all existing WordPress users and the second a brand new list you can use for your campaigns.
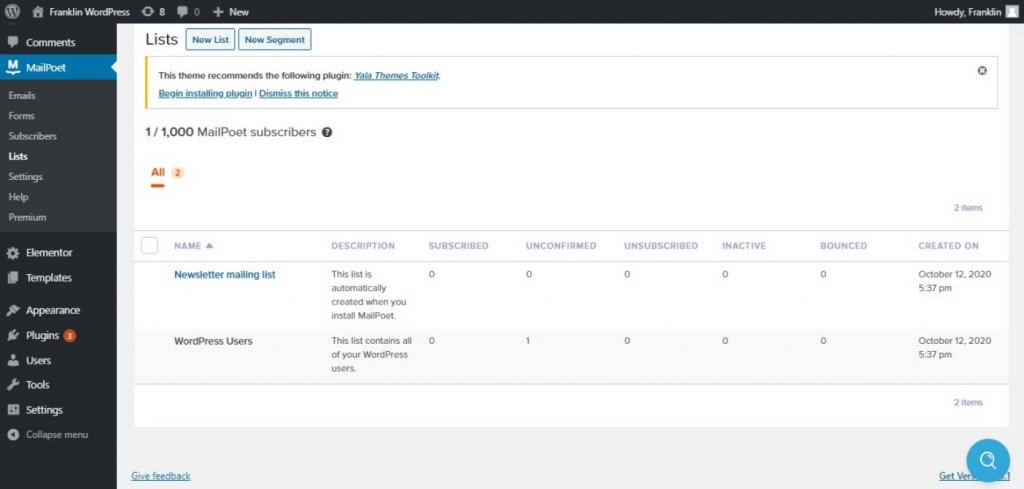
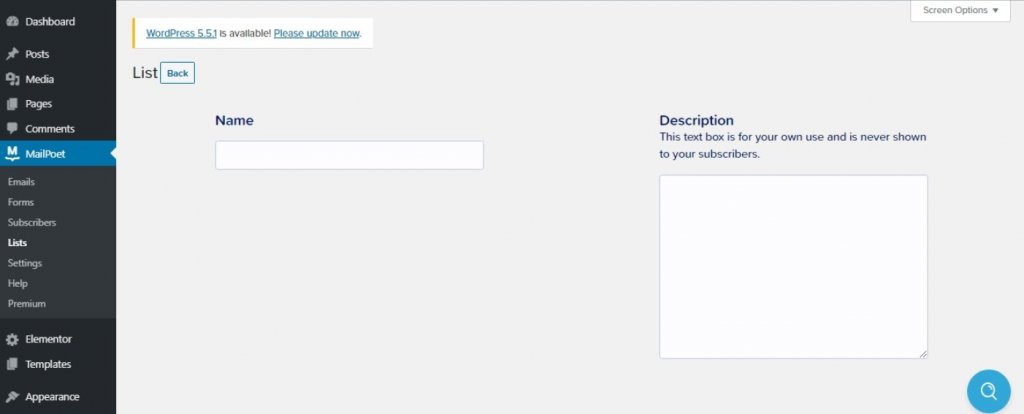
Of course, it is possible to simply exploit this new list. But, if you want to create a new one, just go to MailPoet> Lists> New List. You will then have to enter a name and description and it will be good.
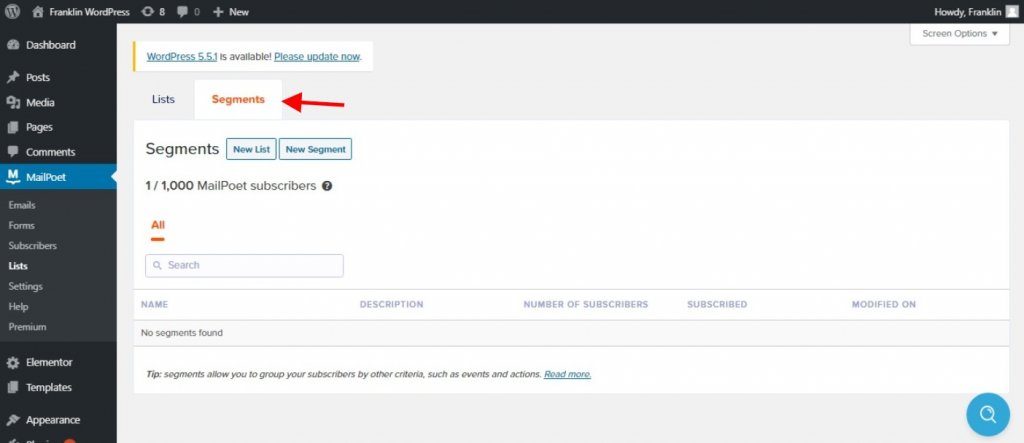
Keep in mind that you can also set up new email segments from the Lists tab by clicking on the New Segment. All your existing segments will show up under the Lists > Segments tab:
Once your brand new list is ready, it's time to actually execute your first email campaign.
Step 3: Create a new Email Campaign
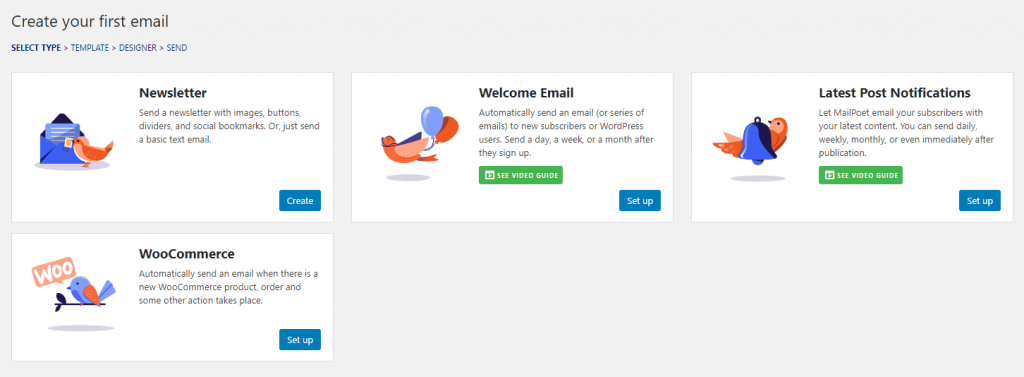
Since this is your first campaign, we recommend that you choose Welcome Email. To do so, simply go to MailPoet> Emails and select the template you want to use.
After that, you need to configure when to send your email. Concretely, when will your email be sent? Since this is a "Welcome" message, it is more appropriate to select the When someone subscribes to the list option.

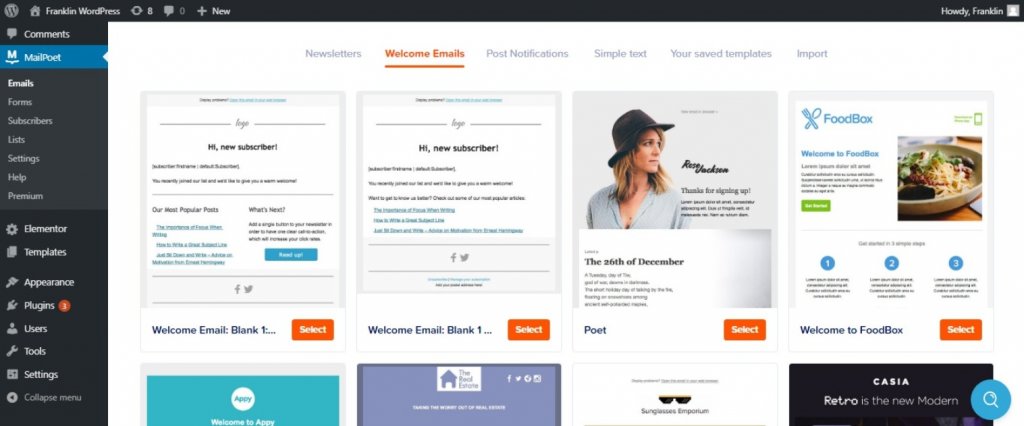
In addition, you also have the option to set an immediate delivery window or delay by an hour or two. Skip this step, MailPoet will offer you several templates to choose from for the future.
Whether you use a template or not, you still get access to MailPoet’s intuitive drag-and-drop builder. On your left, you have a preview of the email you’re designing while on the right, you can see all the elements at your disposal, including modules and column options:

We can see that the MailPoet editor is easy to learn. Even if of this quality, we found a drawback.
Indeed, although this editor is easy to use, the selection of design elements at your disposal is a bit lackluster. And there aren't enough customization options for our taste. However, this does not take away from the fact that it is a powerful email builder, thanks to which you can design simple campaigns and transactional emails.
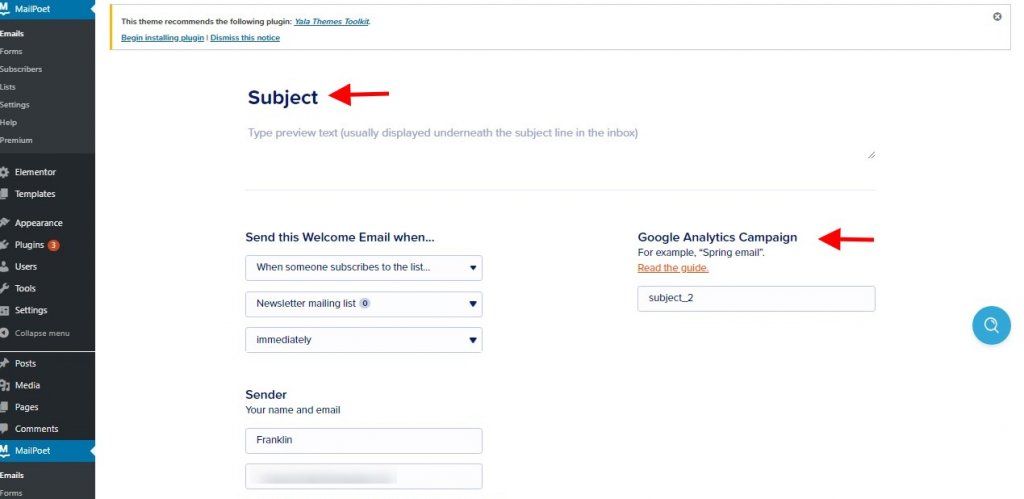
Once the configurations are complete, don't forget to click on the Save button under the editor; then hit Next. There you will be asked a subject line for your email. Choose one and review the rest of its settings.
Note: There’s an option to connect your Google Analytics account with MailPoet. You can learn more about this by integration by consulting this article.
Now save your campaign and let’s set up an email signup form for your list.
Step 4: Set Up an Email Signup Form
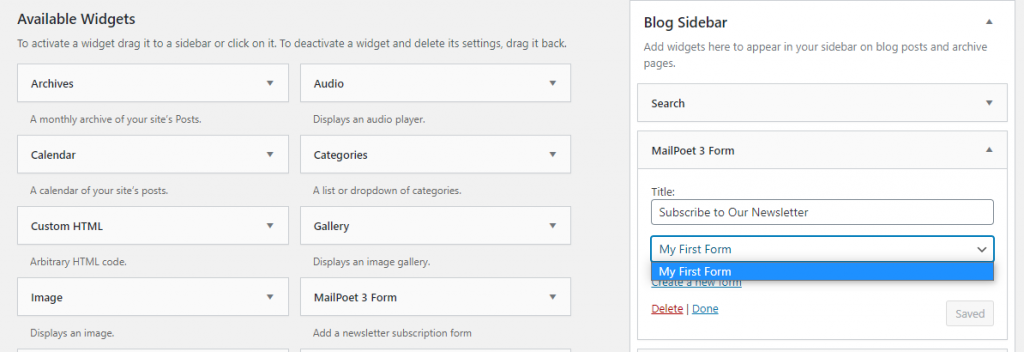
When you set up an email list using MailPoet, the plugin automatically creates a signup form for it. To display that signup form on your page, you can either add it to the page you want manually or use a widget:
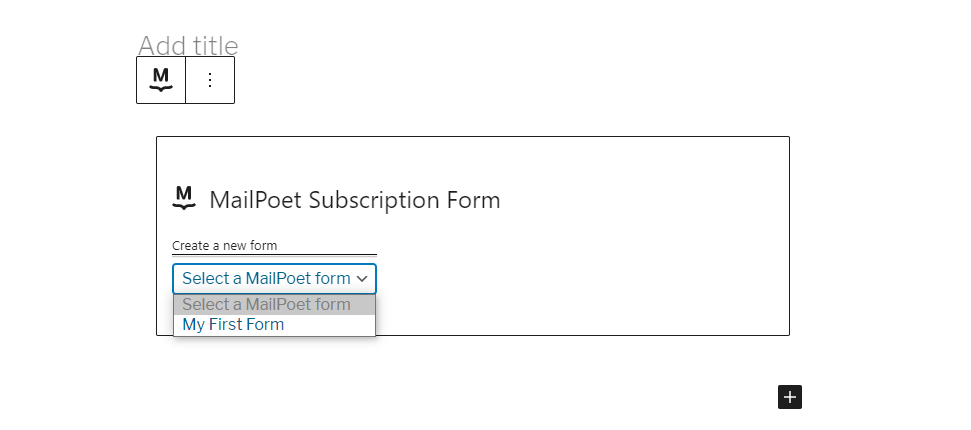
You can also do it manually by opening and choosing where you want to place your email signup form. Select the MailPoet Subscription Form block option and which list to use:
And here is the work! Small downside: By default, email subscription forms look a bit bare.
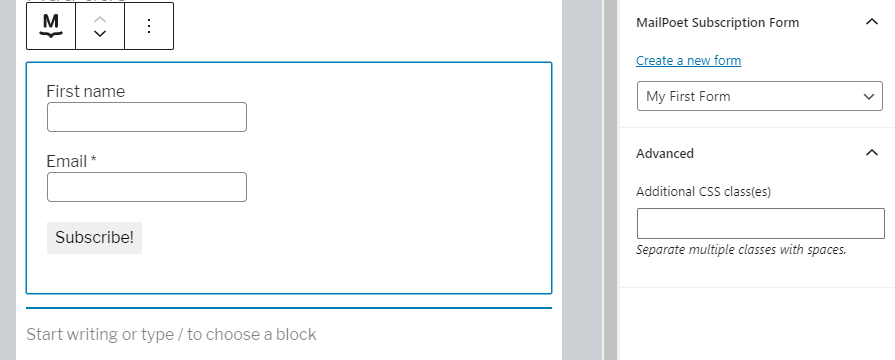
Fortunately, it is possible for you to customize yours using CSS. Moreover, you can also create forms using other plugins. This helps you design gorgeous forms that connect to your MailPoet mailing lists.
Conclusion
In the end, it is clear that using MailPoet is quite simple and can be summed up in 4 steps:
- Configure the MailPoet plugin.
- Set up an email list.
- Create a new email campaign.
- Set up an email signup form.
With MailPoet, we have both a plugin and an email marketing service. On the one hand, it helps you design and send emails to your subscribers, and this without leaving your dashboard. And on the other hand, it takes care of delivery for you. So there is no need to worry about setting up another SMTP service.
Well, we hope this article is of great use to you. You can follow us on Facebook and Twitter for more real-time content.


