
Do you wish to limit the number of words in your WordPress blog posts?

If your site has numerous authors, establishing a minimum word count might help ensure that writers satisfy content requirements and completely answer the reader's inquiries.
We'll show you how to set a minimum word count for your WordPress posts in this article.
Why Should You Have a Minimum Word Count for Your Blog Posts?
Whether you create your own material or run a multi-author website, you should establish content standards to ensure high-quality articles.
Create Amazing Websites
With the best free page builder Elementor
Start NowA minimum word count for each WordPress blog article is one of the guidelines you can implement. You can use WordPress to prevent authors from posting blog articles with thin material while also ensuring good content quality.
Why would you want to make lengthier posts mandatory?
According to some studies, longer content ranks substantially higher in search results than short material, which could help you increase visitors to your site.
That stated, let's take a look at how to set a minimum word count on a WordPress blog.
Method 1: Use a Plugin to Set a Minimum Word Count
Using a plugin like PublishPress Checklists is an easy method to set a minimum word count for your WordPress website.
PublishPress Checklists allow you to assign duties to authors before they may publish material. This includes establishing a minimum and maximum word count for articles and pages.
You can use the free edition of PublishPress Checklists for this tutorial because it provides the functionality we require. There is also a premium edition available, which includes additional features such as checklists for WooCommerce products.
To begin, install and activate the PublishPress Checklists plugin. For additional information, see our step-by-step tutorial on how to install a WordPress plugin.
After activation, navigate to Checklists in your WordPress admin panel. Then, for the 'Number of words in content' option, you can specify a minimum and a maximum number of words.
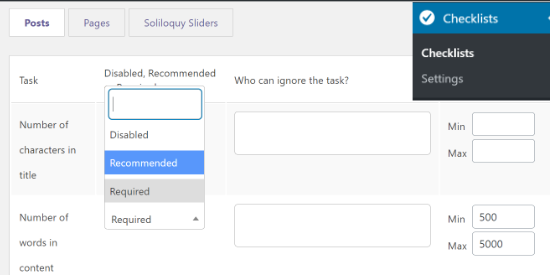
Then, from the dropdown menu, select whether you want the 'Number of words in content' option to be disabled, necessary, or recommended.
If Recommended is selected, authors can publish articles even if they do not fulfill the minimal word count. The Required option, on the other hand, makes completing the word count task mandatory, so go ahead and select it.
PublishPress Checklists also allows you to exclude user roles from satisfying the word count criteria. Simply pick a user role by clicking the box in the 'Who can ignore the task' column.
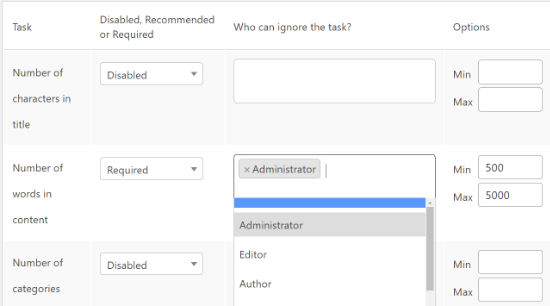
After you've determined how many words writers should complete, scroll down and click the 'Save Changes' option.

You can now write a new blog post by going to Posts > Add New and seeing the minimum word count requirement in action.
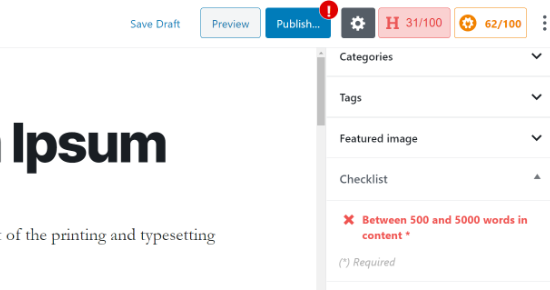
If the post does not meet the minimum word count, a warning icon will appear next to the 'Publish' button in the WordPress editor. In the 'Checklist' settings box on your right, the plugin will additionally indicate that the word count assignment was not completed.
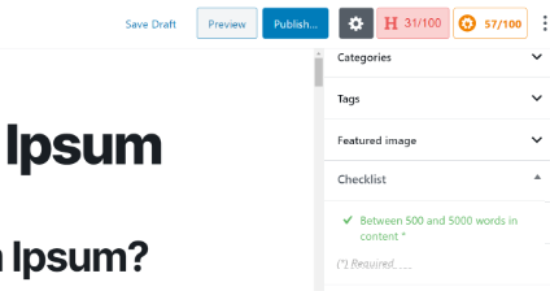
When your content has reached the minimal word count, the checklist item will display a green checkmark, and authors can publish the blog post.
Method 2: Set a Minimum Word Count Limit Manually
A code snippet added to the functions.php files of a WordPress theme is another technique to apply a minimum word count to your WordPress website.
We do not, however, recommend changing your site's theme files. This is due to the fact that even little errors might cause your website to malfunction and even prohibit you from accessing the WordPress dashboard.
The Code Snippets plugin makes it easier to add code to your site. It allows you to add custom code without fear of breaking your site. It also helps you keep track of any snippets you add to your site.
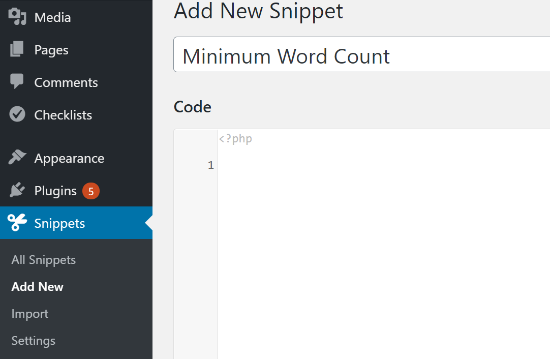
To begin, install and activate the Code Snippets plugin. Once the plugin is activated, go to Snippets » Add New on your WordPress dashboard. Begin by providing a title for your custom code.
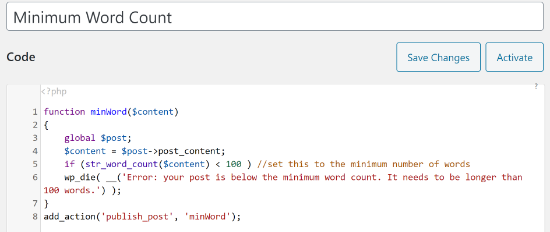
You must now copy the following code:
function setMinWords($content)
{
    global $post;
    $content = $post->post_content;
    if (str_word_count($content) < 100 ) //set this to the minimum number of words
    wp_die( __('Error: your post is below the minimum required word count. It needs to be longer than 100 words.') );
}
add_action('publish_post', 'setMinWords');
You can alter the minimum amount of words from 100 to whatever you like, and you can also edit the error to make it more useful. Make sure the number is changed in both places in the code snippets.
Simply paste the copied code into your new snippet's 'Code' field, then click the 'Save Changes' and 'Activate' buttons.
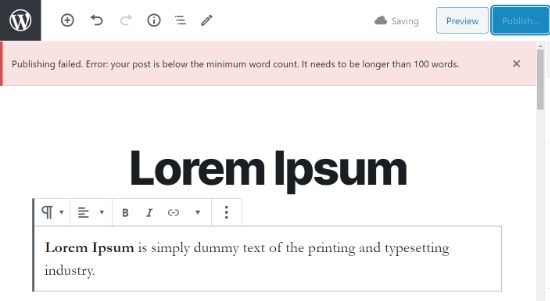
If you try to publish a blog post that is less than the word count limit (100 words in our example), you will receive a publishing error.
We hope this post was useful in teaching you how to set a minimum word count for a WordPress site.


