
One of the most intriguing aspects of designing layouts with Divi is the variety of approaches we may take. Modules with content are an excellent example. We can either use their content options directly or combine them with other modules to produce some truly unique designs. For instance, module combinations enable us to create sticky elements. In this tutorial, we'll examine how to make your Divi testimonial module sticky while allowing the testimonial information to scroll normally in this tutorial.
Design Preview
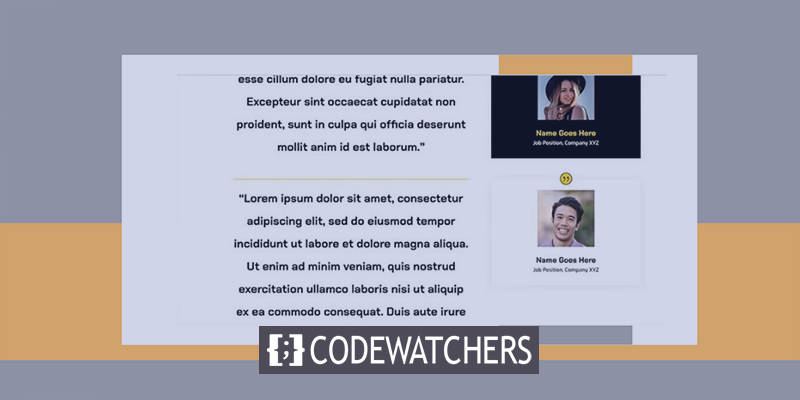
Here's a sneak peek at what we'll create. Because the mobile version of this design will not be sticky, I'm exhibiting only the desktop version for preview purposes.
Template
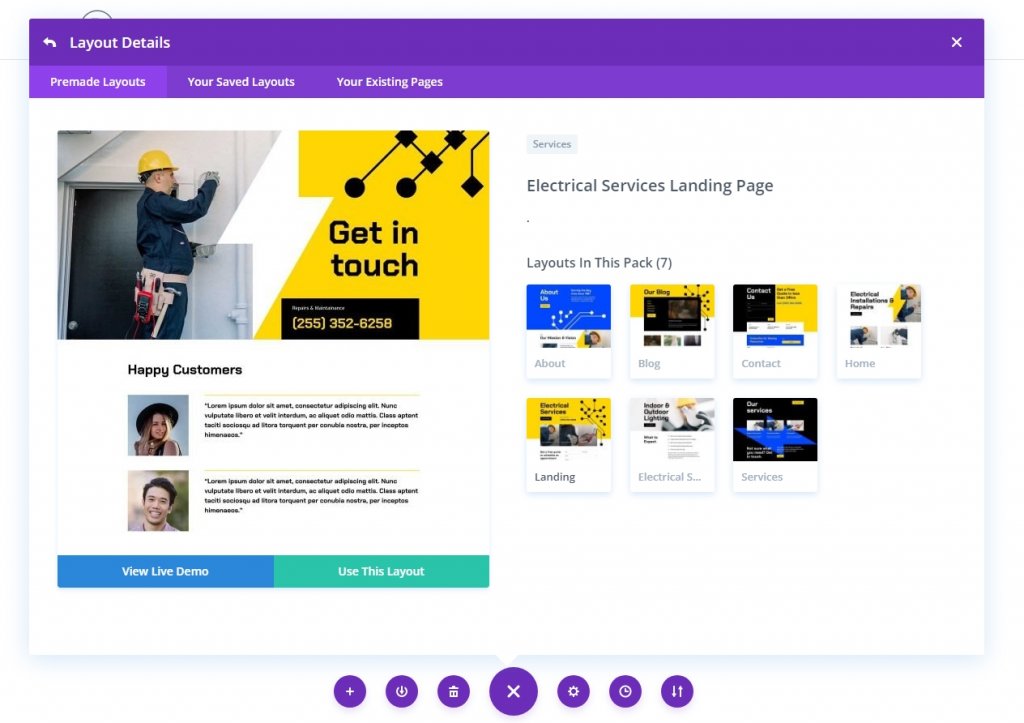
As a starting point, I'm going to use the landing page from Divi's free Electrical Services Layout Pack. You can see testimonials on this page, but they're in a completely different style. To match the new style, I'll update the testimonials with fresh ones. But I'll rename it so that the settings can be shown.
Two modules will be used to construct the testimonial in this tutorial. The image, name, job title, and company will be shown using the testimonial module. I'll utilize a text module for the testimonial content. The text module will continue to scroll normally. Until the user has finished reading a testimonial, the testimonial module will remain in place. Then, the testimonial module will be able to scroll together with the rest of the text.
Create Amazing Websites
With the best free page builder Elementor
Start NowDesign A Sticky Testimonial Section
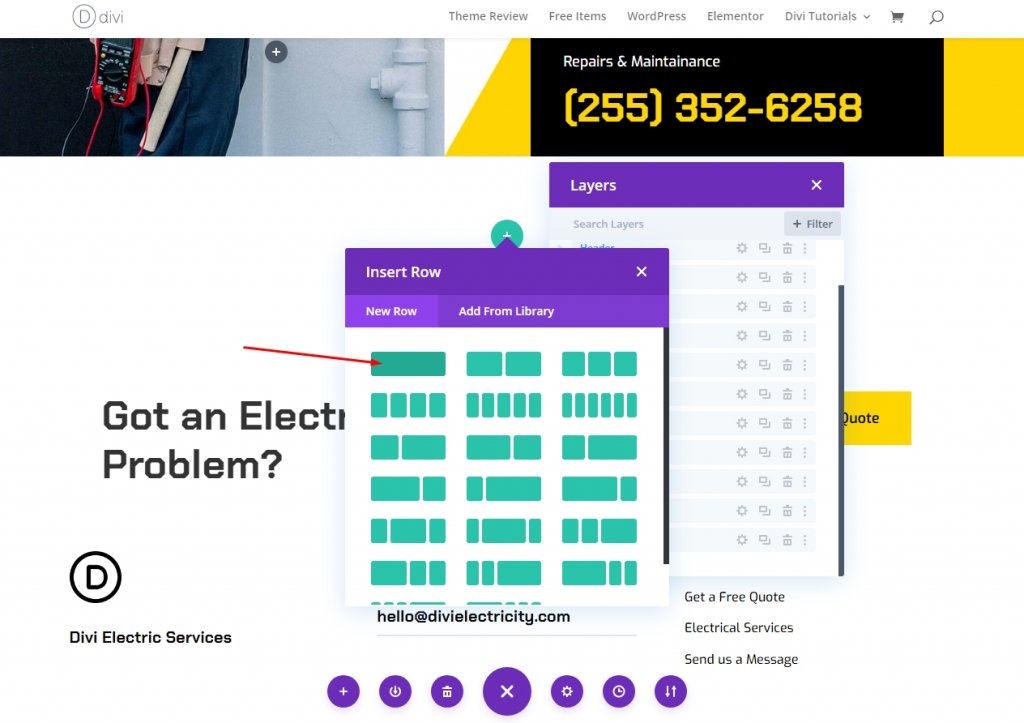
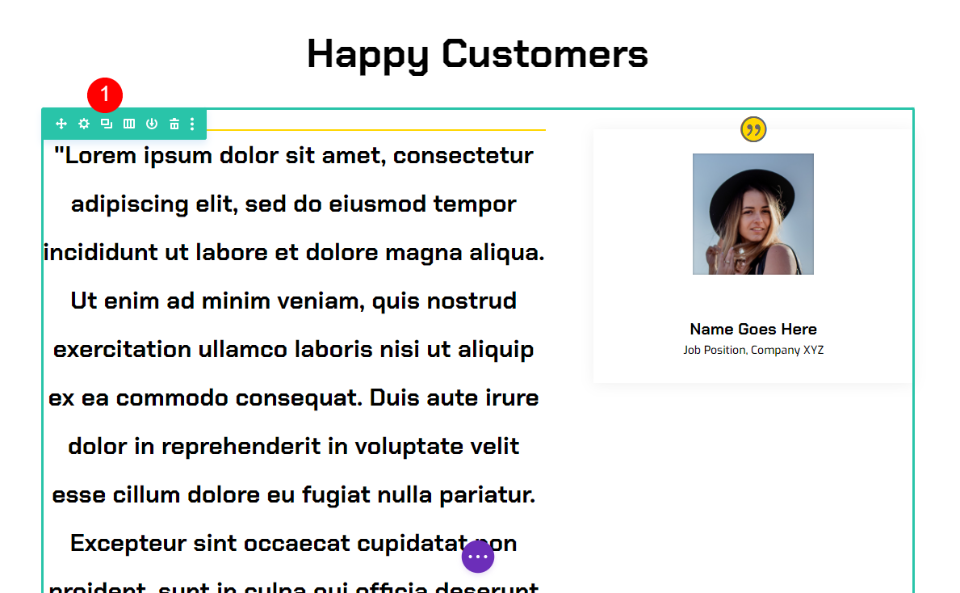
Adding a single-column row to a new section is the first step. The title will be centered in this row.
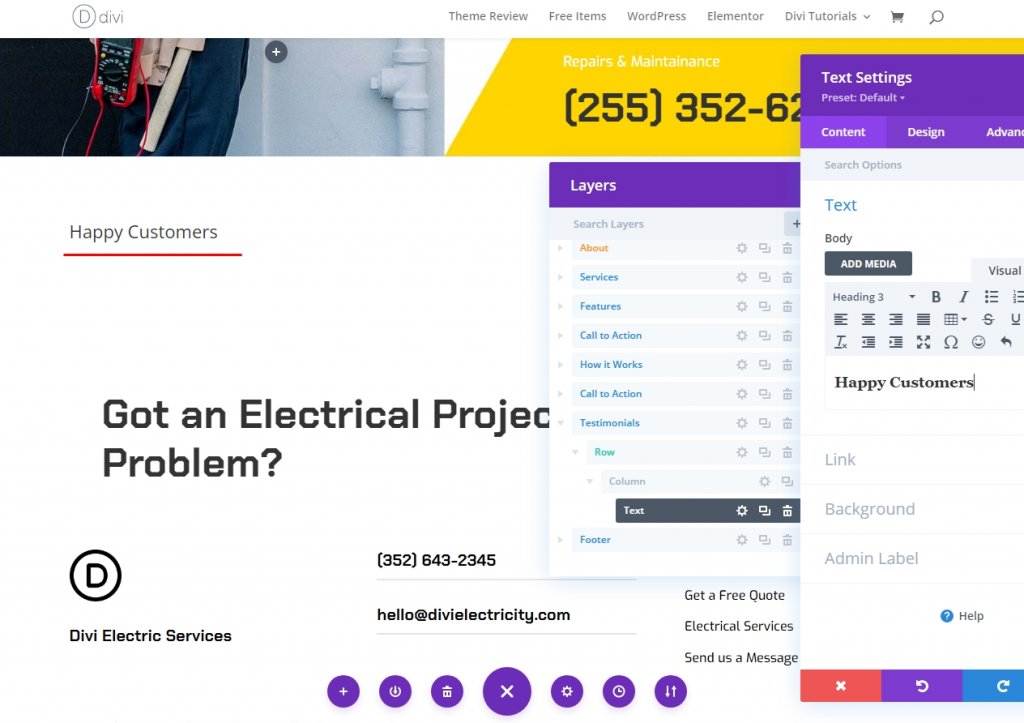
Title Text
Now add a title text module on this new row.

Open the settings and make the following adjustments.
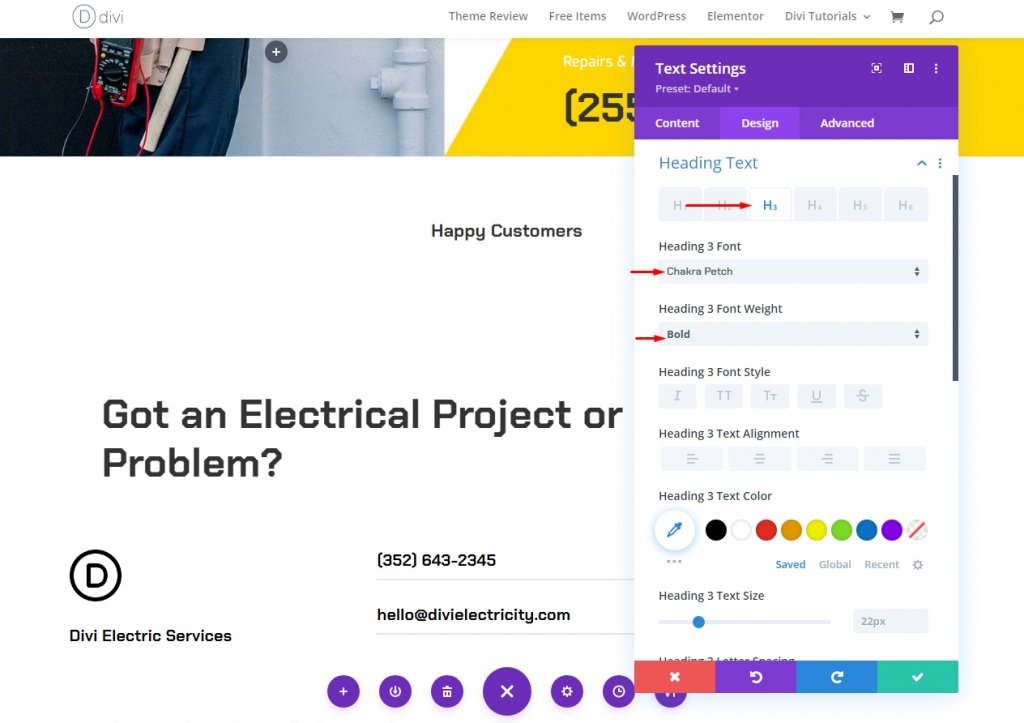
- Text: Heading 3
- Content: Happy Customers
Design Settings
Under the Design tab, change the following.
- Text Alignment: Centered
- Font: Chakra Petch
- Weight: Bold
- Color: #000000
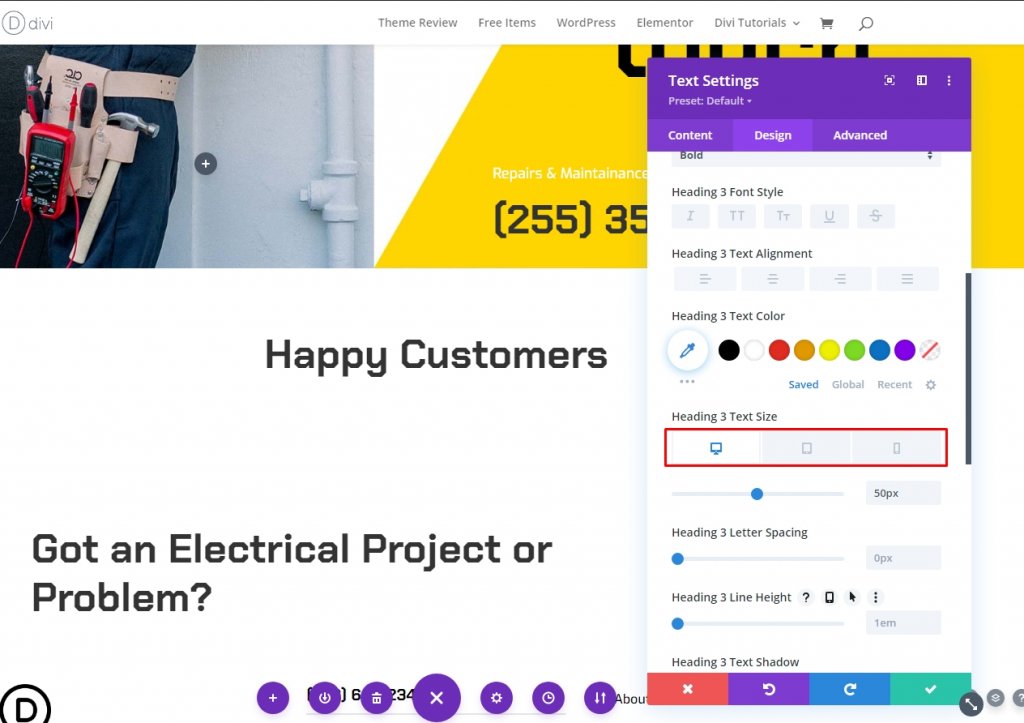
And to round it all off, choose a font size of 50 pixels on the desktop and tablets, and 20 pixels on mobile devices for the phone. Save your changes and exit the module's configuration.
- Size: Desktop 50px, Tablet 28px, Phone20px
First Testimonial Row
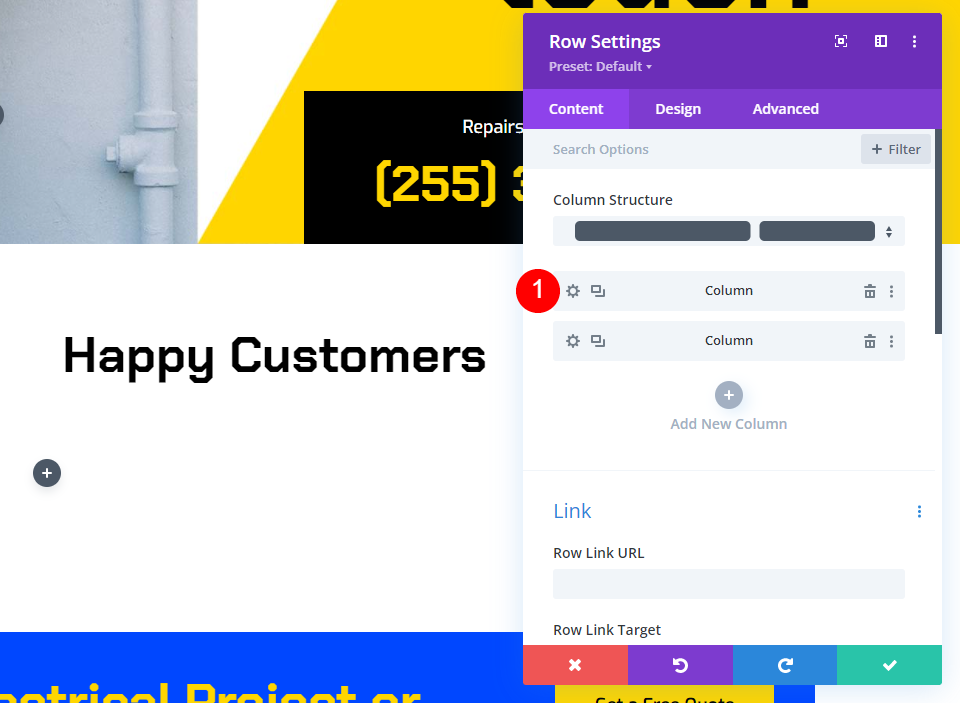
Following that, put a 2/3, 1/3 row beneath the title. This row will include the initial testimony.

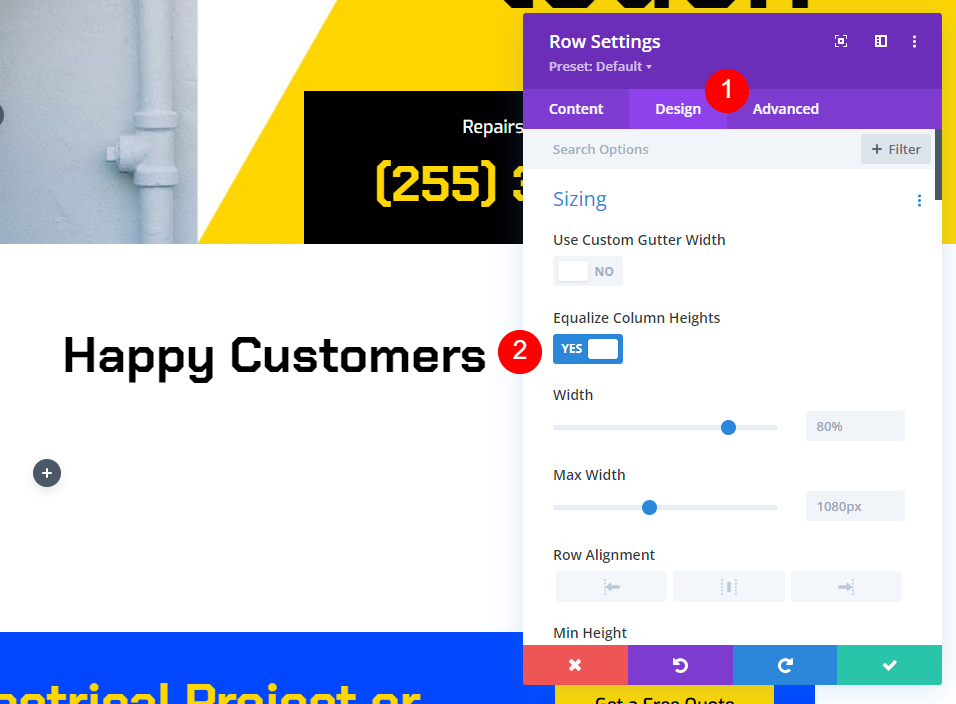
Row Settings
Select the design tab and check the Equalize Column Heights check box.
- Equalize Column Heights: Yes
Column Settings
Open the first column's settings in conjunction with the row's settings. Select the Top Border Style from the Border Styles drop-down menu. Width should be 2px and color should be #ffd600. Close the row configuration. This will add a yellow line above the testimonial, similar to the one we replaced previously.
- Border Styles: Top
- Top Border Color: #ffd600
- Width: 2px

Testimonial Text
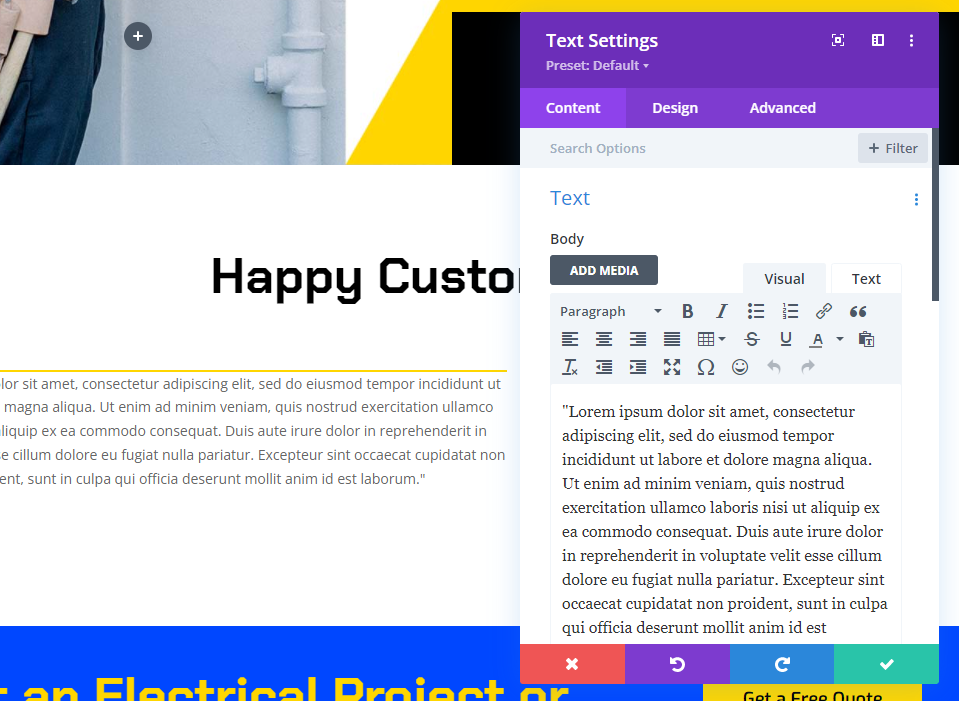
Following that, we'll add the text module that will include the testimonial content. In the left column, beneath the yellow line, add a text module.

Testimonial Text Settings
Following that, we'll add the text module that will include the testimonial content. In the left column, beneath the yellow line, add a text module.

Enter the testimonial's content into the content editor.
Then navigate to the design tab. Select Chakra Petch as the font style. Select Bold as the weight and Black as the color. Choose 30px for the desktop and 14px for the tablet for the text size. The Phone configuration will automatically sync with the Tablet, so we won't need to update anything. The Text Line Height property should be set to 2em. This results in a colossal print testimonial that will command attention.
- Font: Chakra Petch
- Weight: Bold
- Color: Black
- Size: Desktop 30px, Tablet 14px
- Line Height: 2em

Select Centered from the Text Alignment drop-down menu. Close the text module's configuration.
- Alignment: Centered

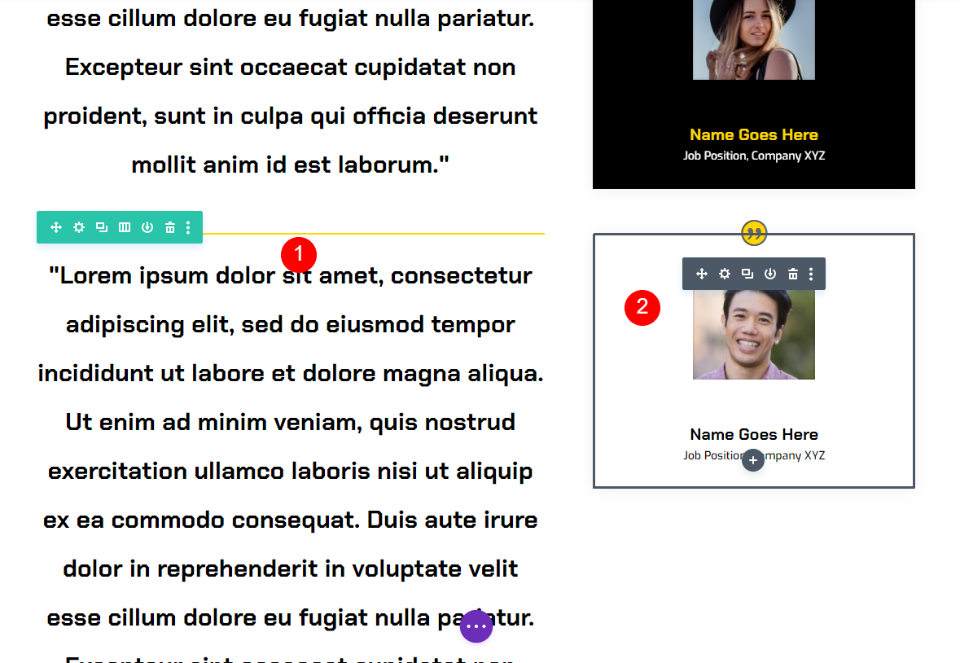
Testimonial Module Settings
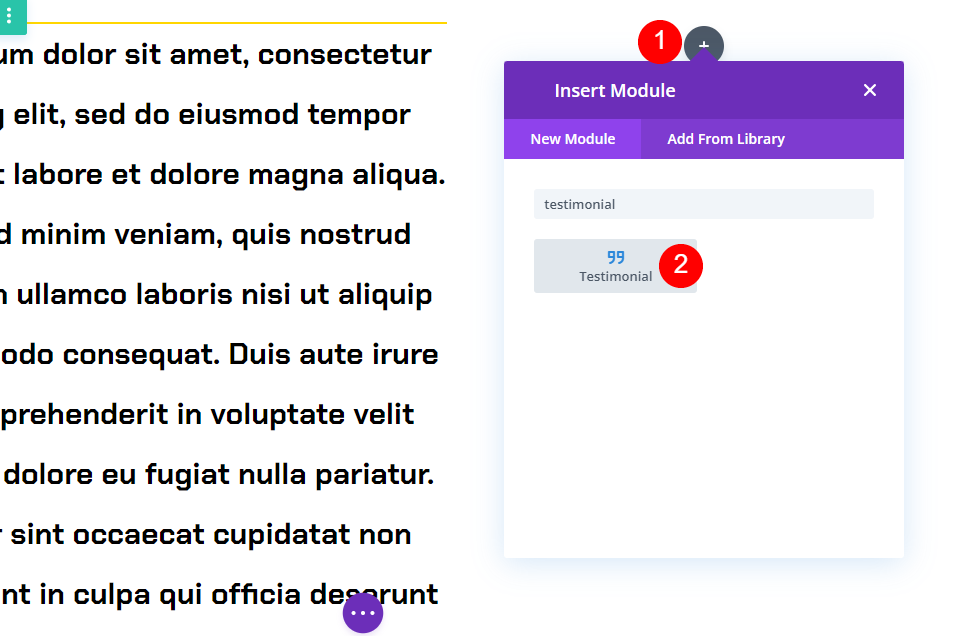
Then, in the right column, add a Testimonial module. This will be sticky and will include the individual's name, company name, job title, and photograph.
Content Settings
Enter the testimonial content in the module's settings. Leave the Body section blank. This was accomplished through the use of the text module.
- Author
- Job Title
- Company
- Image

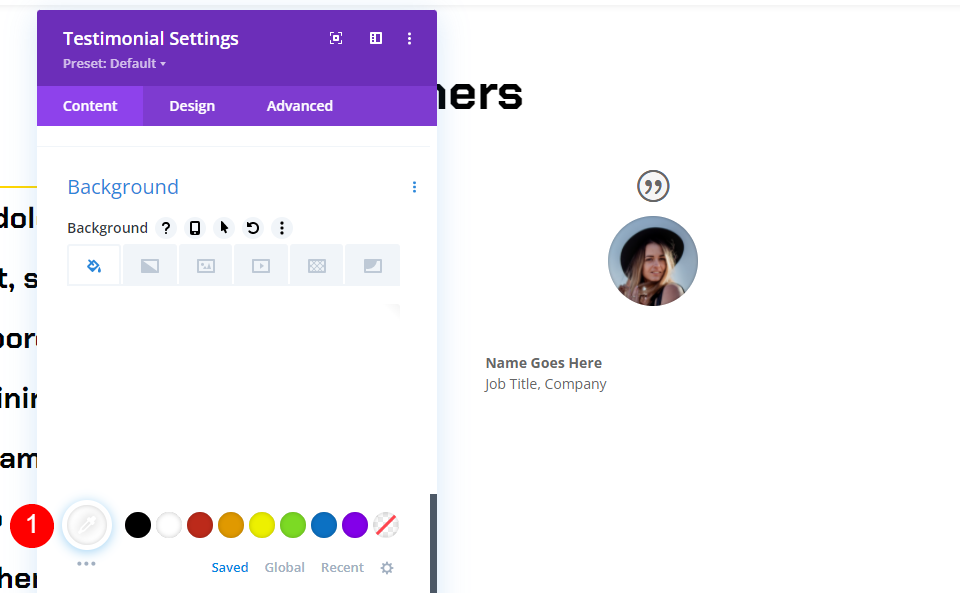
Set the Background to white by scrolling down.
- Background: #ffffff
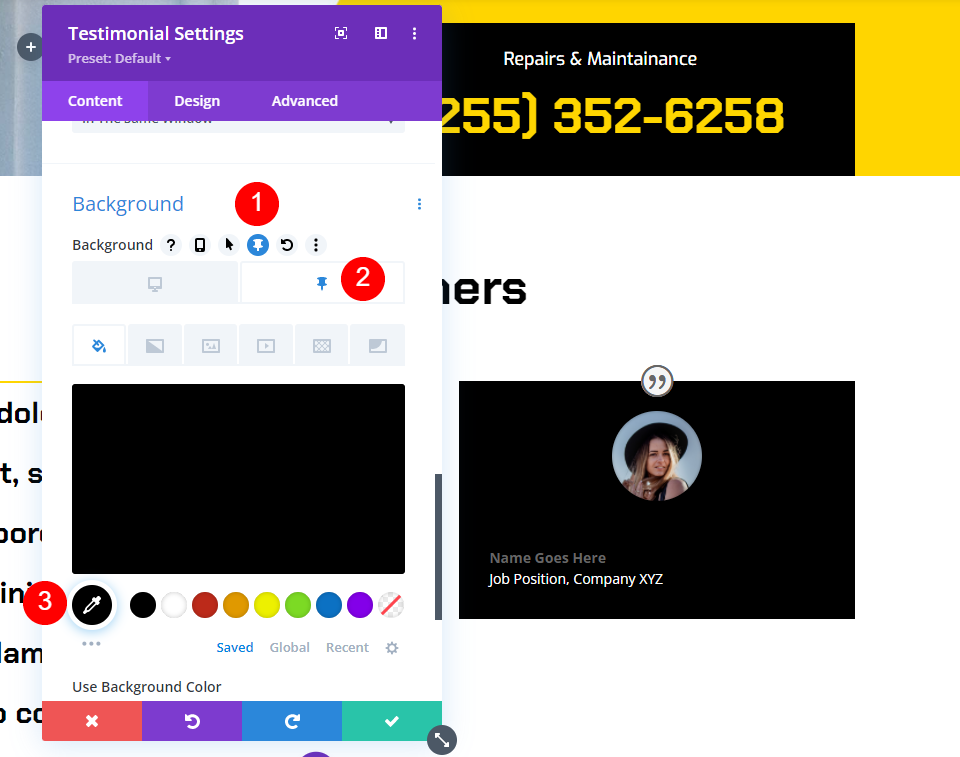
Following that, click the Pin icon. This is the sticky version of the background. When the module gets sticky, the background will change color. The Background Color should be black.
- Sticky Background Color: #000000
Quote Icon
Then navigate to the design tab. Choose #ffd600 as the color for the Quote Icon.
- Quote Icon Color: #ffd600
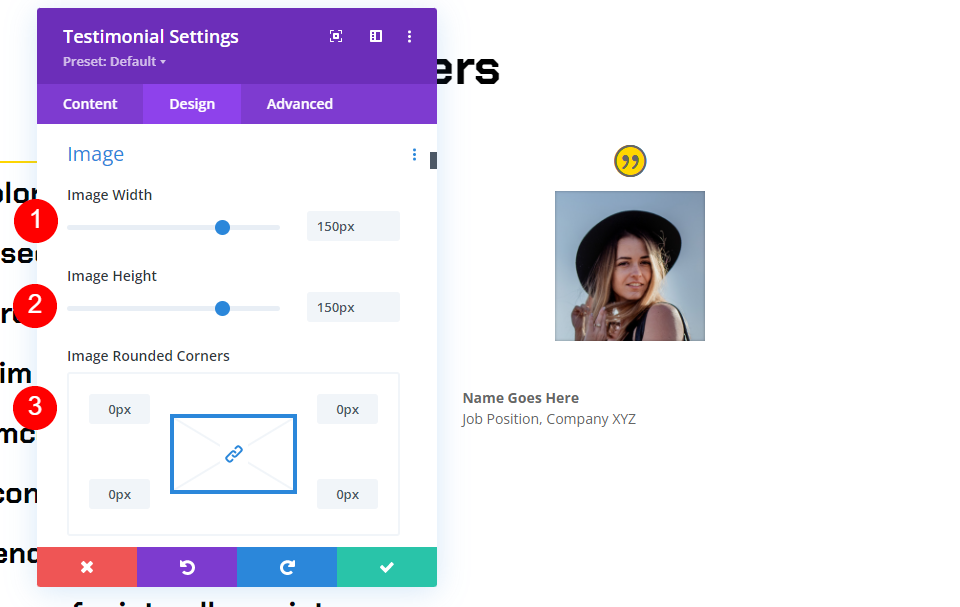
Image
Reduce the width and height of the image to 150px by scrolling down. Rounded Corners should be set to 0px.
- Image Width: 150px
- Rounded Corners: 0px
Text
Select the Centered option from the Text Alignment drop-down menu. This places the author's name, job title, and company name in the center of the text.
- Text Alignment: Centered

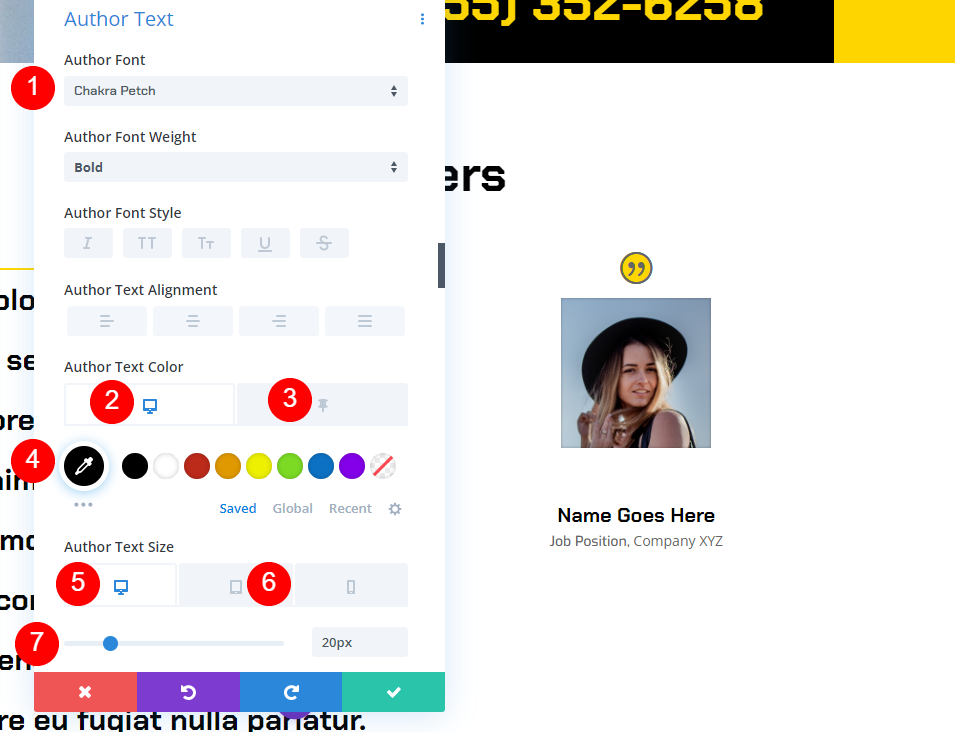
Author Text
Select Chakra Petch for the Font and Bold for the Weight and Centered for the Alignment under Author Text. Select black as the default color. Select the Pin icon and change the color of the sticky to #ffd600. The Desktop Size should be set to 20px, while the Tablet Size should be set at 14px.
- Font: Chakra Petch
- Regular Text Color: Black
- Pinned Text Color: #ffd600
- Size: 20px Desktop, 14px Tablet
Position Text
After that, scroll down to Position Text. Select Exo as the font. Choose black as the default Text Color. To set the pinned Color to white, click on the Pin icon.
- Font: Exo
- Regular Text Color: #000000
- Pinned Text Color: #ffffff

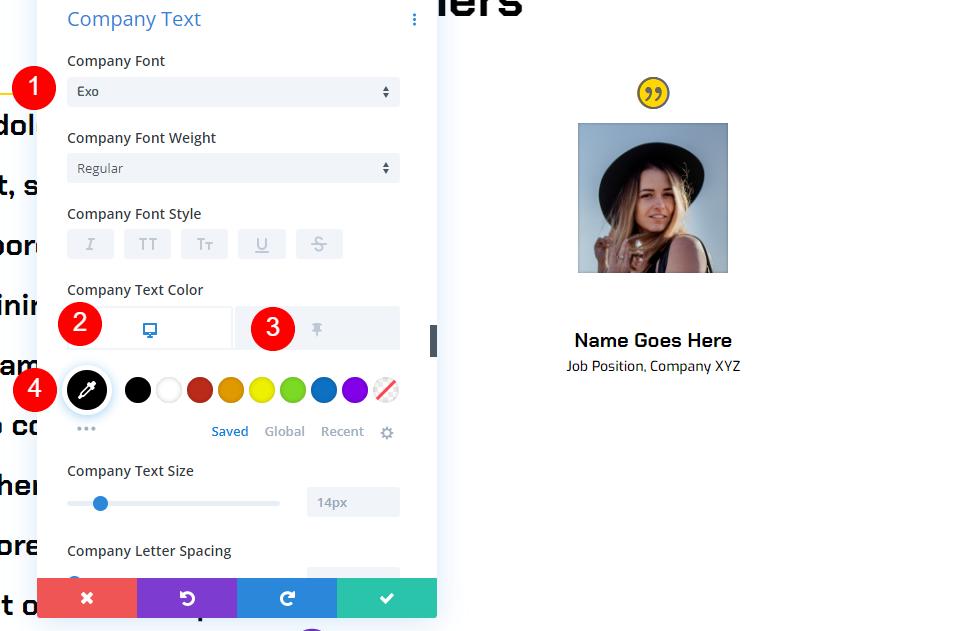
Company Text
Scroll down to the section titled "Company Text." Select Exo as the font. Choose black as the default Text Color. To set the pinned Color to white, click on the Pin icon.
- Font: Exo
- Regular Text Color: #000000
- Pinned Text Color: #ffffff
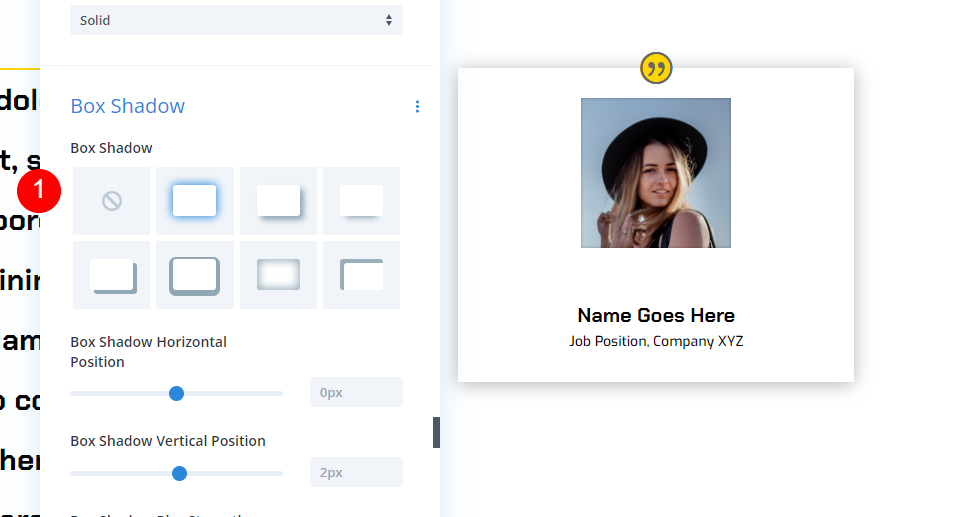
Box Shadow
Movw down to the box section and select the first option.
- Box Shadow: first shadow option
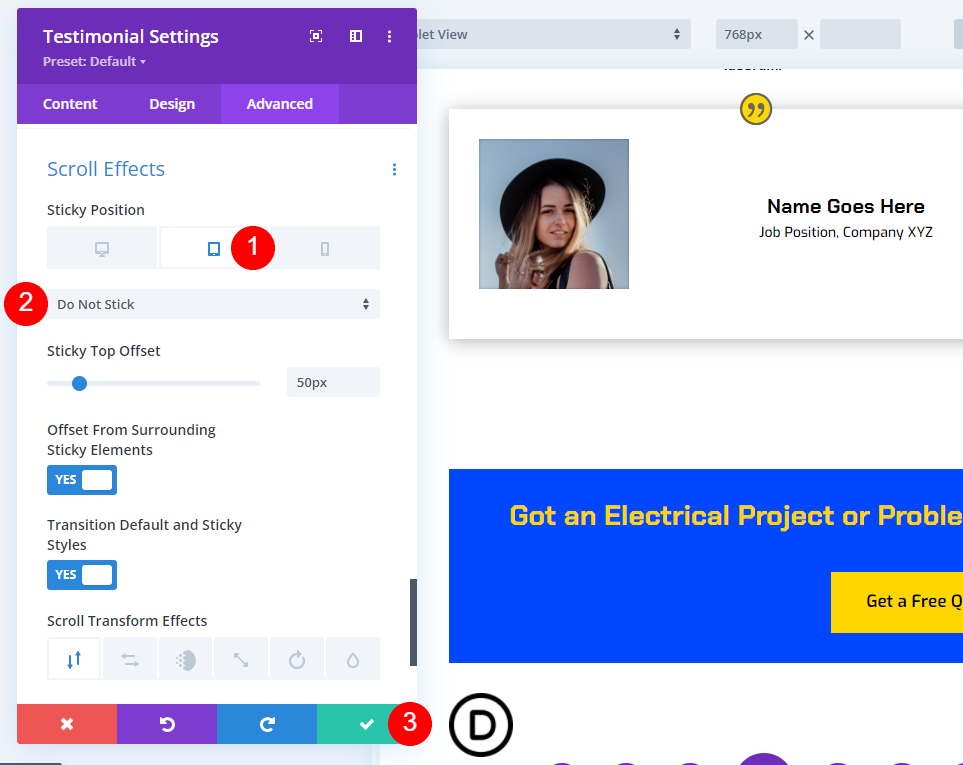
Scroll Effect
Finally, go down to Scroll Effects under the advanced tab. Choose Desktop as the Sticky Position and Stick to Top as the Sticky Position. Offset the Sticky Top by 50px. Columnize the Bottom Sticky Element. This instructs the module on how and where to adhere.
- Sticky Position: Stick to Top
- Sticky Top Offset: 50px
- Bottom Sticky Element: Column

Choose Do Not Stick from the Tablet symbol for the Sticky Position. This prevents the module from adhering to tablets and smartphones. Close the module's configuration.
- Sticky Position: Do Not Stick
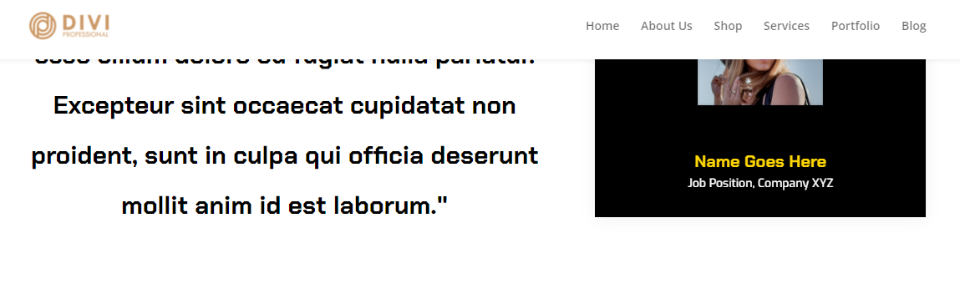
Now, as you navigate down the screen, the testimonial module remains at the top and changes color.
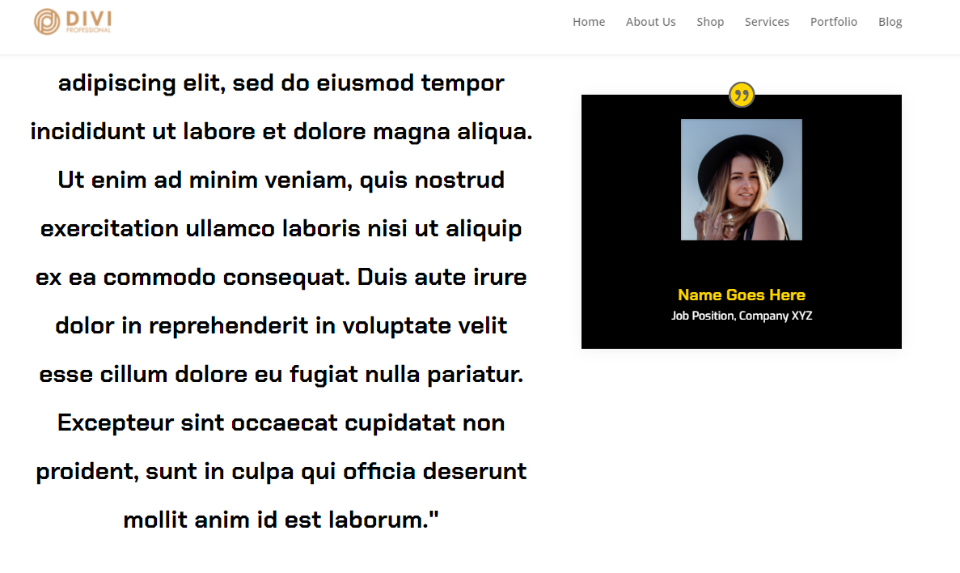
Once the module is aligned with the column's bottom, it scrolls in lockstep with the column.
Duplicate The Row
Following that, we'll make the second row by copying and editing the first row. To duplicate a row, hover over it and click the duplicate icon.
Finally, access each text and testimonial module individually and replace the existing testimonial content with the new testimonial information. After making the necessary adjustments, close the modules and save the page. Repeat the duplicate process to add other testimonials. You now have an engaging sticky testimonial section that features two testimonials that stand out and look fantastic.
Final Design
After all the hustle, our design finally looks like this.
Final Thoughts
That concludes our examination of how to make your Divi testimonial element sticky. Divi's settings allow for the stickying of any element. When modules are combined, such as text modules for content and testimonial modules for supporting material, fascinating designs can be created. The testimonials we've included here are just one way to combine Divi's modules with sticky settings.


