
WordPress provides a plethora of functionalities, and form submission management is a crucial aspect for many website owners. One of the leading solutions in this realm is WPForms, a versatile plugin that streamlines the creation and management of forms.

However, controlling the number of submissions on these forms is equally important to maintain data quality and prevent spam. In this guide, we will explore how to effectively limit WordPress form submissions using WPForms, empowering you to maintain control over the quantity and quality of entries on your website.
Why Limiting Limit WordPress Form Submission Is Important?
There are many reasons why it's useful to control the number of form submissions on your WordPress site.
For instance, you might want to make a form for an event where there are only a certain number of seats available. Or perhaps you want to limit a feedback form to registered members. WordPress forms can be set up in different ways to restrict how many submissions they receive.
Create Amazing Websites
With the best free page builder Elementor
Start NowHere are some ways you can restrict form entries on WordPress:
- Set a maximum number of entries allowed - useful for forms like RSVPs or giveaways.
- Control submissions by a specific deadline - great for forms related to scholarships, events, or job applications.
- Allow submissions only from logged-in users - helpful for membership sites or online stores.
- Limit each person to one entry - ensures you don’t receive duplicate feedback on a form.
- Use age verification to control submissions - helpful for complying with local laws.
- Control submissions based on user location or IP address - useful for blocking certain areas or stopping spam.
WordPress form plugins can be adjusted to fit your needs, making your work easier.
With that said, let’s see how you can easily control form entries in WordPress.
How To Limit WordPress Form Submission With WPForms
The best way to control form submissions is by using WPForms. It's a popular plugin for WordPress contact forms, used by over 6 million websites to make better forms.
With WPForms, you get a Form Locker add-on that helps you decide who can use your forms and set limits on entries.
To start, install and activate the WPForms plugin.
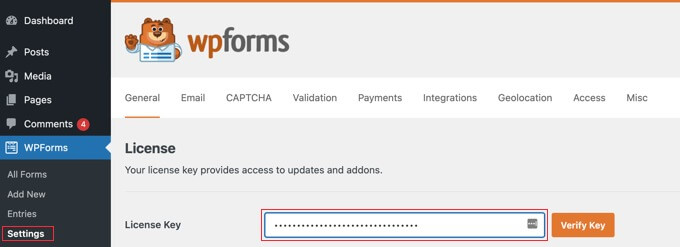
After that, go to the WPForms » Settings page in your WordPress admin panel and enter the license key. You can find this info in your account area on the WPForms website.
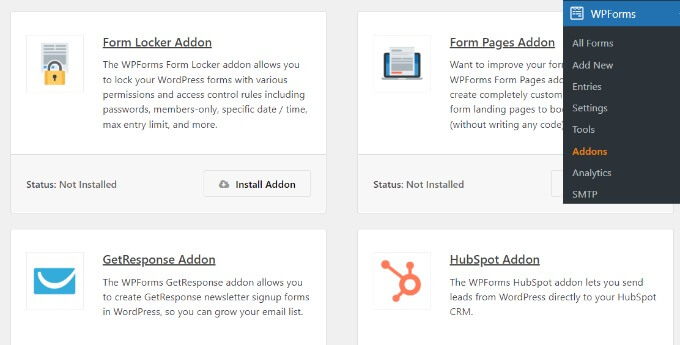
Afterward, you'll have to turn on the Form Locker feature in WPForms.
To get started, go to the WPForms » Addons page in your WordPress admin sidebar. Look for the ‘Form Locker Addon’ and click on it. Then, simply press the ‘Install Addon’ button.
Following that, you must create a WordPress form.
From the WordPress dashboard, navigate to WPForms » Add New.

The WPForms form builder will appear on the next screen.
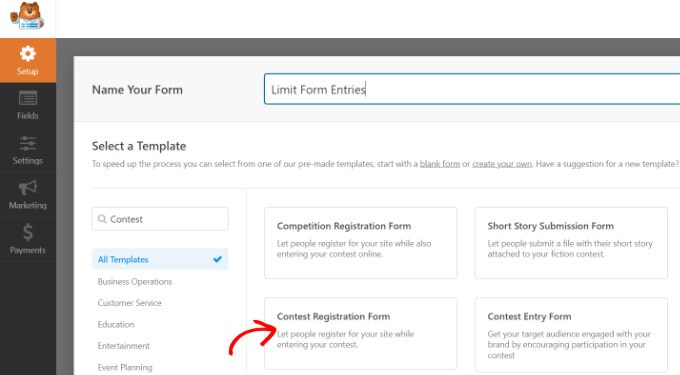
From here, go ahead and give your form a name at the top.
Next, you can choose from any of the pre-built form templates to get started immediately, or you can start from scratch with a blank template. We'll be using the 'Contest Registration Form' template for this tutorial.
Then, using the drag-and-drop form builder, you may edit your form.
The form template will already have default form fields. You can, however, add extra fields by dragging them from the left-hand menu and dropping them onto the template.
There are numerous fields accessible, such as checkboxes, dropdowns, addresses, phone numbers, and much more.
After that, you can further customize form options in the column on the left.
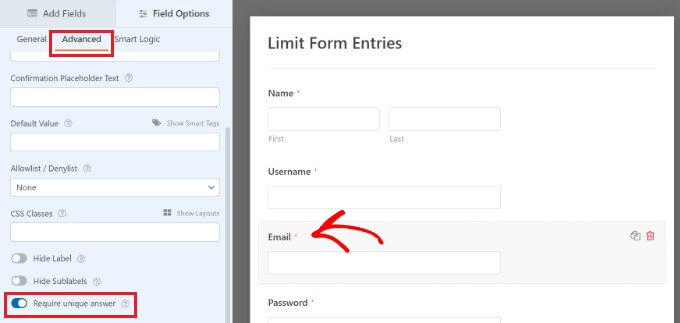
You can repeat the process for other form fields such as name and username. People will be limited to one entry and will not be able to submit a form using the same email or name twice.
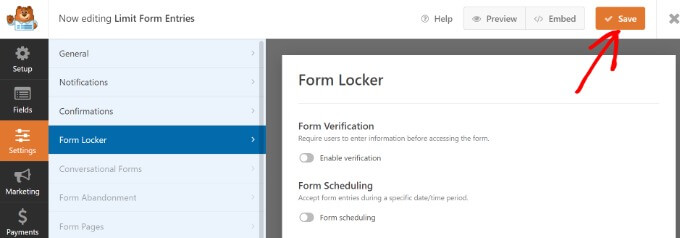
Then, under the form builder, go to the 'Settings' page and pick the 'Form Locker' settings.
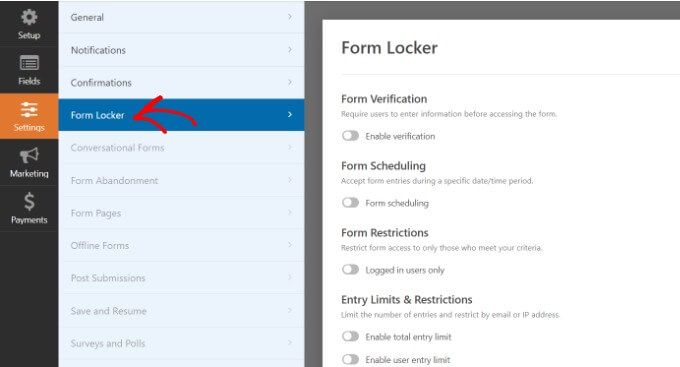
You'll now see several options under the Form Locker section to limit the number of form entries.
If you like, you can enable all of the settings. However, we recommend setting one or two options to limit form entries to increase user experience and engagement.
Let's take a closer look at each of these options.
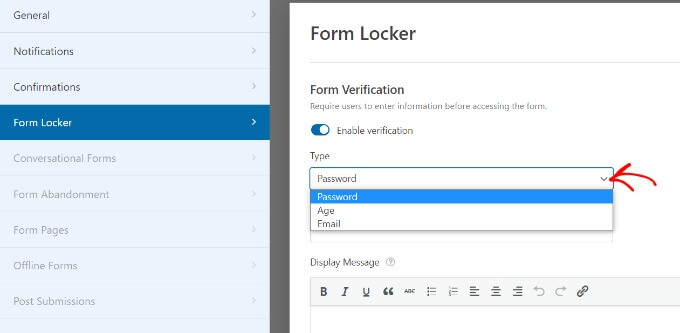
Limit Form Entries Through Verification
More options will display if you enable the 'Form Verification' option in the Form Locker settings. You can then add form limits by requiring users to submit a password, email address, or age.
Simply click the 'Type' dropdown menu and then choose an option.
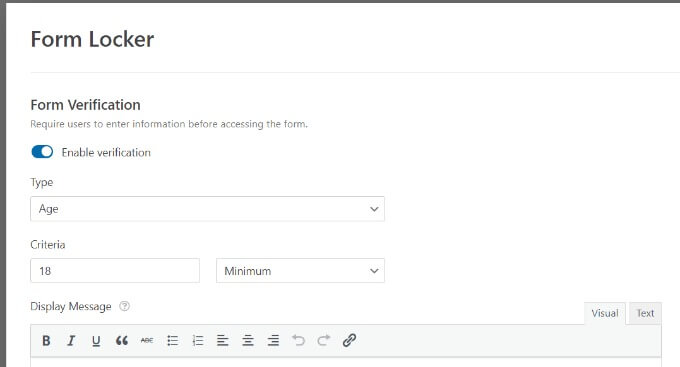
If you pick the 'Age' option from the dropdown menu, for example, you may specify how old a user must be to access the form.
For your form entries, you can choose a minimum, maximum, or exact age verification.
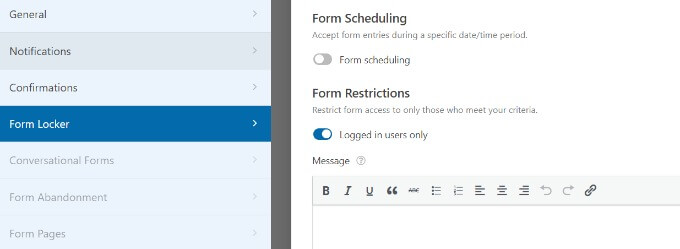
Set Time & Date For Form Entries
Then, enable the 'Form Scheduling' option. This allows you to choose a start and finish date and time for your form entries.
It comes in handy if you are operating a time-sensitive campaign.
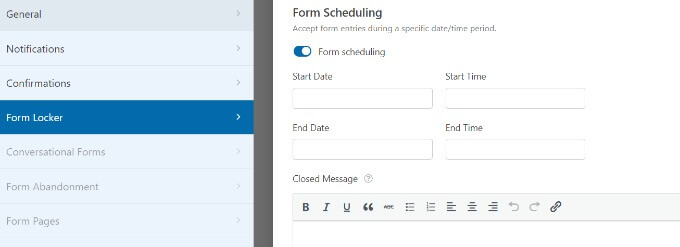
You may also provide a Closed Message, which will appear if someone attempts to submit a form beyond the deadline.
Restrict For Non-Logged-In Users
WPForms also allows you to restrict form entries to logged-in users alone.
Simply check the 'Logged in users only' box. Then, for logged-out users who attempt to submit the form, add a message.
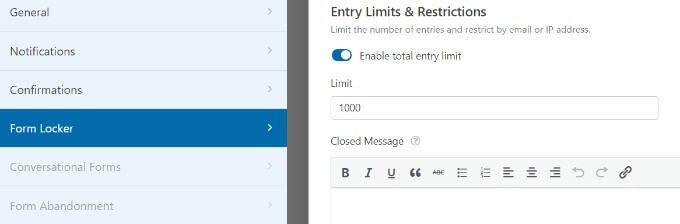
Set Total Form Entry Limits
You can also limit the total amount of submissions by activating the 'Enable total entry limit' option.
Assume you have an order form in your WooCommerce store and only 1,000 of an item in stock.
Simply enter a number in the Limit field and add a message to appear when the form closes.
Similarly, you can restrict your form entries by selecting the 'Enable user entry limit' option.
WPForms allows you to limit form entries by IP address and email address. To get started, check the boxes next to the 'Restrict by IP address' and 'Restrict by email address' choices.
Then, from the dropdown menu, choose an option and input the number of form entries you want to limit.
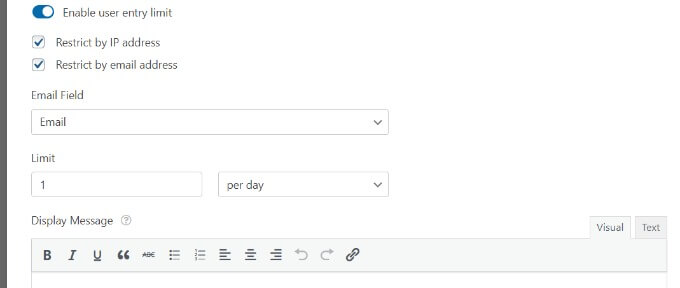
In our case, we've limited ourselves to one every day. This can be changed to per week, month, or year.
Simply click the 'Save' button at the top after you've enabled the options you wish to use to limit the number of form entries in WordPress.
Adding The Form To Your WordPress Website
After you've generated a form, you'll want to add it to a page or post on your WordPress site.
The simplest way to achieve this is to use the WPForms form builder and click the 'Embed' button. You may also use a shortcode or the WPForms block to add the form.
When you click the button, a popup window will open asking you to choose between editing an existing page and creating a new one.
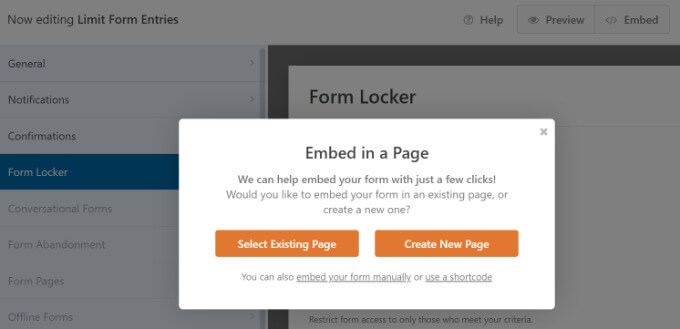
In this lesson, we will select the 'Create New Page' option.
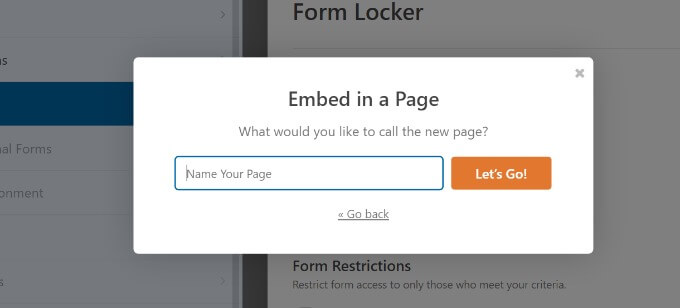
After that, enter a name for your page and click the 'Let's Go!' button.
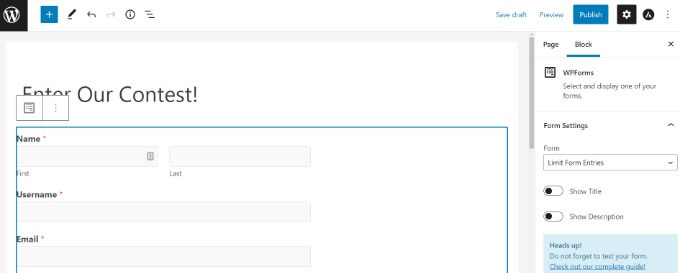
Following that, you'll see the form in the WordPress content editor, where you may make any last modifications to your form.
After that, preview and publish your page.
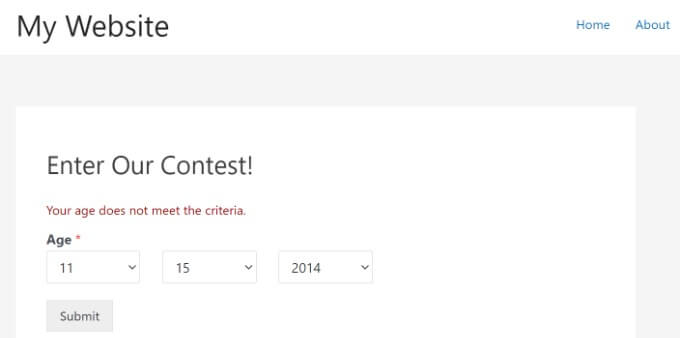
You may also put your WordPress form entry restrictions to the test.
For example, if you set an age limitation on your form and someone does not satisfy the age requirement, they will be unable to submit the form.
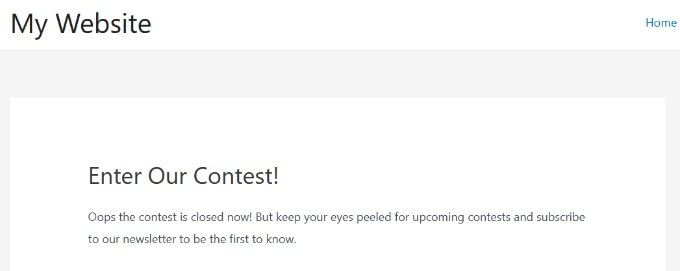
Let's imagine, on the other hand, you get the whole amount of form entries required or it's past the end date and time for filling out the form.
When a user visits the form landing page in such cases, they will see a notice.
Final Words
In conclusion, effectively managing form submissions is a pivotal aspect of maintaining a WordPress website. WPForms, with its Form Locker addon, provides a user-friendly and efficient means to control and limit submissions. By following the steps outlined in this guide, users can successfully implement submission limitations, ensuring better data quality, reducing spam, and enhancing the overall functionality of their WordPress forms. With these tools and strategies, website owners can take charge of their form submissions and optimize their online platforms with greater ease and effectiveness.


