
Post excerpts provide the reader with a brief taste of the content. They can be generated automatically from the content or separately produced for each post. It's extremely crucial to have a grip over their length, regardless of how they're created. In this article, we'll look at how to limit the size of your Divi Blog module's excerpt. We'll also look at how to customize it so that it blends in with the rest of your site's design.
Let's get started.
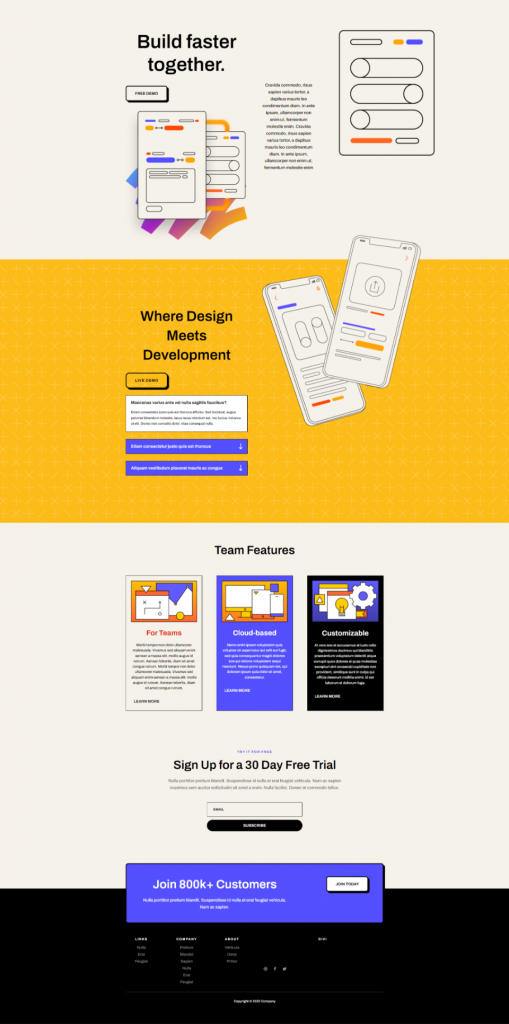
Design Preview
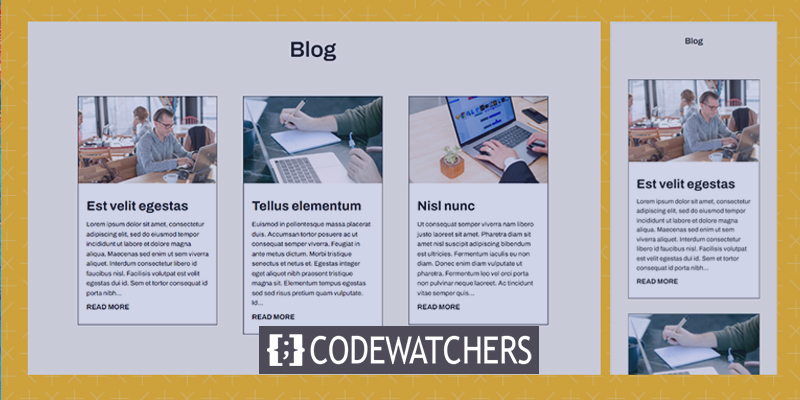
Here is how the design will look both on desktop and mobile.
Desktop Version
Create Amazing Websites
With the best free page builder Elementor
Start Now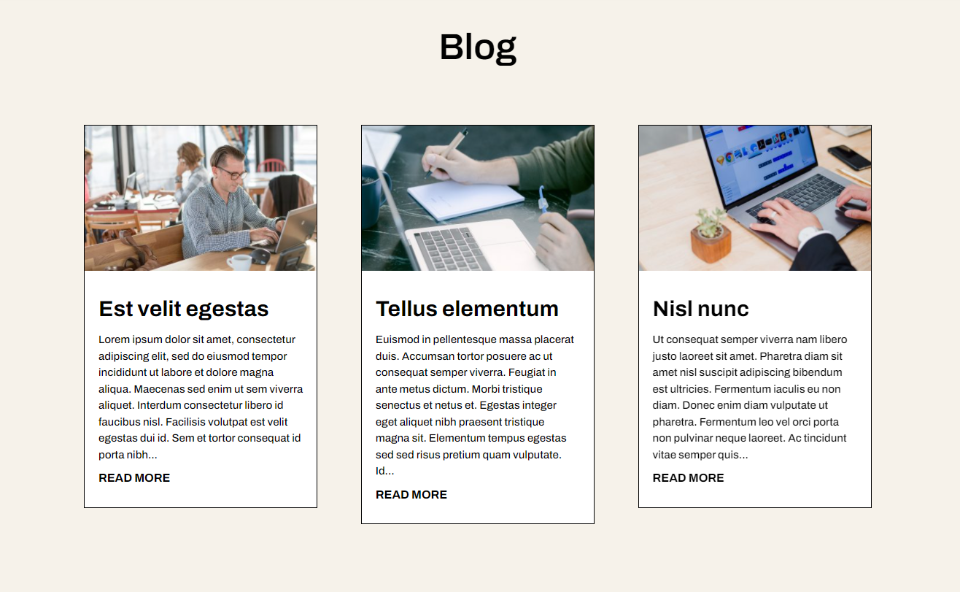
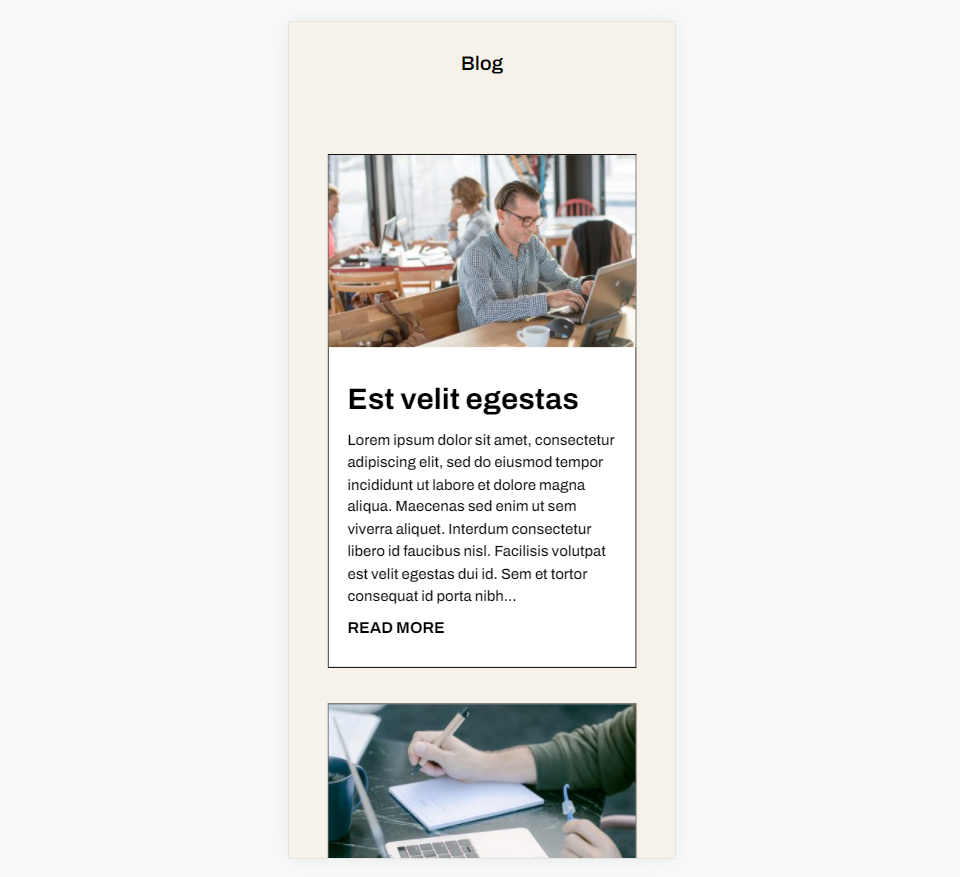
Mobile Version
Importance Of A Post Excerpt
An excerpt from a post gives a sentence or two from the material to assist the reader in comprehending the post's subject. Rather than displaying the entire contents of a blog post, WordPress displays a sample of the material. This helps manage the post's size within the feed, resulting in a more streamlined design that's easier to use. It ensures that your layout remains constant throughout the page.
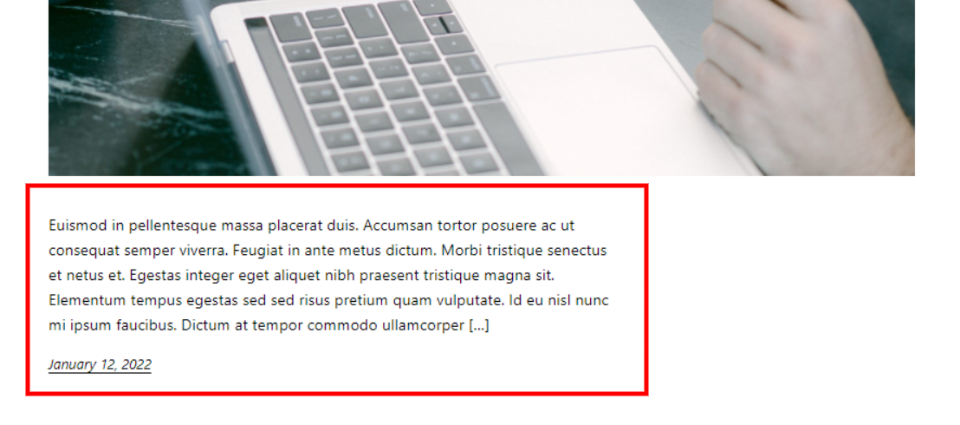
The author can specify this snippet, or WordPress can extract a certain number of words from the first paragraph and display them as an excerpt. WordPress can make use of this snippet to manage what appears in the blog feed. It is used by search engines to display a fraction of the information in search results.

The ability to display the excerpt for posts in the WordPress blog feed pages must be enabled in the Reading Settings. This option can be enabled, however, it does not allow us control over the excerpt length.

By default, the Divi Blog module displays extracts from blog posts. There is no need to make any changes to your WordPress configuration. The module includes numerous options, including a field for specifying the length of the post excerpt.

How To Limit The Existing Excerpt
Limiting the length of a post excerpt in the Divi Blog module is straightforward. To begin, hover over the module and click the gear icon to access its options.

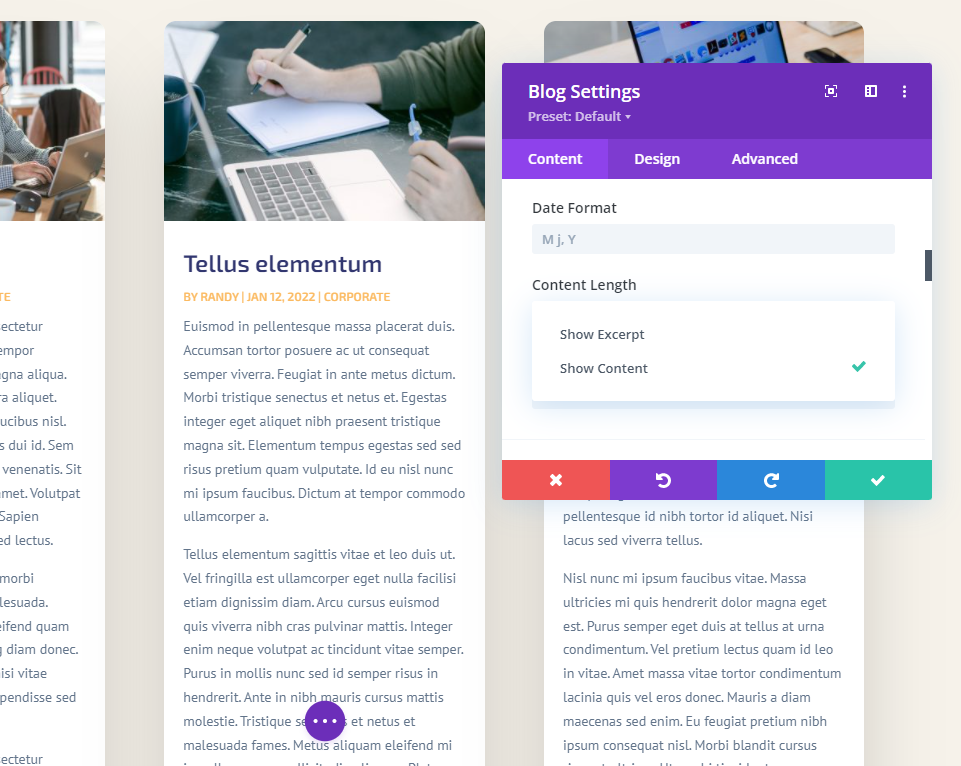
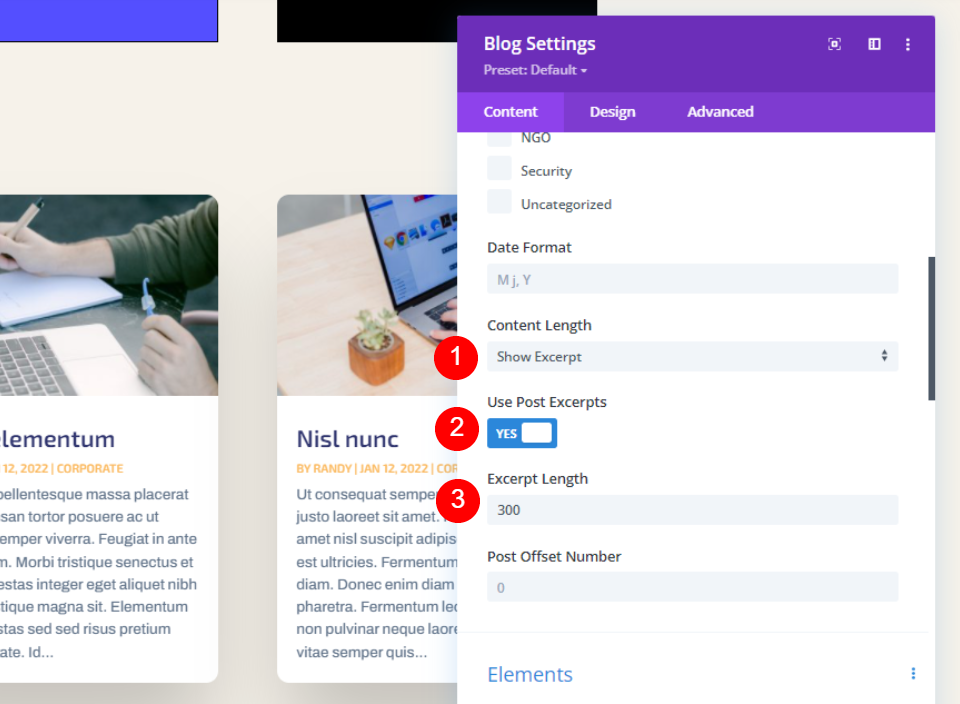
Scroll down to Content-Length in the Content options. We have numerous options here for customizing the post excerpt. This is the default configuration. To limit the length of the excerpt, just select Show Excerpt and enter the desired number of characters in the Excerpt Length area.
- Content Length: Show Excerpt
- Excerpt Length: enter number

Let's examine each setting in greater detail.
Length Of The Content
Material Length enables you to display an excerpt or the whole content. Click Show Excerpt to define the length of the excerpt. The following example illustrates the material.
- Content Length: Show Excerpt
Use Post Excerpts
Utilize Post Excerpts shows the optional excerpt given in the WordPress post editor by the author. If the post does not have a manually prepared excerpt, an extract from the first paragraph is generated automatically.
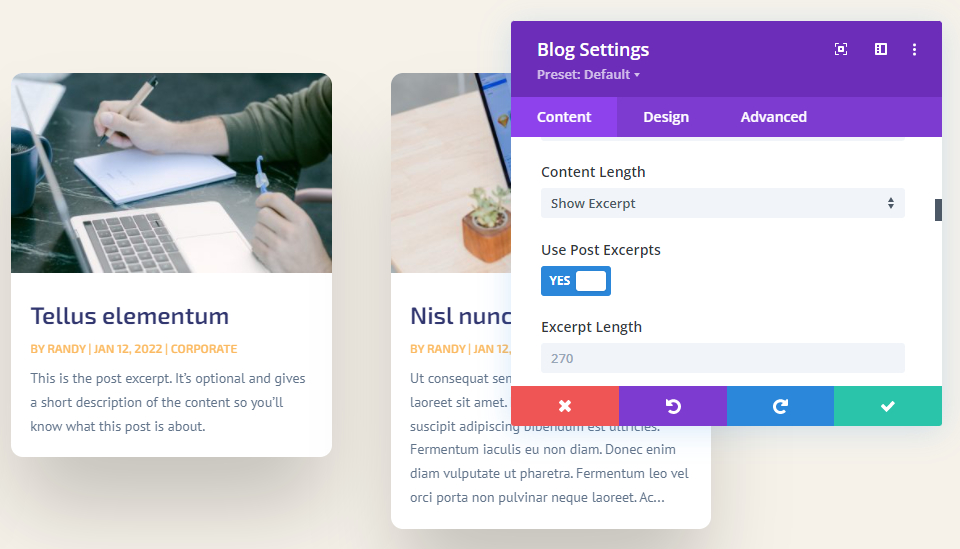
Length Of Excerpt
Snippet Length allows you to choose the length of the excerpt in characters. This is the second option for restricting the length of the snippet. You may enter any value in this field. 270 is the default value. You may input any value to display.
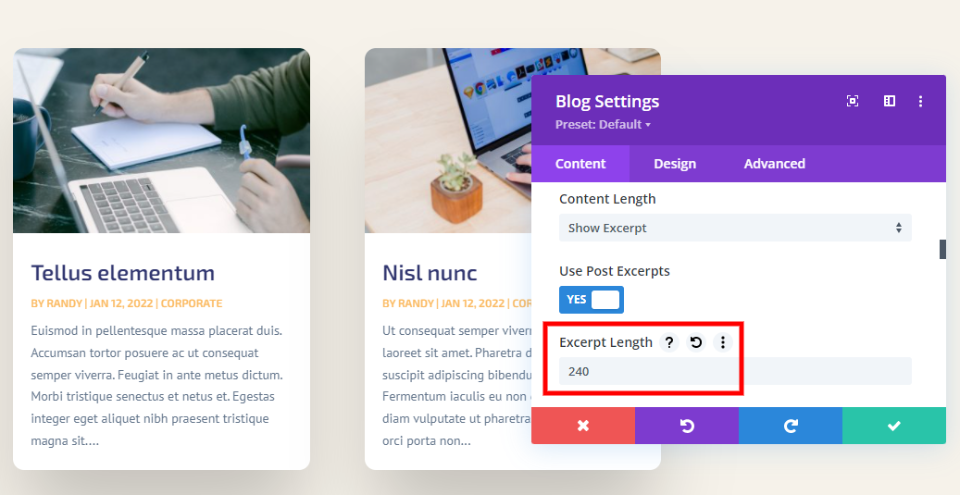
There is no one-size-fits-all extract character number. Your content is unique, your audience is unique, and your design is unique. I propose selecting a number that complements the page's style. You can also conduct some a/b split testing to determine the optimal excerpt length for your audience.
It’s also possible to hide the excerpt completely. Simply scroll down to Elements and disable Show Excerpt.
How to Style the Post Excerpt
After learning how to limit the post snippet, let's look at how to decorate it to match the rest of your website. For my demonstrations, I've added the Blog module to the Software Layout Pack's Home page. This page is missing a Blog module. I'll demonstrate how to decorate it to match the page's design and how to choose an excerpt that fits the page's appearance.
Nota – Normally, I would duplicate the module from the Landing page of this layout pack to save time. Rather than that, I'll start from scratch and use design cues from the Home page in my own styling.
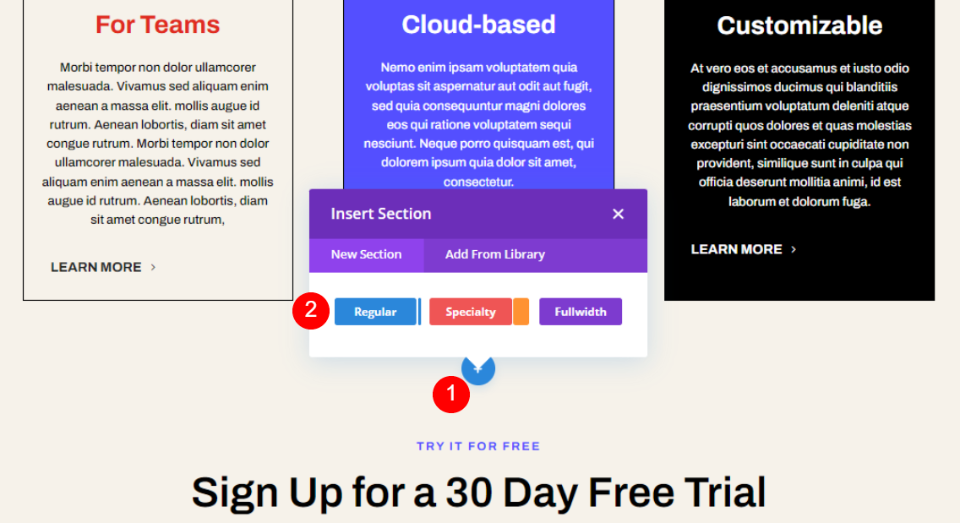
Adding Section
Under the Terms Features section, add a new section.
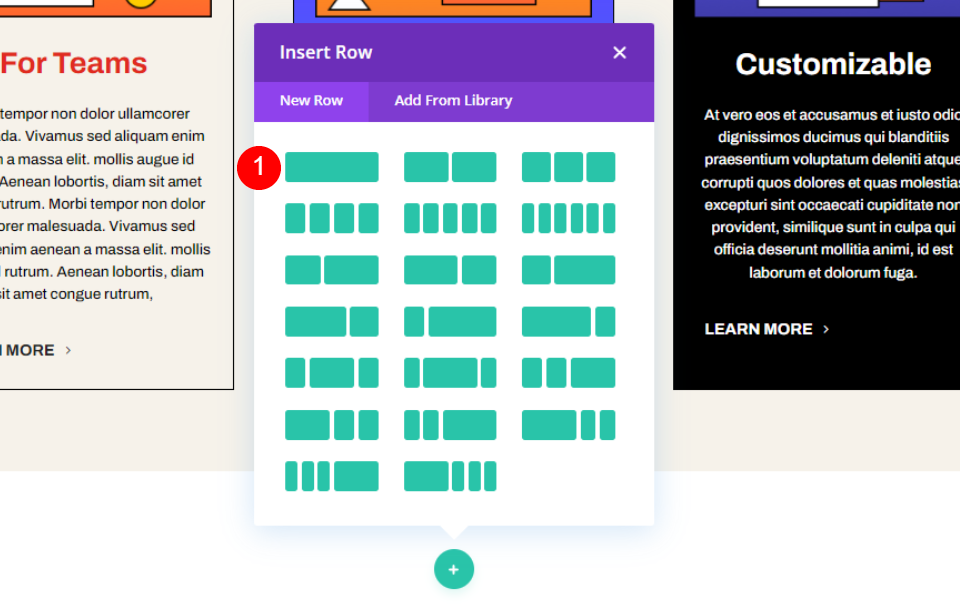
Now add a one-column row to this.
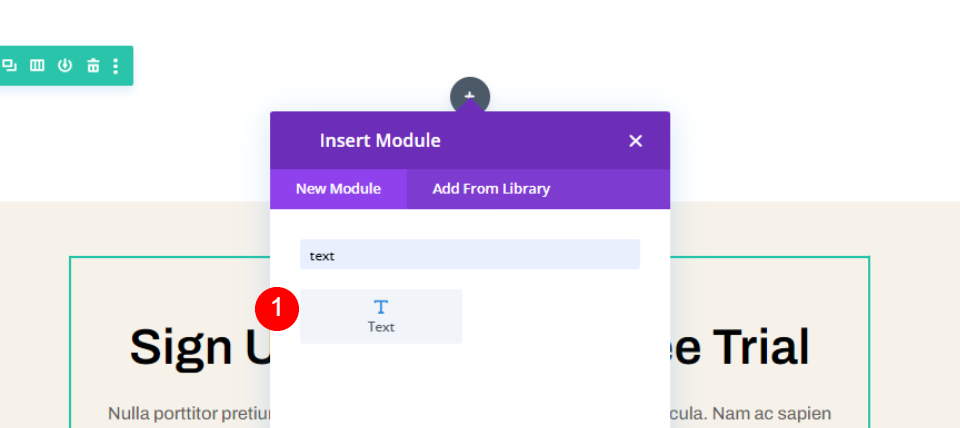
Then, it's time to add a new text module to the column.
Now add another one-column row under the previously added row.
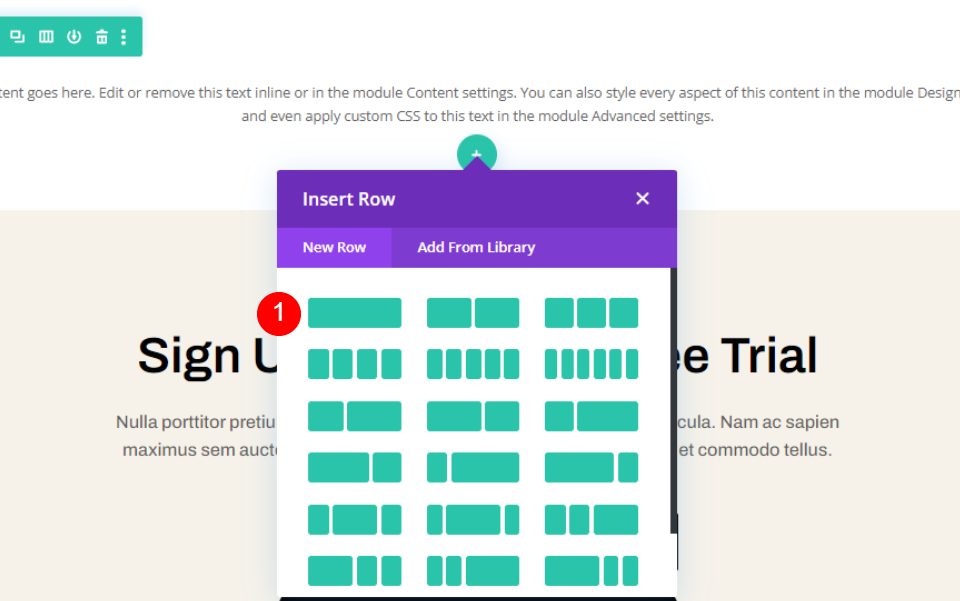
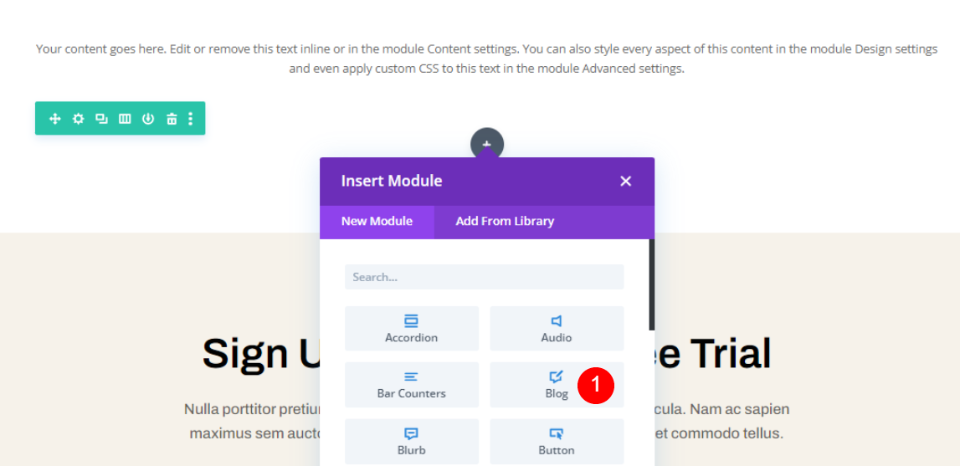
Now add a blog module to the second row. We will decorate them to give them a proper look.
Section Styling
Open the section settings change the background color.
- Background: #f6f2ea

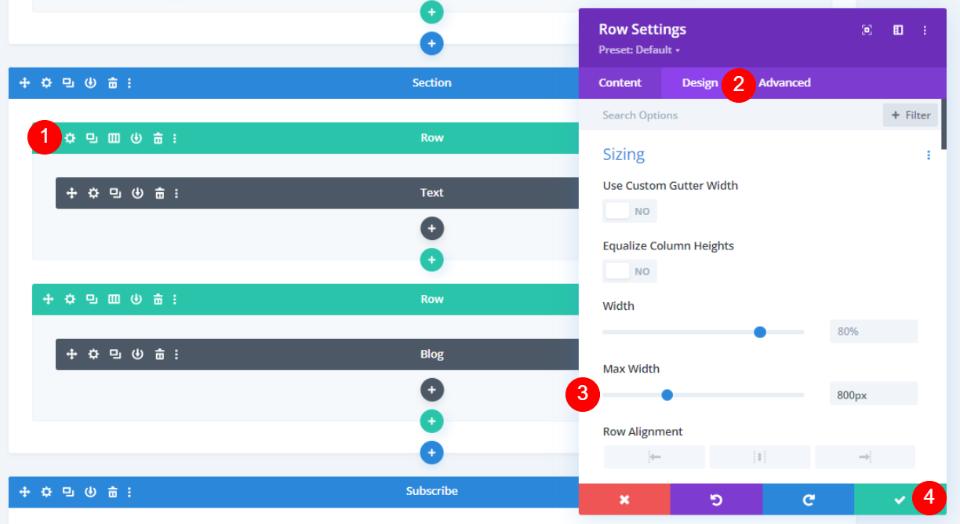
Save and close it. Now, open row settings and do some changes.
- Max Width: 800px
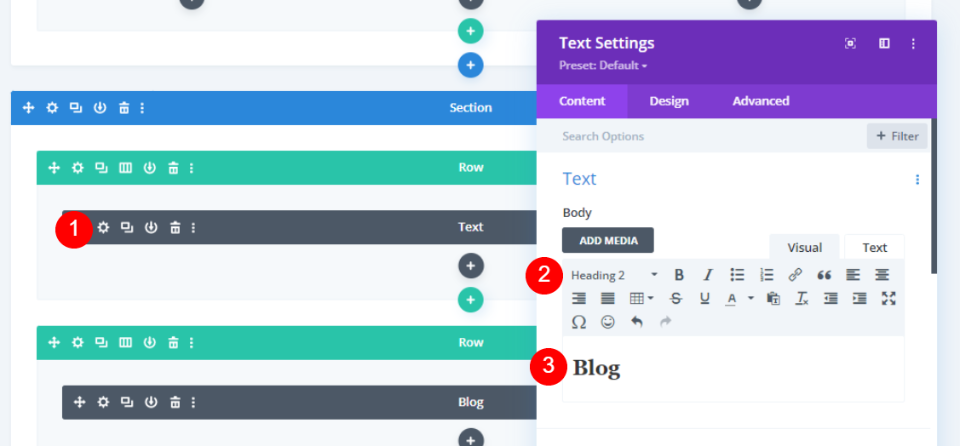
To style the Text module, open text module settings and make the following changes.
- Text Style: Heading 2
- Text: Blog
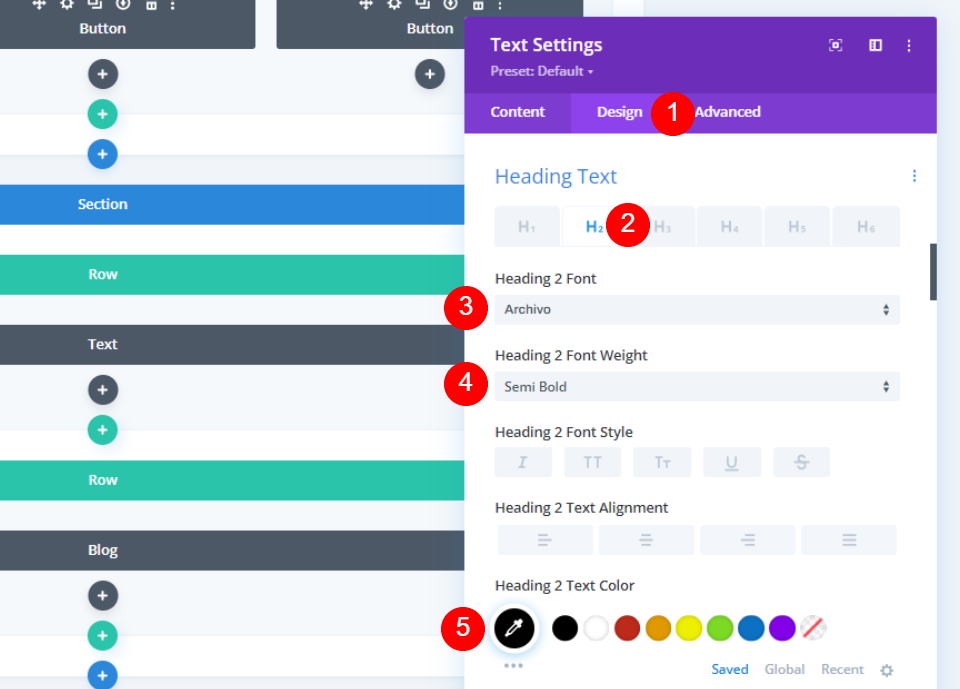
Under the Design tab, make the following changes.
- Heading: H2
- Font: Archivo
- Weight: Semi Bold
- Color: #010101
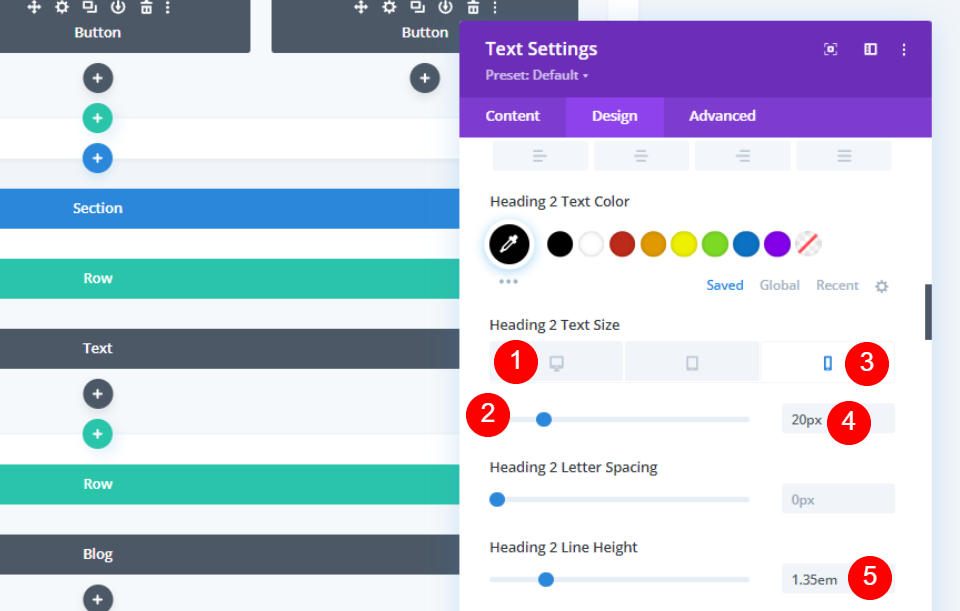
Change the font settings for both desktop and mobile.
- Font Size: 50px Desktop, 20px Phone
- Line Height: 1.35em
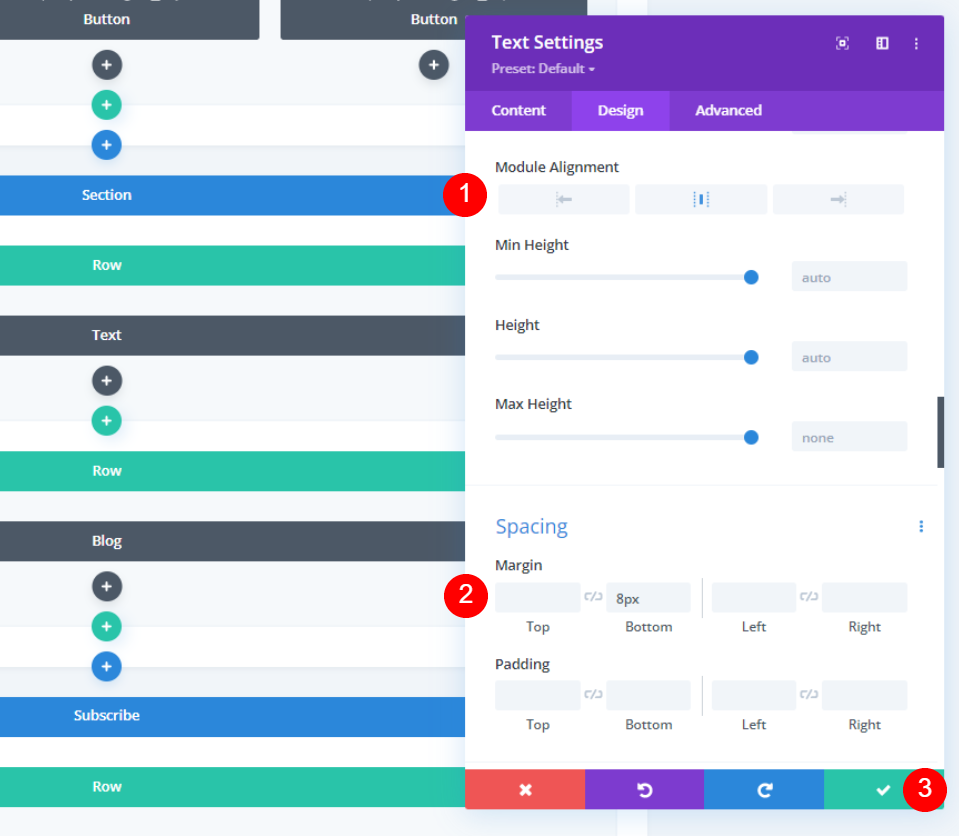
Now, change the module alignment like mentioned below.
- Module Alignment: Center
- Margin Bottom: 8px
Blog Module Styling
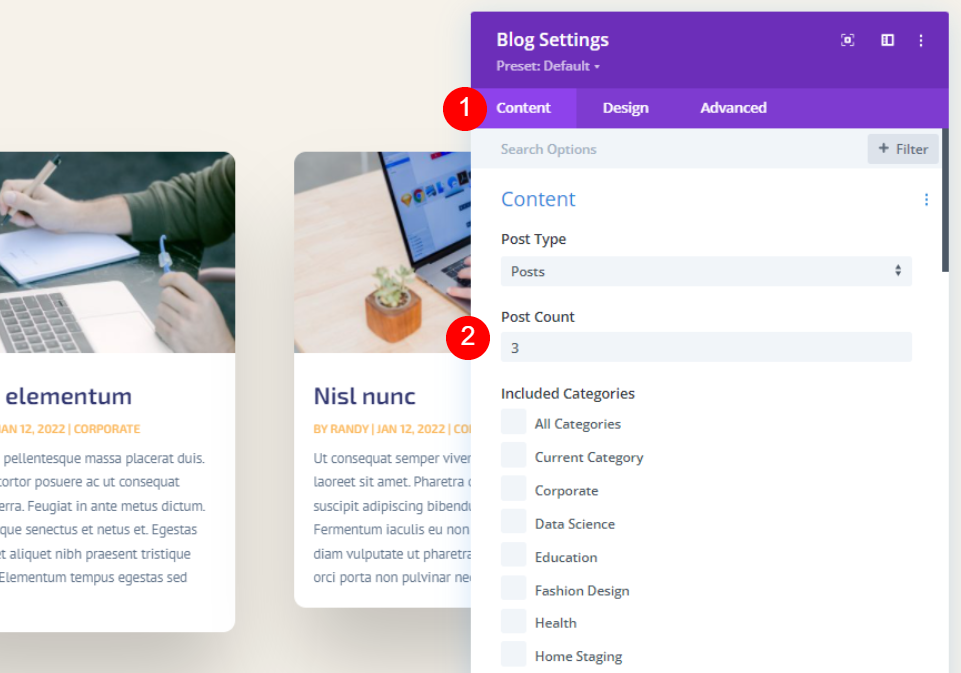
Add the number of posts you want to show from the content tab.
- Post Count: 3
Select show excerpt and set the limit to 300.
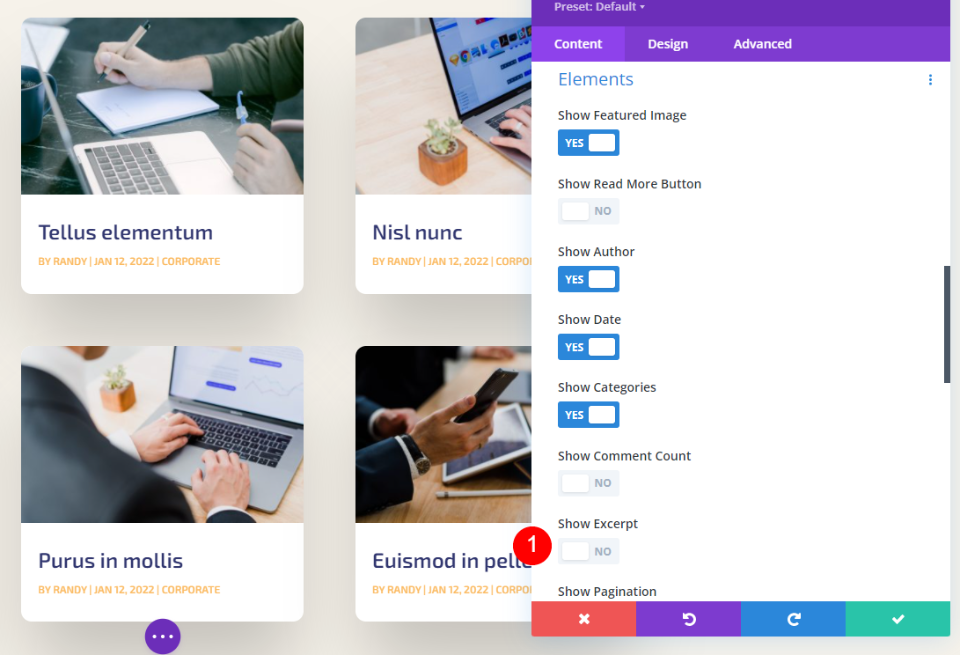
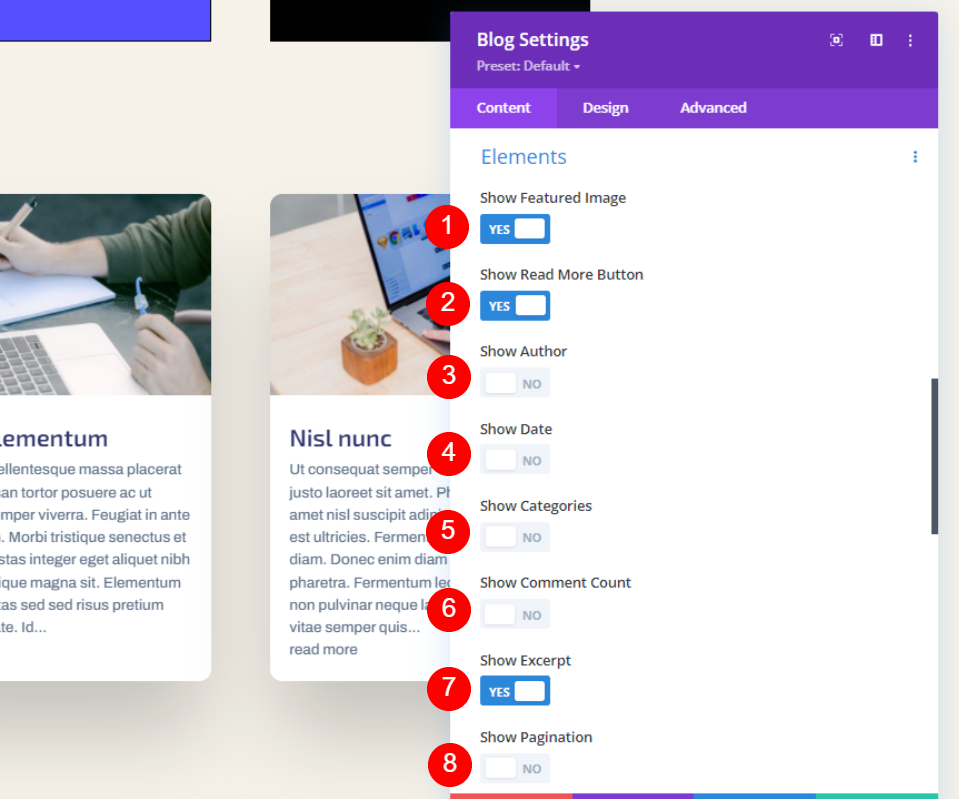
Under Elements, make the following changes.
- Show Featured Image: Yes
- Show Read More Button: Yes
- Show Author: No
- Show Date: No
- Show Categories: No
- Show Comment Count: No
- Show Excerpt: Yes
- Show Pagination: No
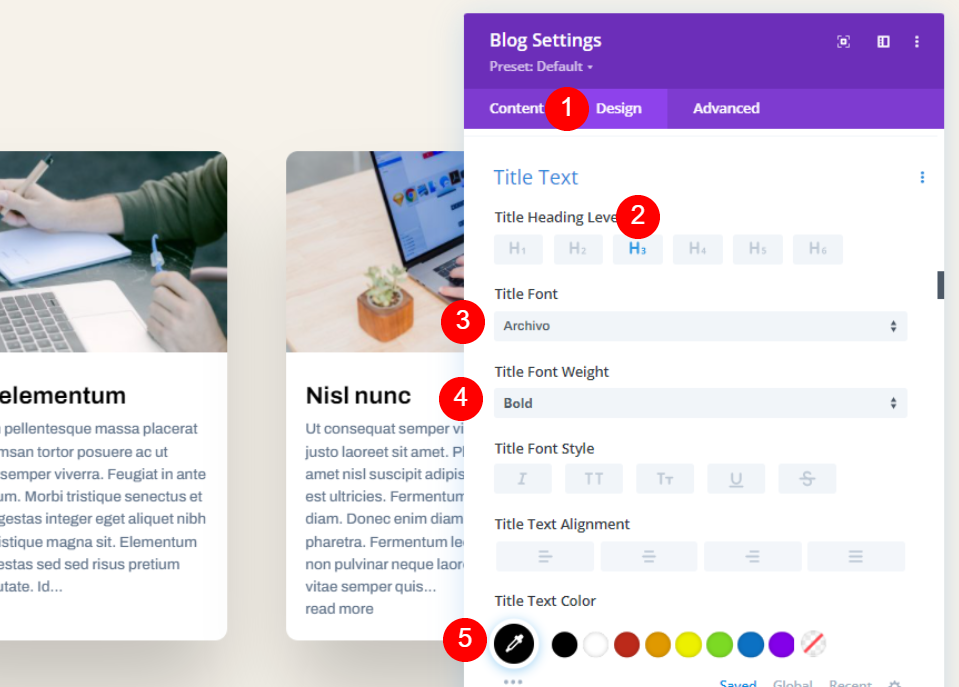
Now, move to the design tab and change the following things for the title heading.
- Title Heading Level: H3
- Font: Archivo
- Weight: Bold
- Color: #010101
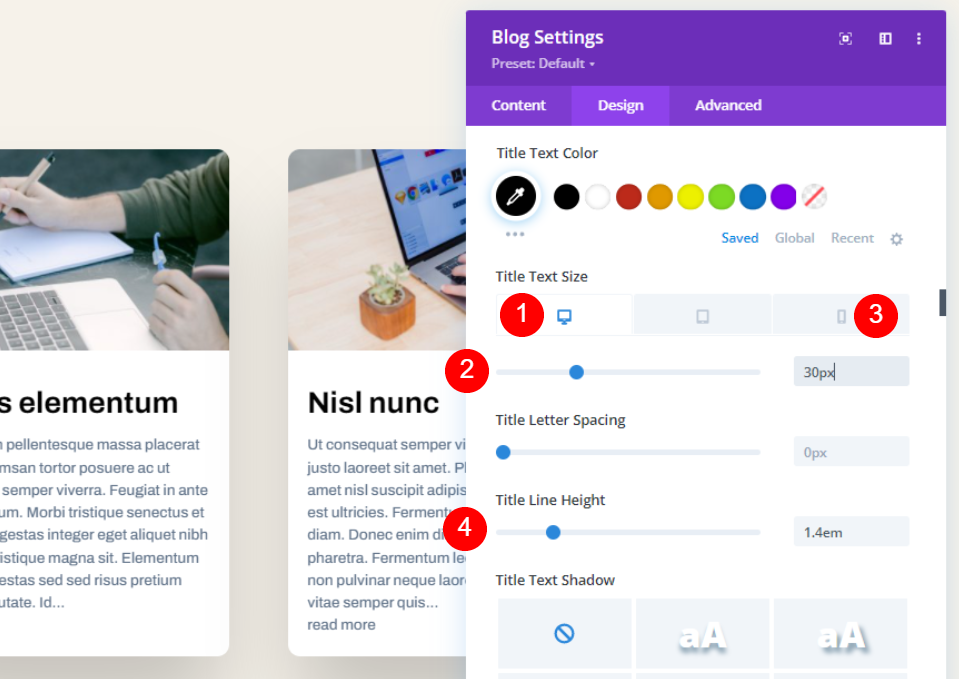
Alter the font size as mentioned below.
- Font Size: Desktop 30px, Phone 16px
- Line Height: 1.4em
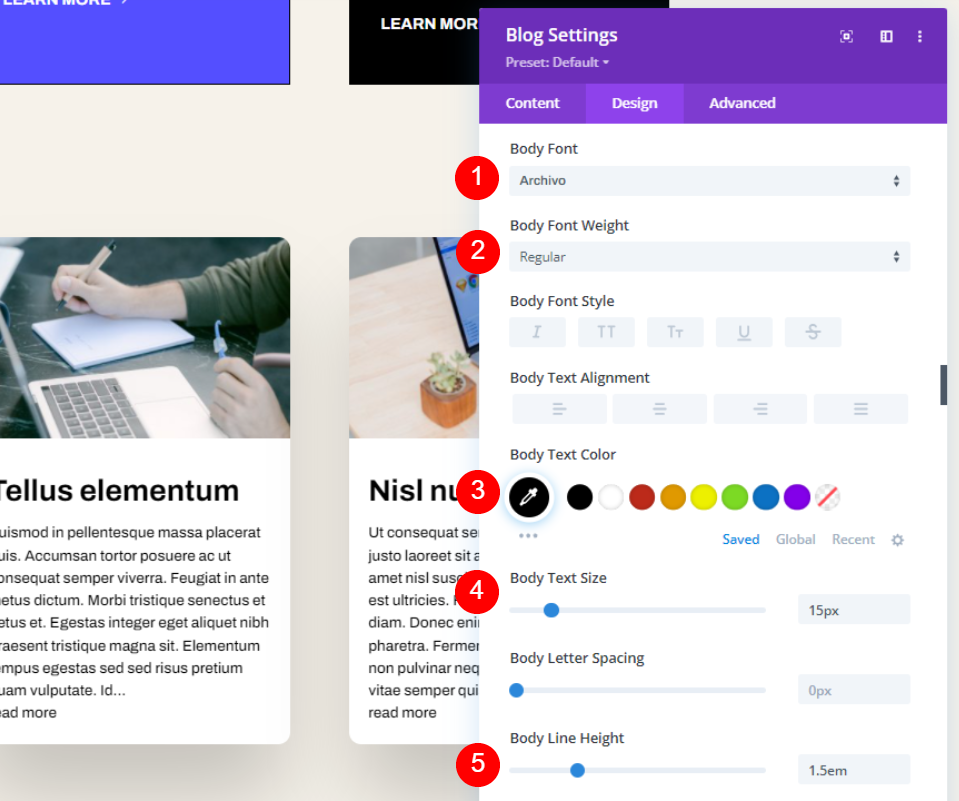
Now make some changes to the body text.
- Font: Archivo
- Weight: Regular
- Color: #000000
- Size: 15px
- Line Height: 1.5em
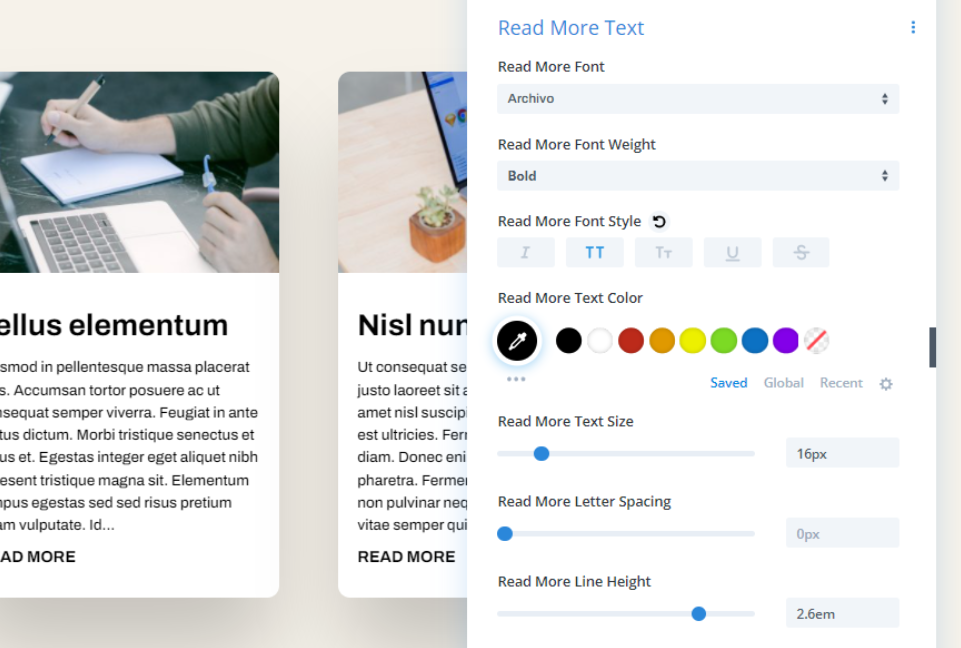
Also, make the following changes for Read more text button.
- Font: Archivo
- Weight: Bold
- Style: TT
- Color: #000000
- Size: 16px
- Line Height: 2.6em
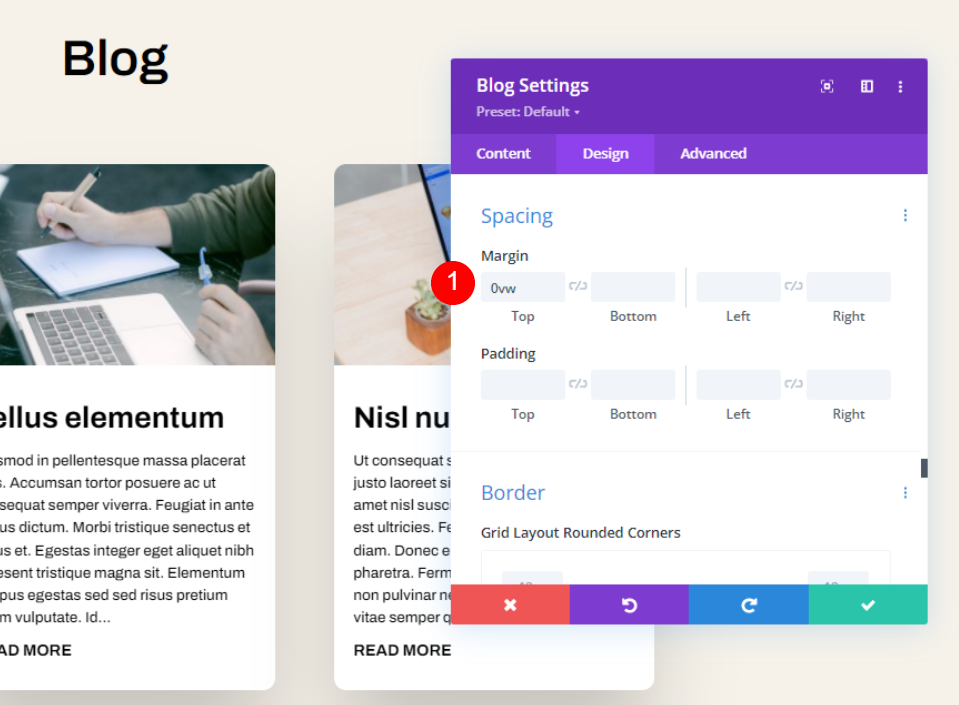
Move to the spacing settings and change the top margin value.
- Top Margin: 0vw
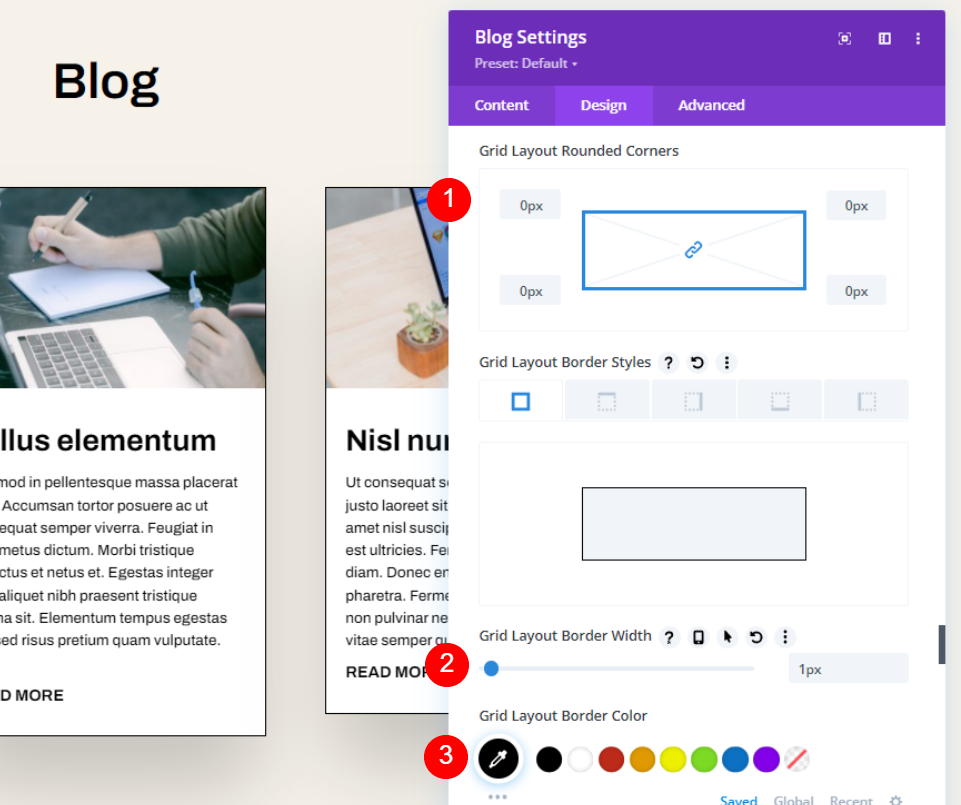
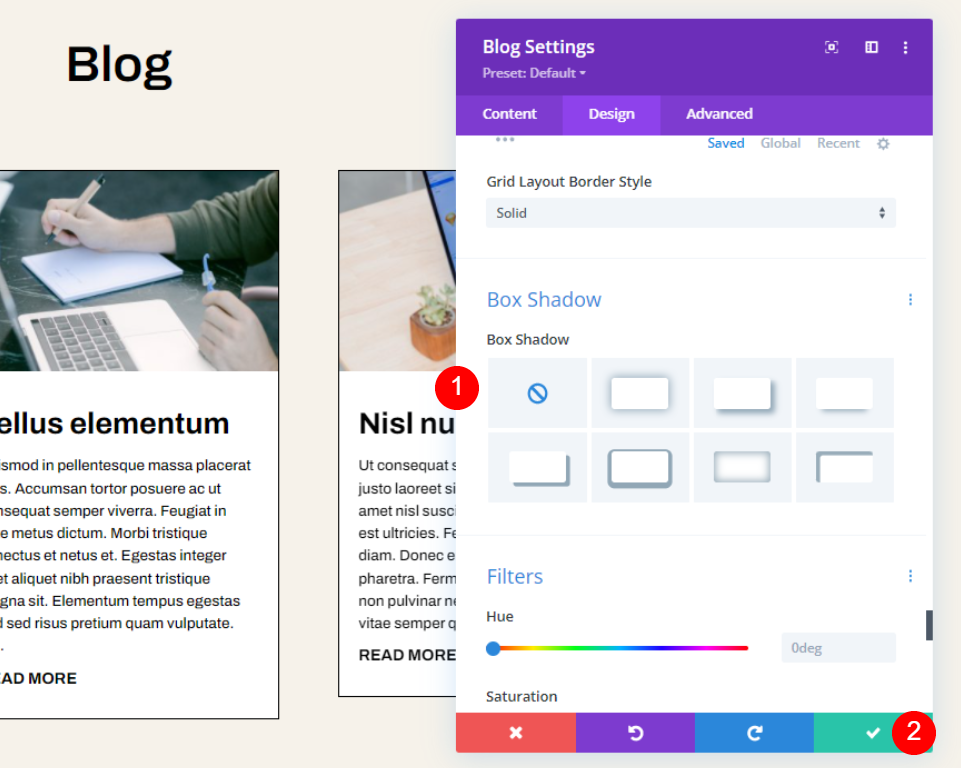
Scroll down to Border and alter the values as follows.
- Rounded Corners: 0px
- Border Width: 1px
- Color: #000000
Lastly, disable the Box Shadow and save your settings.
- Box Shadow: None
Final Result
Now here is what the design looks like.

Take a deep look at the desktop section.
The design also stands for the mobile version too.
Ending Thoughts
That concludes our examination of how to limit the length of an excerpt in your Divi Blog module. Limiting the excerpt length might have an effect on the style of your page. Fortunately, Divi's Blog module has numerous options for restricting and regulating the length of your excerpts. Additionally, customizing the snippet is simple thanks to the Divi Blog module's styling choices.


