
Learning WordPress can seem daunting, especially if you're worried about the costs of hosting. But what if you could practice and experiment with WordPress without any hosting fees? Sounds too good to be true? Well, it's possible!
In this beginner-friendly guide, we'll show you how to set up a local WordPress site right on your computer. No hosting is required! You'll get to play around with themes, plugins, and customizations to your heart's content without spending a dime.
Whether you're a total newbie or have some WordPress experience, this tutorial will walk you through the process step-by-step.
Build A WordPress Site Locally Without Hosting
Now that you've chosen to make your WordPress site on your own computer, you'll need some special tools to help you do it.
Create Amazing Websites
With the best free page builder Elementor
Start NowThese tools will do a few things for you: they'll set up some software on your computer that lets your site work, like a web server, PHP, and a database manager. Doing all of this on your own can be tricky, so these tools make it simpler and faster for you to start building your site.
Here are two tools you can use to build your WordPress site on your own computer, along with the steps you need to take to get started.
DevKinsta
DevKinsta is a free program made by Kinsta. It came out in January 2021. I used it recently to start a website, and it was really easy to use.
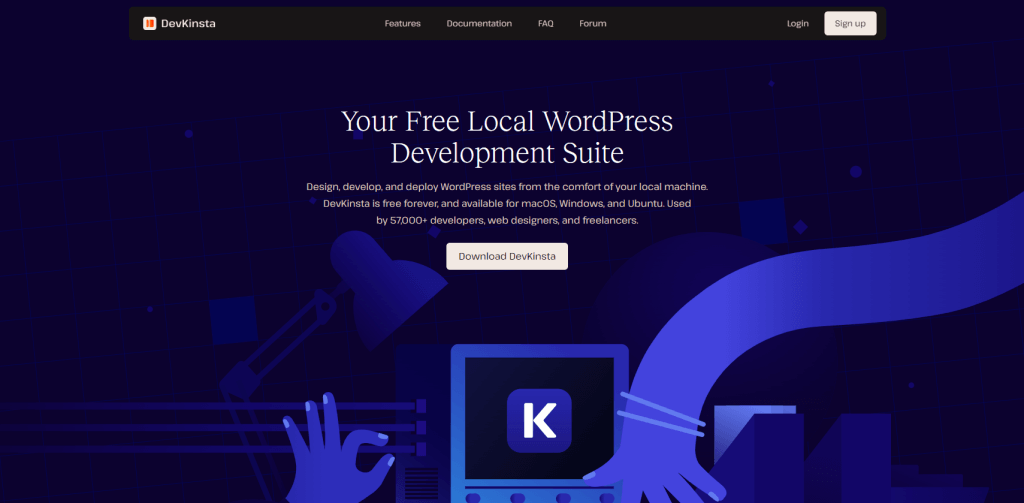
It helps beginners make and develop websites on their own computers. DevKinsta sets up things like Nginx and MariaDB with just one click.
It only takes about 2 minutes to install and start working on your site. You can make themes, try out plugins, and do special PHP work.
When you're ready to show your site to the world, DevKinsta can send it to Kinsta's hosting. But remember, it only works if you want to host your website with Kinsta. I have 20 sites hosted with Kinsta, and I think they're great.
Xammp
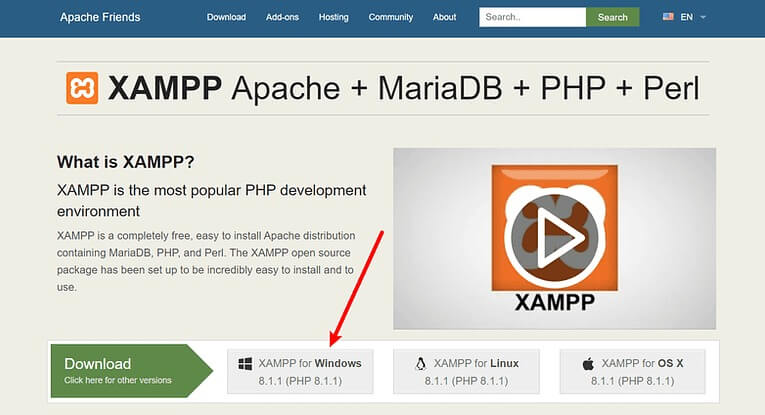
The first thing you need to do to put WordPress on your own computer is to get XAMPP. You can get it from Apache Friends for Windows. It's a pretty big file, around 110 megabytes, so it might take a little while to download, depending on how fast your internet is.
When you finish downloading, open the file you downloaded to start installing XAMPP. If your computer has antivirus software, you might see a message. Just click "Yes" to keep going. You might also see another message about User Account Control (UAC). Just keep going through that too. When you finish with all the messages, you'll see the normal installation screen. Just click "Next" to keep going.
On the next screen, you can choose what parts of XAMPP to install. To install XAMPP and WordPress, you only need a few things:
- MySQL
- PHPMyAdmin
You might find some other parts useful too. For example, if you want to send or check emails, you might want to install those parts too. But you don't have to if you don't want to.
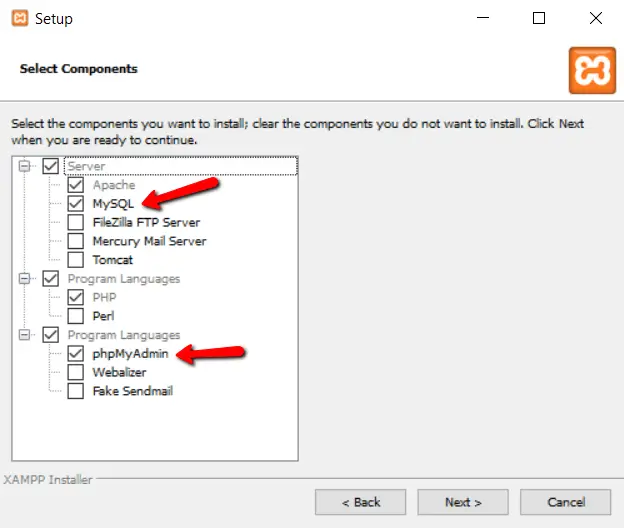
After that, just uncheck everything else and click "Next."
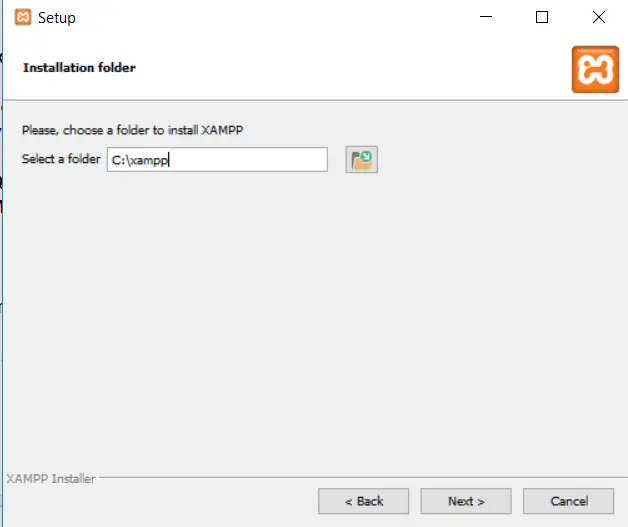
You can choose where to install XAMPP. I usually leave it where it suggests.
Then, choose the language you want to use.
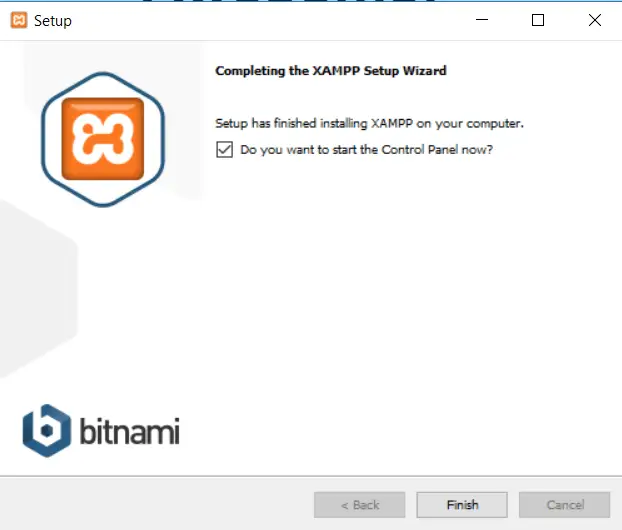
Next, you might see a message asking if you want to install Bitnami for XAMPP. You don't need this to install XAMPP and WordPress, so you can uncheck the box. It makes the WordPress install a bit easier if you keep it checked, but I'll explain how to do it without Bitnami.
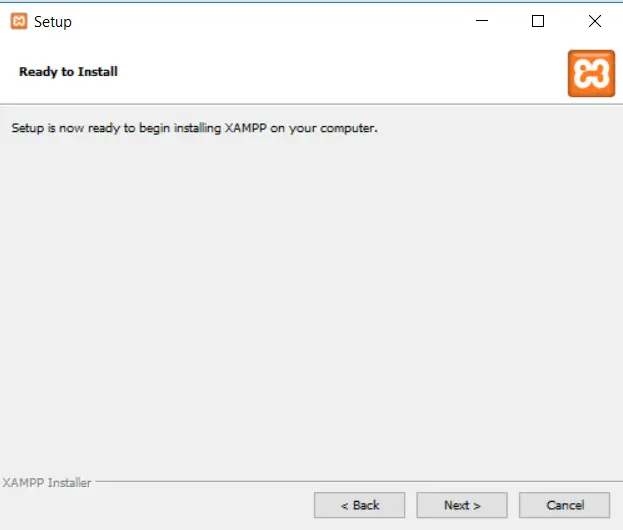
Click "Next" when you're ready to start installing.
It might take a few minutes to finish installing. Once it's done, you can open the control panel to start using XAMPP.
To set up XAMPP and WordPress correctly, you need to do two things:
- Start Apache
- Start MySQL
You can do this by clicking on the Apache and MySQL buttons in the XAMPP control panel.

Once you've clicked on them, you should see the buttons turn green, which means they're running.

Now, you can check if your local server is working by opening http://localhost/ in your web browser.
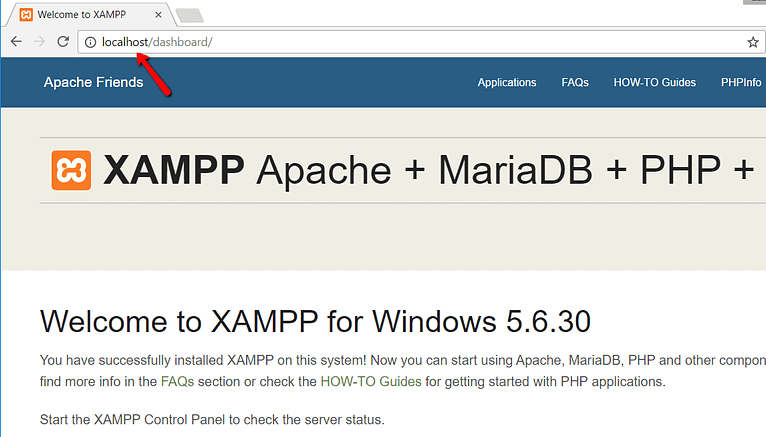
If everything worked fine, congratulations! You now have XAMPP installed and running on your Windows PC. But now, let's move on to installing WordPress on XAMPP.
If you've ever set up WordPress by yourself before, doing it again should feel familiar. Here's what you need to do:
Go to wordpress.org and get the latest WordPress version.
If you're using Windows, find where you put XAMPP on your computer. Usually, it's in C://xampp, but it might be somewhere else for you.
Inside the XAMPP folder, look for a folder called htdocs.
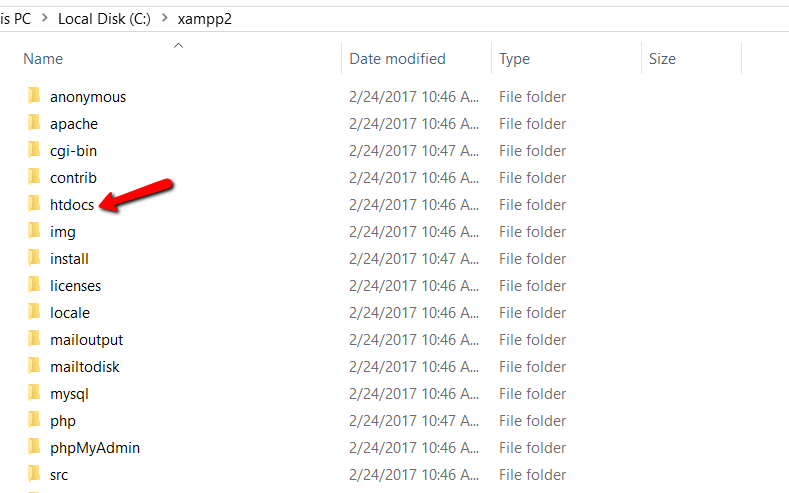
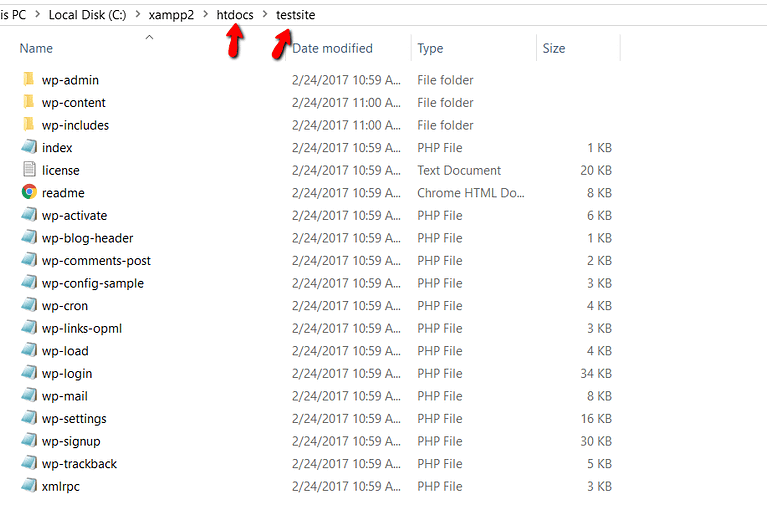
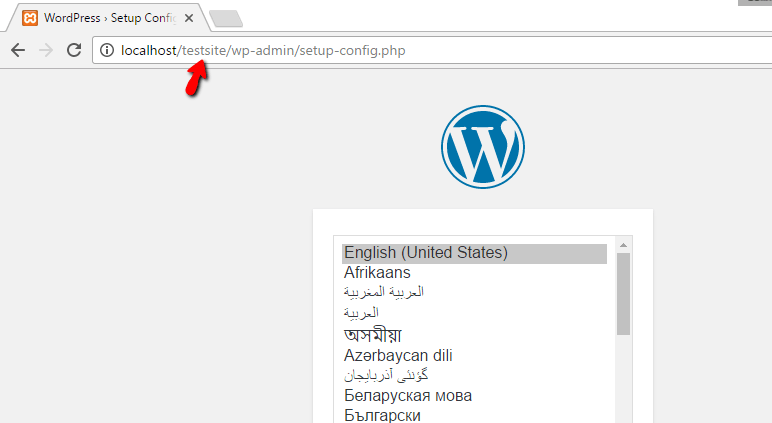
Make a new folder in htdocs for your test website. This folder's name will be part of the web address for your site. For example, if you name the folder "testsite," your site will be at http://localhost/testsite.
Once you've made the folder, unzip the WordPress file you got from wordpress.org and put its contents inside your new folder.
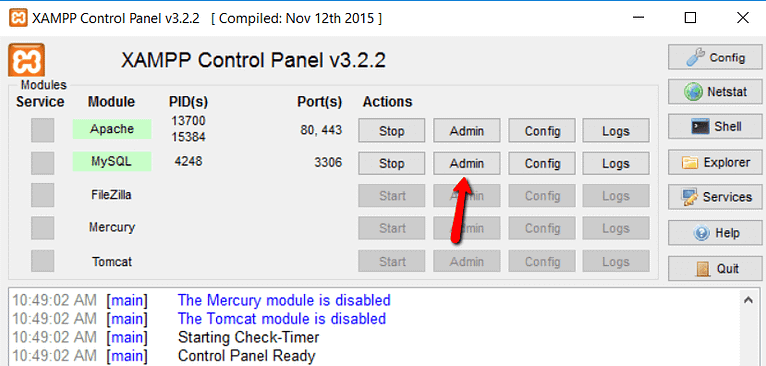
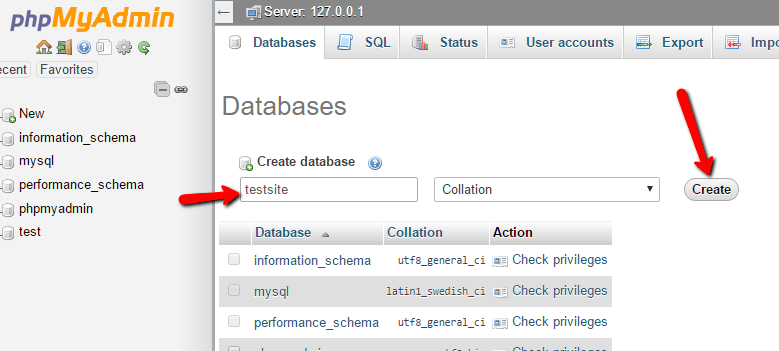
Now, you have to make a special place on your computer for WordPress to store its information. To do this, open a program called PHPMyAdmin from your XAMPP control panel:
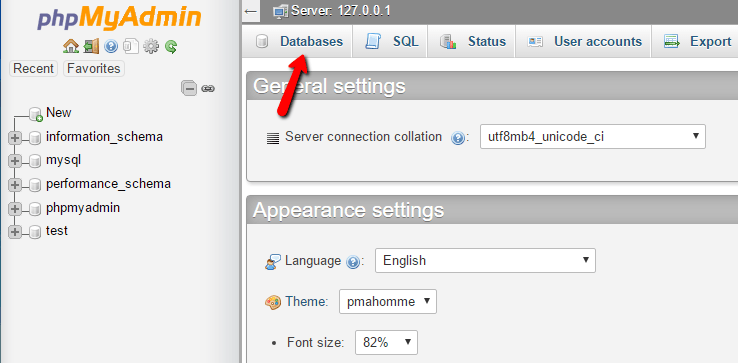
Then, click on "Databases" at the top:
Now, type in a name for your special place and click "Create". You can choose any name you want – just remember it because you'll need it later:
When you're setting up WordPress on your computer, you don't have to think about making a special username for the special place like you would if you were putting WordPress on a real website.
When you go to your test website, you'll see the usual WordPress setup page. Remember, your test website's address is just http://localhost/FOLDERNAME:
The only thing that's different from a regular setup is when you reach the part about the database. Here's what you need to type in:
- Database Name: The name of the database you made in PHPMyAdmin.
- Username: Type "root".
- Password: Leave it empty.
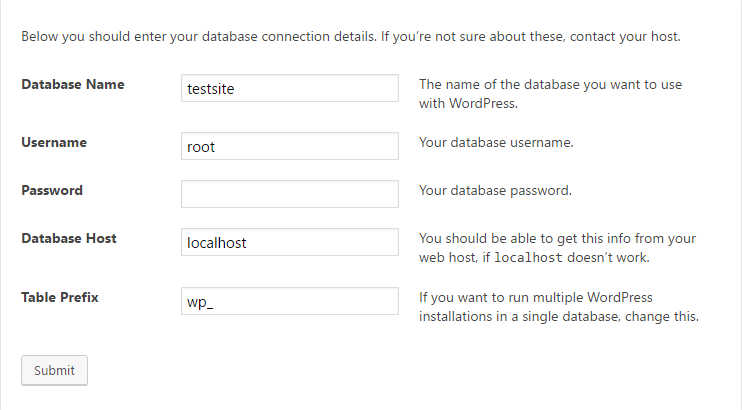
Then, carry on with the rest of the WordPress setup as usual.
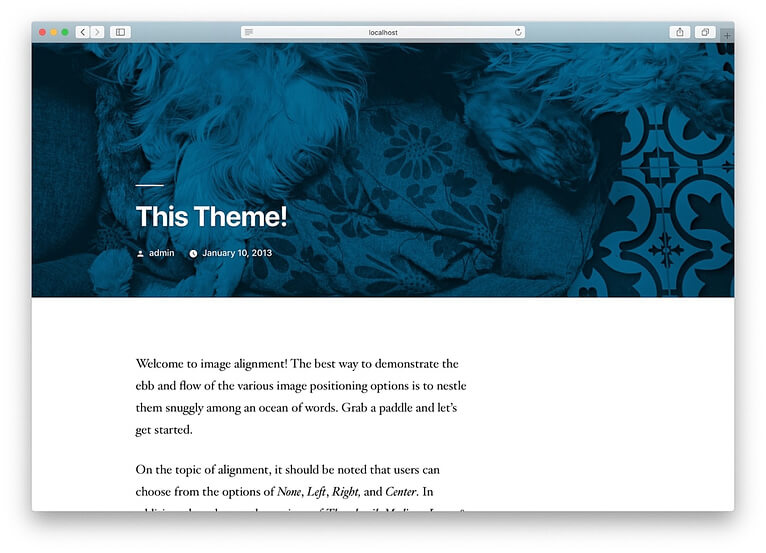
Once you're done, you should see your new WordPress website up and running perfectly on your computer.
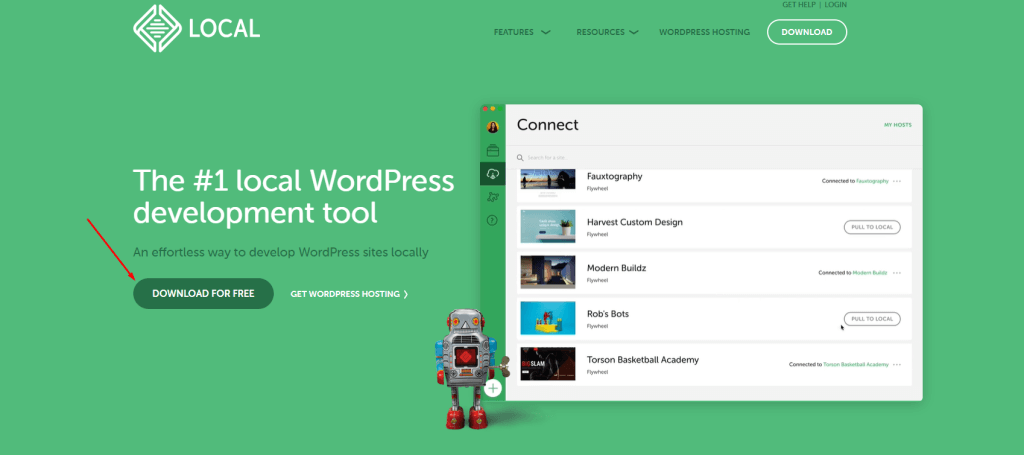
Local
The simplest option is called "Local." It helps you make a special place on your own computer where you can work on WordPress easily. It works on Macs, Windows computers, and Linux computers.
Just go to the Local website and get it for your computer.
Depending on what kind of computer you have, the steps to install it might be a bit different. For Macs, you just need to click on the thing you downloaded and then move the Local app into the Applications folder.
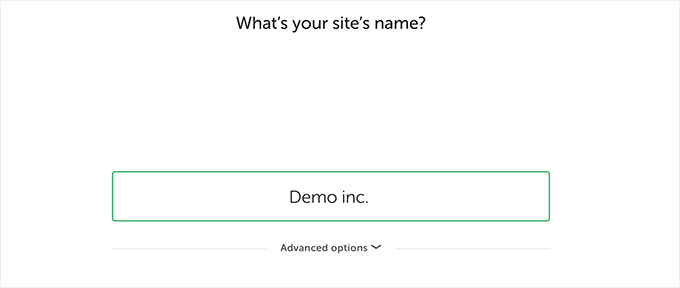
First, open the Local app on your computer after installing it. Then, click on the button that says ‘Create a new site’.

Next, you’ll need to give your website a name. Just type in any name you like for your practice website and then click ‘Continue’.
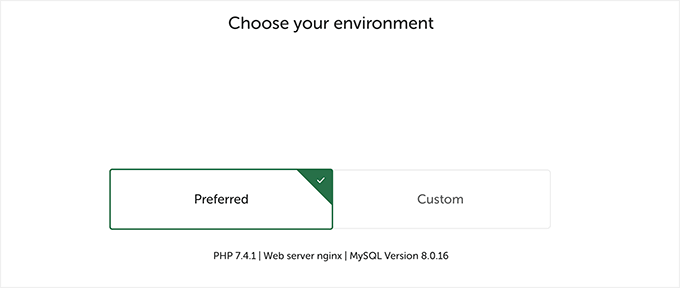
After that, you’ll have to pick some settings for your website, like what kind of server software to use. If you're not sure, you can stick with the default options and click ‘Continue’.
On the next page, you can choose a username and password to get into the admin area of your WordPress site on your computer. You can also change your email if you ever need to recover your login.
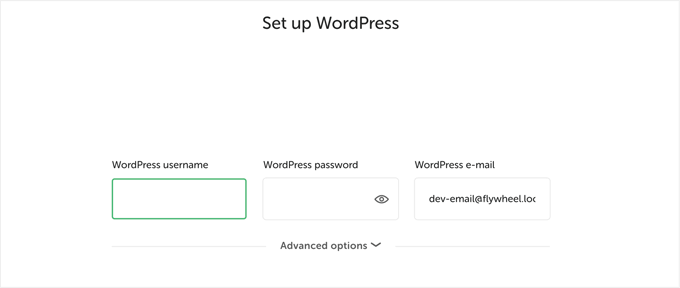
Click ‘Continue’ to finish setting things up.
Local will then get the latest WordPress version and set up a new website for you on your computer.
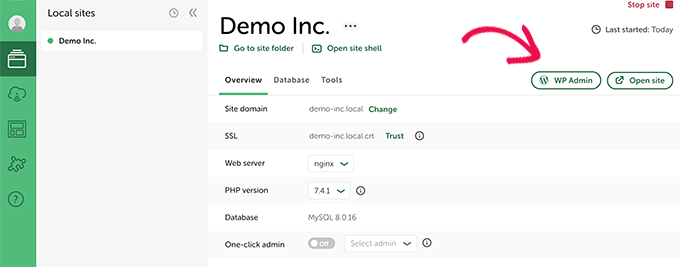
Once it's done, you’ll see details about your new website. You can click the ‘WP Admin’ button to start using WordPress.
Try For Free Of Charge On Hosting Providers
The easiest way to try WordPress online is to use a special company that hosts WordPress websites. They promise to give your money back if you're not happy, usually within 30 or 90 days.
This is good because you can learn how to use WordPress for making your own website. If you decide you like it, you can easily make your website go live with just one click.
But if you try it and don't like it, you can ask the company for all your money back.
To do this, you'll need a credit card to pay for the hosting service first. But if you don't like it, they'll give you all your money back.
Some of the big companies that do this are:
- Bluehost: They give you a free domain and hosting, and you can get your money back within 30 days.
- Hostinger: They also give you a free domain and hosting, and you can get your money back within 30 days.
- SiteGround: They offer WordPress hosting, and you can get your money back within 30 days if you're not happy.
- Dreamhost: They give you a free domain and WordPress hosting, and you can get your money back within 97 days.
All these companies will set up WordPress for you, or they make it easy for you to set it up with just one click.
You can pick any of them to start trying out WordPress online without worrying about losing your money.
Pros and Cons of Building a Website Without Hosting
Here are some pros and cons of building a WordPress website without hosting:
Pros
- Cost Savings: Building a WordPress site locally eliminates the need for hosting fees, making it a budget-friendly option for beginners or those practicing WordPress.
- Risk-Free Experimentation: Without a live website, you can experiment with themes, plugins, and customizations without the fear of breaking or disrupting a live site.
- Offline Access: You can work on your WordPress site offline, allowing you to develop and test in environments without an internet connection.
- Ideal for Learning: Setting up a local WordPress environment is perfect for those learning WordPress, as it provides a safe sandbox to practice and understand the platform's functionality.
- Speedy Development: Local environments often load faster than live websites, leading to a more efficient development process.
Cons
- Limited Functionality: Certain features and plugins may not work as intended in a local environment, as they require a live server or internet connection.
- Differences from Live Sites: Local environments may not fully replicate the behavior of a live, hosted WordPress site, potentially leading to compatibility issues when launching.
- Lack of Real-World Testing: Without real visitor traffic and interactions, you may miss out on testing the website's performance under actual load conditions.
- Setup Complexity: Configuring a local WordPress environment can be technically challenging for beginners, involving server software, databases, and other tools.
- No Public Access: Your locally developed WordPress site will only be accessible on your machine, making it difficult to share or collaborate with others during the development process.
While building a WordPress website without hosting has its advantages, especially for learning and experimentation, it's important to consider the potential limitations and ensure a smooth transition to a live, hosted environment when your site is ready for launch.
Wrapping Up
And there you have it! You've successfully set up your very own local WordPress site to practice and learn. Pretty cool, right? No more worrying about hosting costs or breaking a live site. This safe sandbox is all yours to experiment with.
The best part? You can keep playing around with WordPress for as long as you need to really get the hang of it. Install new themes, activate different plugins, tweak settings - you name it! Make all the mistakes you want without any consequences.


