
You may have heard it said multiple times that email list development is no longer effective. But the list still holds value, which is why big, medium-sized, and even little businesses continue to expand their email lists.

Do you know that if you offer your visitors something of value and interest, they are more likely to sign up for your email list?
And if your website sells goods, these visitors might not be ready to make a purchase just yet; they probably need more persuasion. How can you gather leads or opt-ins for further communication if your website lacks a lead capture form? Never undervalue the value of creating an email list for your company.
In this article, I'll demonstrate how to customize and insert an email opt-in form into WordPress posts and pages using Elementor PRO's Form widget. I'll also show you how to link the form to your preferred email service provider (ESP), such as AWeber, Campaign Monitor, Sendy, or Mailerlite, using the free MailOptin plugin.
Create Amazing Websites
With the best free page builder Elementor
Start NowConnect MailOptin to your Email Service Provider
You must install and activate the MailOptin plugin before I can show you how to edit and integrate opt-in forms into your website using Elementor. Get started on that right away.
Then, navigate to the Connections settings page by clicking the top menu tabs or the sidebar menu link to connect your email service provider(s). Let's look at how MailOptin connects to various ESPs.
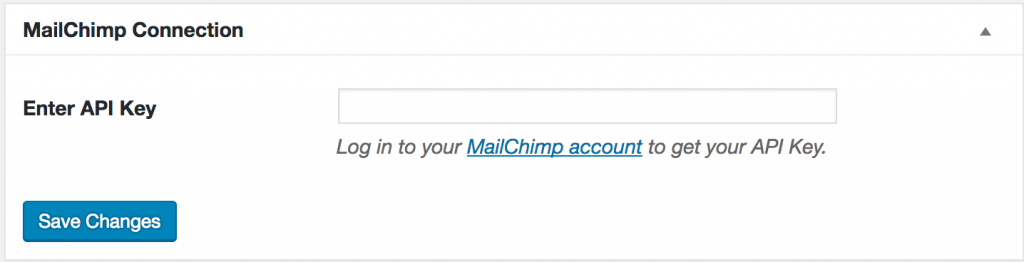
MailChimp Connection
Like I indicated earlier, MailChimp is integrated into the Elementor form element. Instead, enter your API key in the MailChimp Connection meta box and save it if you prefer to collect leads using MailOptin.
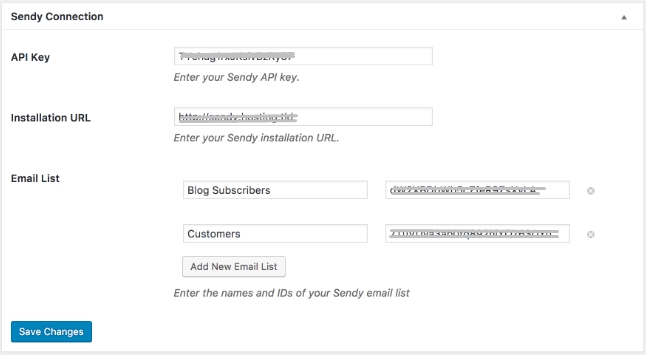
Sendy Connection
You can use Sendy, a self-hosted email newsletter program, to send emails using Amazon Simple Email Service (SES). It is well-liked by many small companies and internet marketers because it is more affordable than cloud service providers like MailChimp.
Go to the Sendy Connection area of MailOptin, where you may enter your Sendy installation URL, your API key (which you can find at http://your-installation-domain-name.com/settings, the name of your email lists, and their IDs.
Not sure of your List ID or name's location? Enter your Sendy installation and choose the brand that has your email list.
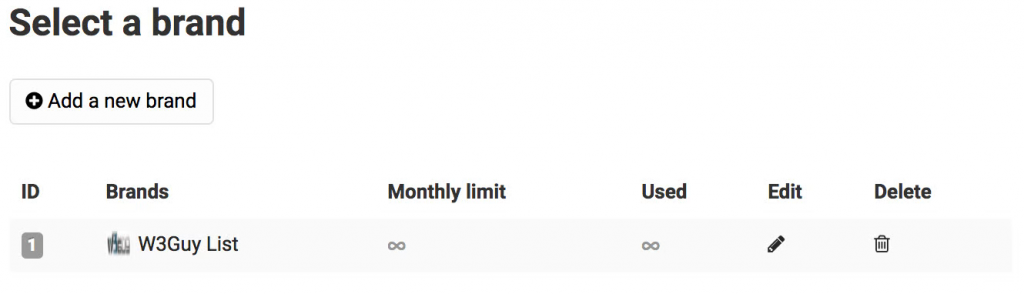
To view the email lists associated with your chosen brand, select "View all lists" from the sidebar menu. Your list IDs and name can be found there.

ConstantContact Connection
Click the "Authorize" button after going to the ConstantContact connection.

Following that, you will be redirected to log in so that MailOptin may access your ConstantContact account.

You will then be led back to the MailOptin settings page, where the button's color will now read "successful connection" in green.

Create An Email Opt-In Form Connected to Your Email Service Provider
You can use Elementor to edit the post, page, or custom post type to which you want to add an opt-in form.

To display the opt-in form on your website, drag and drop the Form widget onto the desired section or area.

Just the name and email fields remain after removing the default Message text area field. Because we are not creating a contact or feedback form, we don't need it.

Now, your opt-in form ought to resemble the image below.

Go to the Actions After Submit box and choose MailOptin if you want all of the leads that were obtained to be delivered to your email service provider.

Choose the email account and list that MailOptin is connected to.

Save the changes after that. Also, don't forget to completely personalize the opt-in form using the Style and Advanced tabs.


Final Words
If you use any other email marketing providers, you might ask the plugin developers if they have any plans to integrate with them because they said they would be adding additional integrations in the future. Hopefully, this tutorial will help you with your elementor website. Also, share it with your friends and keep following CodeWatchers for further tutorials.


