
Hosting on the cloud has become a lot more common. This service hosts your website on many virtual servers, which can increase performance and uptime. You may be asking how to host your WordPress site on Amazon Web Services (AWS), which is one of the main cloud computing service providers. The good news is that we've put up a guide to help you get going.
We'll take a look at Amazon Web Services (AWS) hosting and how it works in this post. Using Lightsail and Cloudways, we'll set up AWS WordPress hosting. Let's get to it, shall we?
What is Amazon Web Services (AWS) Hosting?
When it comes to cloud computing, no one does it better than Amazon Web Services (AWS). It provides a variety of services, including cloud hosting and data storage.
The cloud hosting service AWS is the most popular. Currently, it holds a 33% market share. This makes it more popular than Google Cloud Hosting, which is its closest rival.
Create Amazing Websites
With the best free page builder Elementor
Start NowWebsites of all sizes can benefit from AWS web hosting, which is scalable and cost-effective. It can run WordPress, Drupal, Joomla, and a slew of other popular web applications.
Amazon Web Services (AWS) only charges for what you use. It doesn't cost anything up in advance, and you may choose to pay as you go or stick with a fixed monthly fee. It's also possible to control and customize the parameters of your web server and resources. In comparison to other managed WordPress hosting, AWS Lightsail may be a more cost-effective option.
As an added bonus, Amazon has data centers all over the globe. In actuality, it has 84 locations spread across 26 areas, and it has ambitious expansion plans that include adding another 24 zones and an additional 8 regions:
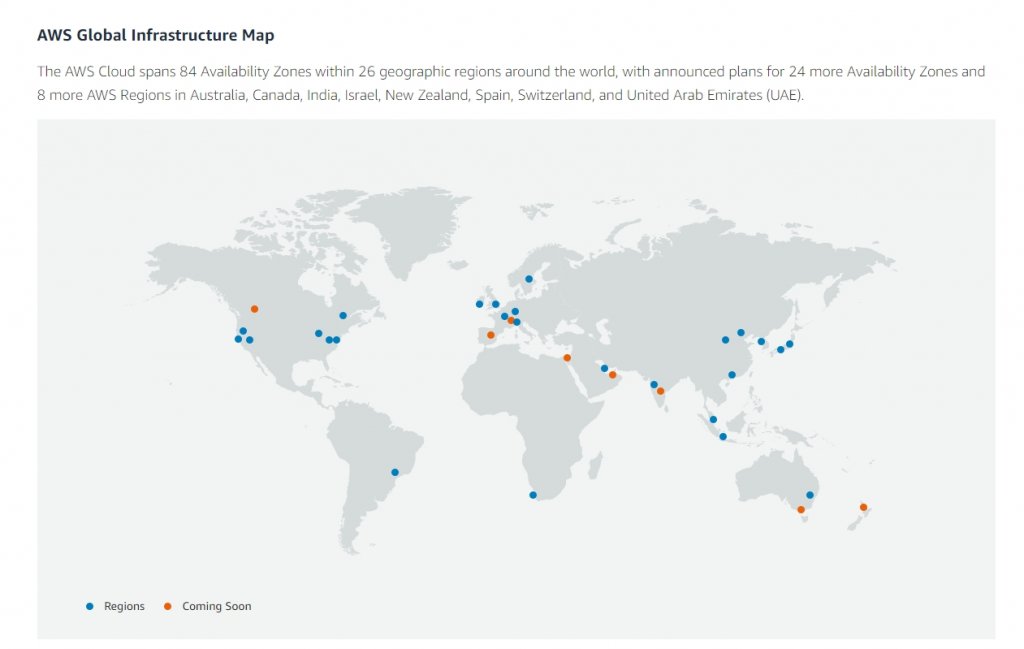
With Amazon Web Services (AWS) WordPress hosting, you may choose the data center that is nearest to your customers. Speedier loading and a more pleasurable user experience can be achieved with this set-up (UX). It is therefore possible to increase the performance of your WordPress site by using AWS hosting.
Install WordPress on AWS Hosting
Amazon Lightsail is the easiest way to get WordPress set up on AWS hosting. This service has a Virtual Private Server (VPS) that is easy to use, SSD storage, DNS management, and more.
Amazon EC2 is another option. This option for hosting is very scalable and has advanced security features and settings for personalization. But because it costs a lot more, it works best for enterprise or large business websites.
Lightsail will be the focus of this part of the tutorial. Later, we'll show you how to set up Amazon EC2 in a different way.
1. Create a WordPress Instance
To kick start the task, you'll be needing an AWS account.
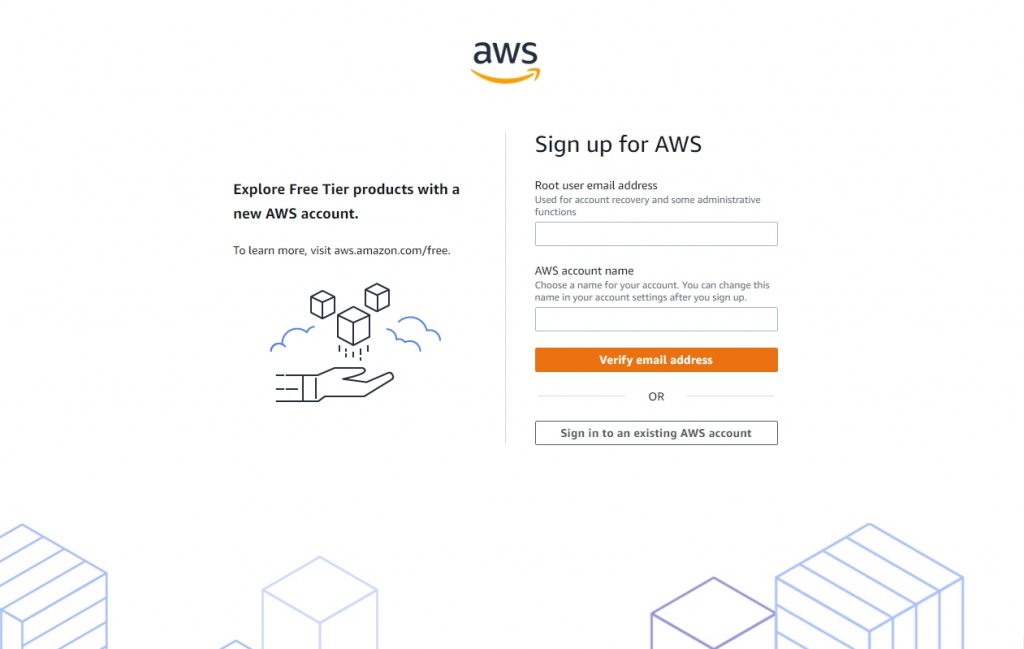
Once you are signed up, navigate to Amazon Lightsail.
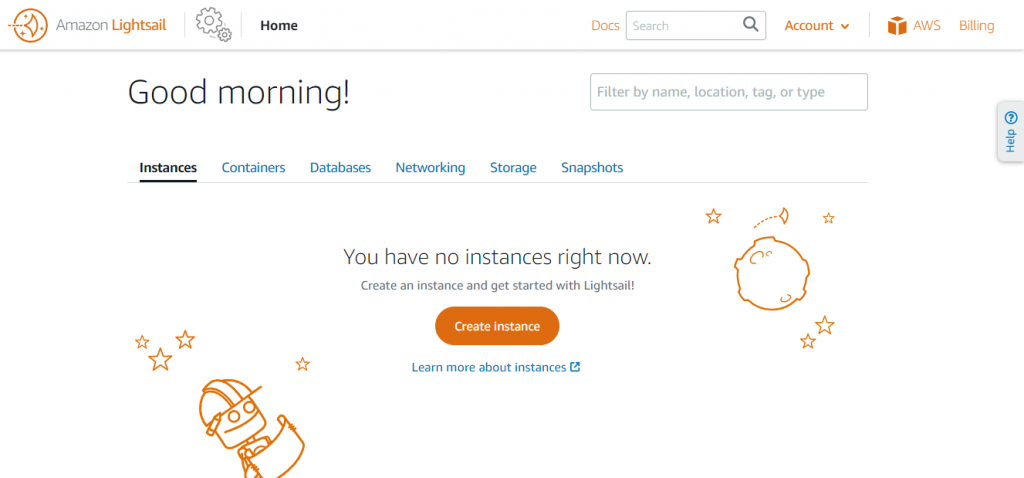
Creating an instance is the first step in setting up a virtual private server (VPS). In order to configure your instance's settings, click on this link.
To begin, you'll need to decide on a location for your server. The ideal site is one that is close to the people you wish to reach. Your material will reach users more rapidly if you do this. An operating system is also required. Linux/Unix and Windows are the only two options.
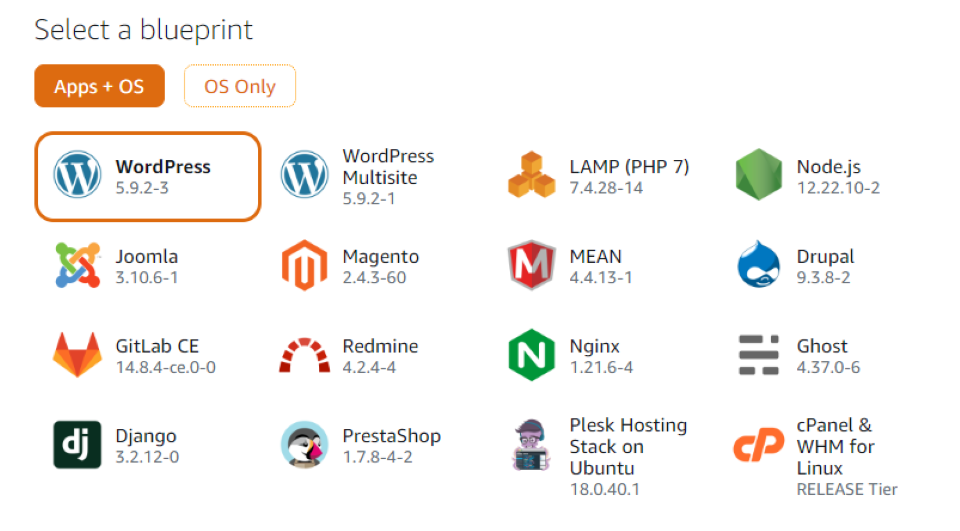
After that, you'll need to decide on an instance blueprint. In WordPress, this should be (or WordPress Multisite). It's always possible to install NGINX and manually install WordPress, but why would you?
You can choose an instance plan when you've finished configuring the settings.
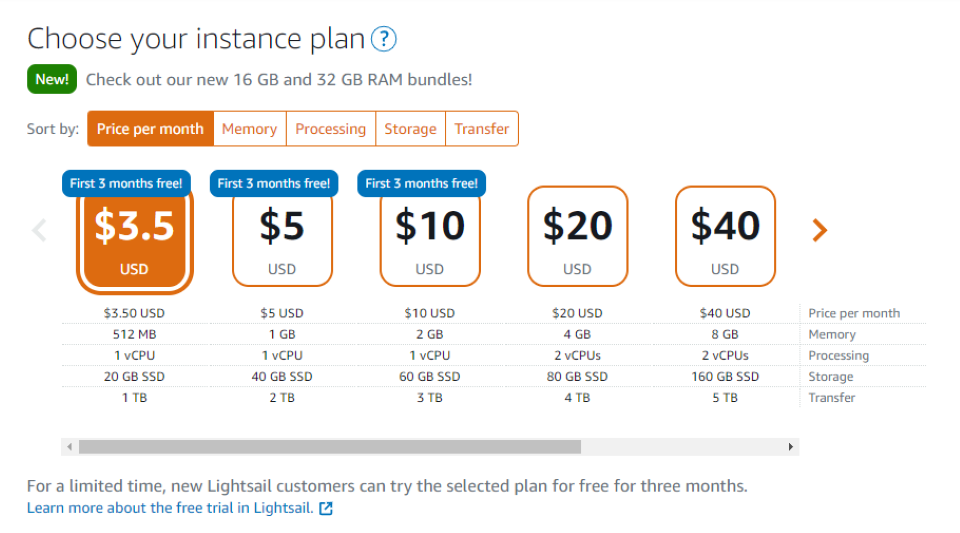
As you can see, you can get going for as little as $3.50 a month. This plan offers 512 MB of memory, 1 vCPU, 20 GB of SSD storage, and 1 TB of bandwidth. At the time of this writing, you can get a free three-month trial of the Lightsail plan.
To complete the process, you'll need to give it a name:
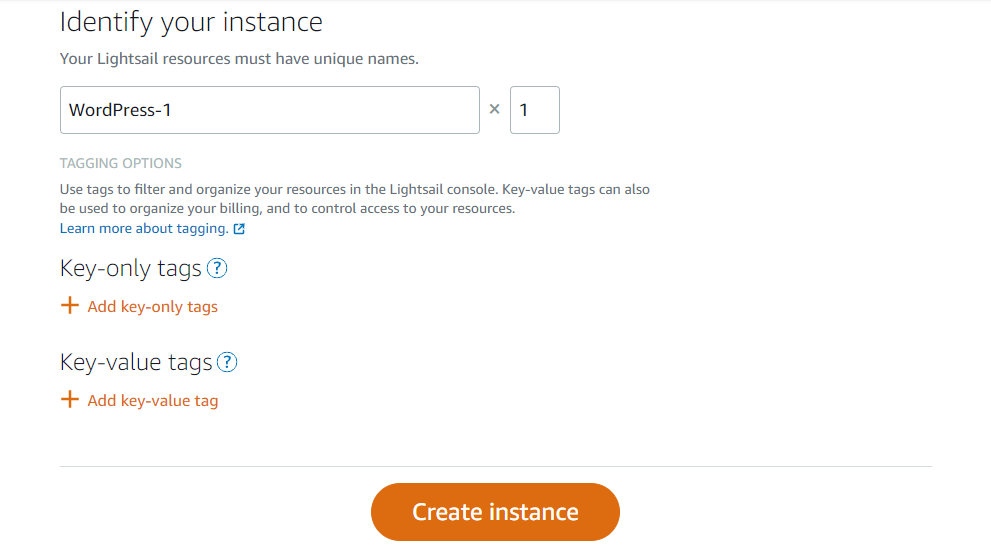
Tags can also be used to keep track of your information. Click on Create instance when you're ready to go live.
2. Connect to Your Instance
The password for your WordPress site will be sent to you through SSH after you've set up your instance. Your new server can be found by clicking the Instance tab on your Lightsail console page.
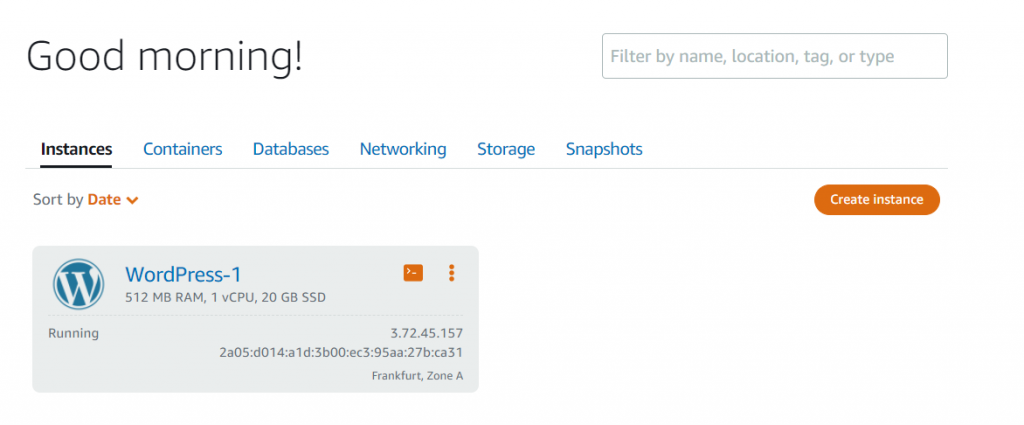
Click on the orange box next to your instance's title.
There will be lightsail command prompt.

You will be needing to insert this command prompt.
cat $HOME/bitnami_application_passwordOnce you've pressed Enter, a password composed of random characters and numbers will appear on the screen. This credential should be stored in a safe location. To access your WordPress blog, you'll need to have this password.
3. Log in to Your WordPress Site
Signing into your WordPress admin has finally been made available to you. The following URL should appear in your browser once it is opened:
http://PublicIpAddress/wp-login.phpReplace "PublicIPAddress" with your WordPress instance's IP address. Your Lightsail console has the following information:
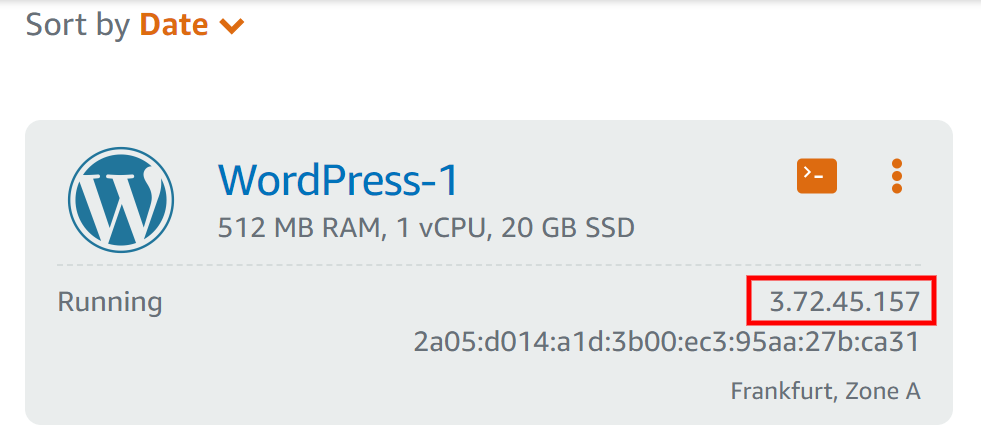
After that, you'll be redirected to the WordPress login page:
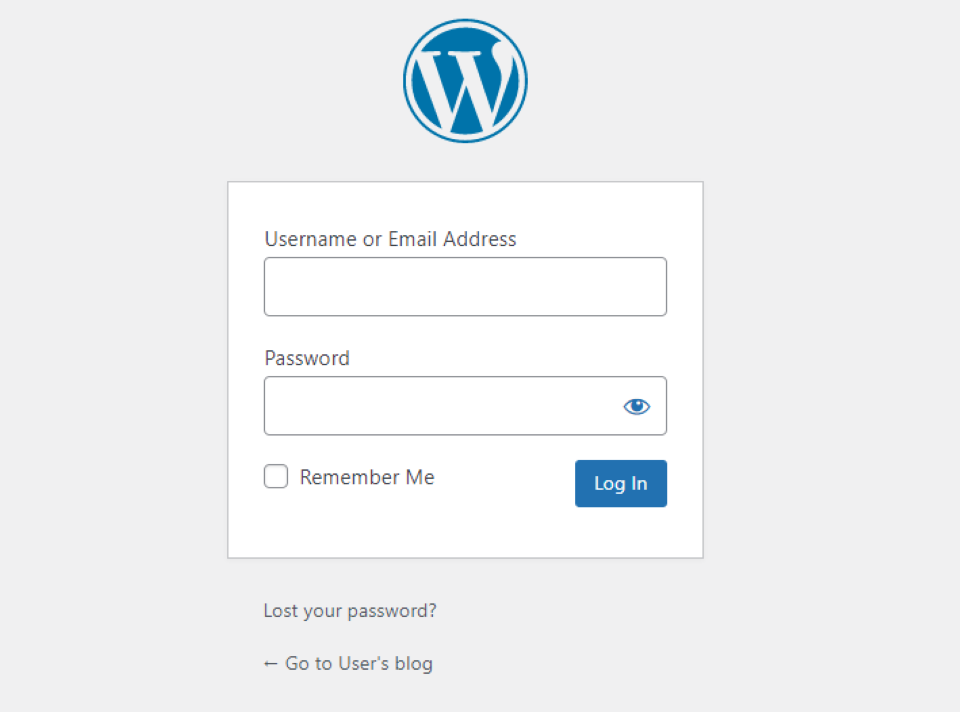
Enter user as the value for the Username field. You'll then be able to type in the password you copied from the previous step. To get to your WordPress dashboard, you'll be redirected to this page:
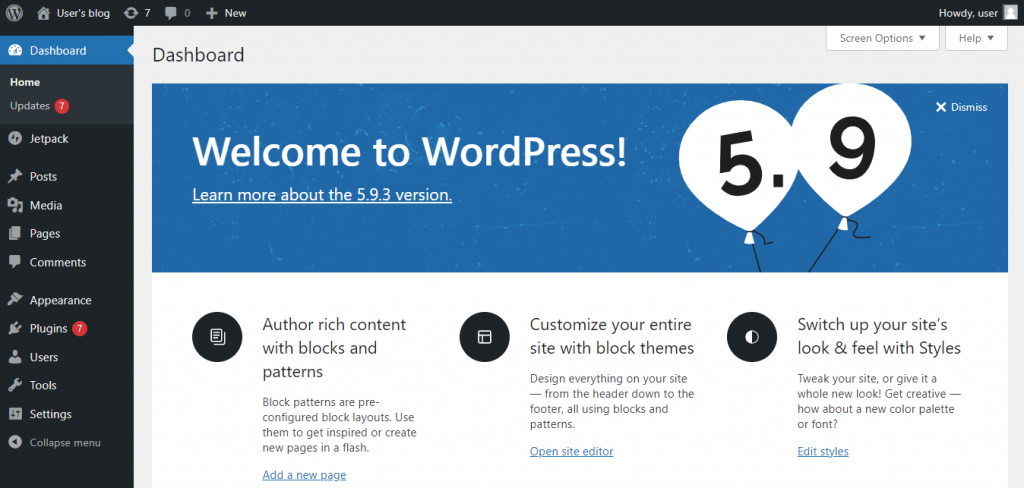
You are now free to begin creating your website. In Lightsail, you can create a DNS zone if you have acquired a domain name from a third-party website.
Install WordPress on AWS By Cloudways
Cloudways can also be used to install WordPress on Amazon Web Services (AWS). The Amazon EC2 servers will be used for this option.
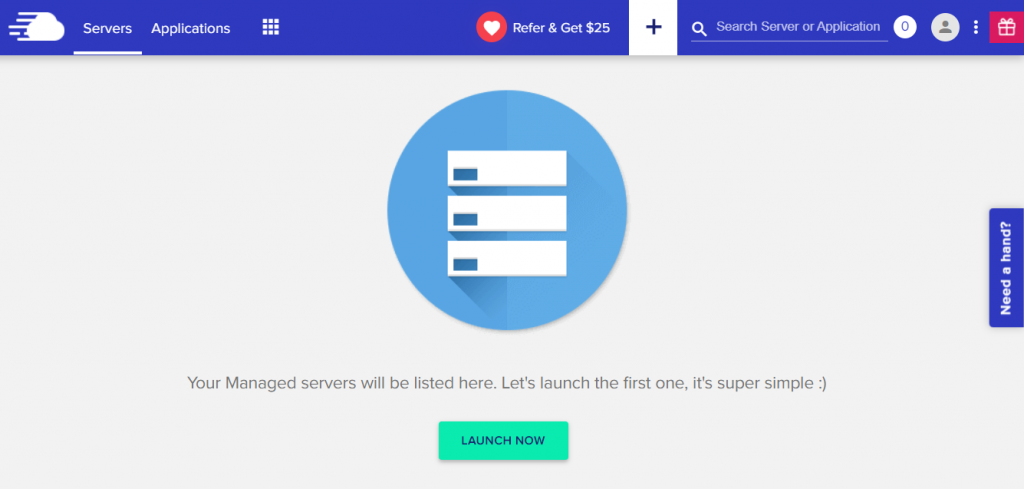
Click Servers and then Launch now after creating a free Cloudways account:
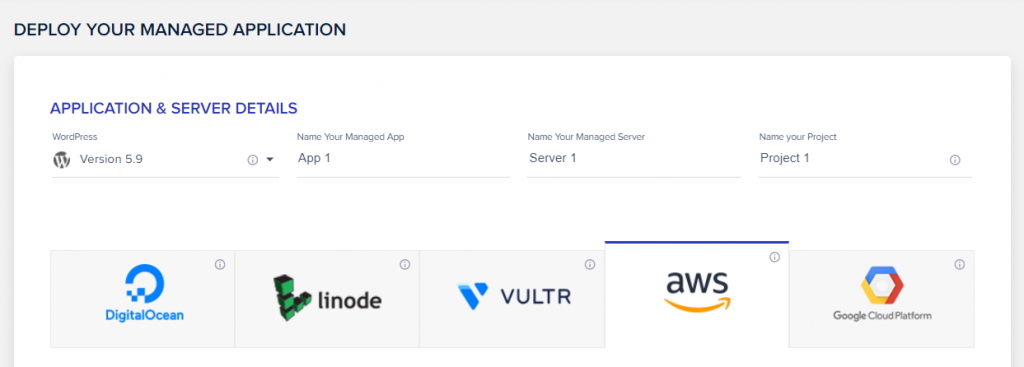
Once you've selected AWS, you'll be able to name your server and project:
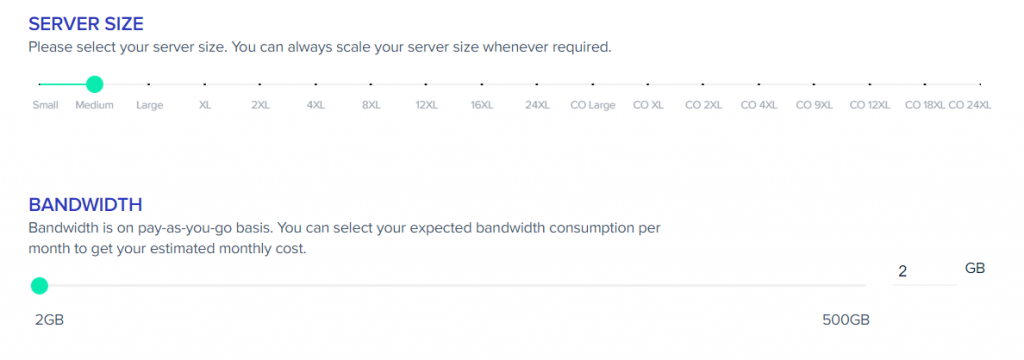
You'll see that the server can be configured to meet your specific requirements. From tiny to CO 24XL, for example, you have a range of options. Set your bandwidth range between 2 and 500 gigabytes:
Your server's location can also be selected, as well as the quantity of storage capacity you'll require. Click on "Launch now" when you're ready.
It's done! Cloudways has added a new feature that lets you control your WordPress site from the dashboard. In addition, you can alter the server settings and scale up or down as necessary.
Wrapping Up
You may host your WordPress website on Amazon Web Services (AWS) for a reasonable price. Moreover, it provides a great deal of control over the server configuration. As a bonus, you can host your site on a server that is close to your target audience in order to optimize loading times and user experience.
Cloudways and Lightsail both make it easy to host a WordPress site on Amazon Web Services (AWS), and both offer a variety of hosting options. You can choose your server size, bandwidth, and storage capacity if you choose the second option, as well. It's also possible to scale up or down depending on the needs of your website.
Divi Hosting by Cloudways is an additional performance boost for Elegant Themes members. For every site on your account, you'll have access to Divi-optimized server environments in addition to all the advantages of using AWS EC2.


