
Just like most of the things in the world of the internet, hosting events can be very tricky too. There are a bunch of things that one need to think of and manage at the same time.

And to make sure that none of the things goes wrong you need a powerful tool plugin that works for both. Helps you around with your needs so that nothing goes wrong resulting in the client losing their trust in you.
Let us introduce you to WP Event Manager which is one such plugin. This is a complete step-by-step tutorial for you to use the plugin.
WP Event Manager
Wp Event Manager is a complete Event Management plugin equipped with great features and add-ons to extend the functionality of the plugin.
It is one of the most trusted Event Management plugins. Even with a huge number of features, it manages to remain lightweight and easy on your website. In addition, it is quite simple to use and does not need any prior coding knowledge and works for the newbies as well.
The plugin works well with almost all of the themes and plugins out there such as WooCommerce, Google Analytics and so on. It makes it easy for you to sell tickets and list your events. The plugin has both a free and a premium version.
How To Set Up WP Event Manager
Just like always, the first step is to Install and Activate the WP Event Manager plugin on your WordPress.
Create Amazing Websites
With the best free page builder Elementor
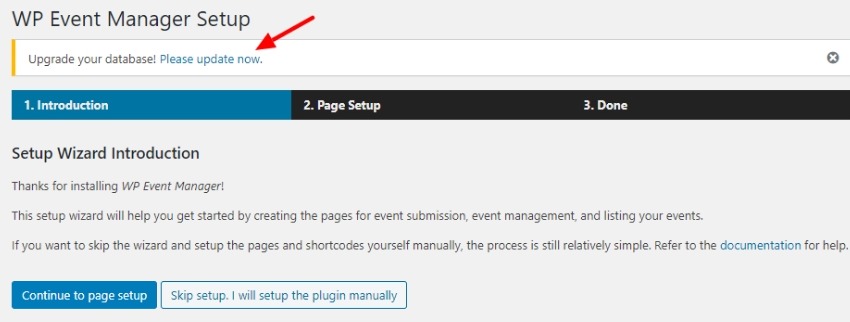
Start NowNext, you need to update your database by clicking on the Please Update Now link.
Press the Upgrade button to start updating the database.
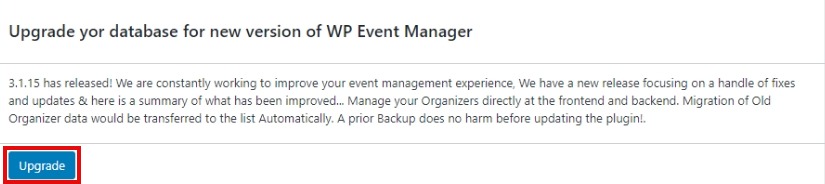
A message will appear on your screen when you have successfully updated the database.
Next, you can move ahead to Add and Edit your first event.
How To Add and Edit Events
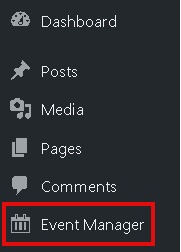
Go to your WordPress Dashboard and find the Event Manager option.
It will lead you to the Event Management Page. Press the Add New Button on the top of the page.
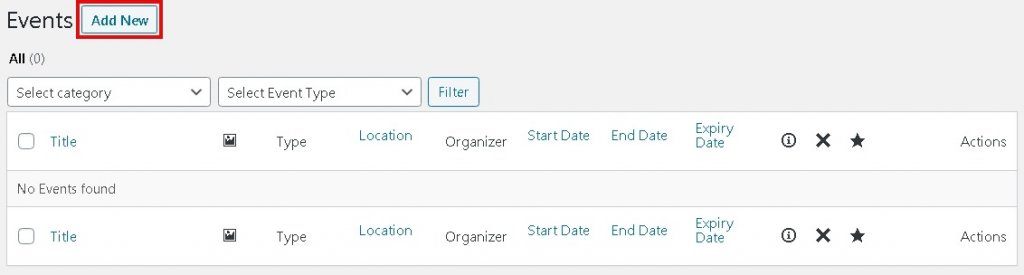
You will be directed to the WP Event Manager Editor page where you can add or edit the details of your event.

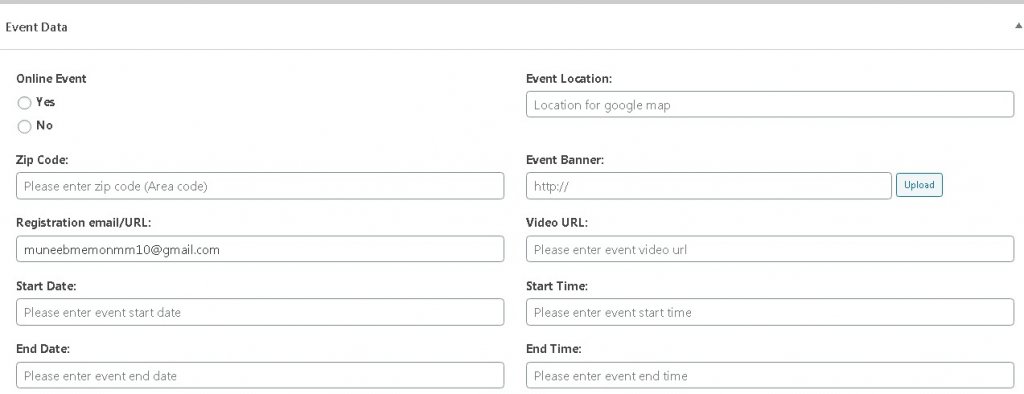
Next, you need to add the Event Data. Scroll down to the Event Data page and add all the data about your event such as defining whether your event is online or in-person, adding the location of the event and so on.
Once you have added the details of your event, move over to the Event Document section where you will define the category and type of the event which is quite simple as WP Event Manager comes with pre-defined types and categories.
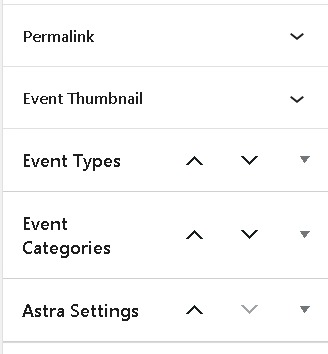
You can also add a thumbnail related to your event to make it look much more professional.
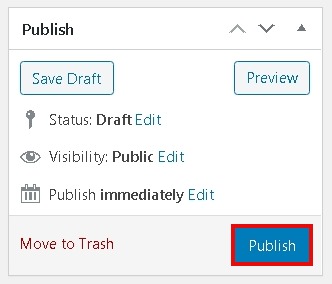
Publish your event after you have made all the relevant changes.

You can preview the event before publishing or go ahead and check your website after you have published the event.
How To Add Events Widget On Your Website
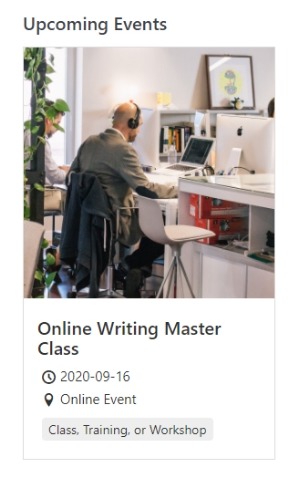
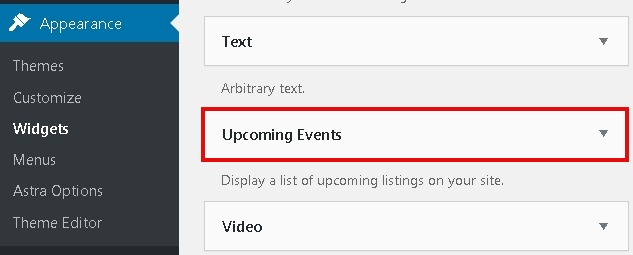
Widgets such as Recent Events and Upcoming Events are a great indicator to your visitors and help them to keep track of the events they want to attend. Upcoming Events also allow you to let your users know about your future events.
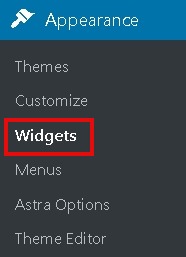
To add these widgets, head over to the Appearance in your WordPress dashboard and then press Widgets.
On the Widgets screen, you will find both of these widgets ready to be added to your website.
Check out your website to see how these widgets look.
How To Add A New Event Organizer
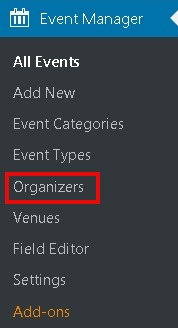
WP Event Manager covers all the aspects of an event and the Organizer plays a huge role in making the visitors opt for an event. Go to Organizers from Event Manager in the WordPress dashboard.
Press the Add New button on the organizers' page.
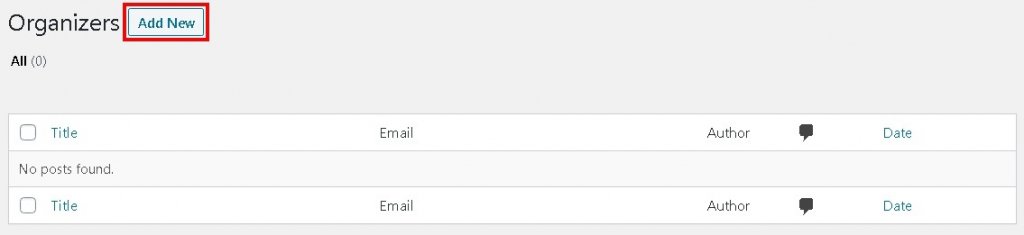
Next, enter all the details about the organizer including the Title, Introduction and Logo.

Publish the organizer whenever you are done with all the details.
Check out your website to see how everything looks.
That is how you can use WP Event Manager to manage your events on your WordPress website. That's all from us for this tutorial, we are glad to help you in providing a smooth and premium experience to your users. Make sure to follow us on our Facebook and Twitter so you never miss a post.


