
Do you need to install a plugin or create an application on a WordPress site and want to know if a specific PHP function or library (for example, cURL) is enabled on your server?
In this tutorial, we'll teach you how to use the phpinfo() function in WordPress to quickly and easily identify enabled PHP functions on your server. We also give a thorough breakdown of these PHP functions for your convenience and to help you better grasp the backend of your WordPress sites.
What is phpinfo()?
phpinfo() is a built-in function in PHP that outputs a lot of information about the current state of PHP on your server. It can show you things like:
- The version of PHP you are running
- The configuration options and settings for PHP
- The loaded modules and extensions for PHP
- The environment variables and predefined variables for PHP
- The HTTP headers and license information for PHP
You can use phpinfo() to check your PHP configuration, troubleshoot issues, or learn more about PHP. To use phpinfo(), you need to create a PHP file with the following code:
Create Amazing Websites
With the best free page builder Elementor
Start Now<?php phpinfo(); ?>
Then, you need to upload the file to your server and access it through your browser. You will see a page like this:
phpinfo() output
You can also customize the output of phpinfo() by passing one or more constants as parameters. For example, if you only want to see the loaded modules and extensions, you can use:
<?php phpinfo(INFO_MODULES); ?>
How to Find Enabled PHP Functions On Your Server Using phpinfo()
By following the steps in this tutorial, you will be able to quickly acquire a list of all the PHP functions and extensions that are enabled on your server.
In this tutorial, we'll teach you how to get to the list of PHP functions for a WordPress site hosted by cPanel.
What is cPanel?
cPanel is a web-based interface that allows you to manage your web hosting account and server. With cPanel, you can create and manage websites, domains, email accounts, databases, files, security, and more. cPanel is one of the most popular and widely used hosting control panels in the world.
Some hosting providers that give you access to cPanel include Namecheap and Hostgator.
It should be noted that different hosting environments may employ various tools and techniques to present this information. If you have any issues or require assistance, contact your hosting provider.
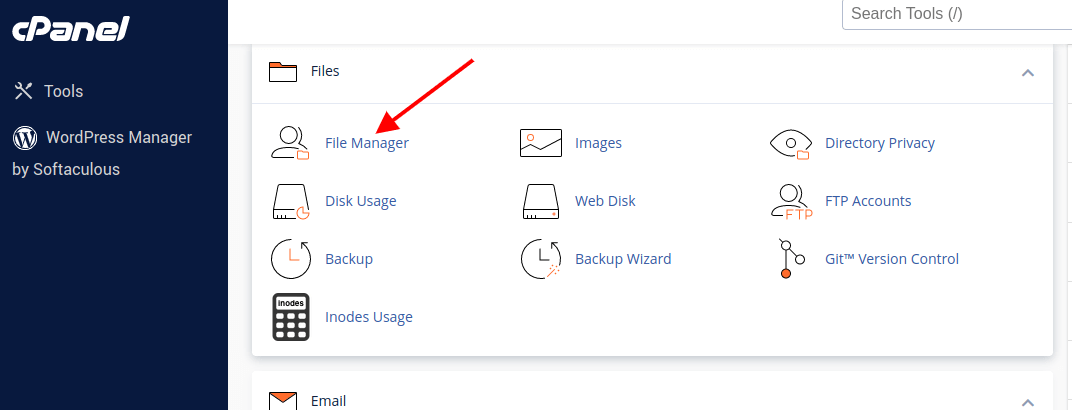
Step 1: Access your WordPress site’s files
To this, head over to your cPanel and go to the file manager, then locate and access your file manager.
Step 2: Create a PHP file
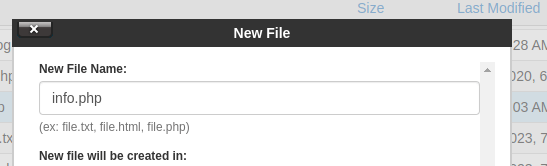
Select the folder of the site you wish to add the file and click on '+ File' at the top of your file manager screen.

After clicking on the file in order to create a new file, a dialog box will pop up where you will need to type in the name of your file. We will call our file 'info.php'.
Inside the file, add the following code:
<?php
phpinfo();
click on save.
Step 3: Access the phpinfo() output
To access the output, open your WordPress site in a browser and add the info.php extension after the URL, for example; example.com/info.php.
You will observe the following output:
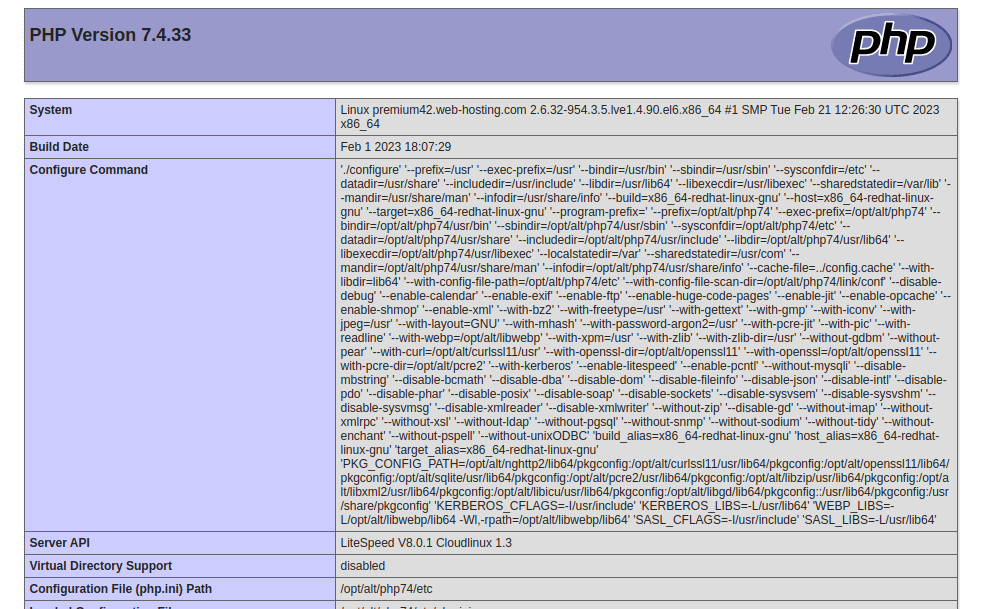
Step 4: Locate the enabled PHP functions
To discover a specific function, scroll through the phpinfo() output. In the "Core" section, you will often find a list of all enabled PHP functions, together with their related settings and parameters.
That's it, you are done.
Conclusion
By following the steps provided above, you will be able to find enabled PHP functions in your WordPress hosting using phpinfo(). You can use this information to check your hosting compatibility, fix errors, or enhance your site’s functionality.


