
Showing a low stock alert on your online store creates urgency and demand for your product. The consumer feels as if the product is amazing and has been sold enough times that it is now about to end.

It is a proven way of boosting your sales and that is why almost every other online store uses this technique to push their consumers further into buying their product.
In this tutorial, we will help you understand the benefits of Low Stock Warning and the way of enabling it on your WooCommerce store.
Why Should You Display Low Stock Warnings
Online stores have been using this technique for a while now to increase their conversions. Even the biggest of online stores such as Amazon, use this technique to increase their sales.
Create Amazing Websites
With the best free page builder Elementor
Start NowThese low stock alerts appear as a popup on your website alerting the users that the product is about to end and they should buy it as soon as possible.
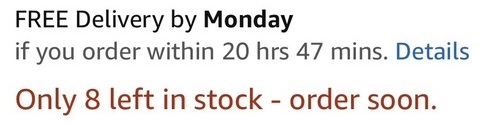
It is proven that Low Stock Warnings can boost your sales up to 15% and that is exactly why you should start using them now.
These type of popups trigger human behaviour by displaying scarcity and creating urgency, both of which demand the consumer to act.
By creating urgency, you demand your consumer to speed up their decision making. You make them feel that the product they want to buy is not going to be there for long and they need to be quick and decisive in hitting the Buy Now button.
Simultaneously, scarcity implements that the product they want to buy is short in supply and if they don't buy it now, they might not be able to buy it afterwards.
Both of these scenarios blend in to urge the consumer in taking a positive decision and hence, help you increase your sales.
How To Display Low Stock Warnings In WooCommerce
Now that you know why is it important to display Low Stock Warnings on your Online store. Let us help you in the process of enabling it.
We will be using the Trust Pulse plugin to display Low Stock alerts.
Trust Pulse

Trust Pulse is a very popular tool to help you build Low Stock alerts for your website. It is very simple to use and you don't have to worry about your coding skills.
With Trust Pulse, you can create Low Stock warnings with some simple tweaks here and there, without using any codes. It is highly user-friendly and can be connected to WooCommerce easily.
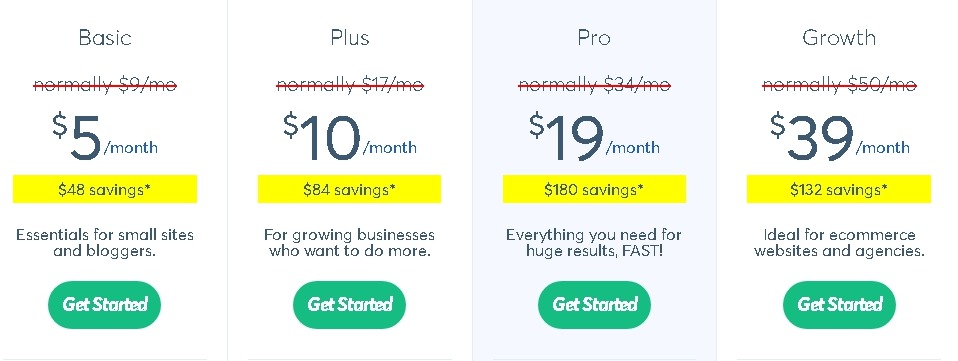
First of all, you will need to create an account on Trust Pulse as it is a premium plugin.
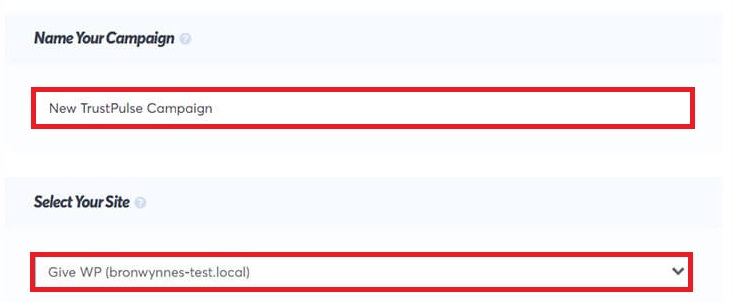
Once you have created your account, you need to Sign in and press Create Campaign.

Then, you need to name your campaign and connect it to the website you used while signing up.
Trust Pulse allows you to create two types of notifications i.e. Recent Activity and On-Fire.
Recent Activity alerts the visitor whenever someone takes an action on your website.
On-Fire combines all the actions taken on your site and displays them together.
For this tutorial, you need to go with the Recent Activity option.
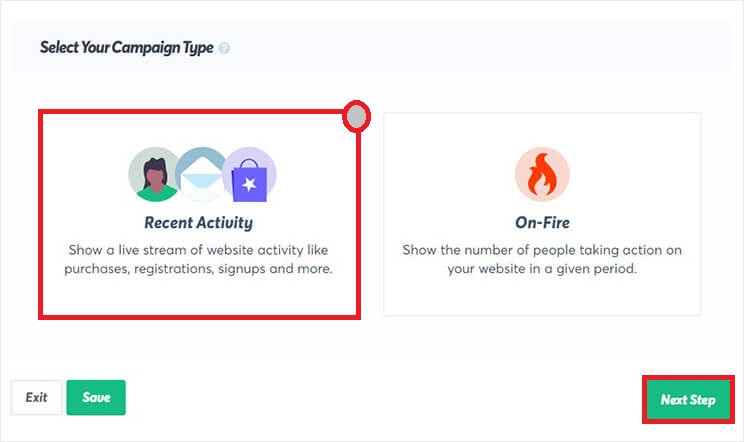
Select Recent Activity and press Next Step.
Next, you will need to design your Low Stock Notification and you can move ahead by enabling Display a Default Notification.

Now, you can Customize your Low Stock Alert by selecting options from the Drop-Down Menu.
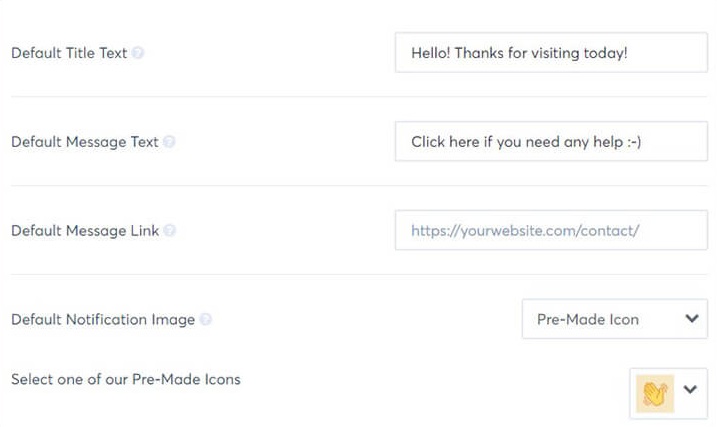
Title Text will be the title of your notification.
Message Text refers to the body of your popup.
Notification Image serves as the image you want to display on the popup.
Message Link will be the page where your users will be directed when they press the notification.
Once you have made your desired changes, you can change the size, position and style of your popup by pressing the Show Advanced Settings button.
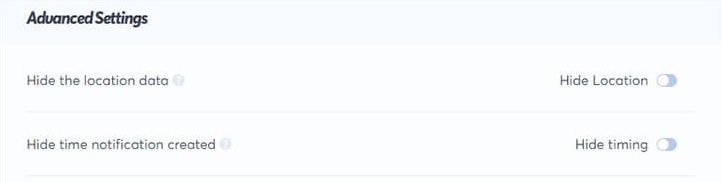
These notifications are highly customizable to exactly match your needs.
Press Next Step to disable Trust Pulse from capturing user activity on your website.
Typically, you might want to share the actions being taken on your website. But for Low Stock Notification Alert you will have to show the alert on loop.

There are two ways to capture user activity in Trust Pulse.
AutoMagic captures the actions taken on your website such as when someone makes a purchase.
Zapier captures the activity outside your website such as when someone leaves a review on Google or Facebook about your website.
Select Auto Magic and move ahead.
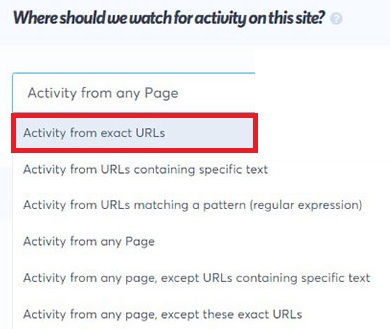
Next, you need to scroll down to Where should we watch the activity on this site.
From the Drop-Down Menu, select Activity from exact URLs.
Scroll down further to Add One or More Page Rules and simply '#' in the field.

Press, Next Step to move ahead.
Now, you need to select the position Where should we display your notifications?
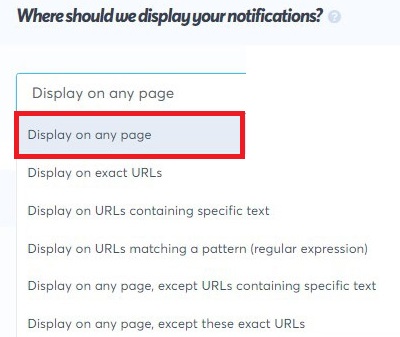
Once you have decided the position, you can go ahead and customize the duration and delay of your notifications.
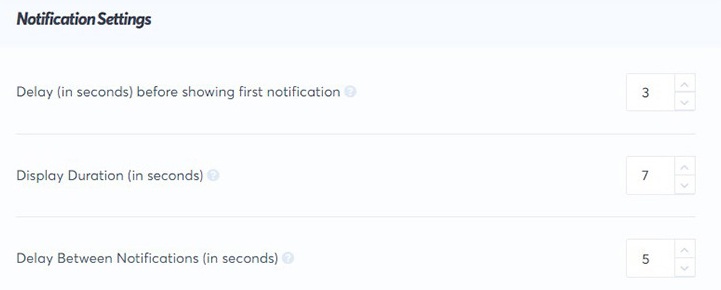
Press Next Step to go ahead and publish your notifications.
First, you have to install the Trust Pulse plugin on your WordPress and activate it.
Next, you need to press Connect your existing Account button.

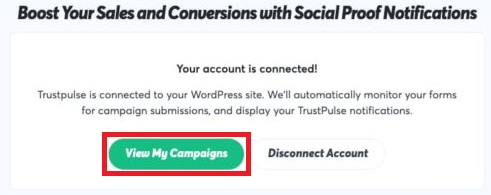
It will integrate with your WordPress through the embed code and the screen will appear as connected.
Next, you need to press View My Campaign.
Finally, you can go ahead and Launch Your Campaign to publish the notifications to your website.
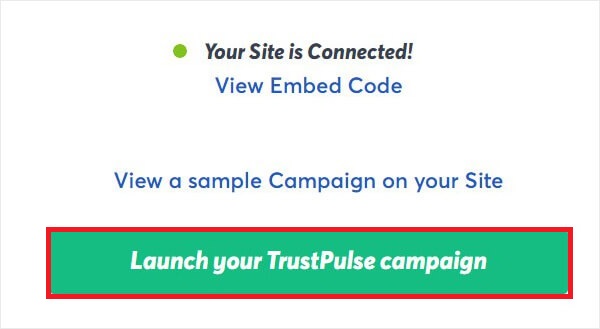
This is how you can display Low Stock Alert notifications.
Summarizing
This is how you can set up Low Stock Notification Alerts for your website and help yourself increase the conversions. It is also important for your users as they gain social proof and proven credibility for their convenience.
That's all from us for this tutorial. We hope you found this tutorial helpful and you are moving ahead to boost your sales and make your website much more engaging. Make sure you join us on our Facebook and Twitter to stay updated about our activities and tutorials.


