
A video is a powerful tool, and it delivers necessary information to potential viewers. According to a survey, 94% of marketers say that video marketing is one of the keys to success in their business. If a "Call to action" system can be maintained while watching the video, the chances of both reach and sell can be multiplied. In today's Divi tutorial, we will see how to set a CTA button at a specific time on an HTML video. Genuinely, A CTA button in the video is a great marketing tool aimed at making every piece of content meaningful.
Let's get started.
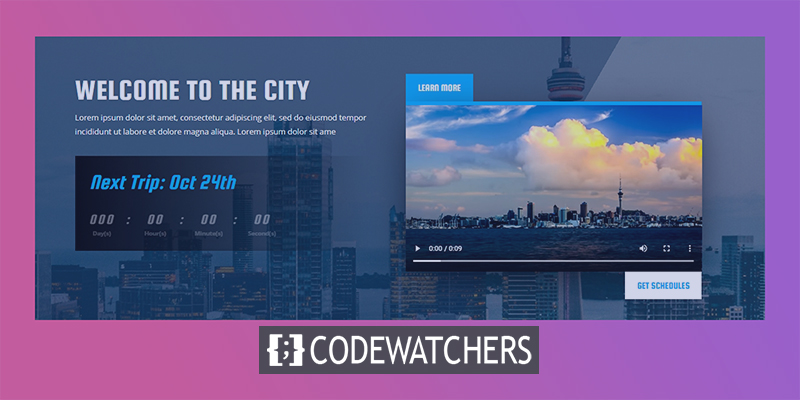
Preview
Let's spend a few second to see how our todays design will look like.
Make A Pop Up Button While Playing A Video
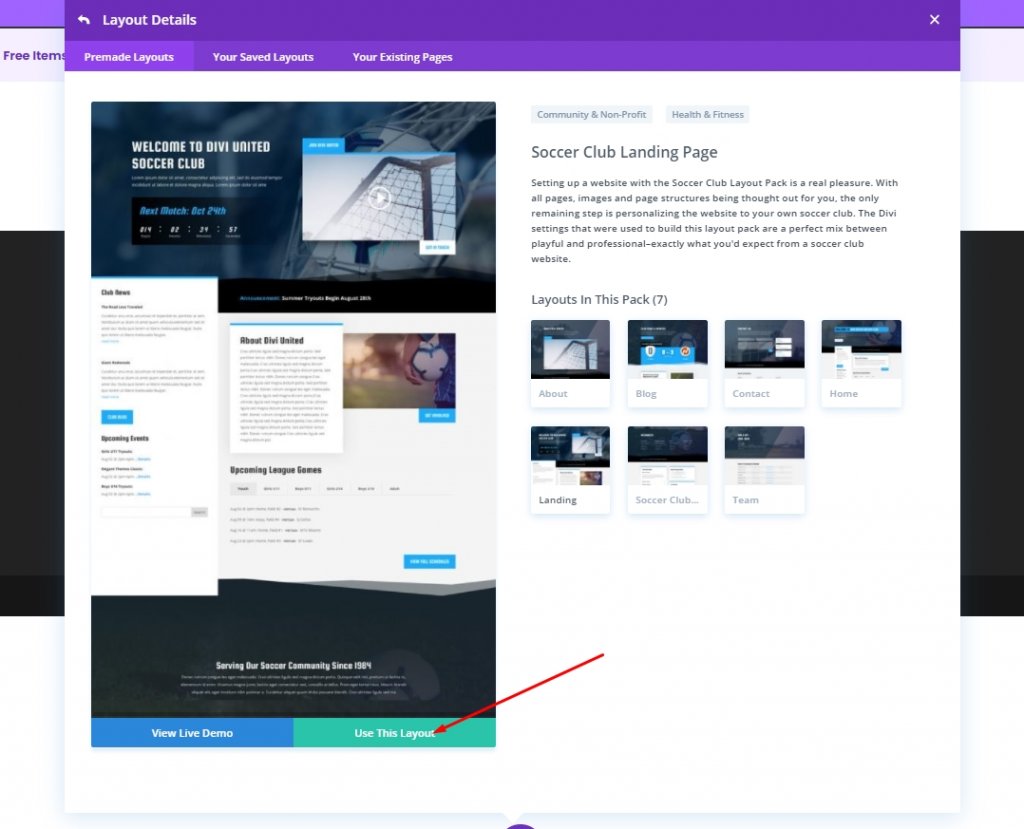
Upload Premade Landing Page
We are going to start our todays tutorial by using a premade landing page layout called "Soccer Club Landing Page". Its an item from "Soccer Club" layout pack"
Create Amazing Websites
With the best free page builder Elementor
Start NowStart with "Choose premade layout" and active the layout.
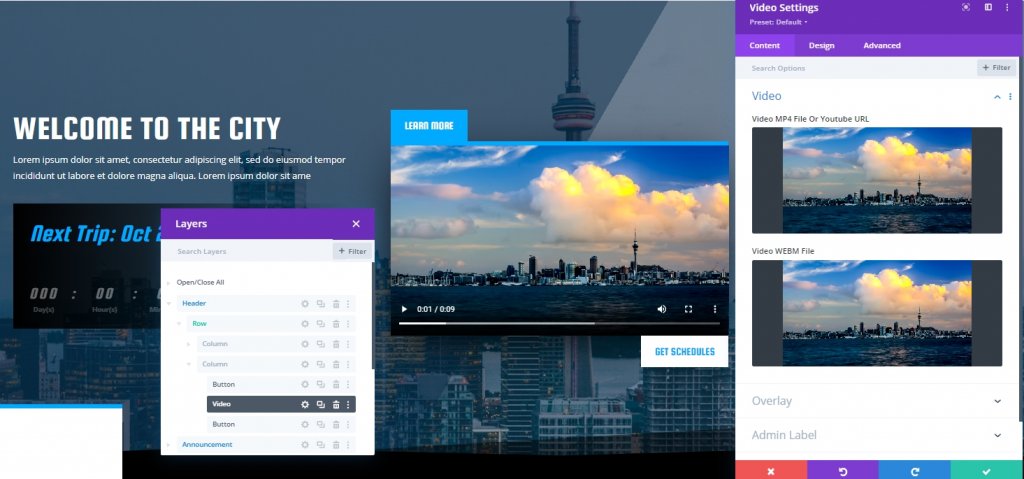
Updating Video
Add video of your choice. You can upload video in Mp4/Mkv/Webm format.
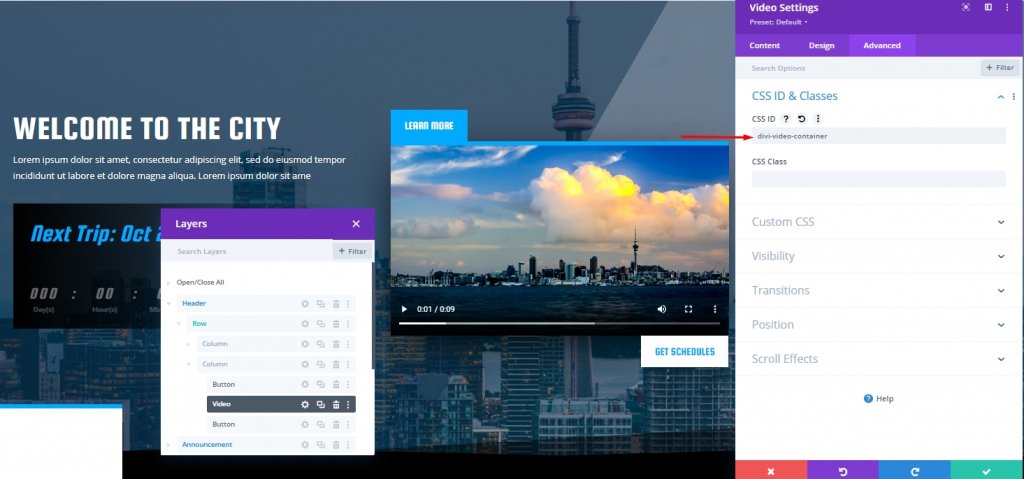
Now, from the Advanced tab, give the video a CSS ID.
- CSS ID: divi-video-container
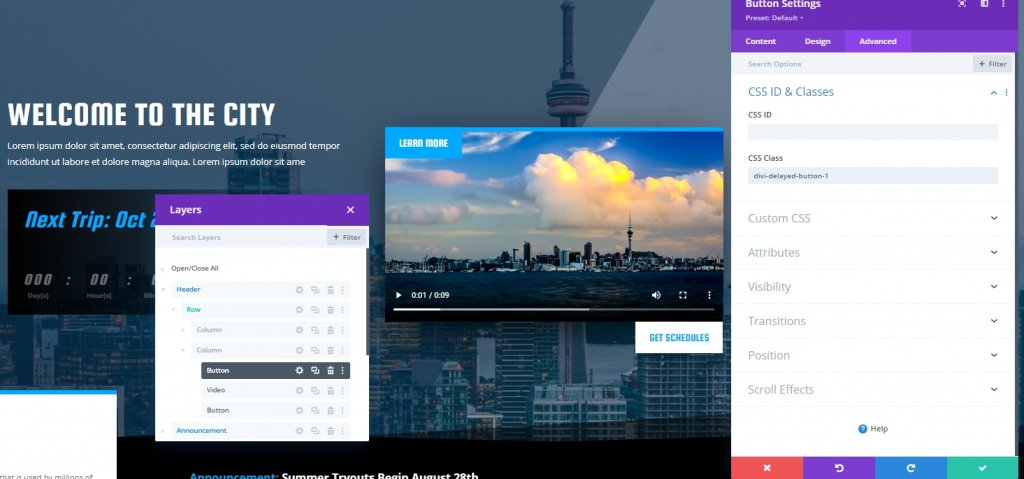
Top Button Settings
Open settings for top button and change value in transform section.
- Transform Translate Y axis: 100%
Also, add a CSS class to this button.
- CSS Class: divi-delayed-button-1
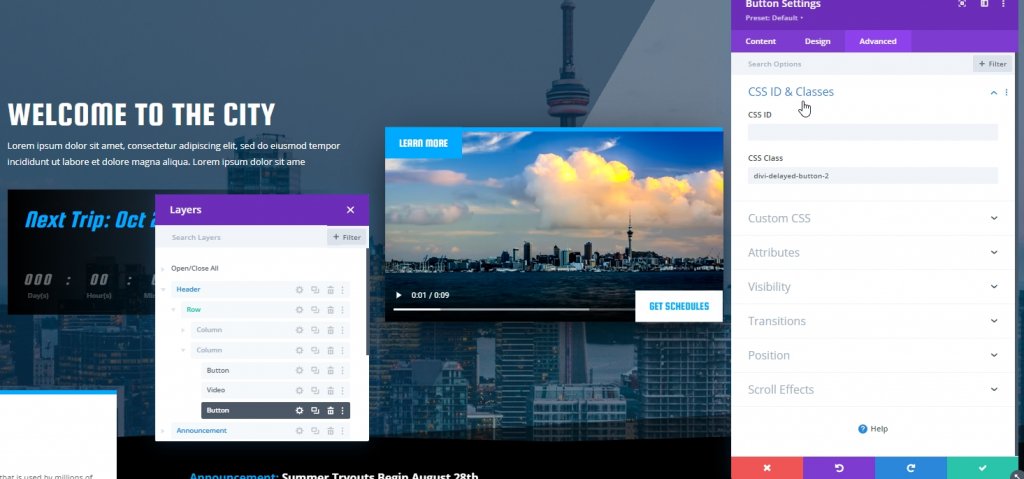
Bottom Button Settings
Its time to change transform settings for bottom button
- Transform Translate Y-axis: -100%
Also, add a CSS class to this bottom button.
- CSS Class: divi-delayed-button-2
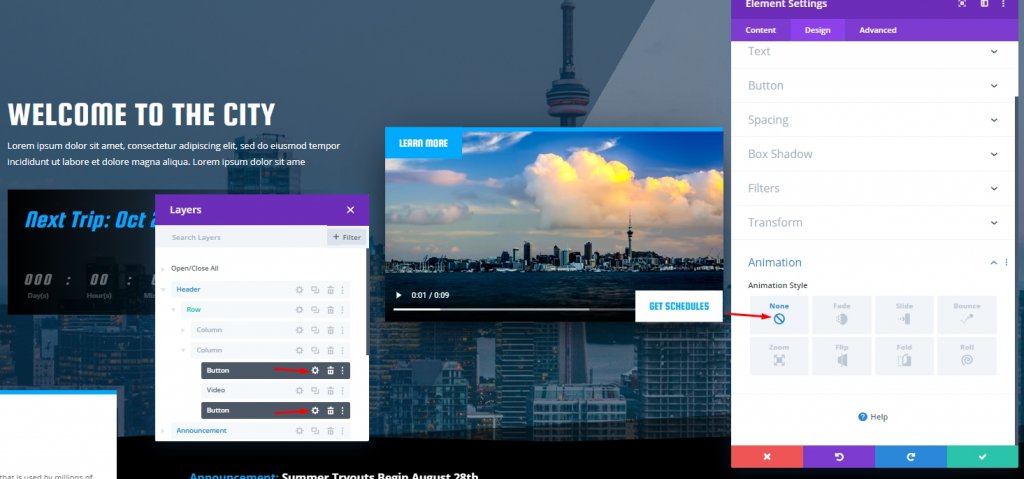
Now, those buttons have animation from the imported template. We dont need the animation. So, we'll set the animation style to none.
- Animation Style: None
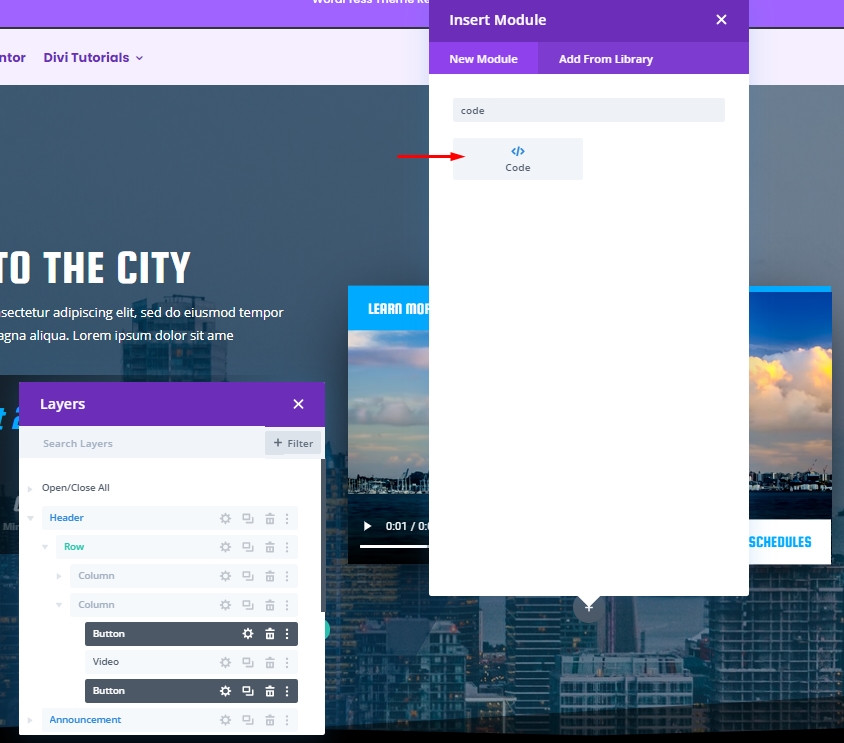
Add Code To The Design
Adding Code Module
On the final part of our todays tutorial, we'll add coding to our layout. For this, add a code module below the bottom button.
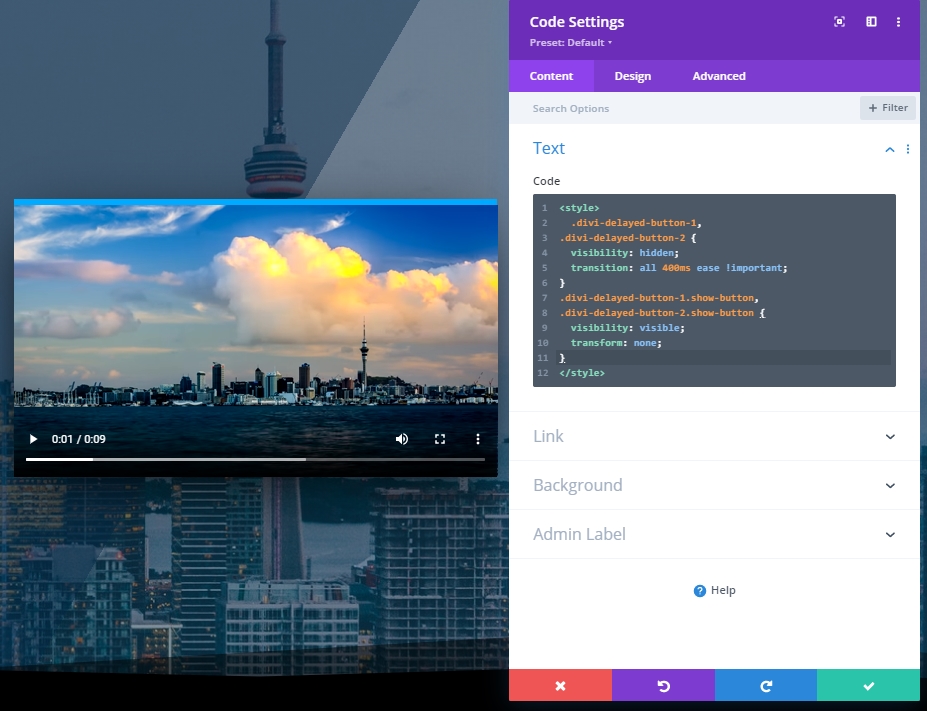
Add CSS Code
Add the following CSS code to the coding module. Make sure to keep them inside the Style tag.
.divi-delayed-button-1,
.divi-delayed-button-2 {
  visibility: hidden;
  transition: all 400ms ease !important;
}
.divi-delayed-button-1.show-button,
.divi-delayed-button-2.show-button {
  visibility: visible;
  transform: none;
}
Add JQurey Code
Now add the following JQuery code below the CSS code. Make sure to put it inside Script tags.
(function ($) {
  $(document).ready(function () {
    //items
    $diviVideo = $("#divi-video-container video");
    videoElement = $("#divi-video-container video")[0];
    $delayedButton1 = $(".divi-delayed-button-1");
    $delayedButton2 = $(".divi-delayed-button-2");

    //add timeupdate event on video with a function.
    $diviVideo.on("timeupdate", function (e) {
      //add class to show button1 when specified currentTime is reached.
      if (e.target.currentTime >= 5) {
        $delayedButton1.addClass("show-button");
      }

      //add class to show button2 when video is paused or has ended
      if (videoElement.paused || videoElement.ended) {
        $delayedButton2.addClass("show-button");
      }
    });
  });
})(jQuery);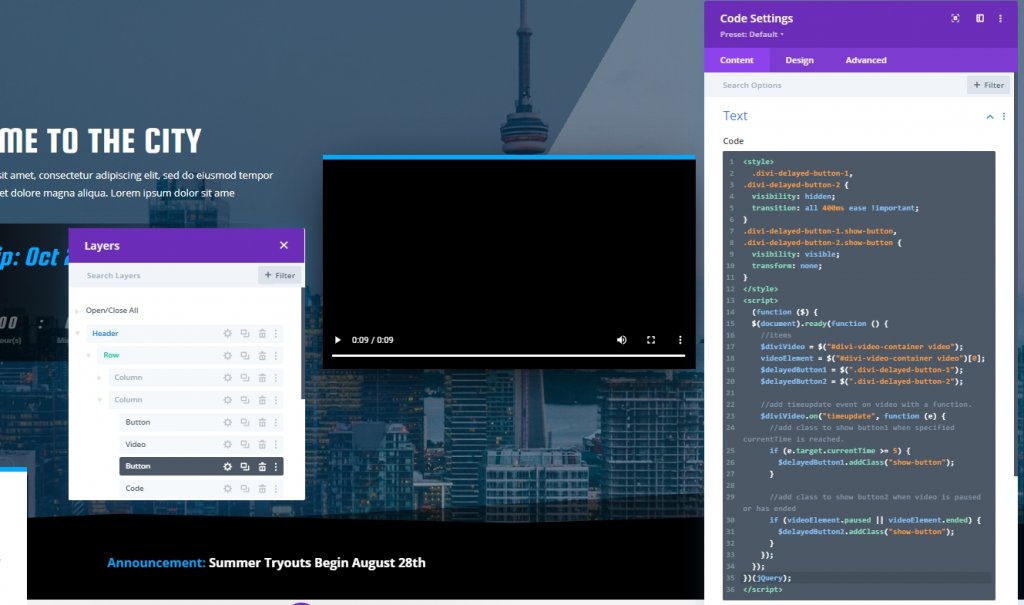
And we are done with our design.
Final View
Here is our final design.
Conclusion
Through designing, Divi is also helpful in some ways when it comes to generating new marketing strategies like today's design. CTA(Pop-up action button) is very useful for any service, and we hope you'll add more profit to the bucket using a simple method like this. If you like today's tutorial, a share will be outstanding!


