
Expiring a countdown timer can be a robust marketing tool. Countdown timers are well-known for motivating website visitors to take action. They're ideal for promoting memberships, items, and other limited-time offers, such as those associated with Black Friday. Time-conditional content allows you to retarget visitors once the timer expires. Content that appears (or is hidden) only if a specific date and time are met is known as time conditional content. Having fresh content available to show customers who missed out on a promotion or were too late makes sense.
In this tutorial, we'll teach you how to use Divi's time conditional content to display time-sensitive material when a countdown timer runs out. If you want to show specific material before and after a particular date or time coincident with a countdown timer, you may use Divi's brand new condition options. Visitors have a limited time to take advantage of a special offer before it expires. This function will prompt visitors to subscribe to a newsletter once the timer expires to continue receiving offer notifications.
Come on, let's go for it!
Preview
Take a look at how content will be displayed in Divi with a countdown. This is how it looks like when the countdown is active.
Create Amazing Websites
With the best free page builder Elementor
Start Now
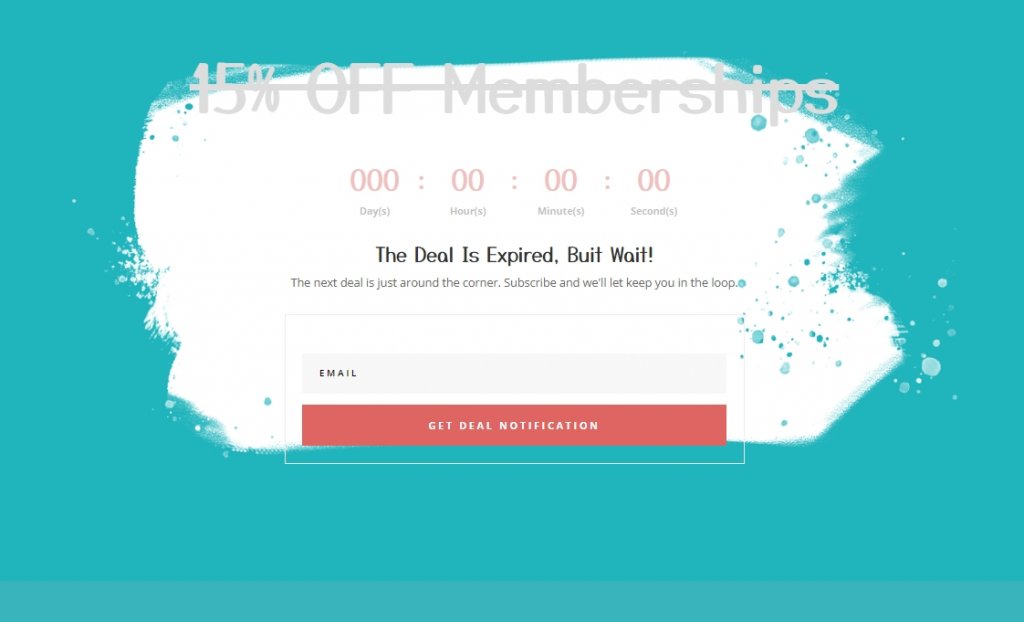
Here's how it looks after the countdown is expired.
Display Conditional Content With Time Counter
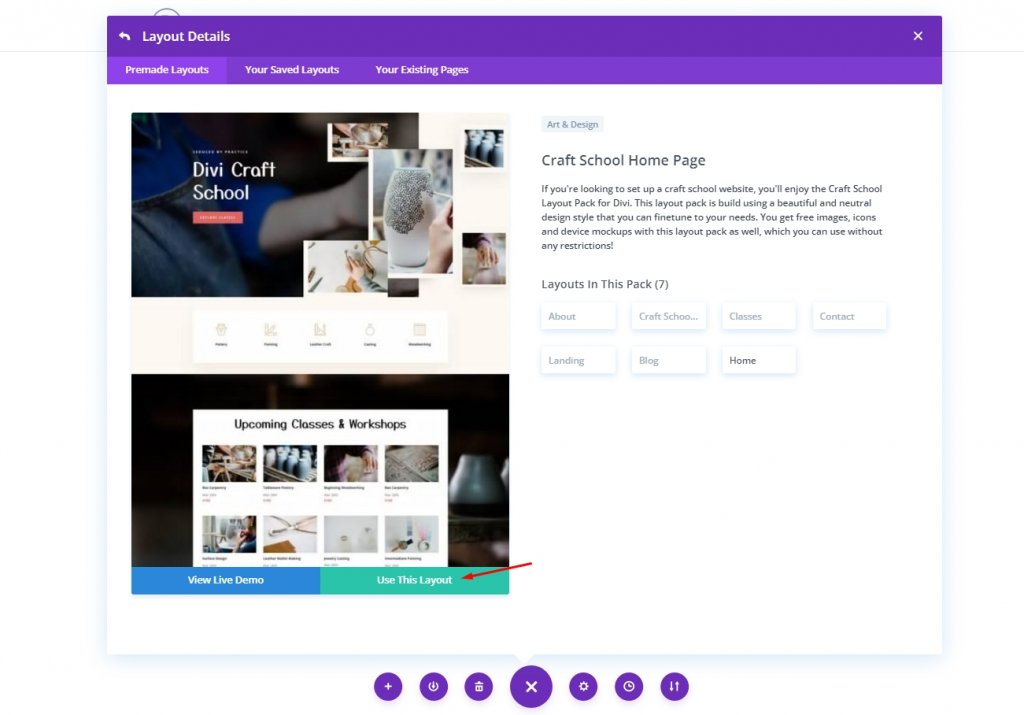
For today's tutorial, we will use a premade template. Go to the template library and import Craft School Home Page layout.
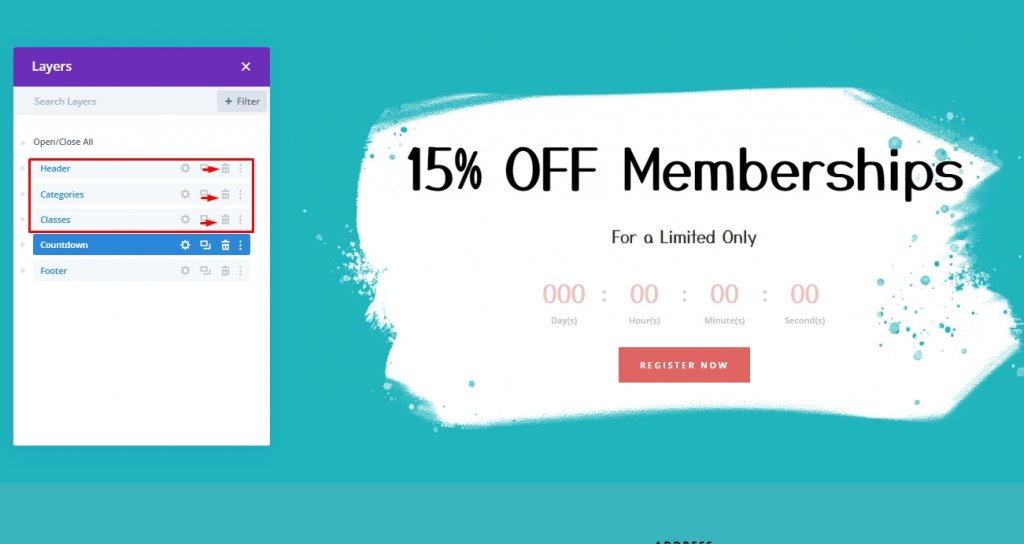
After adding the layout, delete the first three parts, leaving only the countdown and footer. We'll utilize these sections to build our timers and conditional content.
1. Setup The Timer
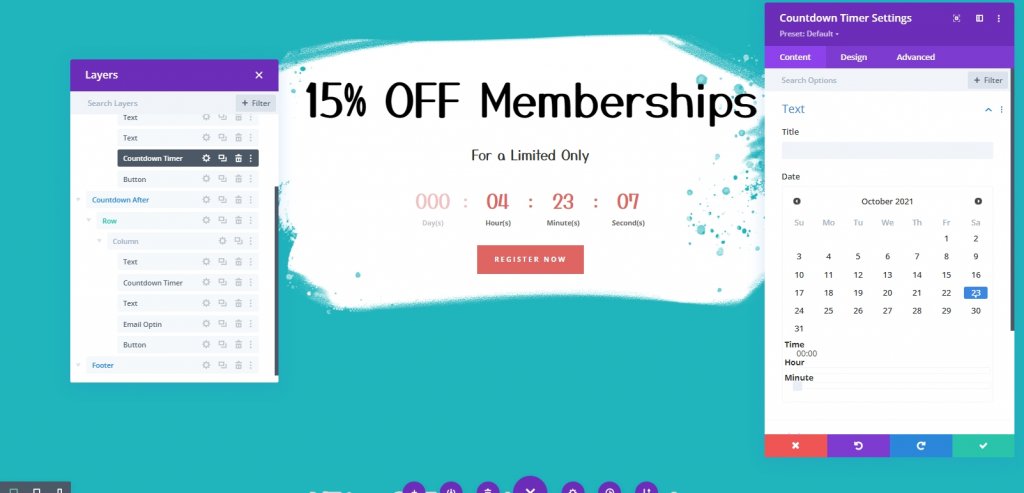
Open the countdown timer settings by clicking on it. The discount will expire on the date and hour you choose under the content tab. For example, the date and time will be October 23 at 01:30 a.m. in this example.
When we add the time conditional content, we'll reference this date and time.
2. Set-Up Time Condition to Display Section Before the Set Date and Time
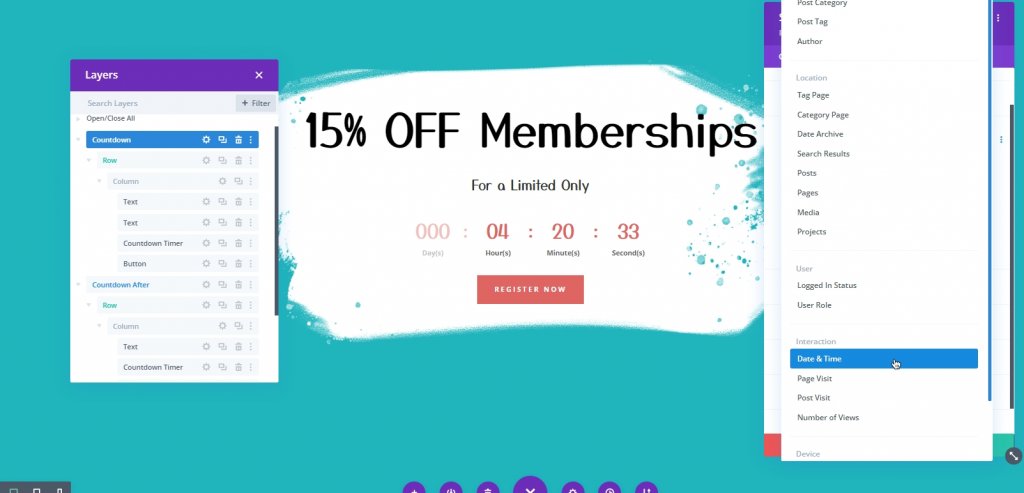
We will set a time condition to display the section before the time expires. To do this, Open time Countdown section. Then, from the advanced tab, add a new condition and select Time and Date condition.
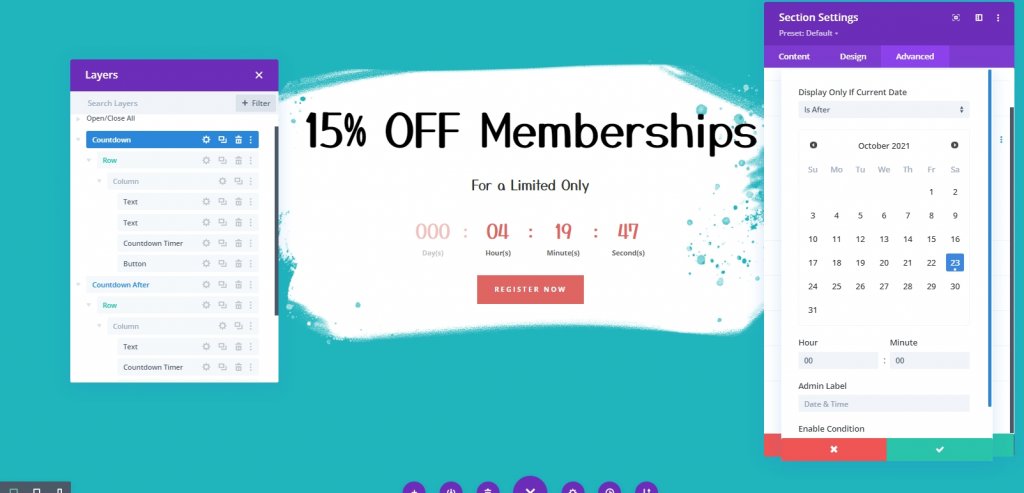
Now from the same panel, update the conditions for Time and date.
- Make sure the option Display Only If Current Date is set to Is Before.
- Choose the Date and Time that matches the date and time previously added to the countdown timer.
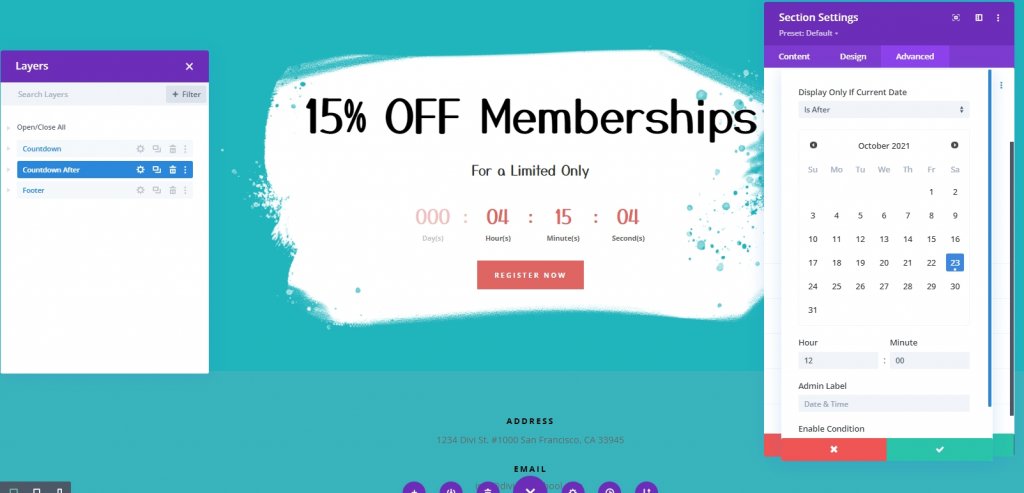
3. Set-Up Time Condition to Display Section After the Set Date and Time
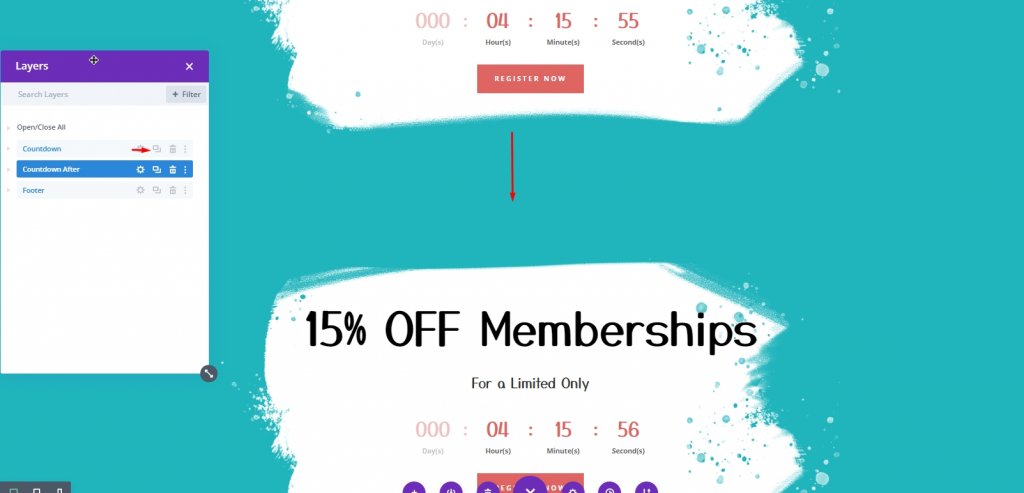
Before the timer runs out, we'll reveal a part of content. After the timer ends, we'll need to add new content to the page. Duplicate the part containing the time condition to obtain this. To avoid confusion, change the admin label in the new section to "Countdown After."
Open the duplicated sections settings and adjust the time and date display option Display Only If Current Date to Is After. Make sure that the time and date on your clock are identical to those on the countdown timer's counter. The page will display this part after the countdown is expired.
4. Adding Conditional Content
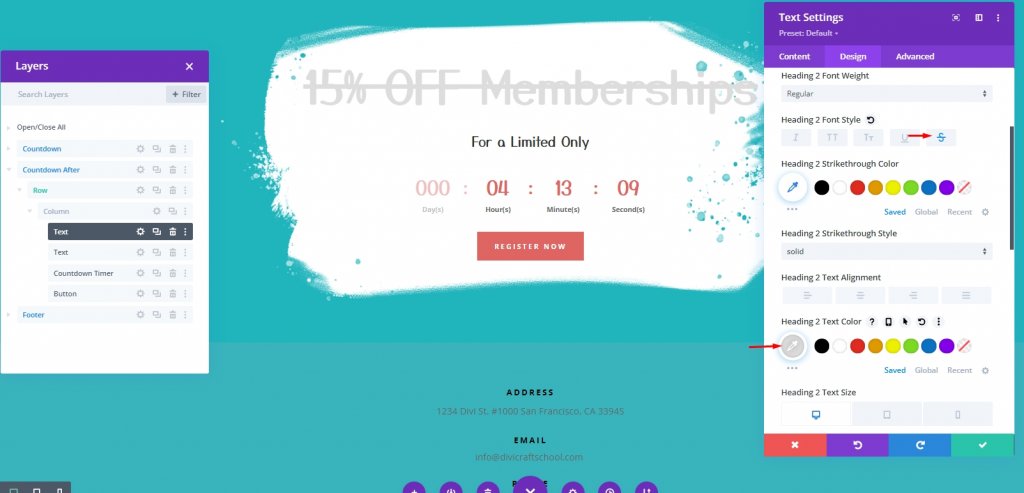
Once the timer stops, we want it to have a straightline that indicated the offer is ended. For that, open text module settings and do the following.
- Heading 2 Font Style: Strikethrough
- Heading 2 Text Color: #ddd
Now for the 2nd text module, change the content style. Add the following code under Text tab.
<h3>The Deal Is Expired, But Wait!</h3>
The next deal is just around the corner. Subscribe and we'll let keep you in the loop. 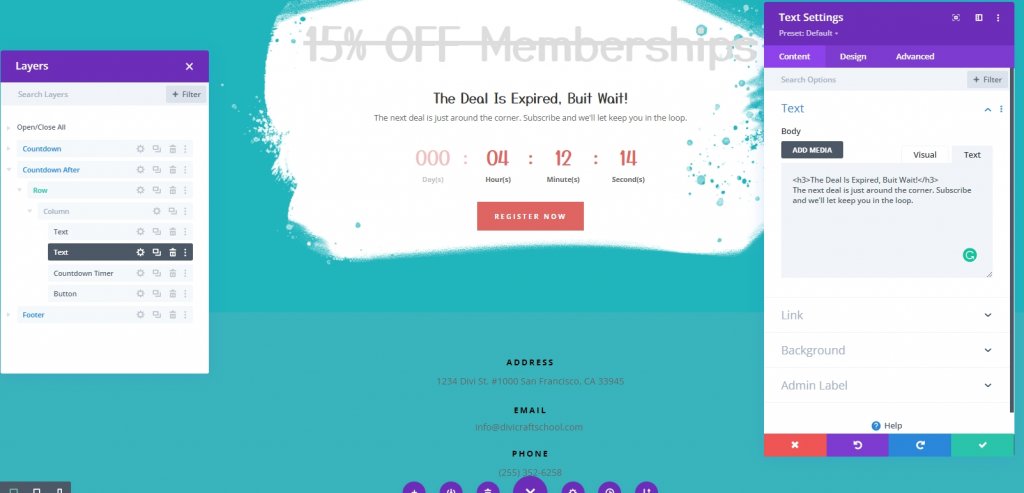
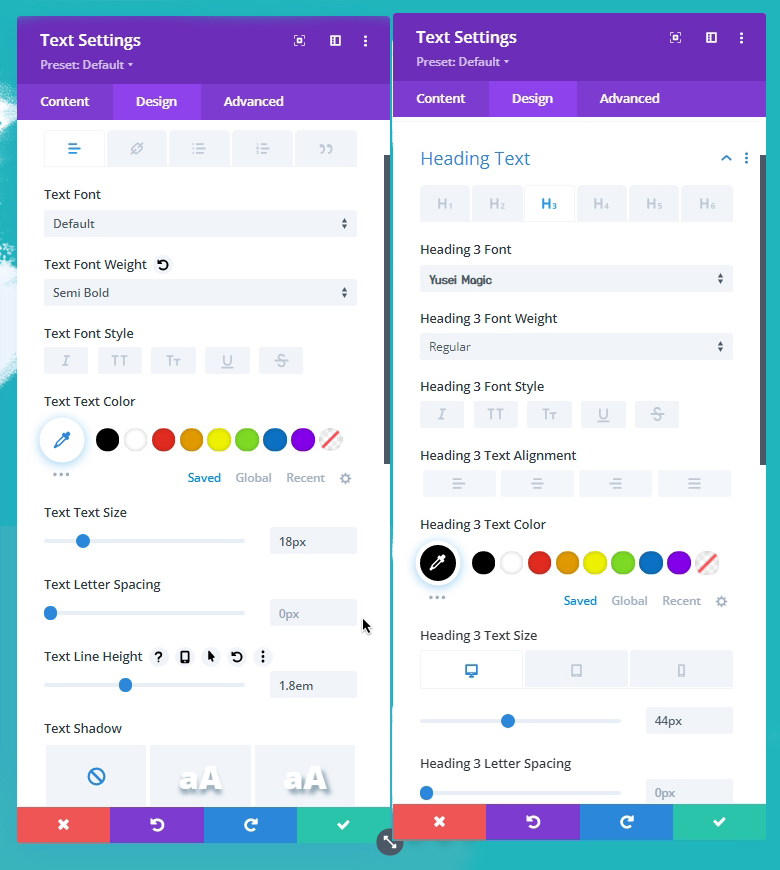
From the Design tab, make following adjustments.
- Text Font Weight: Semi Bold
- Text Text Size: 18px
- Text Line Height: 1.8em
- Heading 3 Text Color: #000
- Heading 3 Text Size: 44px (desktop), 38px (tablet and phone)
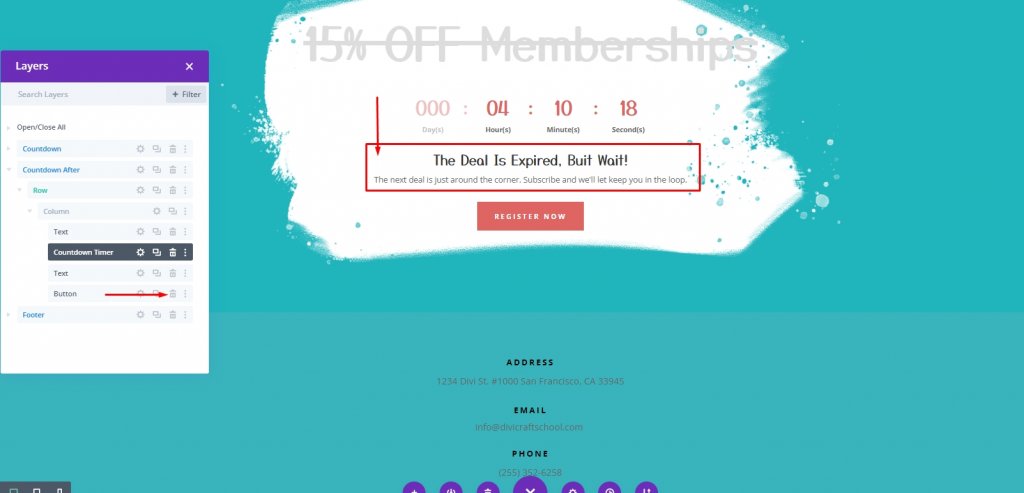
Add a countdown timer below the top text module with the main heading by moving it up one position. Remove the button module at the very bottom, and you're done. This will be swapped out for a module that lets users choose to get email instead.
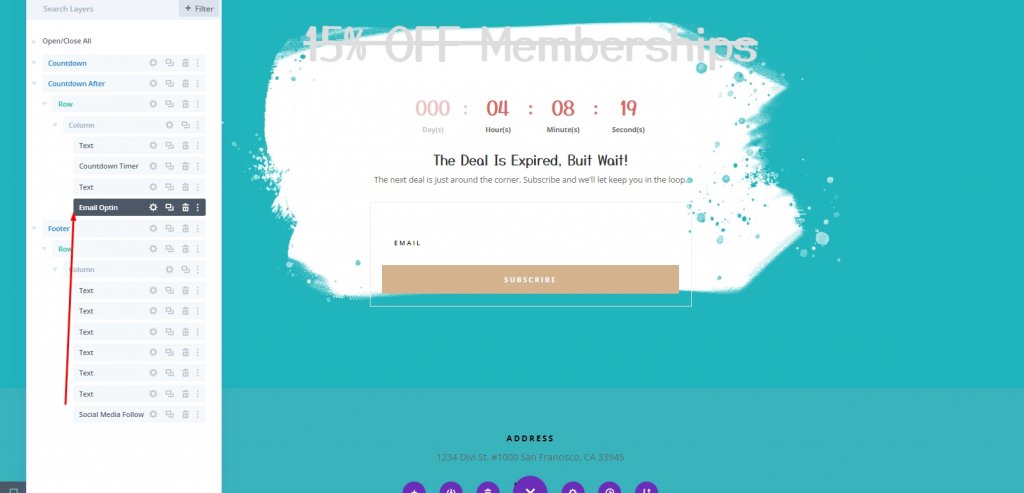
Now, move the premade email option up and place it under the bottom text module.
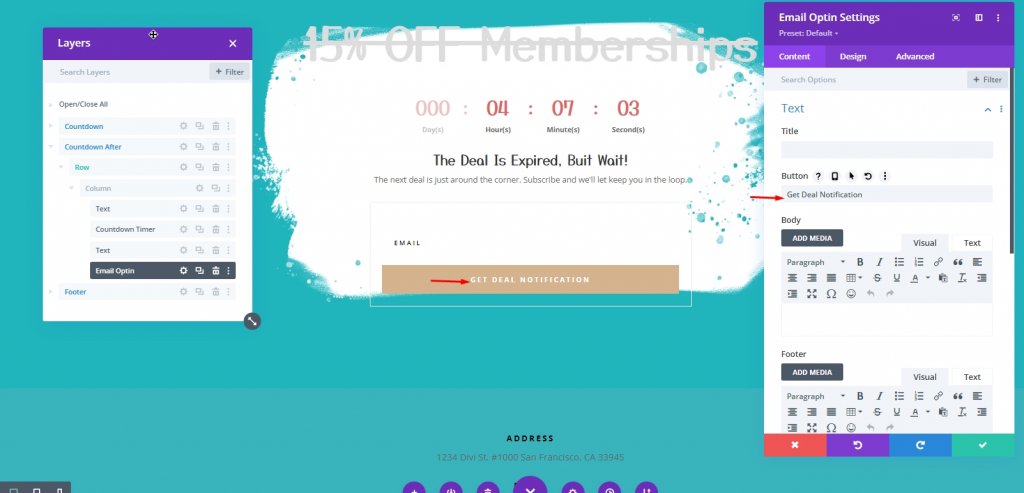
Make adjustments to the button.
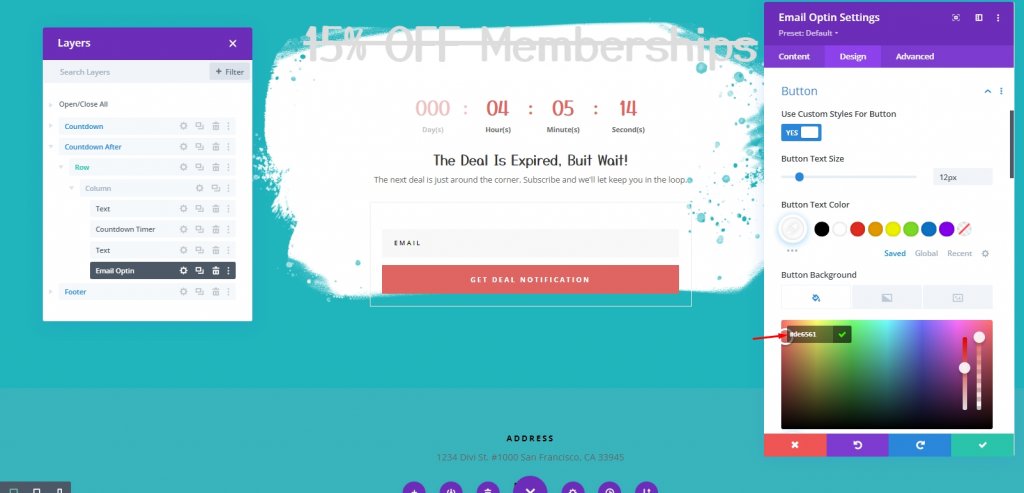
Under the design tab, update the field and button colors as follows:
- Fields Background Color: #f8f8f8
- Button Background Color: #de6561
And we are done!
Final Output
We set the countdown timer to end on Oct. 23 at 12:00. In addition, we added a Date & Time display condition to the first section to be displayed BEFORE Oct. 23 at 12:00. Finally, we created a new section of content with a Date & Time display condition that displays the section AFTER Oct. 23 at 12:00.
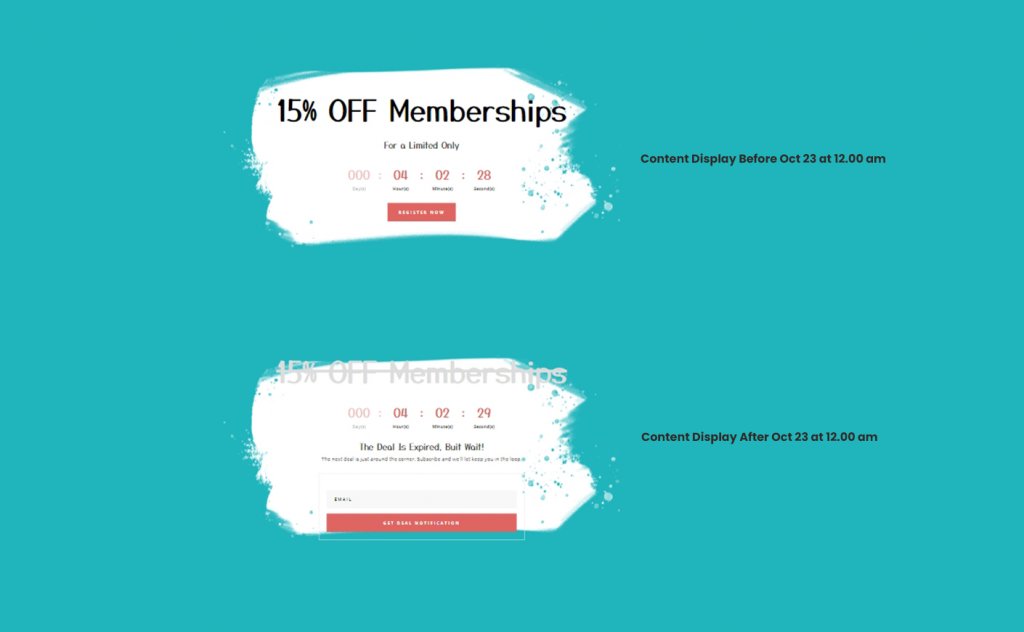
So here is the before result.
And here is the section after the countdown expires.
Conclusion
Time-limited offers are well-served by combining time-conditional material with countdown clocks. And Divi makes it simple to be in charge of both. The content you wish to show before and/or after the specified date and time will be displayed automatically after the countdown timer is established. This should assist your customers in having a more pleasant experience while looking at expired promotions.


