
Designing an animated promo bar for your Divi page template can be an effective way to stylishly showcase products and deals without depending on a plugin. With Divi's robust design features, you can visually create the promo bar while editing a template in Divi’s Theme Builder. Once the template is set up, the promo bar will appear on any page assigned to that template. It's a straightforward process.

Let's dive in and begin!
Design Preview
Here's a brief preview of the promo bar we'll be making in this tutorial.
Design an Animated Promo Bar In Divi
From the WordPress Dashboard, go to Divi > Theme Builder. Click the "Add New Template" box to create a new template.
Create Amazing Websites
With the best free page builder Elementor
Start Now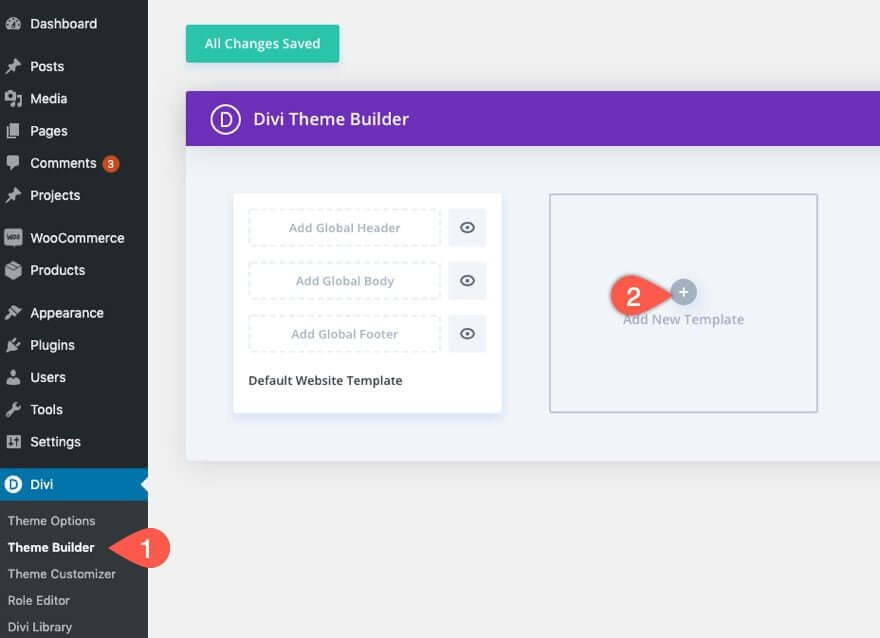
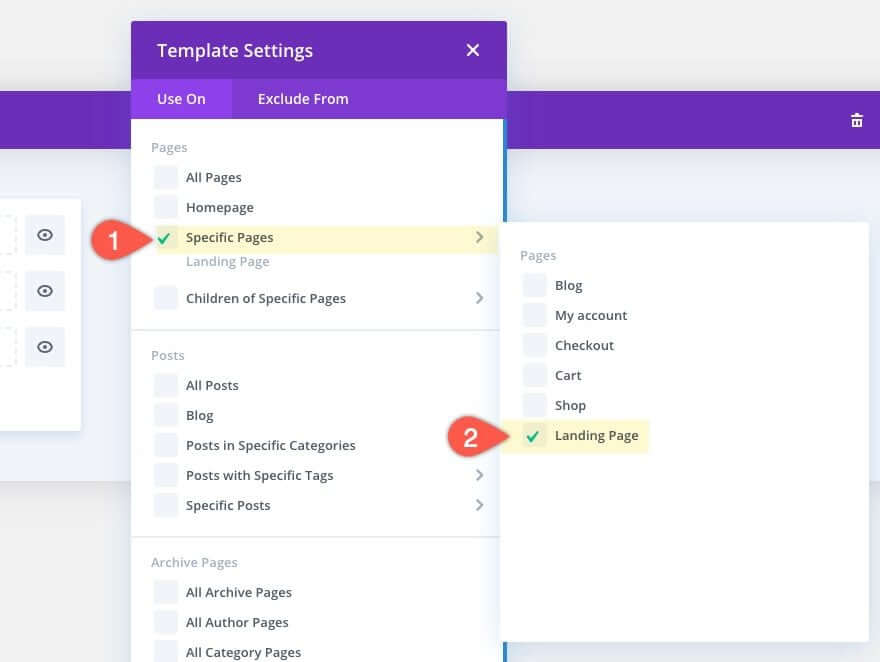
Assign the template to the page(s) where you want the promo bar to appear.
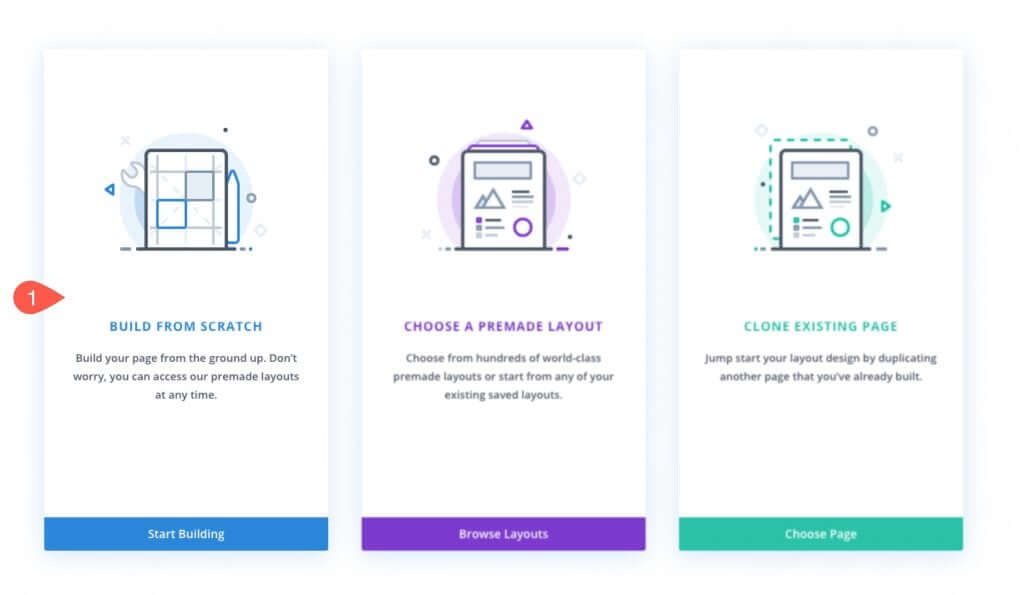
Within the new template, click the "Add Custom Body" area and choose "Build Custom Body."

Select the option "Build From Scratch."
Inside the Template Layout Editor, let's begin constructing the promo bar using the Divi Builder.
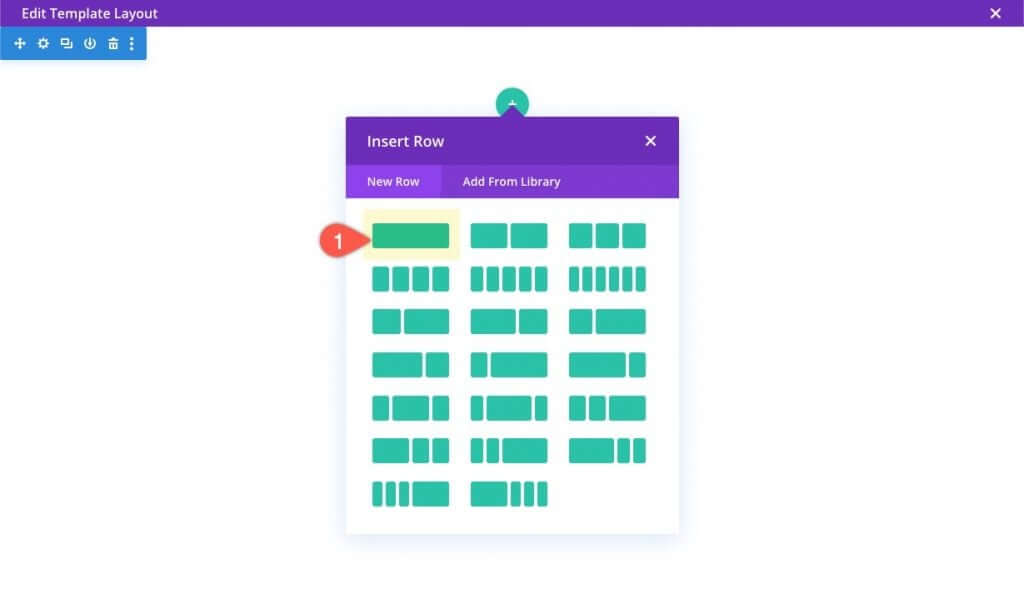
Start by adding a one-column row to the regular section.
Before introducing a module, update the Row settings as follows:
- Background Gradient Left Color: #4a42ec
- Background Gradient Right Color: #521d91
- Gradient Direction: 90deg
- Use Custom Gutter Width: YES
- Gutter Width: 1
- Width: 100%
- Max Width: 100%
- Padding: 0px top, 0px bottom
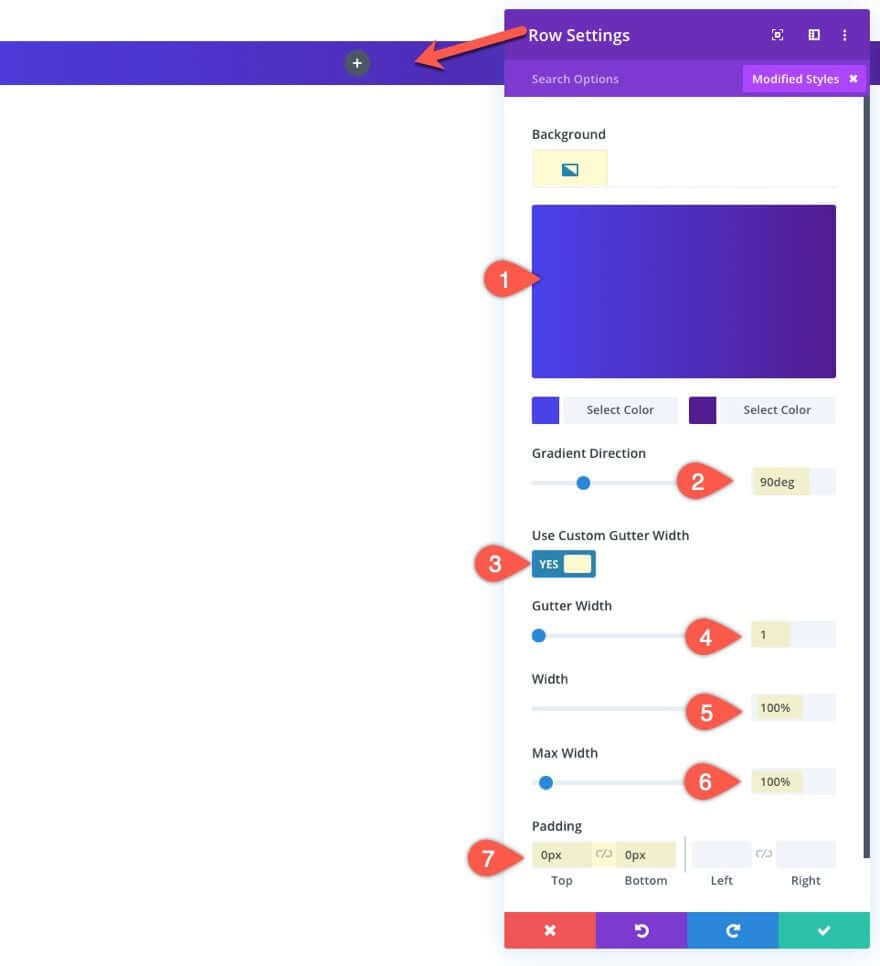
These settings define the background color and width of the promo bar.
Before exiting the row settings, open the settings of the column. Then, add the following custom CSS to Column Main Element:
display: flex;
align-items: center;
justify-content: center;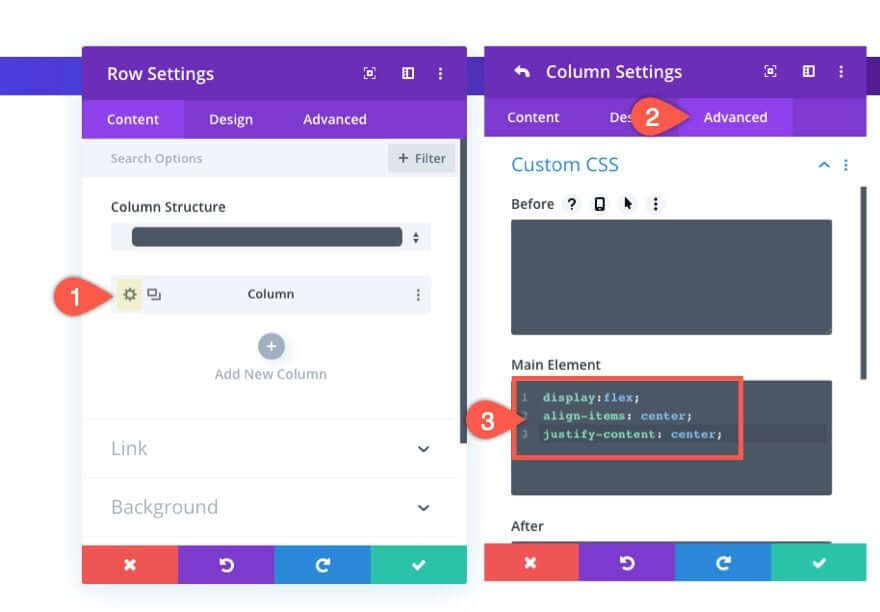
This CSS utilizes the flex property to align the content (or modules) within the column, arranging them horizontally (side by side). It also centers the modules both vertically and horizontally. This approach avoids the need for multiple column row structures that would stack on top of each other on mobile devices. With this setup, the content maintains a horizontal alignment across all browser widths.
Now, we're prepared to add content to the promo bar.
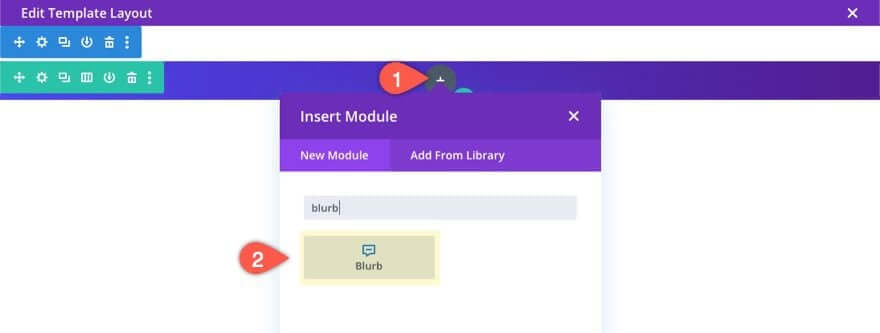
For the content of this example promo, we'll include a blurb module with a small icon and a block of text with a button on the right, similar to the promo bar on Elegantthemes.com.
Click the gray circle plus icon inside the row and add a blurb module.
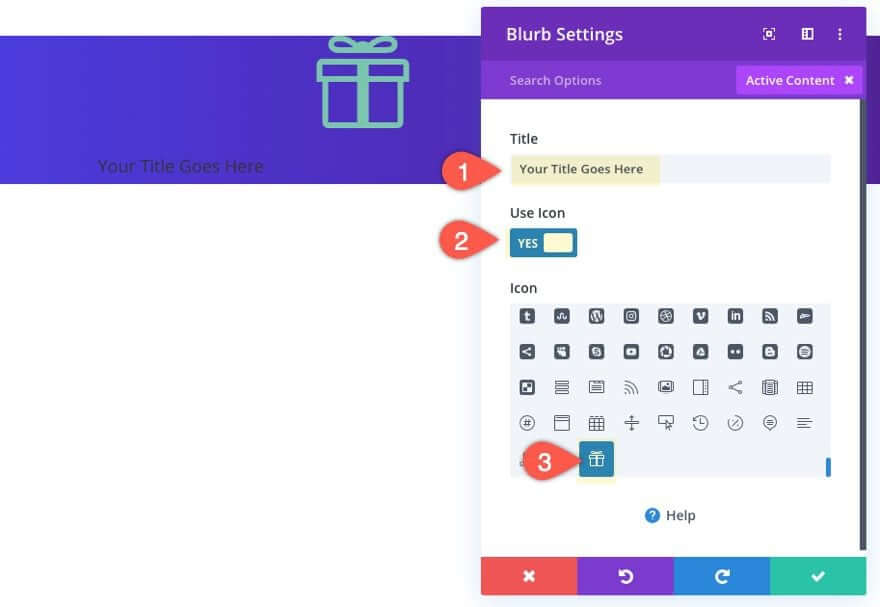
For the blurb content, enter the following:
- Title: [Enter the promo text]
- Use Icon: YES
- Icon: Gift icon (refer to the screenshot)
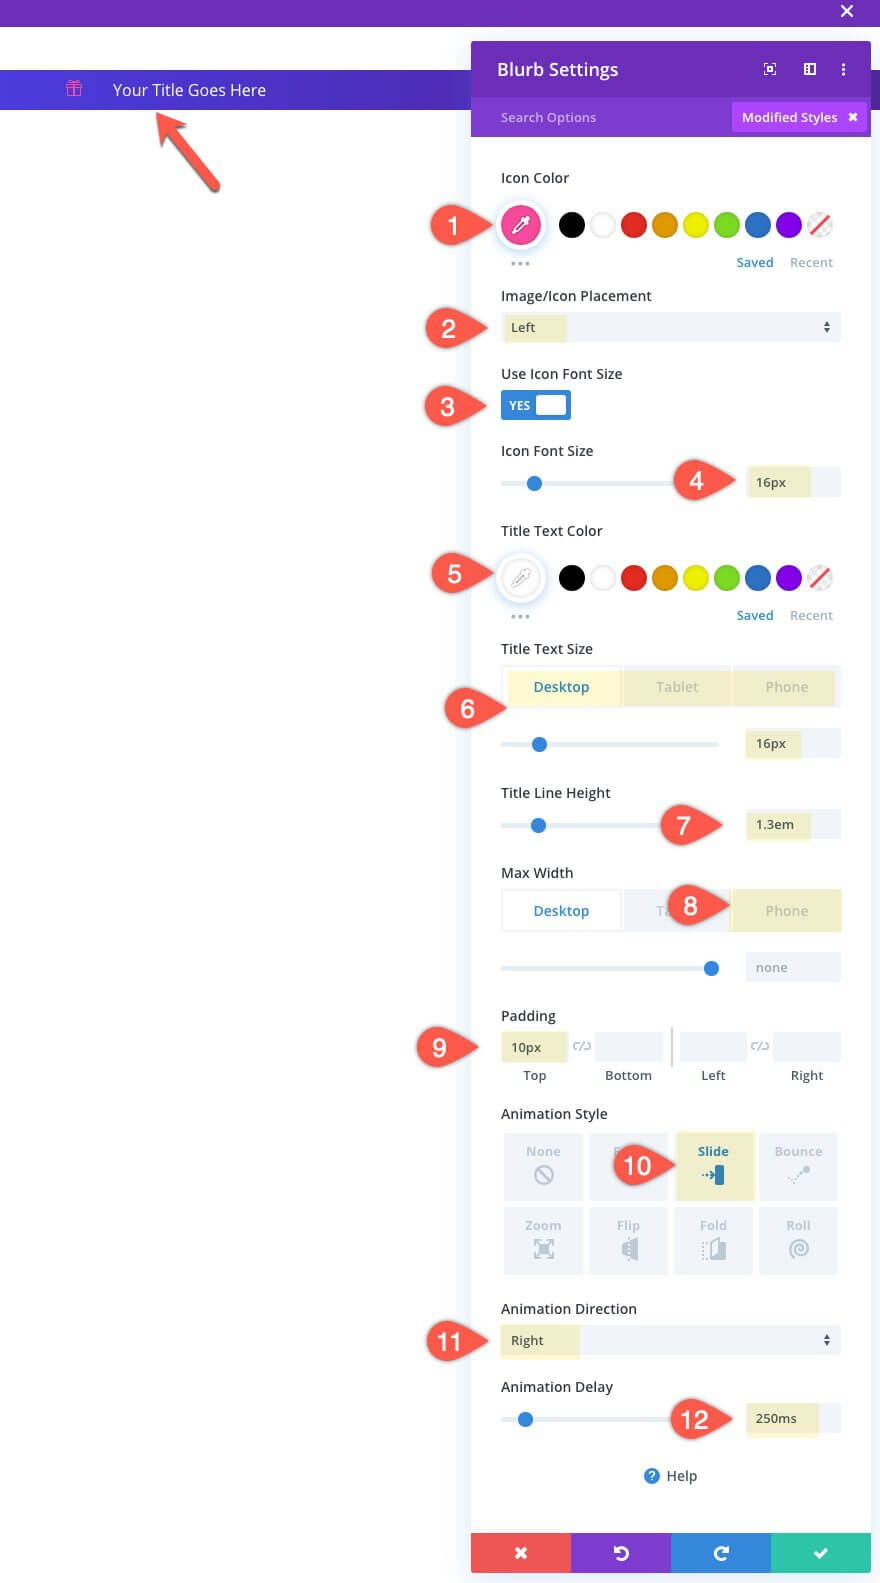
Update the blurb design settings as follows:
- Icon Color: #ff4a9e
- Image/Icon Placement: Left
- Use Icon Font Size: YES
- Icon Font Size: 16px
- Title Text Size: 16px (desktop), 14px (phone)
- Title Line Height: 1.3em
- Max Width: 230px (phone only)
- Padding: 10px top
- Animation Style: Slide
- Animation Direction: Right
- Animation Delay: 250ms
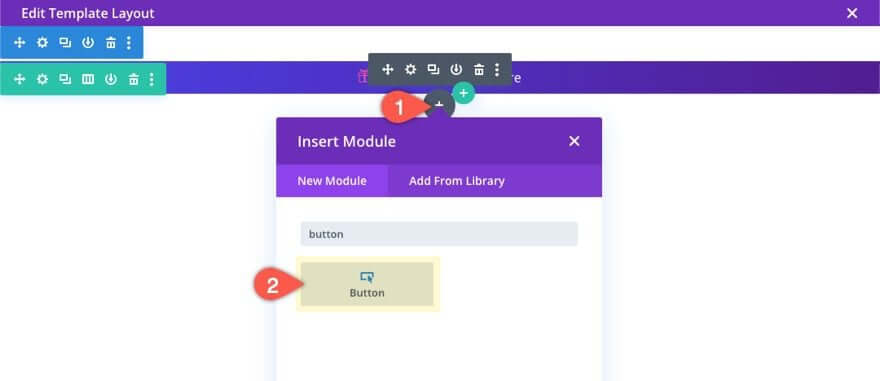
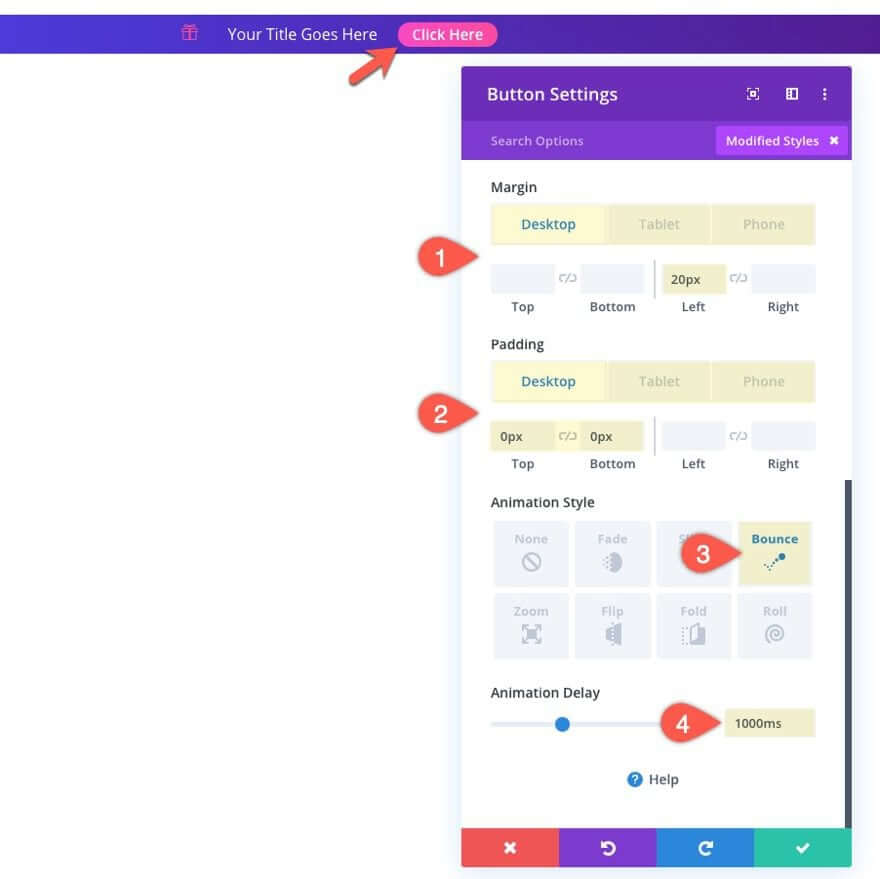
Next, add a button module under the blurb module. Due to the flex property, the module will appear to the right of the blurb instead of below it.
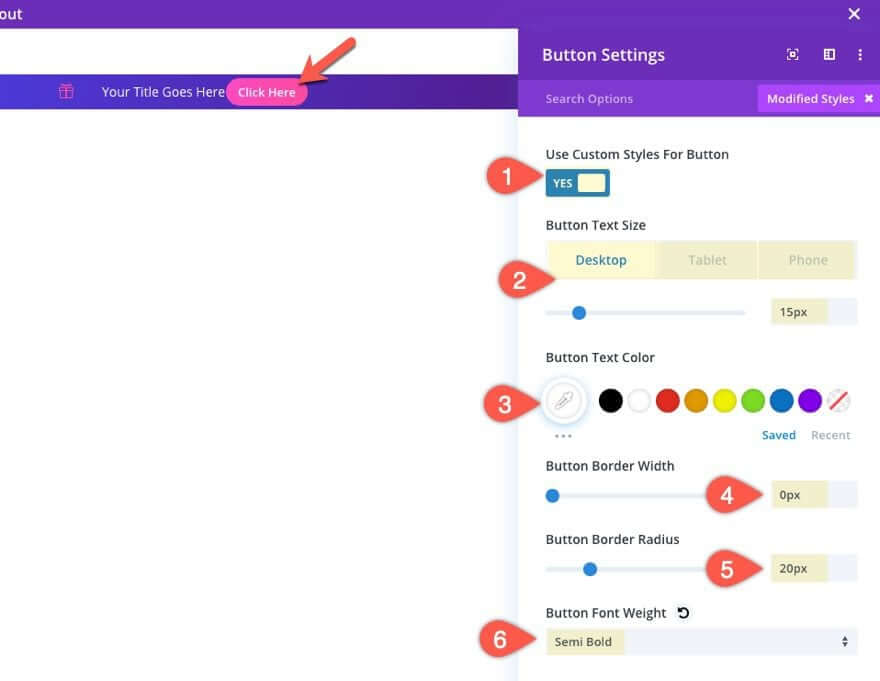
Update the button design settings as follows:
- Use Custom Styles for Button: YES
- Button Text Size: 15px (desktop), 13px (phone)
- Button Text Color: #ffffff
- Button Border Width: 0px
- Button Border Radius: 20px
- Button Font Weight: Semi Bold
- Margin (desktop): 20px left
- Margin (phone): 10px left
- Padding (desktop): 0px top, 0px
- bottom Padding (phone): 2px top, 2px bottom, 8px left, 8px right
- Animation Style: Bounce
- Animation Delay: 1000ms
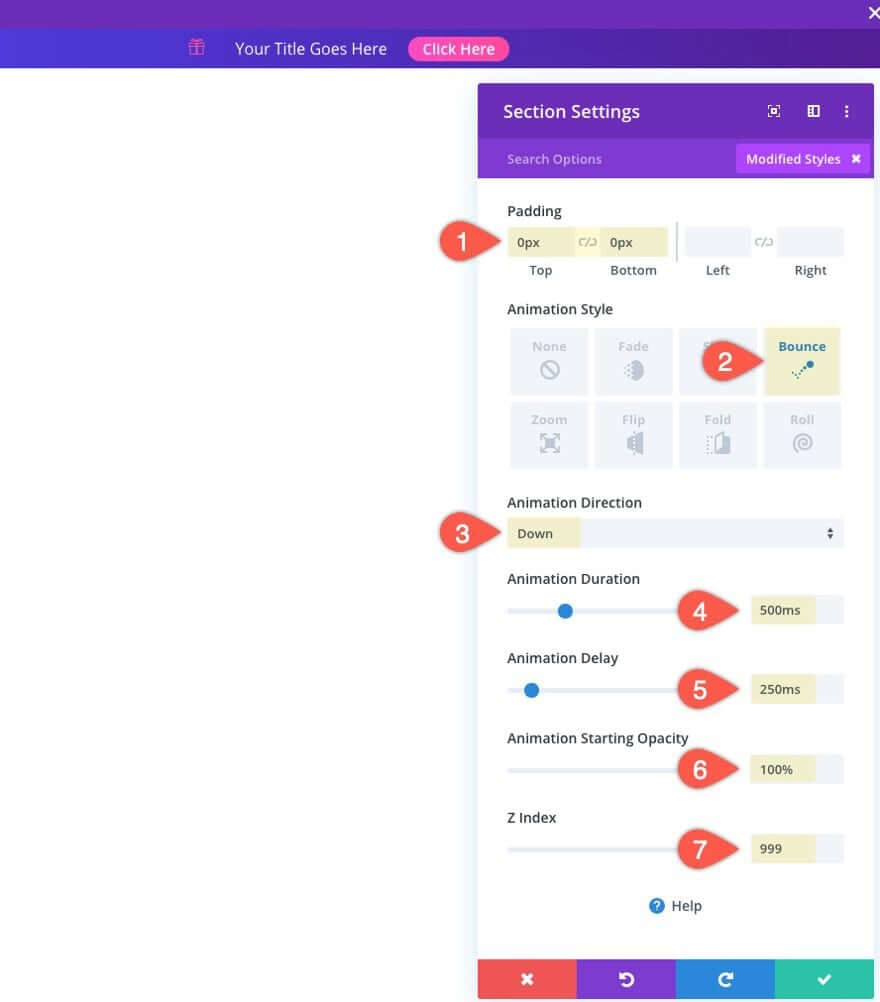
To complete the promo bar design, update the section containing the promo bar as follows:
- Padding: 0px top, 0px bottom
- Animation Style: Bounce
- Animation Direction: Down
- Animation Duration: 500ms
- Animation Delay: 250ms
- Animation Starting
- Opacity: 100%
- Z-Index: 999
Designing The Fullwidth Post Content Module
At this point, the promo bar is ready to go. However, since this is a template, it's crucial to add the post content module to display the content of the page(s) using this template.
For pages built using the Divi Builder, use a full width post content module to maximize the content area.
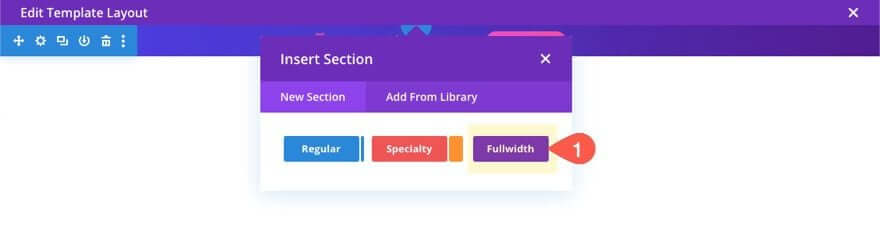
Below the section containing your promo bar, add a fullwidth section.
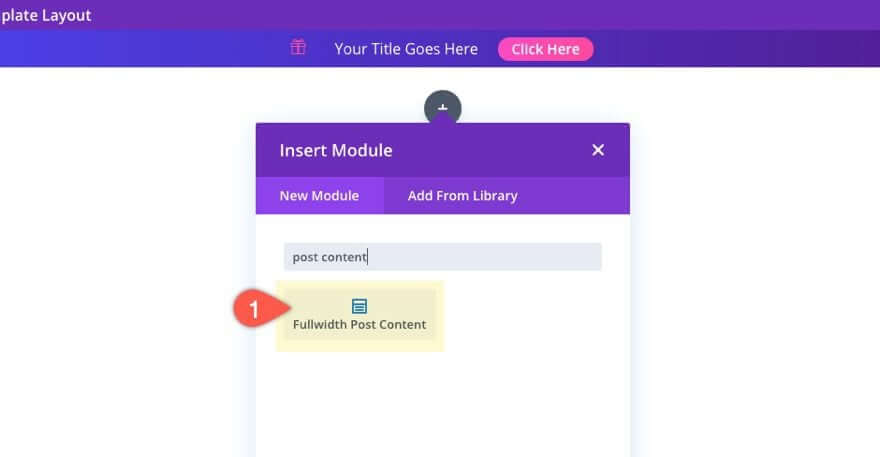
Then, select the Fullwidth Post Content Module.
That's about it. Now, make sure to save the layout before exiting the editor.
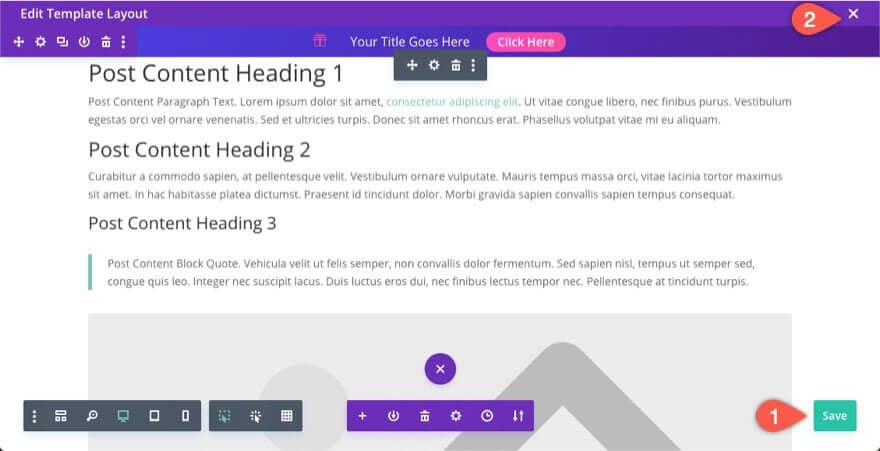
Then, save the changes for the theme builder as well.
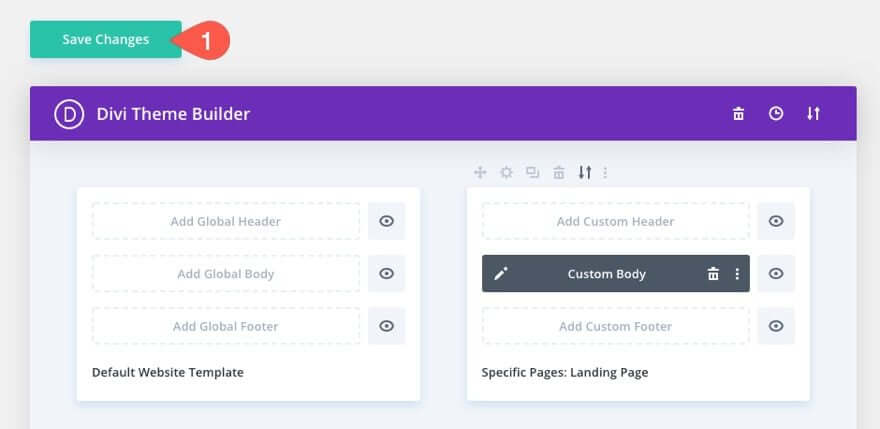
And you are done.
Wrapping Up
In this guide, we demonstrated how to create a promotional bar from the beginning using the Divi Theme Builder. The promo bar includes various animations and designs to grab visitors' attention. You can also set the promo bar to stay visible at the top while scrolling down the page. Additionally, you have the practical feature of determining where on your site the promo bar should appear.


