
When it comes to providing a short output of what the website contains, headers play a great role. It holds the necessary powers to navigate people to various sections according to their needs. In addition, sticky headers are pretty cool because it lands an opportunity to move anywhere on the website, even if you aren't at the top of the page where the header section is.
Divi is a versatile WordPress theme that allows you to do different designs, and this really draws great attention from your viewers. So, today we'll see how to create a toggle tab for a sticky header. This is a great idea to put a toggle on the header if your website has a gallery section or blog section because sometimes the sticky header somehow blocks the view. So, today's tutorial will be super awesome and helpful for people who are struggling with the header section issue.
Strap in and let's get started with our todays design.
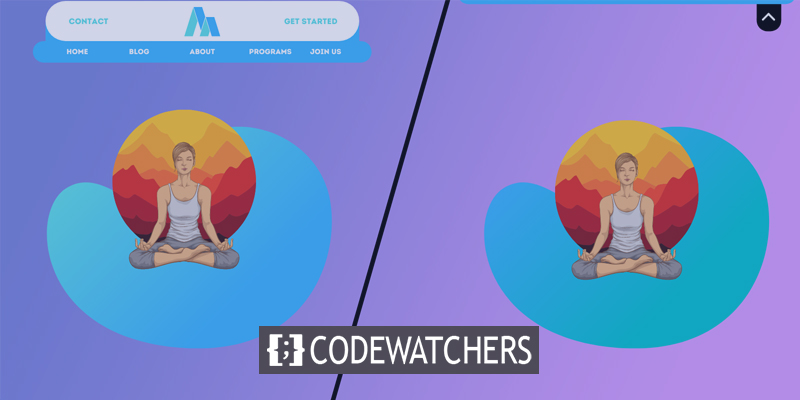
Design Preview
We will create this design today. If you notice here, you can see that the menu header sticky menu is always visible. When we click on the toggle option, it will move to the top.
Create Amazing Websites
With the best free page builder Elementor
Start NowPart One: Import & Set-Up the Template
We will be working on this premade template today. You can download the template file by clicking here.
Import Template
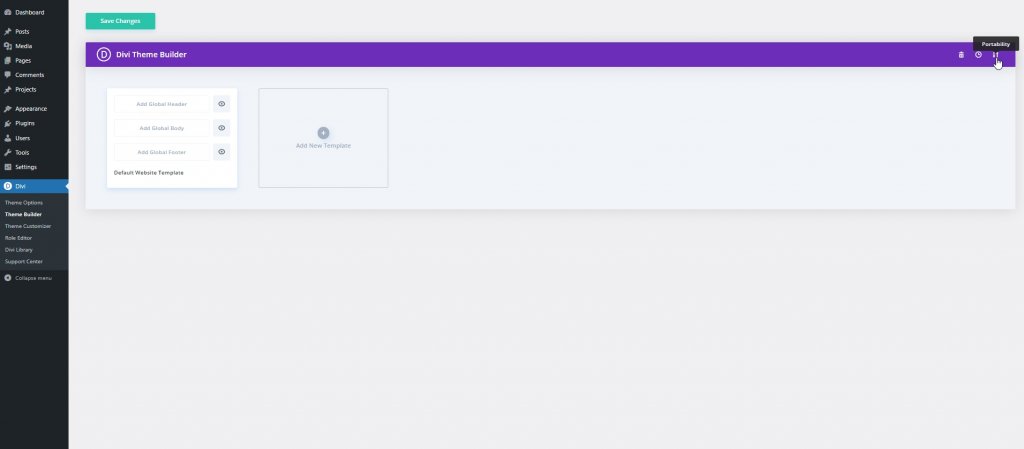
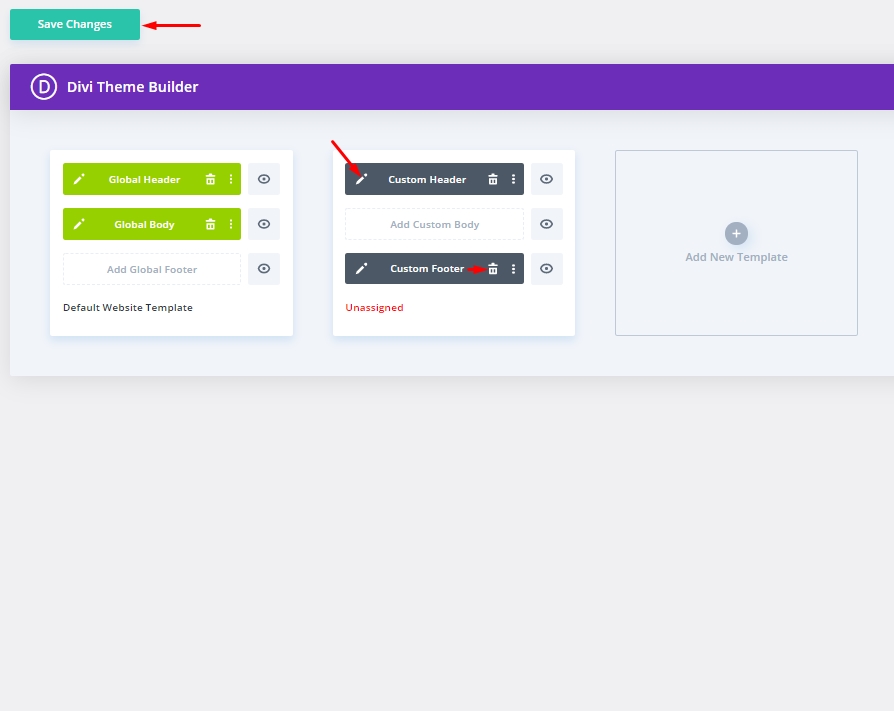
We hope you have successfully downloaded the JSON file from the link given above. Now unzip it and get the JSON file. Then go to your WordPress dashboard and from the theme builder option, click on the portability icon.
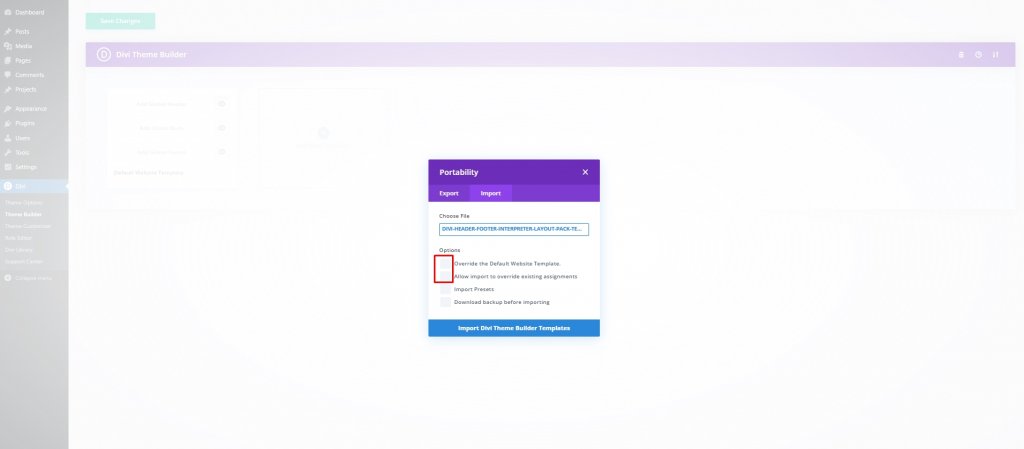
Move to the import option and uncheck those marked options and click "Import Divi Theme Builder Template".
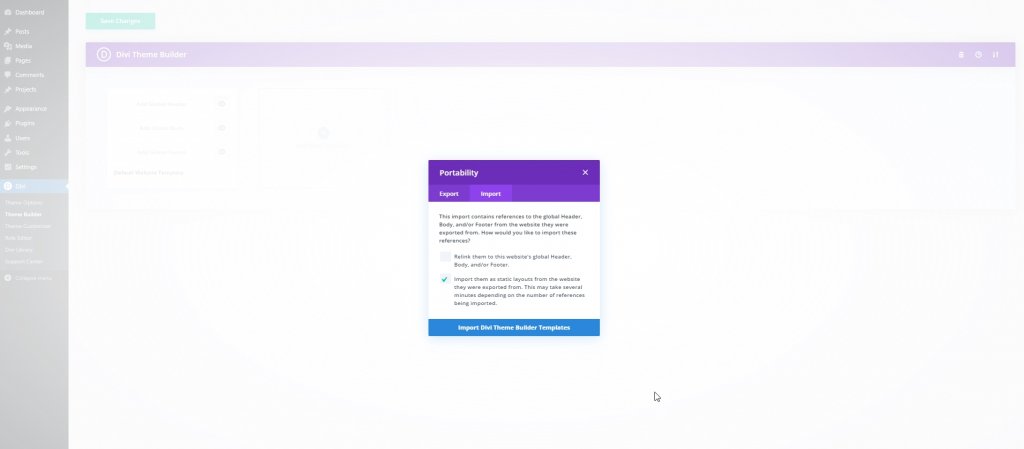
Now click on Import as static layout and move forward.
Now our layout is imported. Delete the footer section, click on save changes and open edit settings.
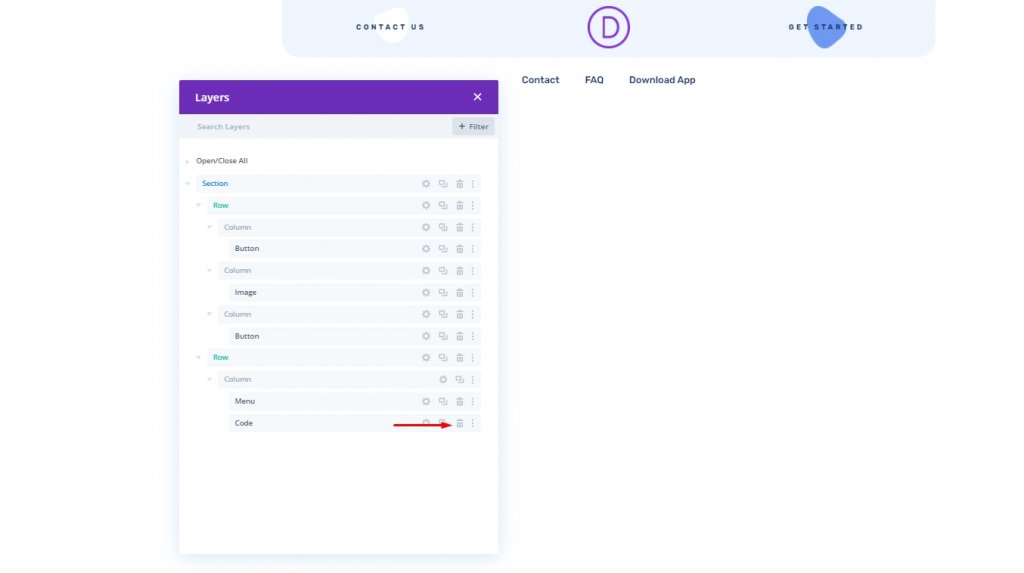
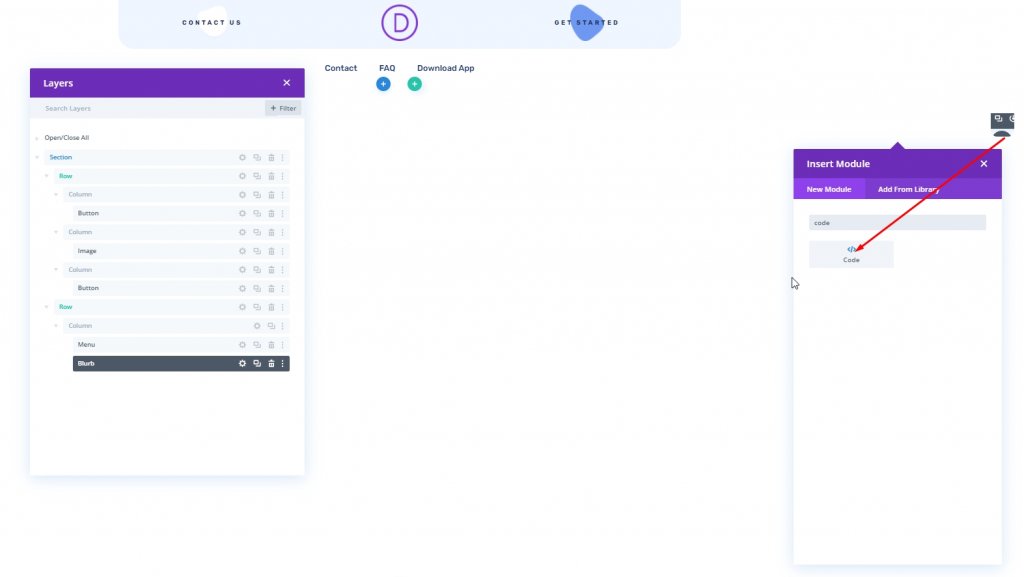
Delete Existing Code Module
Now our design is open to editing, and let's delete the existing code module from layers.
Part Two: Create A Toggle Tab With Sticky Header
The Section Settings
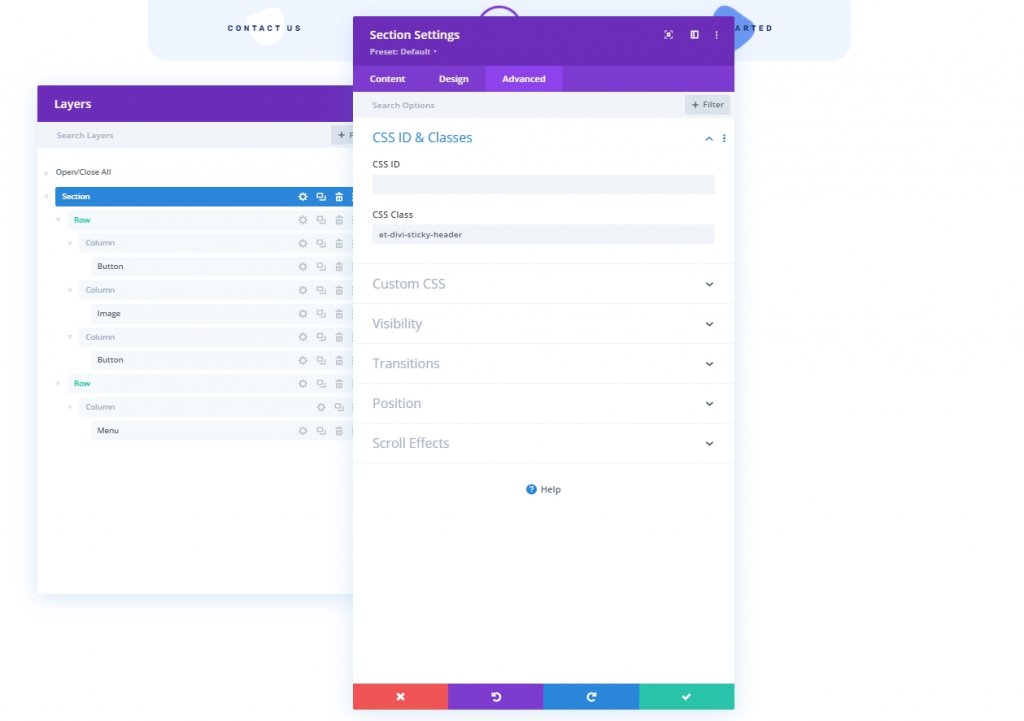
We'll be implementing the sticky effect to the entire section, and for that, we have to put a CSS Class on the entire section so we can work with it later.
Open the section settings and update the following:
- CSS Class: et-divi-sticky-header
- Sticky Position: Stick to Top
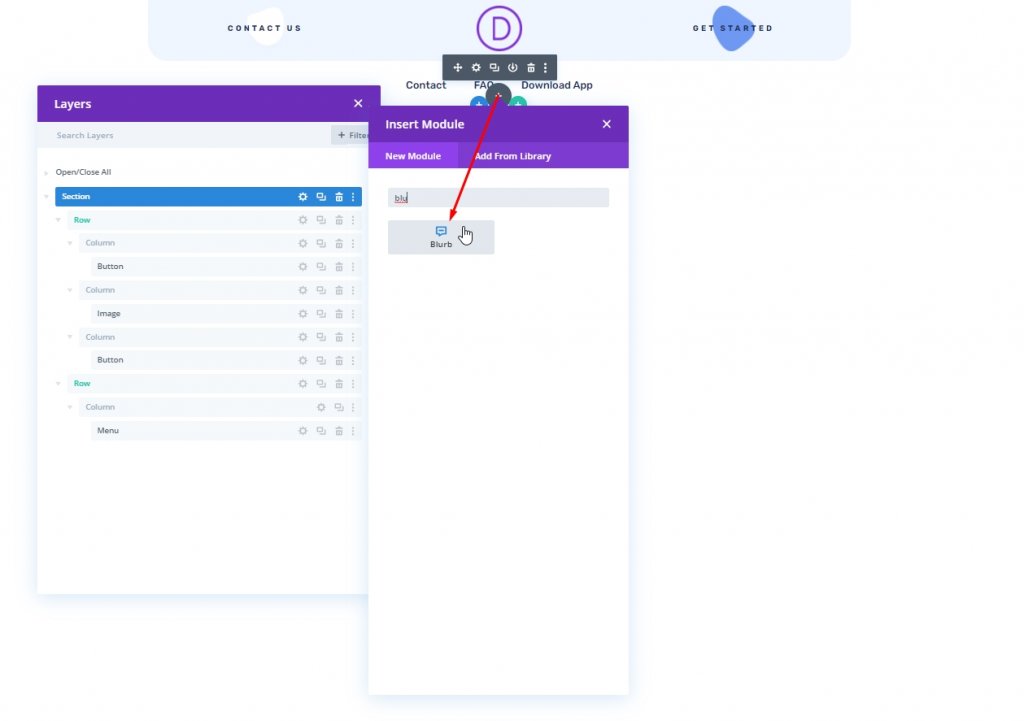
Toggle Tab Creation From A Blurb Module
We'll add a blurb module under the menu module.
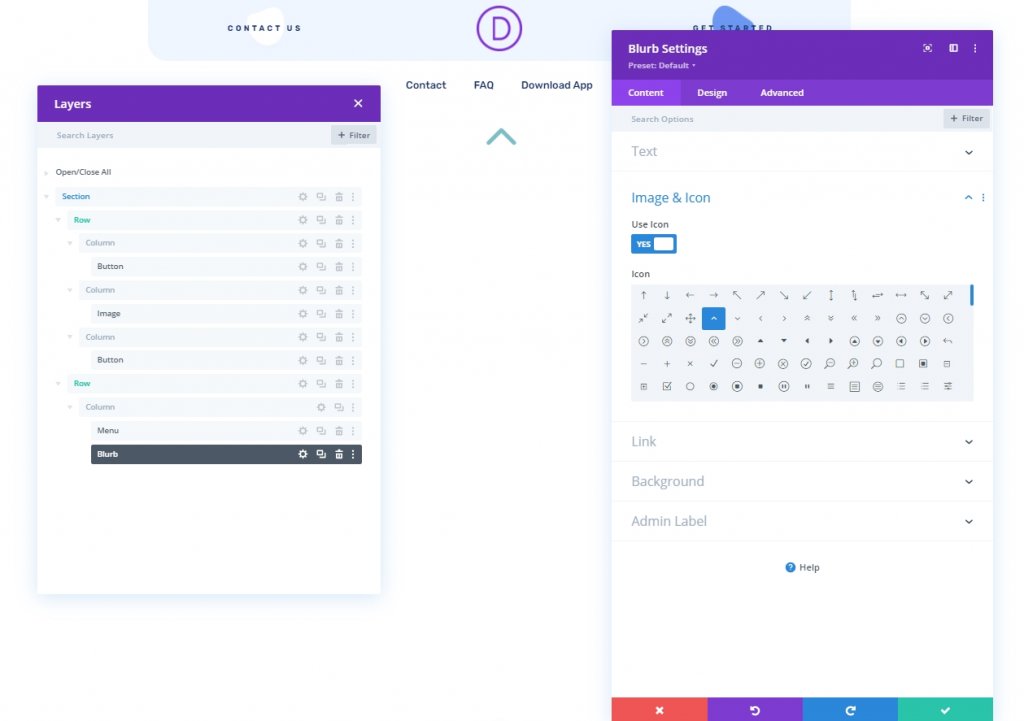
Blurb Content Setting
Then open the setting for the blurb module and update the content as follows:
- Delete Title content
- Delete Body content
- Use Icon: YES
- Icon: up arrow (see screenshot)
- Background Color: #ffffff
Blurb Design Settings
Under the design tab, update the following:
- Icon Color: #1a3066
- Use Icon Font Size: YES
- Icon Font Size: 40px
Open sizing setting and make following adjustments.
- Width: 45px
- Height: 45px
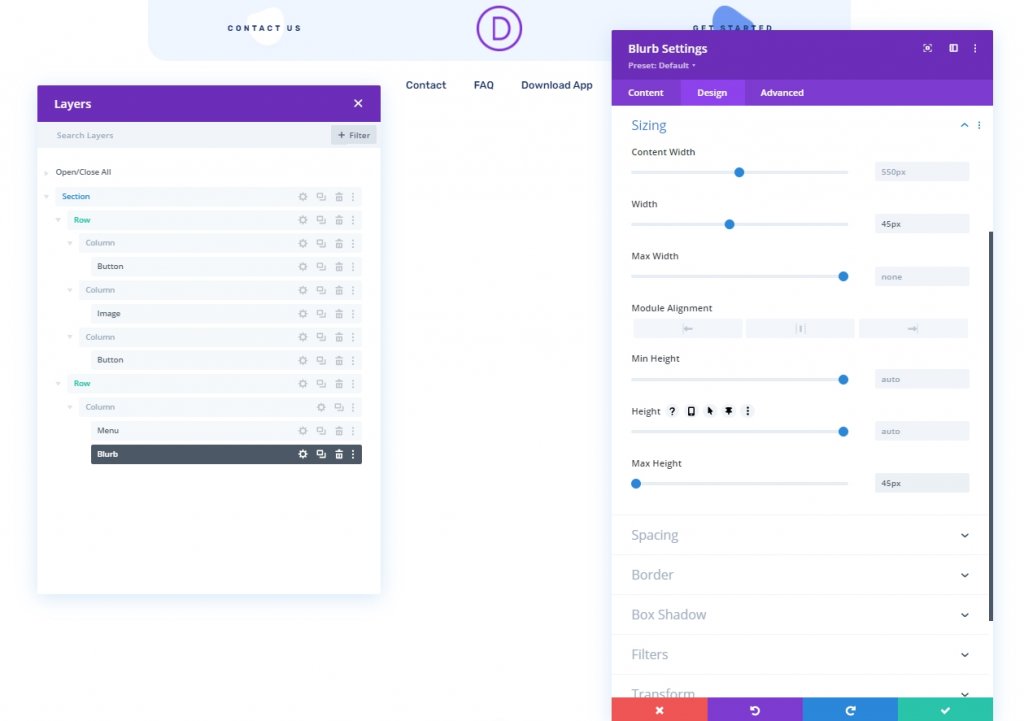
- Margin: 0px Bottom
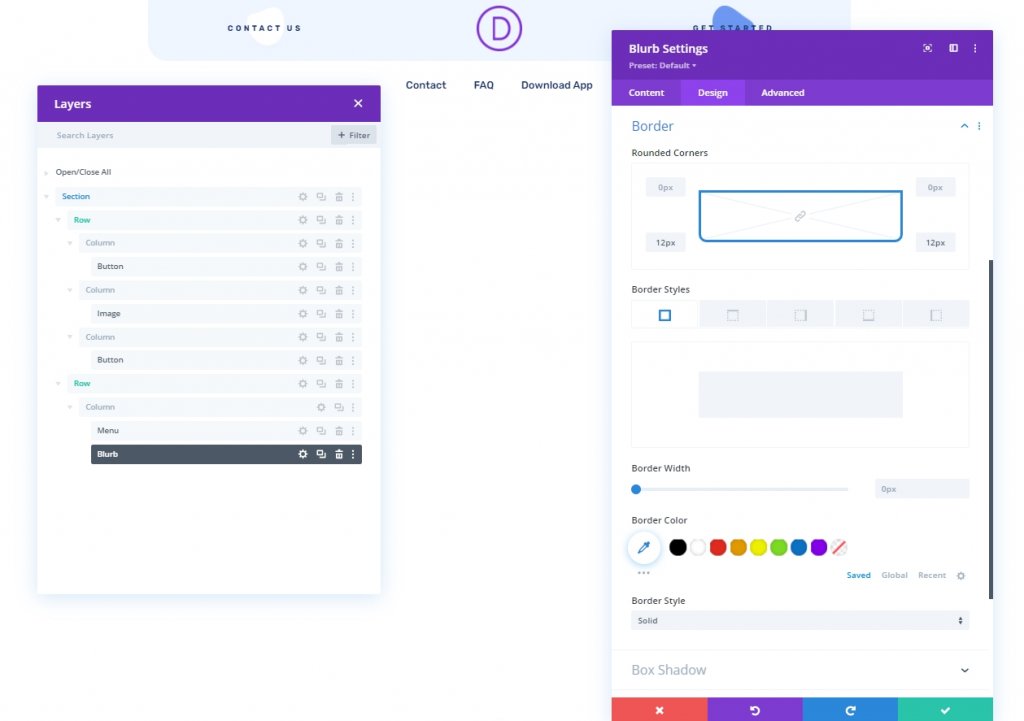
- Rounded Corners: 12px bottom left, 12px bottom right
- Transform Translate Y Axis: 100%
- Image/Icon Animation: No Animation
Blurb Advanced Settings
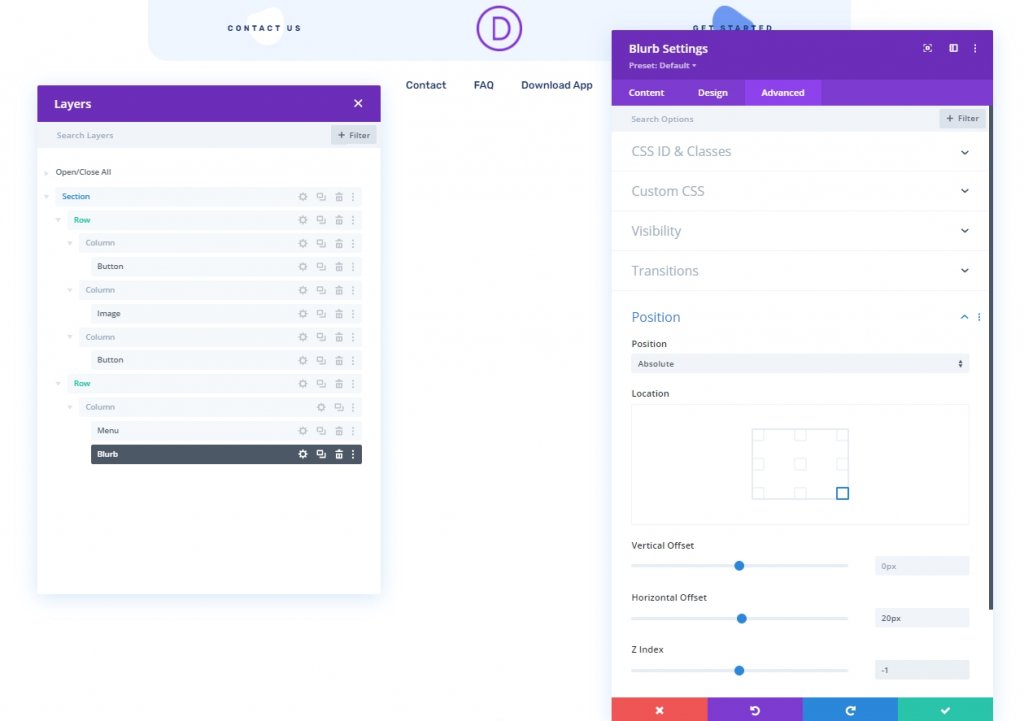
From the Advanced tab, update the following:
- CSS Class: et-divi-sticky-toggle
- Position: Absolute
- Location: bottom right
- Horizontal Offset: 20px
- Z Index: -1
We have successfully completed all the settings of the Blurb module. According to our design, the blurb module that we will use as the toggle button sits bottom left corner of the menu module.
Part Three: Add Code
Now to add further functionality to our design, add a code module beneath the blurb module.
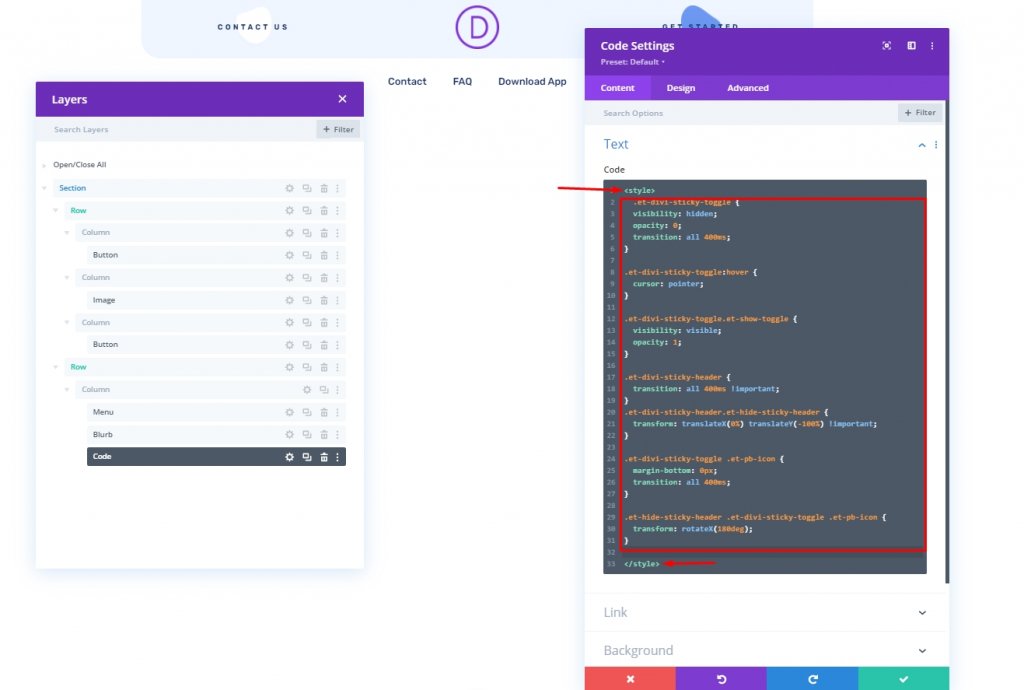
Add CSS Code
Add the following CSS code to the code module. Make sure to put them inside a Style tag.
.et-divi-sticky-toggle {
  visibility: hidden;
  opacity: 0;
  transition: all 400ms;
}

.et-divi-sticky-toggle:hover {
  cursor: pointer;
}

.et-divi-sticky-toggle.et-show-toggle {
  visibility: visible;
  opacity: 1;
}

.et-divi-sticky-header {
  transition: all 400ms !important;
}
.et-divi-sticky-header.et-hide-sticky-header {
  transform: translateX(0%) translateY(-100%) !important;
}

.et-divi-sticky-toggle .et-pb-icon {
  margin-bottom: 0px;
  transition: all 400ms;
}

.et-hide-sticky-header .et-divi-sticky-toggle .et-pb-icon {
  transform: rotateX(180deg);
}
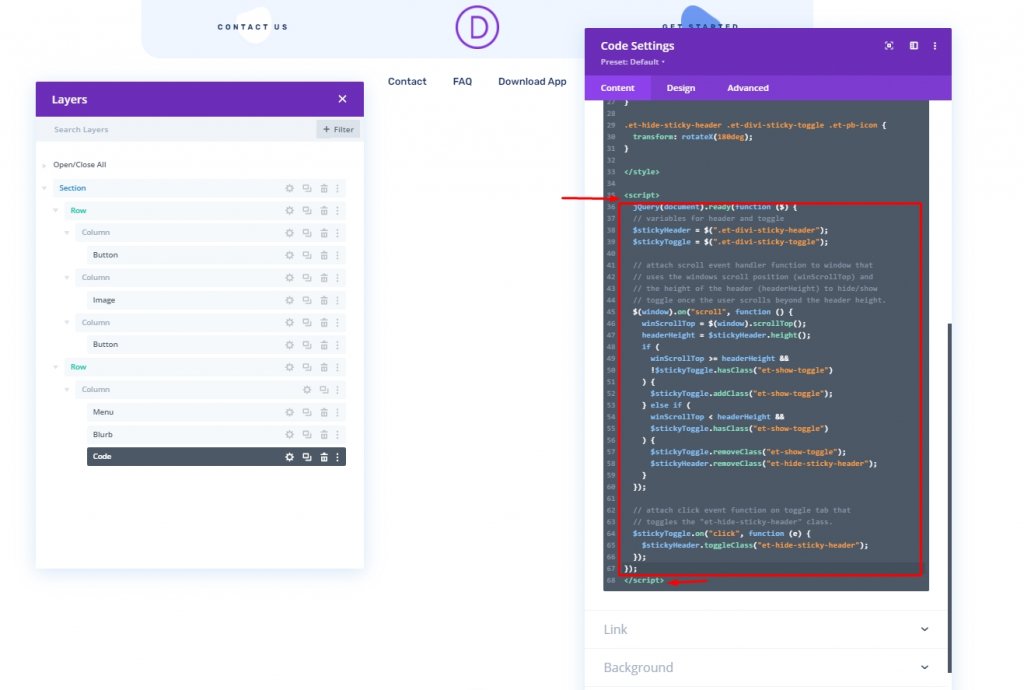
Add JQuery Code
Add the JQuery code to the code module and put them inside a Script tag.
jQuery(document).ready(function ($) {
  // variables for header and toggle
  $stickyHeader = $(".et-divi-sticky-header");
  $stickyToggle = $(".et-divi-sticky-toggle");

  // attach scroll event handler function to window that
  // uses the windows scroll position (winScrollTop) and
  // the height of the header (headerHeight) to hide/show
  // toggle once the user scrolls beyond the header height.
  $(window).on("scroll", function () {
    winScrollTop = $(window).scrollTop();
    headerHeight = $stickyHeader.height();
    if (
      winScrollTop >= headerHeight &&
      !$stickyToggle.hasClass("et-show-toggle")
    ) {
      $stickyToggle.addClass("et-show-toggle");
    } else if (
      winScrollTop < headerHeight &&
      $stickyToggle.hasClass("et-show-toggle")
    ) {
      $stickyToggle.removeClass("et-show-toggle");
      $stickyHeader.removeClass("et-hide-sticky-header");
    }
  });

  // attach click event function on toggle tab that
  // toggles the "et-hide-sticky-header" class.
  $stickyToggle.on("click", function (e) {
    $stickyHeader.toggleClass("et-hide-sticky-header");
  });
});
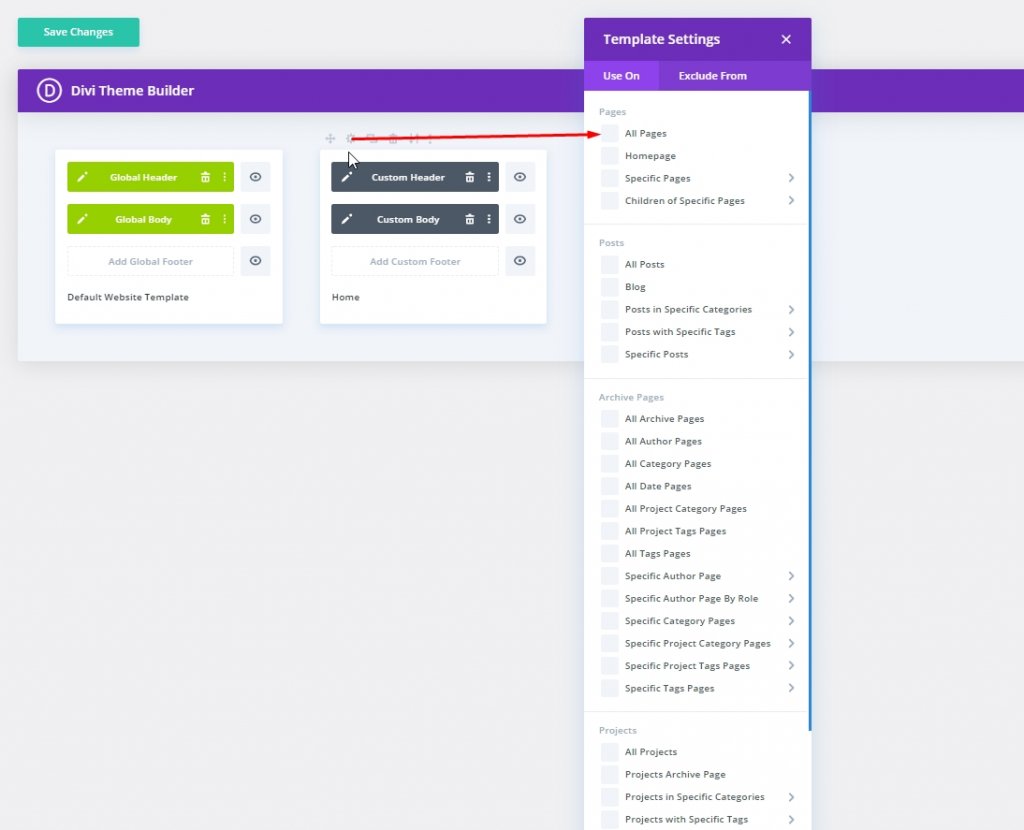
Part Four: Final Settings
Now save the design from bottom right and click cross in top right. The you'll be back on theme builder from dashboard and there, click the gear icon and select All pages. And we are done.
Final Design
This is the result of what we have done so far. We hope that you are satisfied with this.
Conclusion
In today's design, we tried to show you that you can design an attractive sticky header toggle tab in Divi. This will gives your user more pleasant experience while they are on your website. Maybe you can use this trick for your next web development work, and surely it will bring positive feedback from clients. I hope you like this, and if so, a share will be Great!


