
Building a WordPress site on localhost can be an excellent option, although many people would be afraid of the hustle of switching to the server. It is more accessible than you think.

However, let's go over and understand why you should first create a WordPress site locally.
Local WordPress Setup
A WordPress site on localhost has everything required to run a website but rather than online it on your computer.
There can be many reasons to make a WordPress site on your laptop, but one important reason is that you can build a Website, mess around with plugins, try out new themes and do a bunch of stuff without letting anybody know about it.
Create Amazing Websites
With the best free page builder Elementor
Start NowHowever, you cannot share your posts with people or URLs, unlike the website on the server having its components on the internet.
But you don't have to buy a domain or pay for the hosting when you create a website locally. And you can buy a domain and start paying for the hosting once you are done and satisfied with the type of site you want.
You can have multiple sites as well. It is very beneficial if you keep a similar version of your website on the server at localhost, you can try new stuff and see how it works without actually disturbing the primary site.
Building a Localhost Site
To build a localhost site, you might need to get your hands on the software package called stacks. There are some of them out there very easy to find.
Some of the handy ones are MAMP (Mac), WAMP (Windows), XAMPP (Cross-Platform), LAMP (Linux), and AMPPS (Softaculous).
These software packages will then let you install AMP; Apache (Server), MySQL (database), and PHP (Program language).
How To Take Your Site Live
Including their easy to use benefit and accessibility, there is not much left that plugins cannot do.
Let's get started and go over these two ways of taking your site Live without having to deal with the database.
Duplicator – WordPress Migration Plugin
With over 20 million downloads, Duplicator successfully gives WordPress users the ability to migrate, copy, move, or clone a site from one location to another and also serves as a simple backup utility. Duplicator handles serialized and base64 serialized replacements. Standard WordPress migration and WordPress backups are easily handled by this plugin, as are zero downtime migrations.
Install and Download Files
First things first, you've got to install and activate the plugin.
There are two things that you will need to download to take your site to the server successfully - configurations along with installer.php script and an archive of your content.
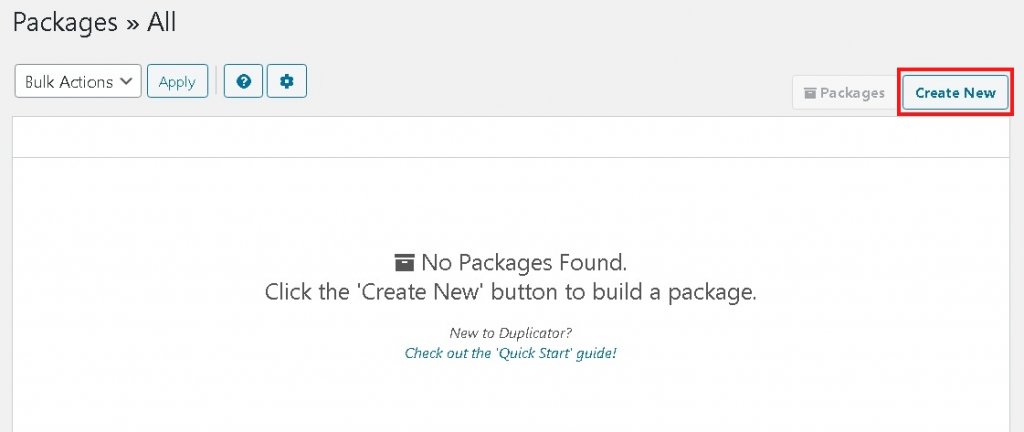
To start the process, click on the Create New button in the packages panel, name your package file and download it.
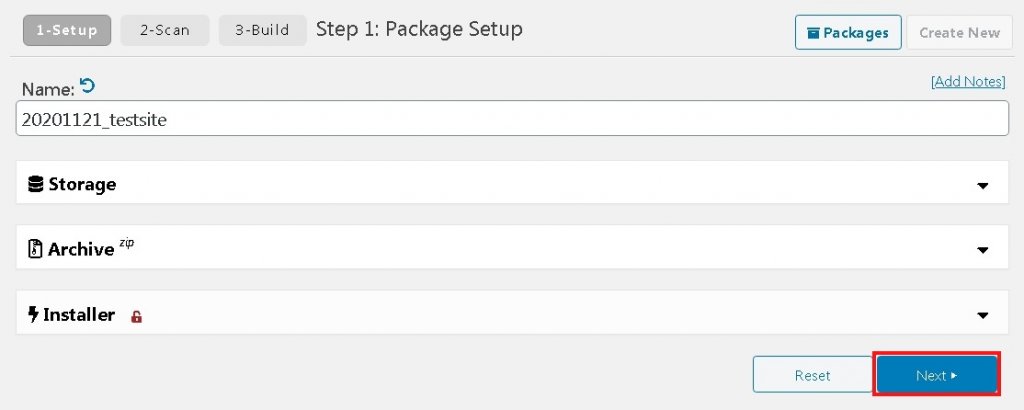
If you want to dismiss some files from transferring them, the Archive tab will let you do that easily. While the Installer tab is used to put the Database Installer fields but it's unimportant; hence you don't have to worry if you have no idea about it.
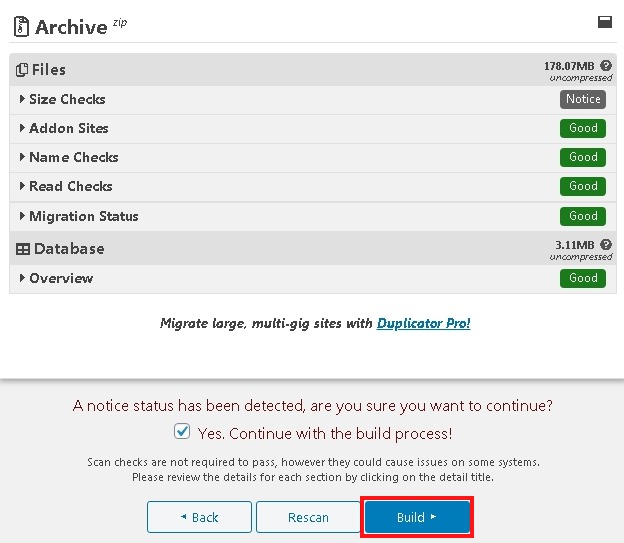
Now, by clicking Next, allow the Duplicator to make sure everything is okay.
Press the Build button to proceed.
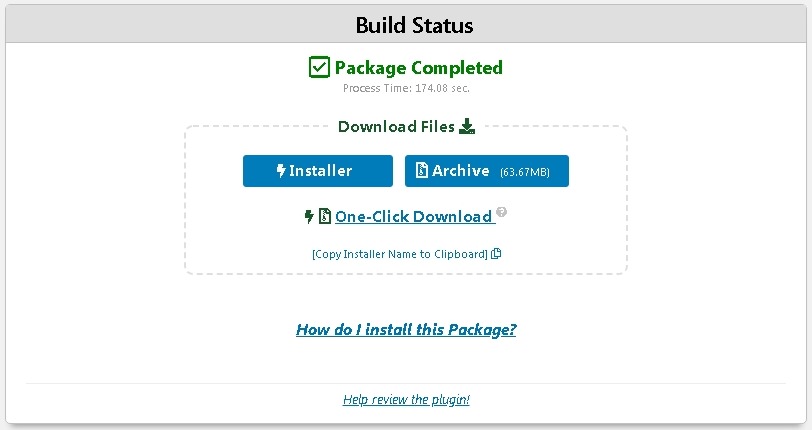
Wait until the files are ready to download and then download both the files, i.e. installer file and archive folder comprised of your data.
Take The Installer and Archive Files Live
Now that you have all the required components in place, you need to copy all these files to your live site, and then you will need to connect it to an SFTP client, such as FileZilla using your live site credentials.
Once you set up the connection, you need to paste all the files you downloaded. Some of these files might need extraction.
You can also track the progress in the bottom left corner.
You need to wait until all of your files are copied, and then you need to run the installer script.
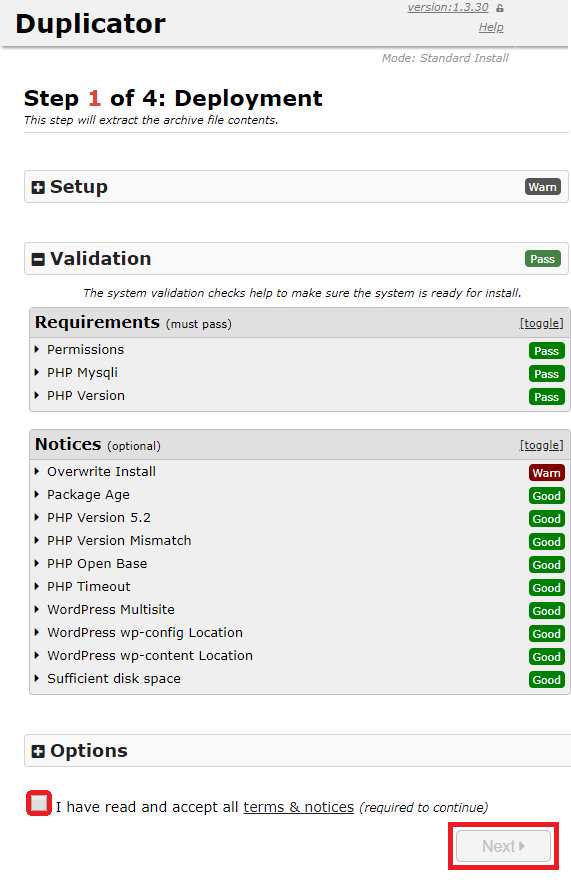
To run the installer script you need to go over to your-url/installer.php
Stay put, you are just four steps away from taking your local site live.
Step One: You need to hope and wait until the validation checks are completed and passed.
If there arises any type of problem, the details will be shown. You can decide yourself whether it needs some fixing or it won't disrupt the process of migration.
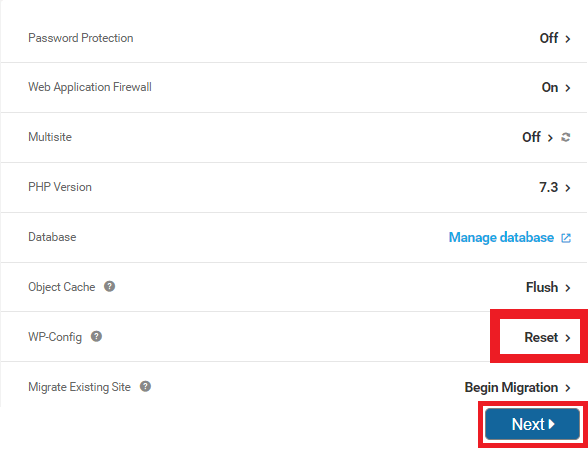
You will need to enter your details on the next page. These four sets of added details will then lead the installer to delete your previous data and connect to the live database.
To get the details, you need to click on Tools in the hosting section of the hub.
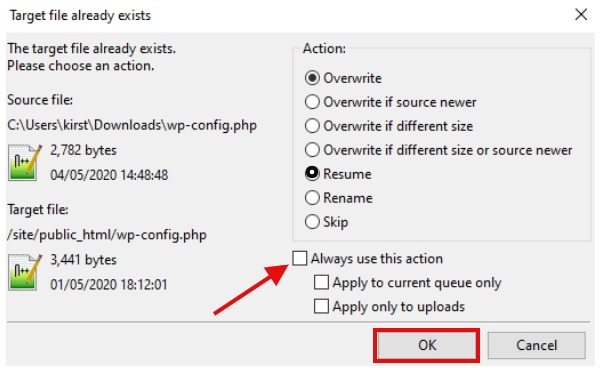
You need to download the fresh copy of your wp.config file. For that, you will need to go back to FileZilla. This file will then be added during the next step of the installer.
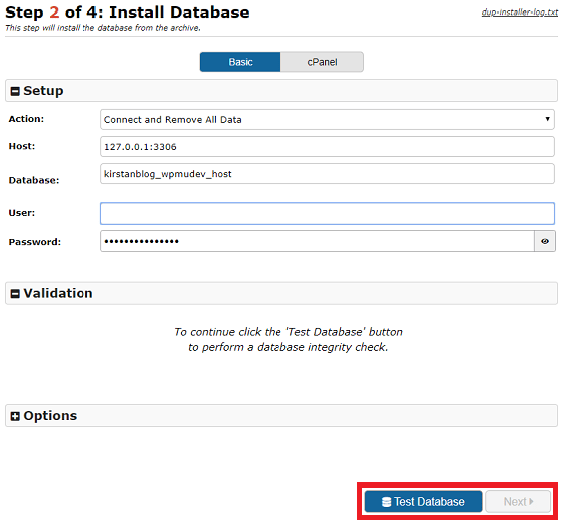
Step two: Install Database
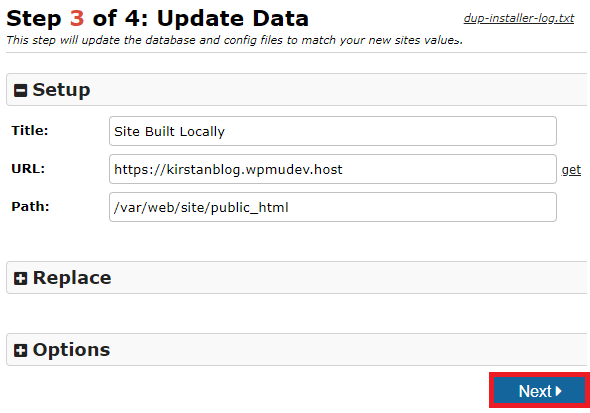
Step three: Update Data (rename)
Finally, you are on the last step. You just need to login by clicking on the Admin Login button.
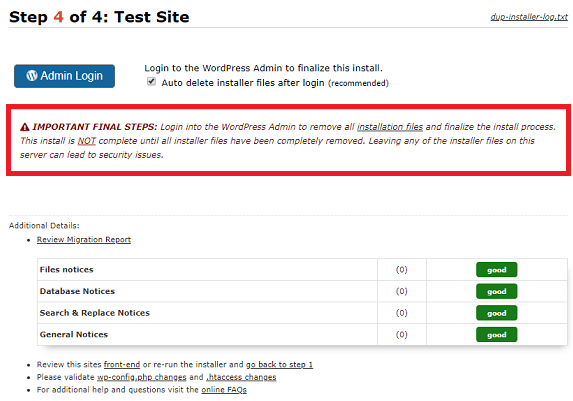
Once you have successfully logged in, you need to go back to the old WordPress dashboard and make sure you check the messages from Duplicator and see if everything is okay.
If you think Duplicator isn't for you. Don't worry we still have you covered.
Shipper Pro - WPMUDev Plugin
Shipper Pro moves WordPress Websites from host to host, local to production, development to live, top to bottom without using FTP or SFTP – WordPress migration has never been this easy. Shipper Pro is the super transporter that securely moves your entire site to any location with a click. Simple WordPress website migration. Ahoy!
However, Shipper is WPMU Dev's premium plugin and is only available for members. So, if you are looking for a free gateway to migrate your Website, Duplicator is the way to go.
Let's start with installing the plugin. And then proceed further by clicking Export.
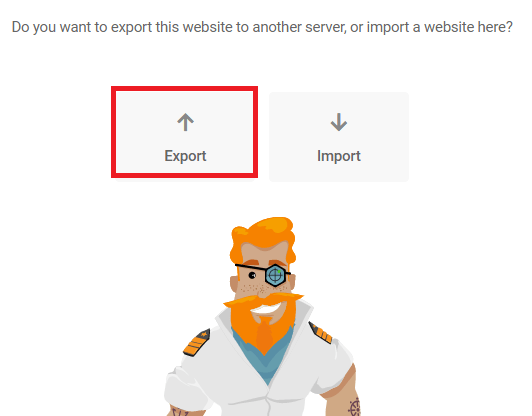
Once you proceed further, all the sites connected to your hub will be shown. From there you will select the migrating destination.
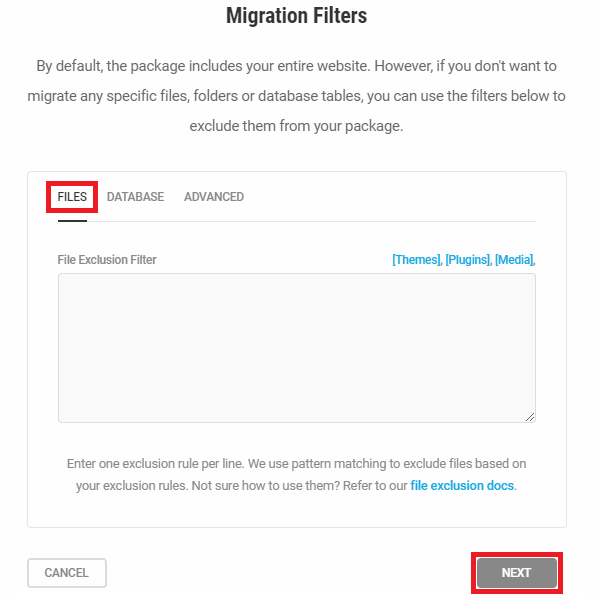
You can also include or exclude the files according to your choice. You might want to exclude unneeded files such as post revisions, inactive plugins or themes and spam comments.
Once you know what you want to keep, you can now go for Pre-flight check to detect the remaining issues, if there are any.
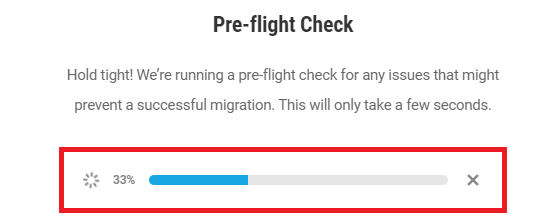
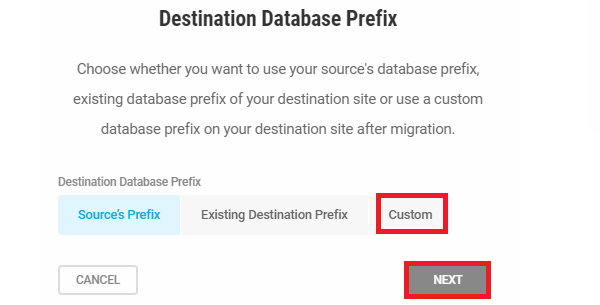
Wait, until you pass the check successfully. And now you can choose a prefix for your database name.
While, Shipper allows to switch tables with Custom prefix, Source's prefix and Existing destination prefix.
Once, you have gone through the setup. Now you can get ready to migrate.

The shipper will give an estimated time frame that your site will take to go live depending upon the size of your files.

And it will allow you to track the progress.
Please let us know the issues you faced. And if you are someone who has already deployed their Website to a live server. Let us know your journey and your way of performing the task.


