
Have you ever wanted to add a special transparent blurred background effect to your website? Well, that's possible with Divi. In fact, using that fresh design makes your background and the foreground text stand out nicely.

In this tutorial, we'll show how to create a transparent background effect using Divi. This will be made using the backdrop-filter property on CSS that will help us create such effects in just one line of code.
Let's get started.
End Result Preview
So that you know where we're going, here is a quick look at what we'll design throughout this tutorial.
Create Amazing Websites
With the best free page builder Elementor
Start Now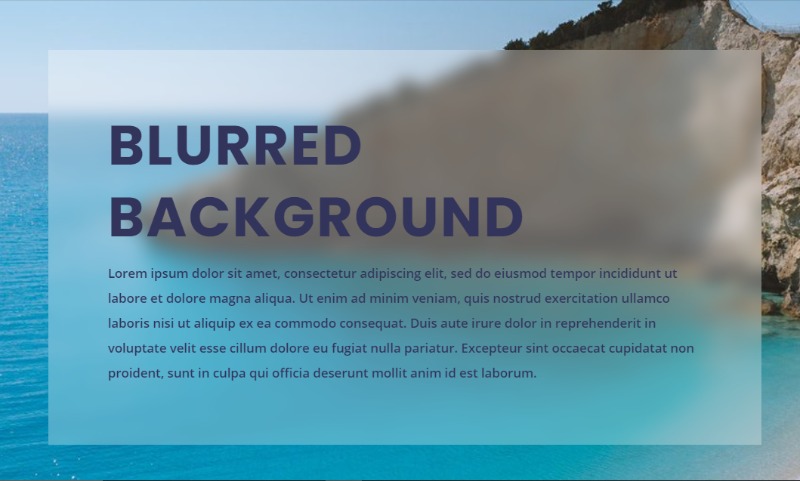
Creating A Blurred Background On Divi
So, we'll show you an easier method to create a blurred background using the backdrop-filter CSS property. This is easy because we just need to have a single line of code to have the desired result on Divi. However, only a few browsers don't support that effect (especially IE).
The purpose behind this effect is not only to blur the background but also to blur the content behind the element. This property (backdrop-filter) can do this by applying a filter to the element behind the target element.
Here’s how to do it.
Let's Add A Background Image On Divi Builder
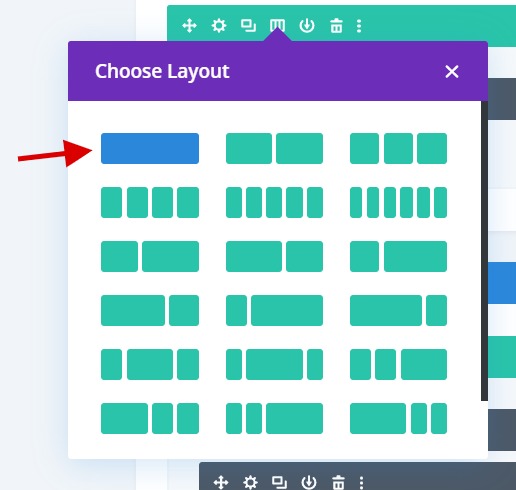
First, add a one-column row to the section.
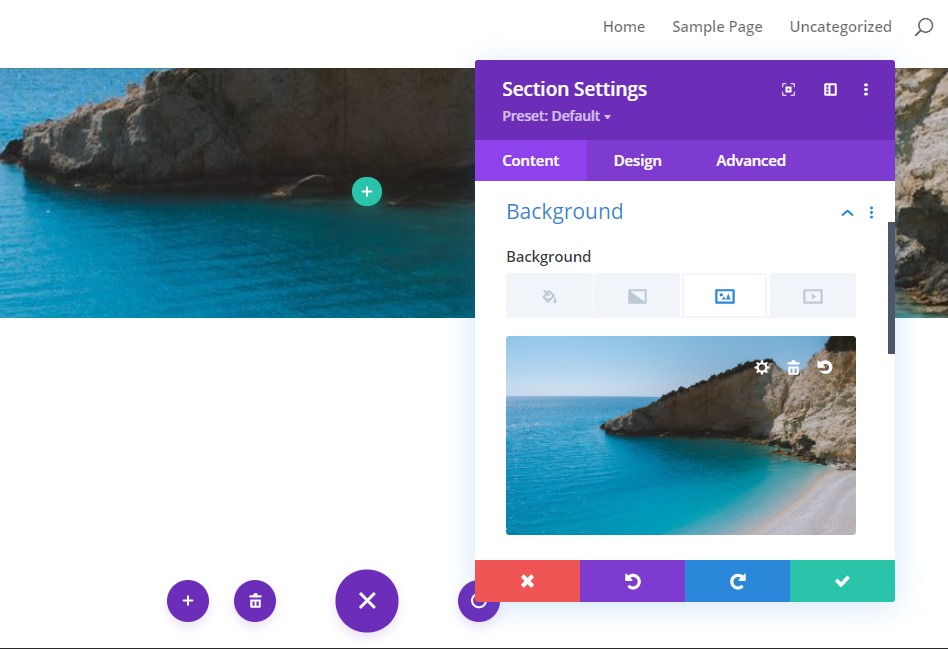
Open the section settings and give it a background image.
Adding the Row Background Color and Backdrop-filter
Next, let's open the row settings and add a semi-transparent white background color as follows:
background-color: rgba(255,255,255,0.3)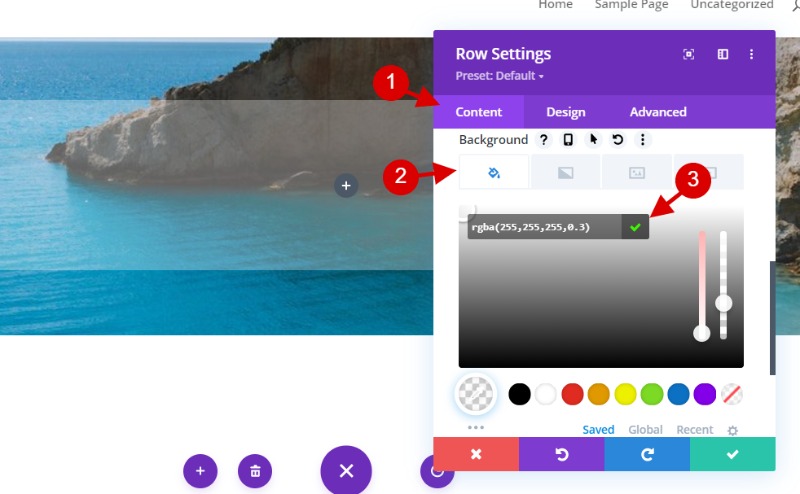
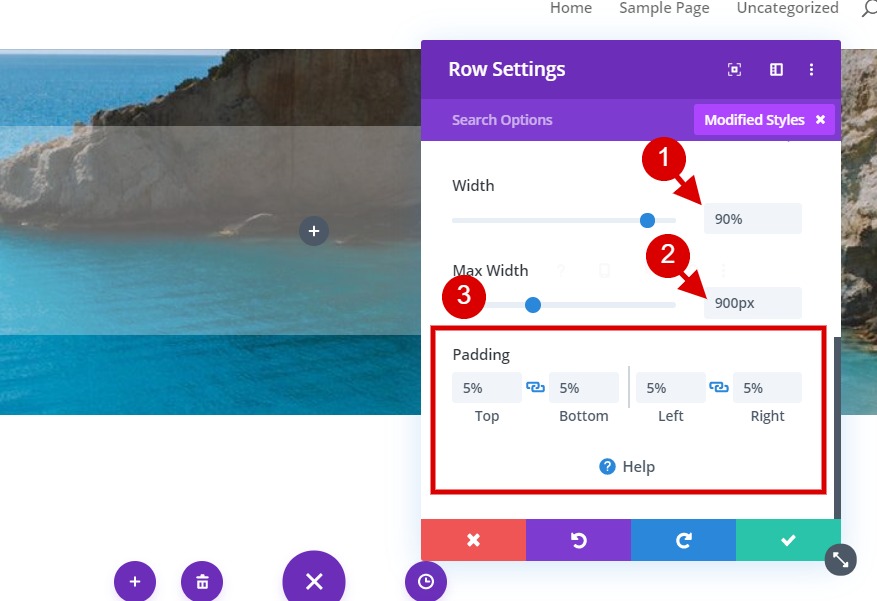
Under the design tab, update the size and spacing of the row as follows:
- Width: 90%
- Max Width: 900px
- Padding: 5% top, 5% bottom, 5% left, 5% right
Under the advanced tab, add the following CSS to the main element:
-webkit-backdrop-filter: blur(10px);backdrop-filter: blur(10px);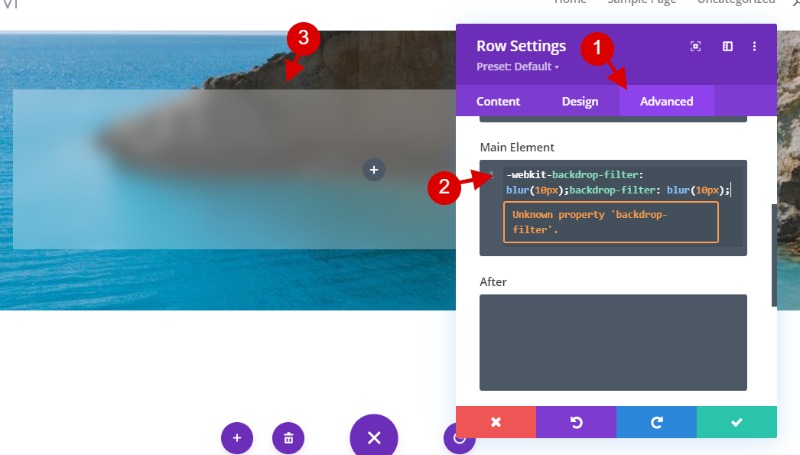
This will add a 10px blur filter to the backdrop of the element. Notice how the section background image is blurred by the effect even though the CSS is applied to the row. You can increase or decrease the amount of blur by changing the pixel value in the CSS.
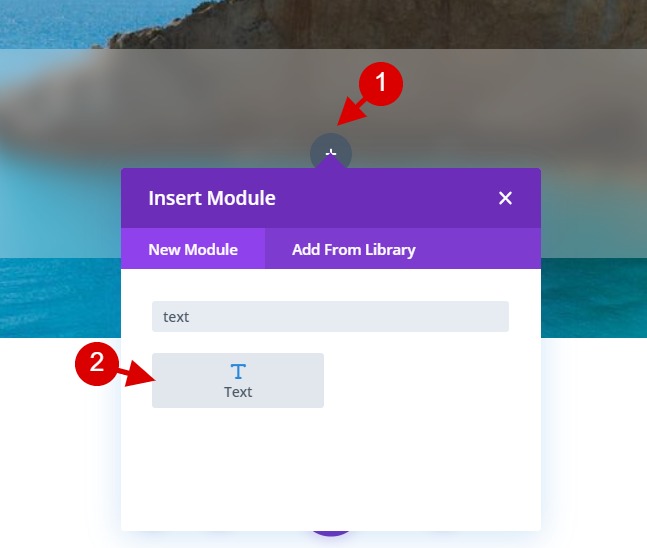
Adding Content with a Text Module
To provide some content for our frosted background, add a text module to the column of the row.
Then paste the following HTML to the body under the text tab:
<h2>Blurred Background</h2><p>Lorem ipsum dolor sit amet, consectetur adipiscing elit, sed do eiusmod tempor incididunt ut labore et dolore magna aliqua. Ut enim ad minim veniam, quis nostrud exercitation ullamco laboris nisi ut aliquip ex ea commodo consequat. Duis aute irure dolor in reprehenderit in voluptate velit esse cillum dolore eu fugiat nulla pariatur. Excepteur sint occaecat cupidatat non proident, sunt in culpa qui officia deserunt mollit anim id est laborum.</p>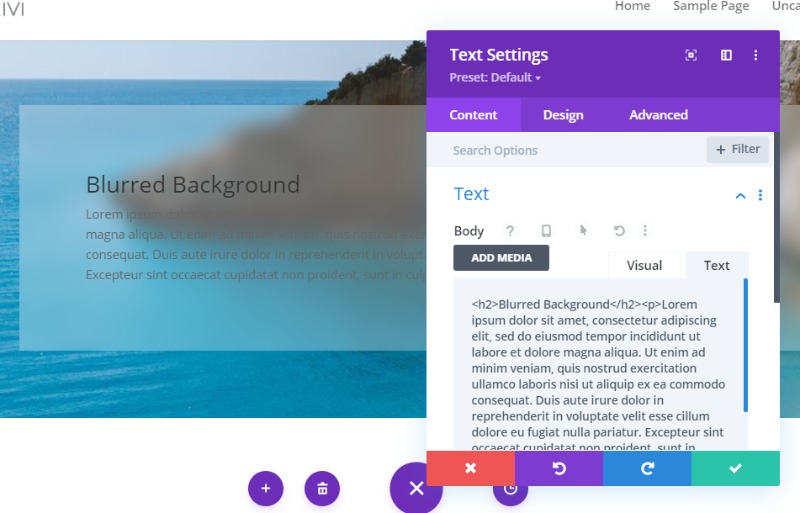
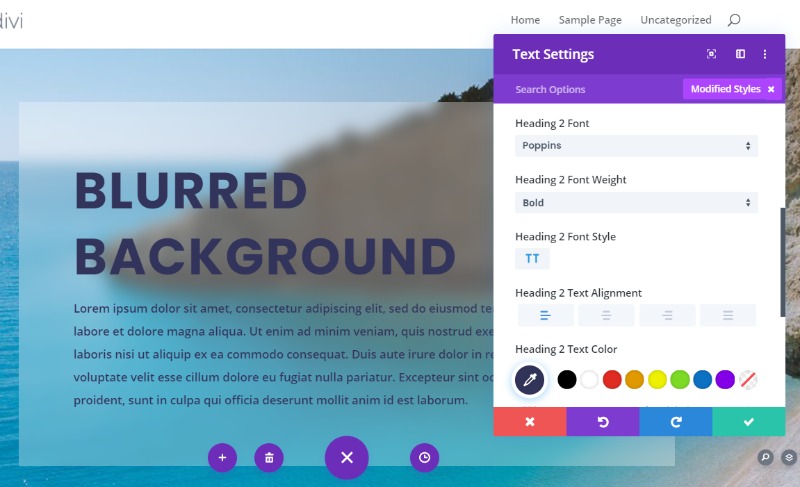
To polish off the design, let’s update the text styles as follows:
- Text Font Weight: Semi Bold
- Text Text Color: #33345b
- Text Text Size: 16px
- Text Line Height: 2em
- Heading 2 Font: Poppins
- Heading 2 Font Weight: Bold
- Heading 2 Font Style: TT
- Heading 2 Text Alignment: Left
- Heading 2 Text Color: #33345b
- Heading 2 Text Size: 70px (desktop), 40px (tablet), 25px (phone)
- Heading 2 Letter Spacing: 2px
- Heading 2 Line Height: 1.3em
Final Result
Here’s the final result. We can say it was pretty easy right ?
In this tutorial, we showed you how to create a frosted glass background effect or a blurred background glass effect on Divi. To give new look, you might consider changing the background image. You can find images on pexels. Let's now see what you'll create with your own imagination.
Don't hesitate to share this with your friend on to follow us to keep updated with out recent tutorials and resources.


