
With Elementor, building a website is currently one of the easiest and fastest processes. In case you were unaware, Elementor is a WordPress-focused plugin that gives you complete flexibility and an easier approach to creating stunning web pages. With the Happy Addons, Elementor's usefulness can be increased even further if you already use it.
To give your visitors a pleasing appearance and a great experience, tabbed content has become a crucial component and a popular design idea. Here, I'll demonstrate the quickest method for using Happyaddons to create tabbed content in Elementor.
Necessity To Use Tabbed Content
Actually, developing tabbed content involves more than just adding some text to a few boxes. Your website's performance depends on how easy it is to use.
You can add as many tabs as you need and personalize the content using tabbed content. In addition, you can include -
Create Amazing Websites
With the best free page builder Elementor
Start Now- Contact Form
- Effects
- Video
- Images
- Gifs
- Form & many more..
Steps to Build Tabbed Content
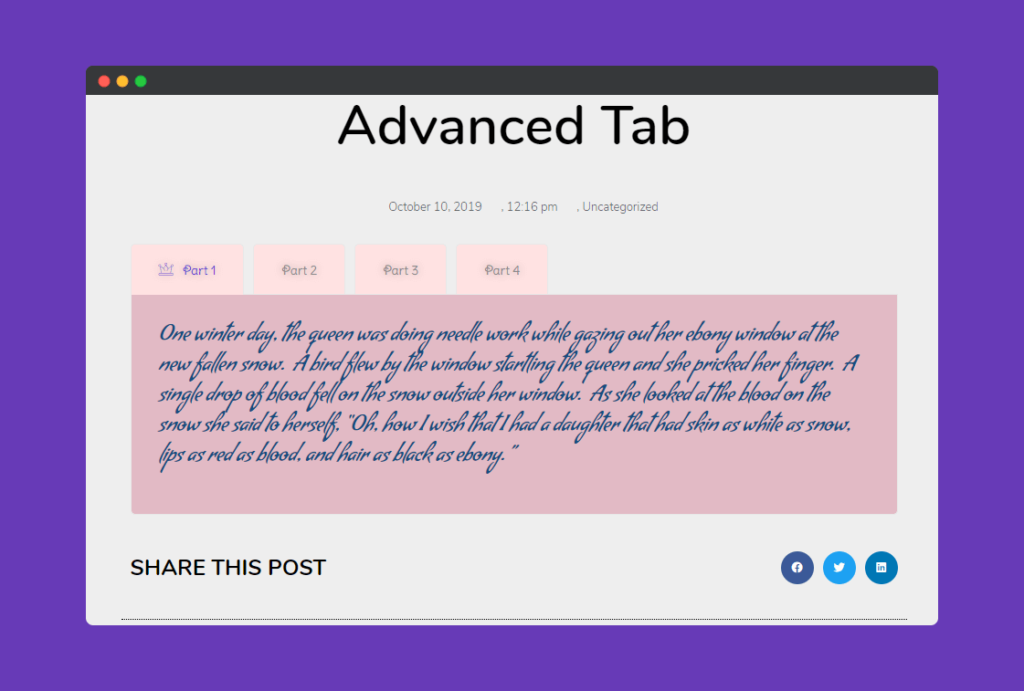
You may put a tabbed section anywhere on your Elementor site using the Advanced Tab widget. It enables you to effectively communicate a lot of information in a tight space.
However, we'll demonstrate how to make tabbed content quickly. You must subscribe to HappyAddons' Starter package at the very least in order to generate useful tabbed content. Let's look at the prerequisites before moving on to the tutorial.
Anyone may build a website using the Elementor page builder plugin. You can create designs using drag-and-drop functions, limitless add-ons, sliders, headers, the Elementor library, etc.
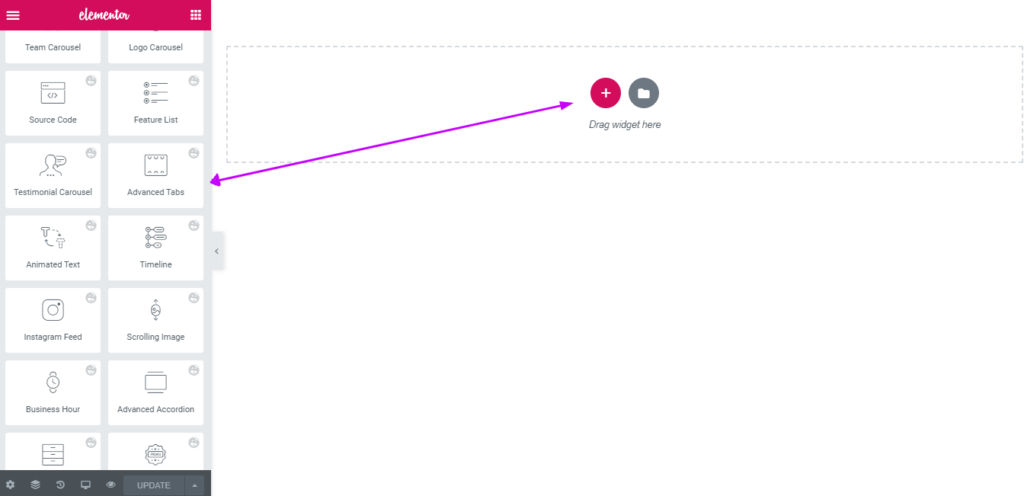
I'm assuming that your website features the HappyAddons Pro edition. Start editing the page using Elementor by going to your Elementor website. The widgets on the left side will all be visible if HappyAddons Pro is activated.
Drag and drop the Advanced Tab widget into the desired location after choosing it from the menu bar on the left-hand side of your screen.
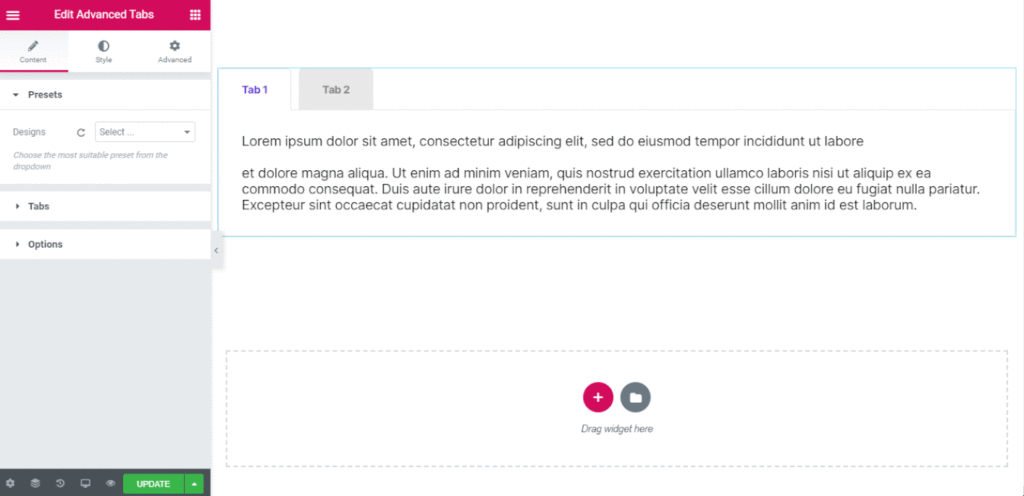
Under the Content tab, a popup containing the default setting options will appear. It will present you with two options for customizing your tab's attributes, as well as a default tab section on the right-side canvas and a position on the left-hand side.
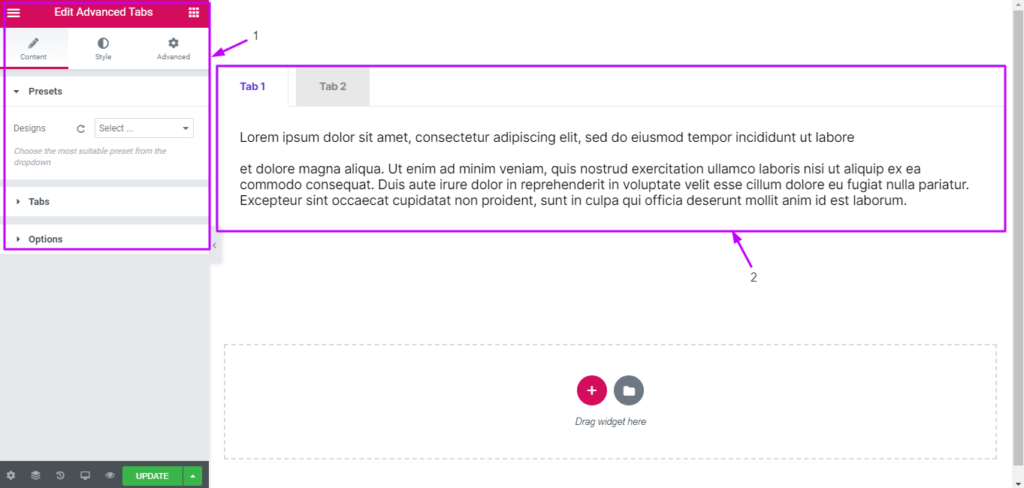
Each custom tab can be clicked to change the widget's characteristics. Now click the Tabs button to add or remove tabs.
By selecting a particular tab, you can also change the tab's title, box content, icon, media files, etc.

You can modify the placement and alignment of the Tab Title, Tab Icon, and tab content.
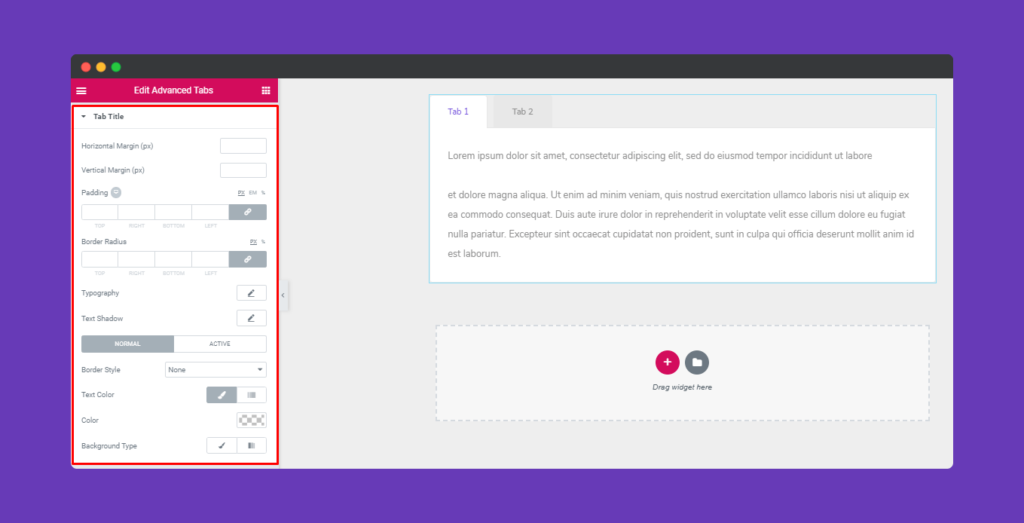
You may now change the text color and shadow, font, margin, padding, border, spacing, size, and a lot more for the tab title, tab icon, and tab content by selecting the Style tab.
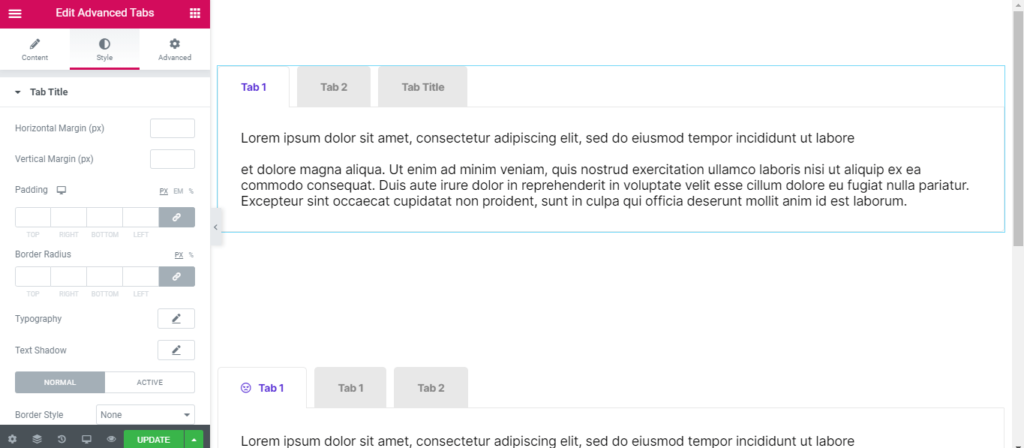
To adjust the padding, border style, horizontal and vertical margins, test decoration, and background type, click on the Tab Title.
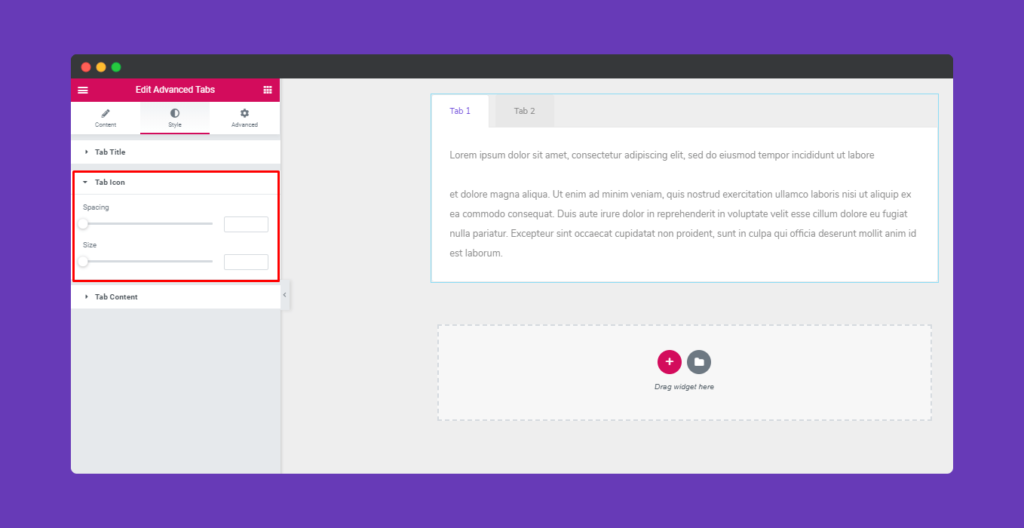
To change the icon's dimensions, click on the tab icon.
To customize the border style, typography, color, and background type to your liking, click the Tab Content button.
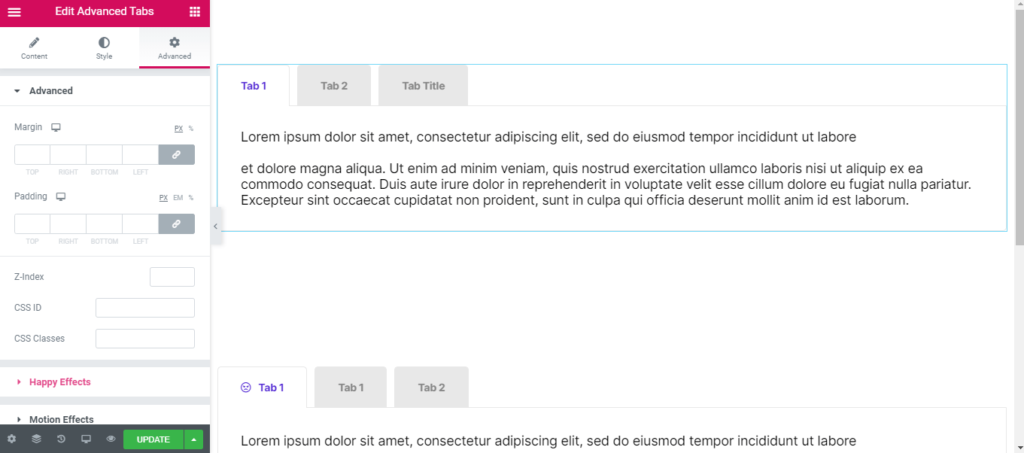
Click on "Advanced" to view the choices if you wish to add motion effects, Happy Effects, a background, or make the page responsive. Elementor comes with this "Advanced" tab as standard functionality. Read this document to learn more about advanced features and their applications.
To view your work live after finishing all the changes, click "Publish."
Wrapping Up
Congratulation if you successfully built tabbed content with Elementor! If not, begin verifying the instructions once more. Please feel free to leave a comment below if you run into any difficulties when using the aforementioned steps.


