
Grid layouts are ideal for containing large amounts of information. It's a great illustration of how testimonials may help. Fortunately, presenting the testimonials in a grid in Divi is as simple as placing them in a separate module for each testimonial. In this tutorial, we'll learn how to use Divi's testimonial module to construct a testimonial grid layout. To help you make an informed decision, we'll show you two potential layouts.

What are we waiting for?
Design Preview
What we're going to make in this guide is shown below. I'm utilizing the free Print Shop Layout Pack to create a testimonial area on my website.
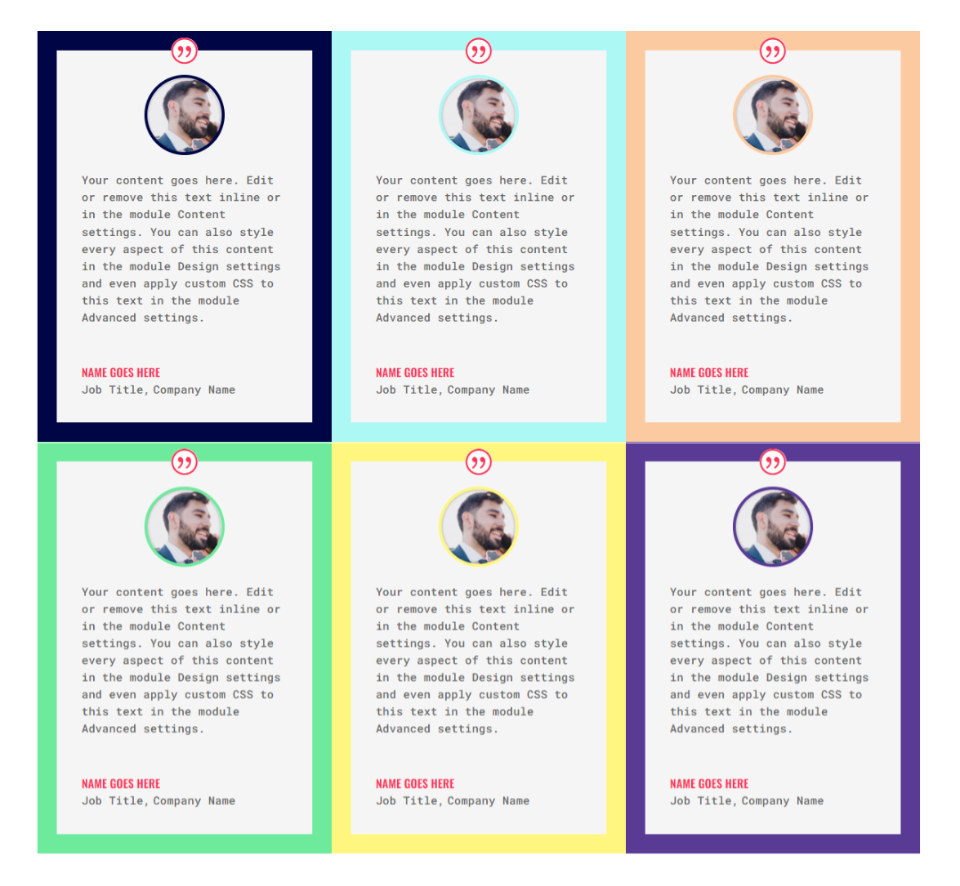
First Grid Layout
For now, we'll show you both layouts in detail, although the second one will make use of modules from the first.
Create Amazing Websites
With the best free page builder Elementor
Start NowCreate Row
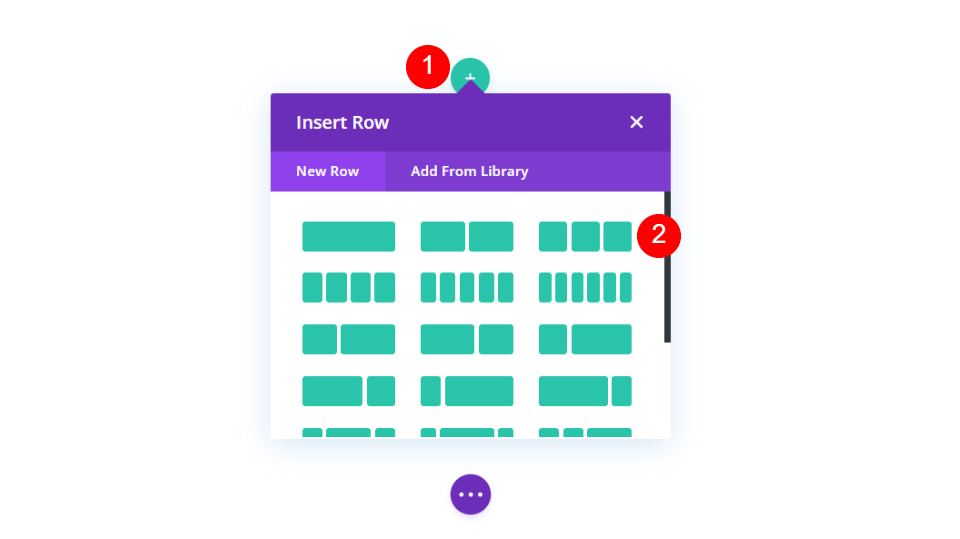
First, create a 3 column row.
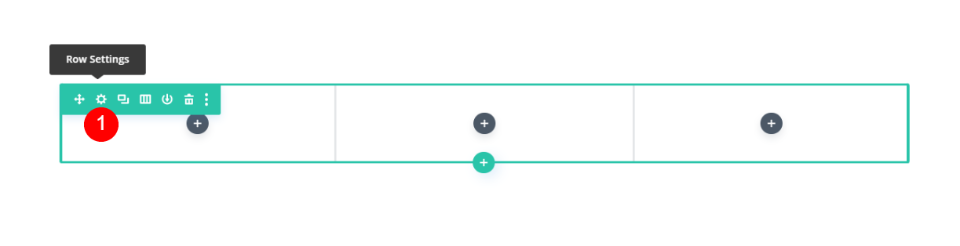
Next, click on the gear ion to open to row settings.
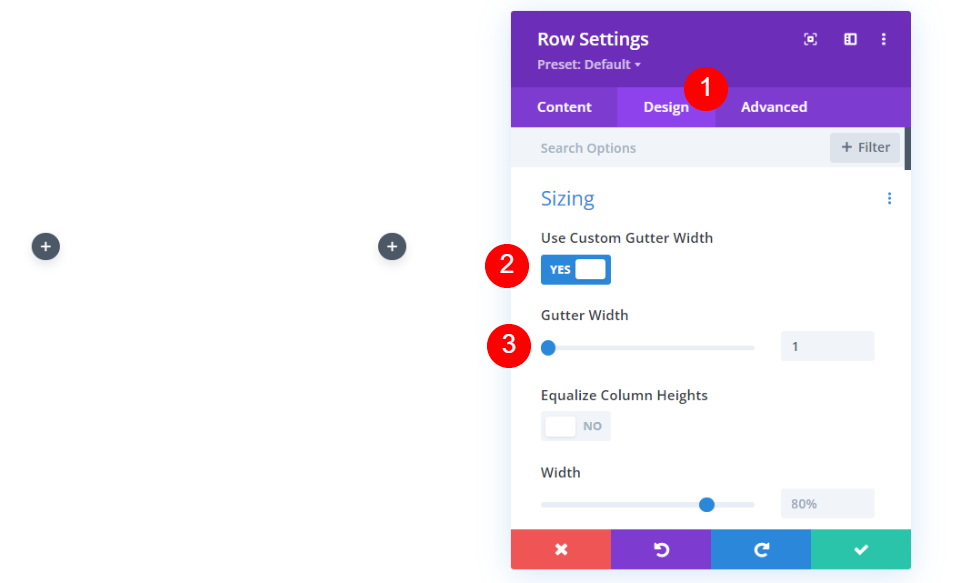
Enable the design option in the menu. Using the Custom Gutter Width option, set the Gutter Width to 1.
- Use Custom Width: Yes
- Gutter Width: 1
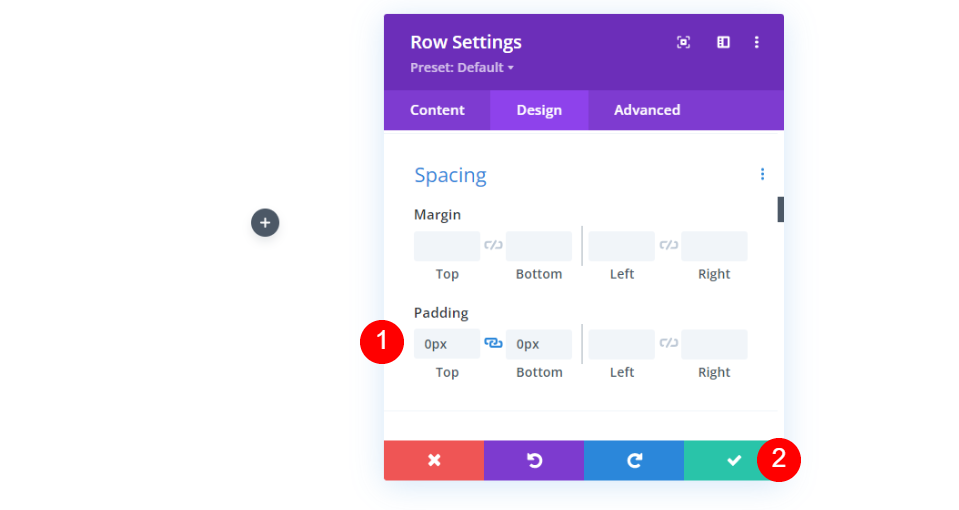
In the Spacing section, set the Top and Bottom Padding to 0 pixels each. Finish the row. After we finish this row, we'll clone it and create a second one.
- Padding: 0px Top and Bottom
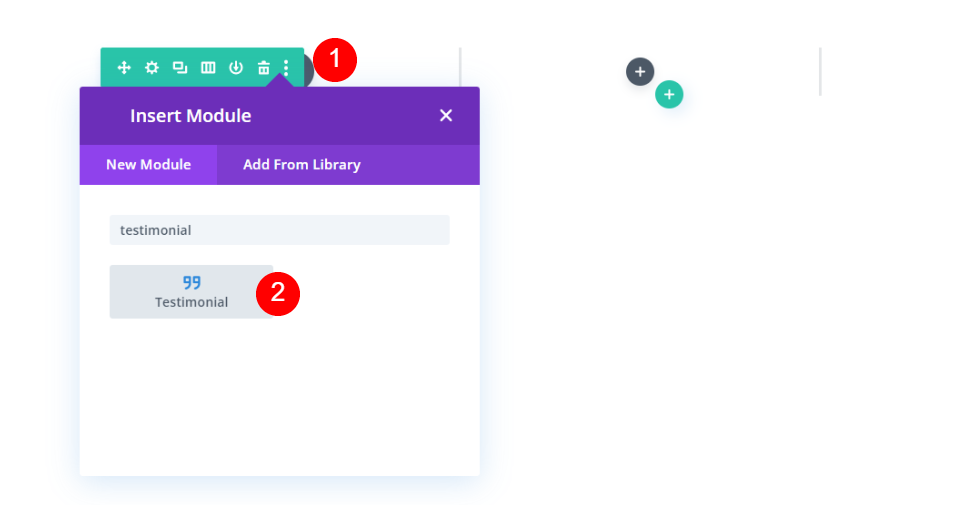
Add Testimonial Module
Next, we need to add a testimonial module.
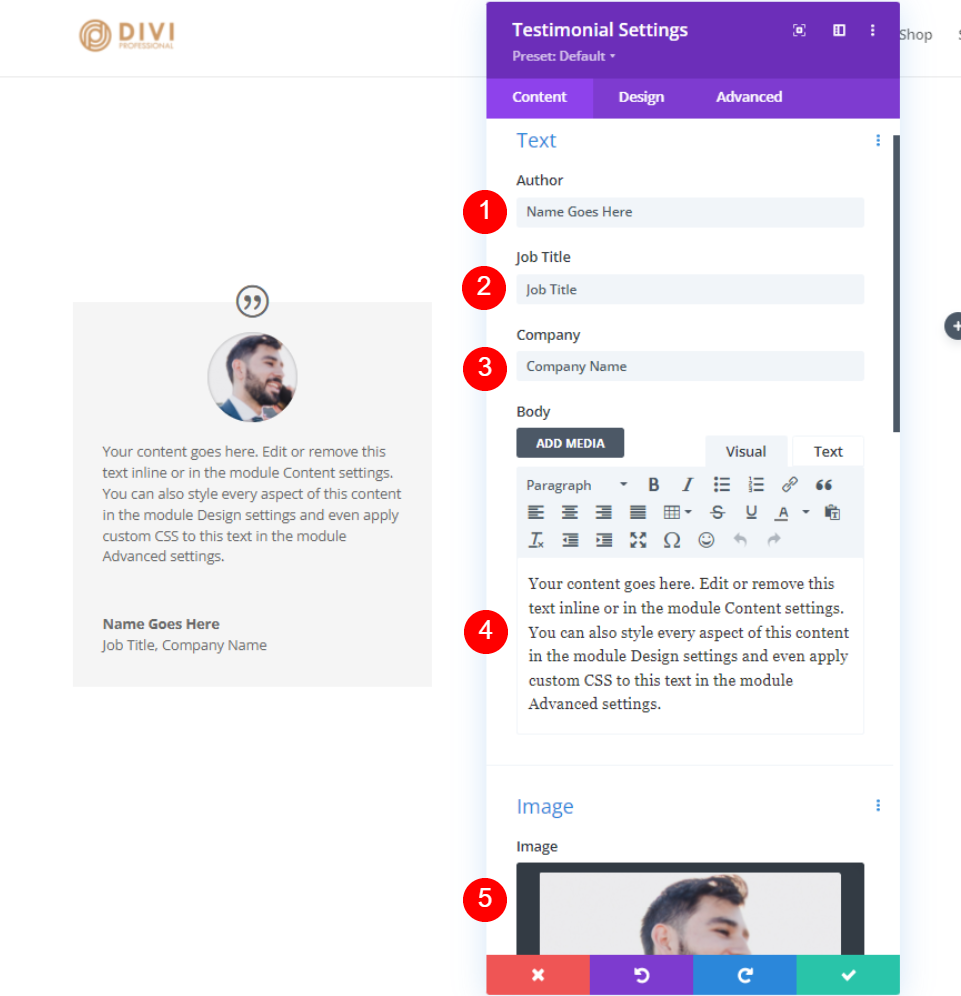
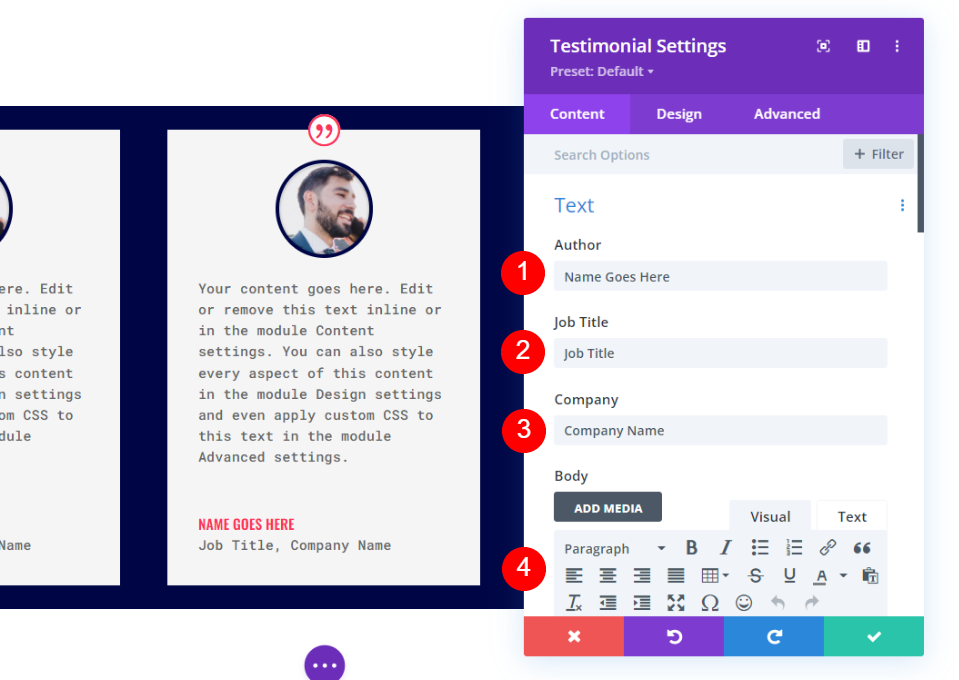
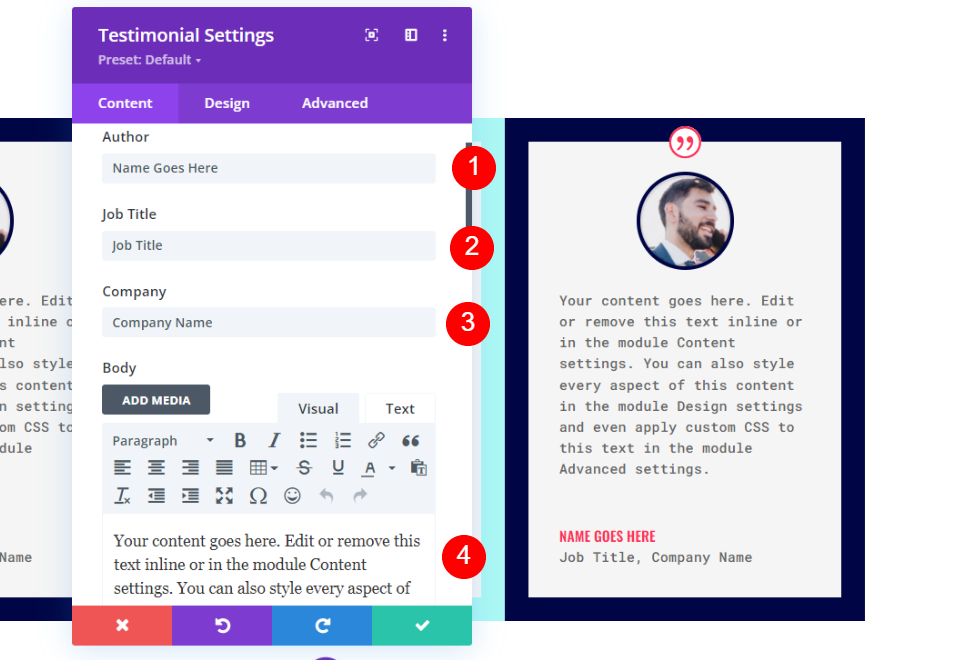
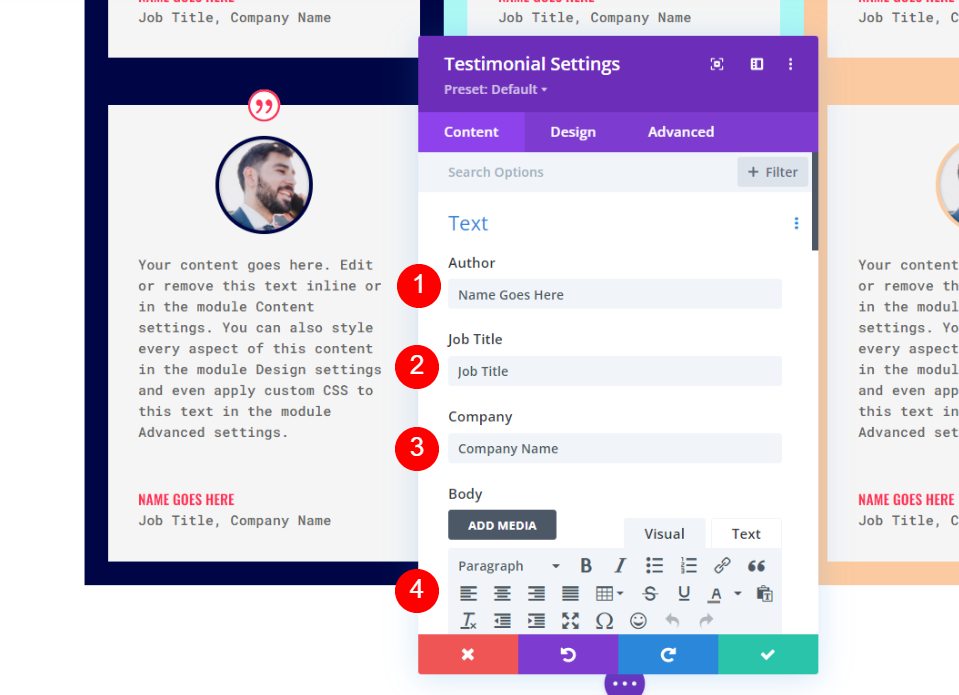
Testimonial Content
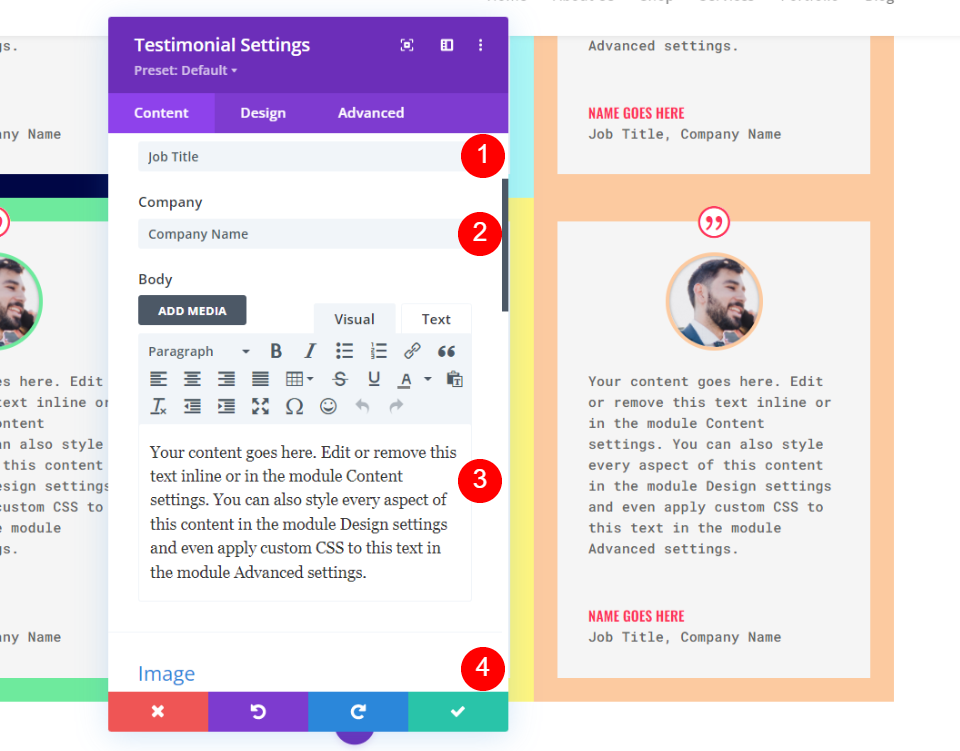
The testimonial content should be added next. This comprises the name, title, and company of the author, as well as the content of the body and a photograph of the author. For my samples, I'm utilizing the field names and the default body content.
- Author: author’s name
- Job Title: person’s title
- Company: company name
- Body Content: the testimonial
- Image: the featured image
Testimonial Module Design
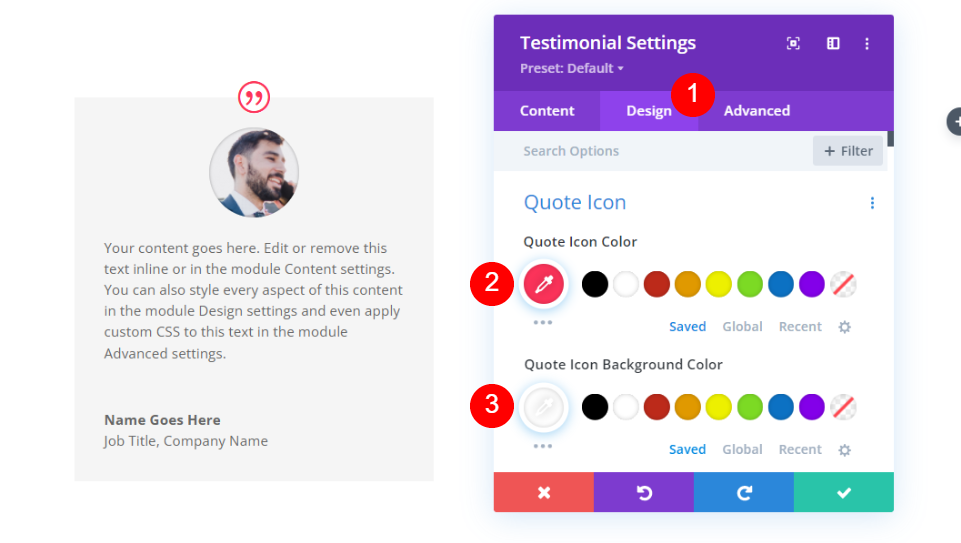
Quote Icon
Change the color of the Quote Icon to #fd335a and the background color to white to get the desired effect. Using the color of the icon for the person's name is also possible. All modules will have the same structure.
- Color: #fd335a
- Background Color: #ffffff
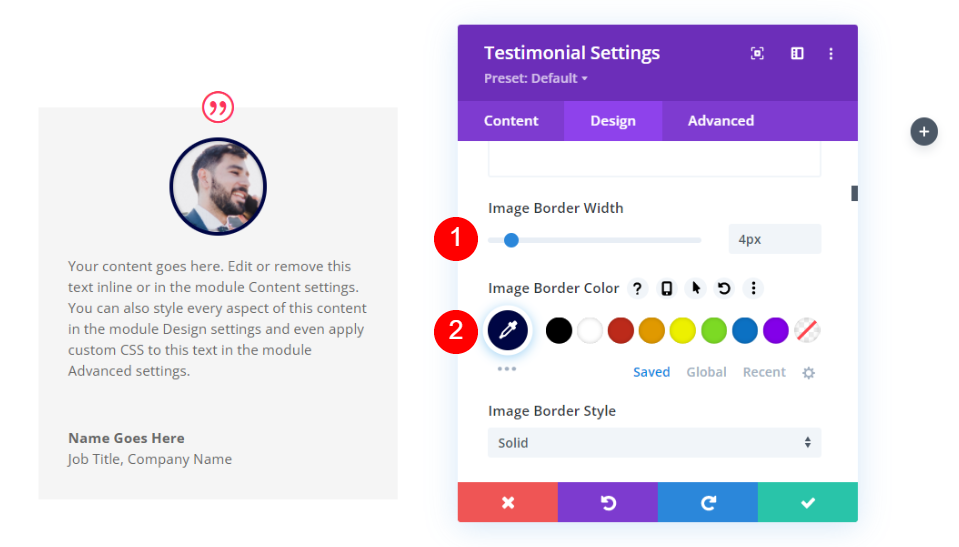
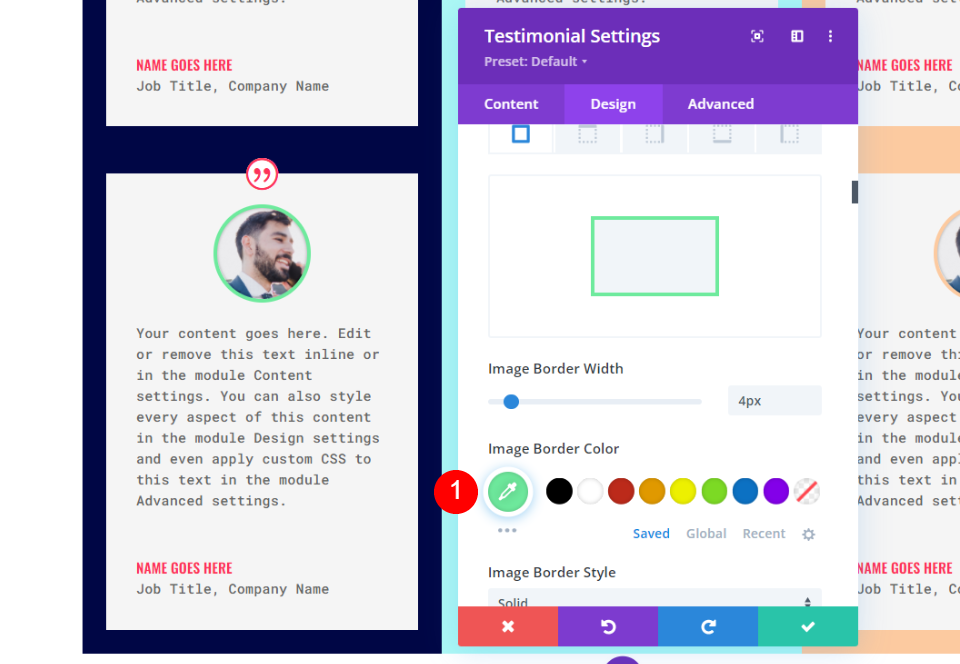
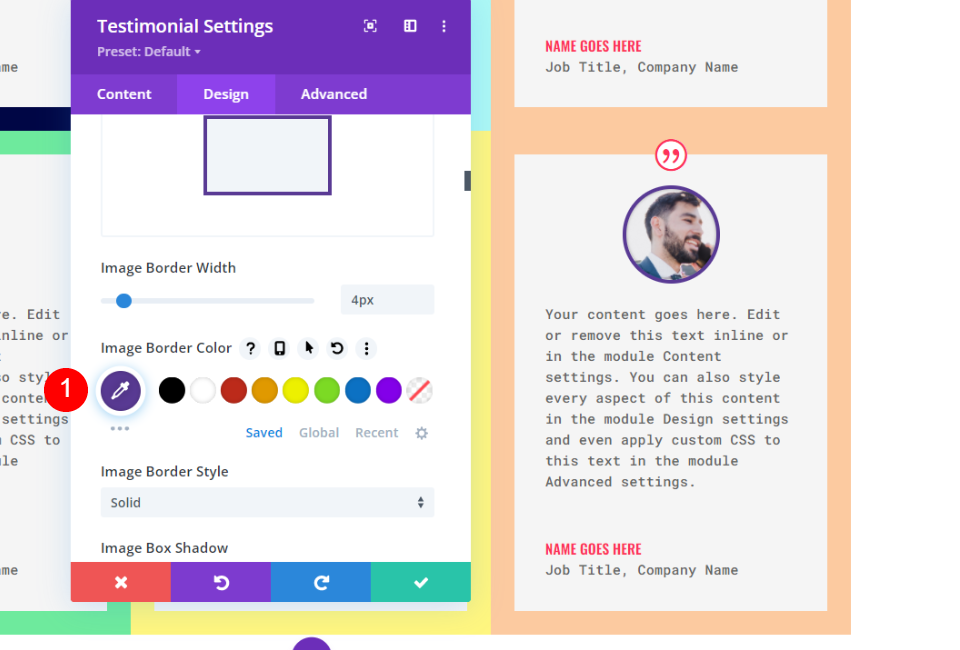
Image
Image is the next item on the list. The Image Border Width should be set to 4px, and the Border Color should be changed to #000645. For each module, the border will match the module's boundary. Each of them will be updated independently by our team.
- Image Border Width: 4px
- Image Border Color: #000645
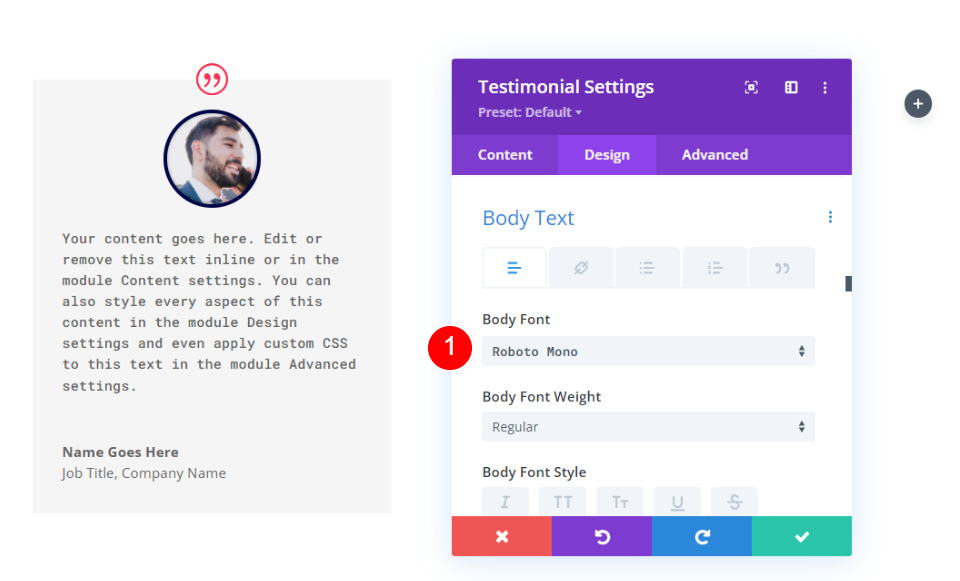
Body Text
Select Roboto Mono from the Body Text drop-down menu that appears once you do this. The remainder of the settings should be left at their defaults, as well.
- Body Font: Roboto Mono
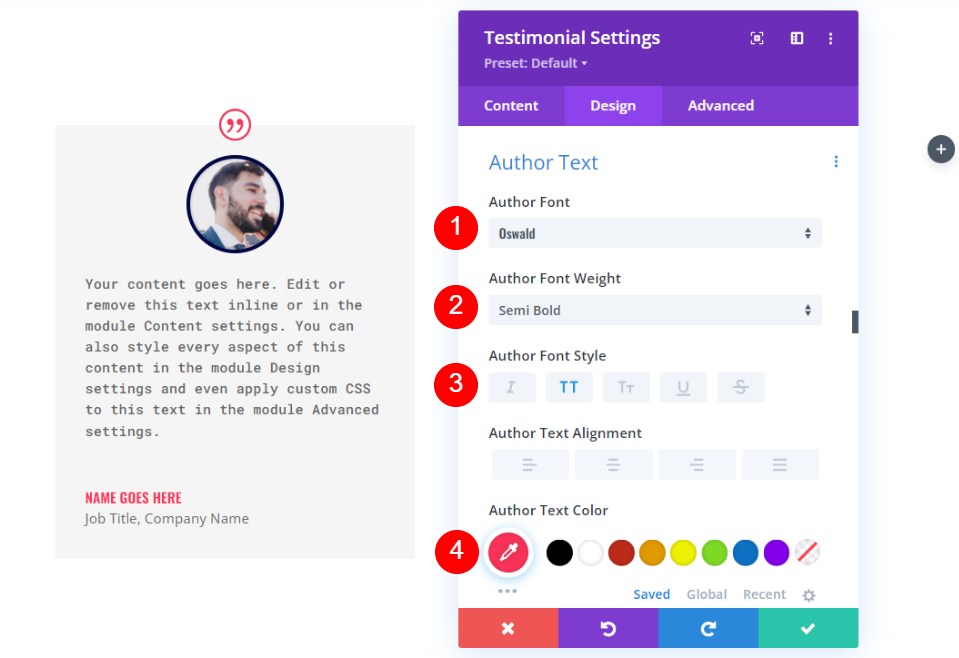
Author Text
The Author's Text can be found after that. Change the font to Oswald, the weight to Semi Bold, the style to TT, and the color to #fd335a for the final touches.
- Font: Oswald
- Style: semi bold
- Style: TT
- Text Color: #fd335a
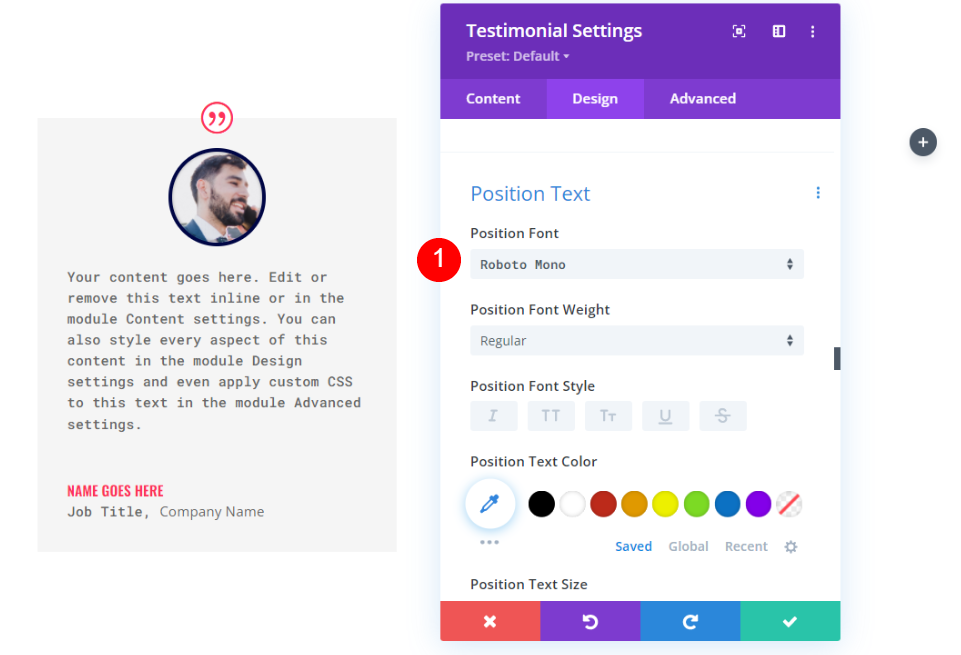
Position Text
You'll then want to alter the font of your job title to Roboto Mono. The remainder of the settings should be left at their defaults, as well.
- Position Font: Roboto Mono
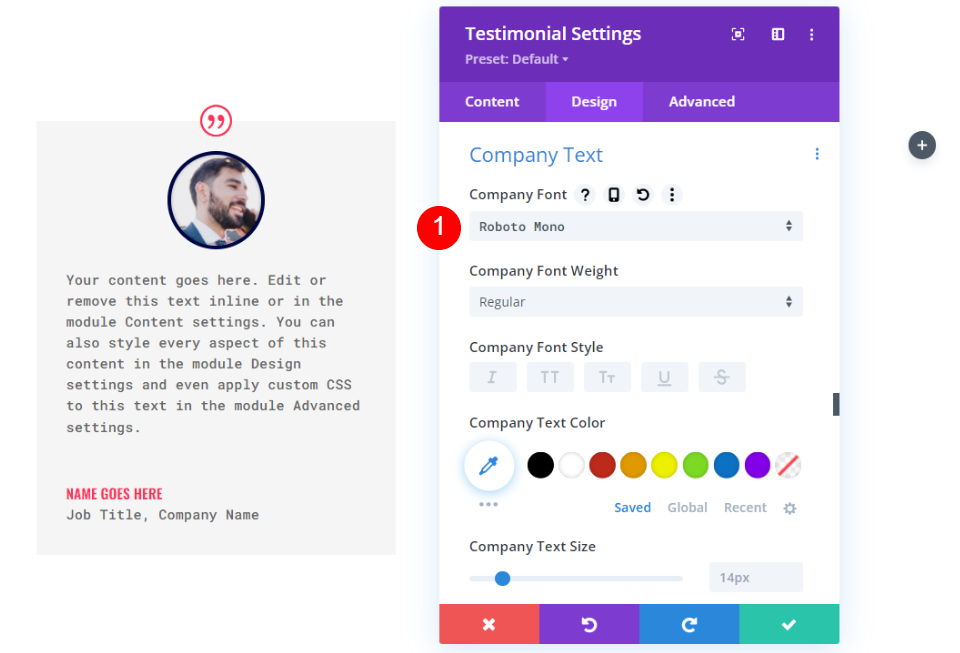
Company Text
Then, under "Company Text," select Roboto Mono as your default font. Retain the default settings.
- Company Font: Roboto Mono
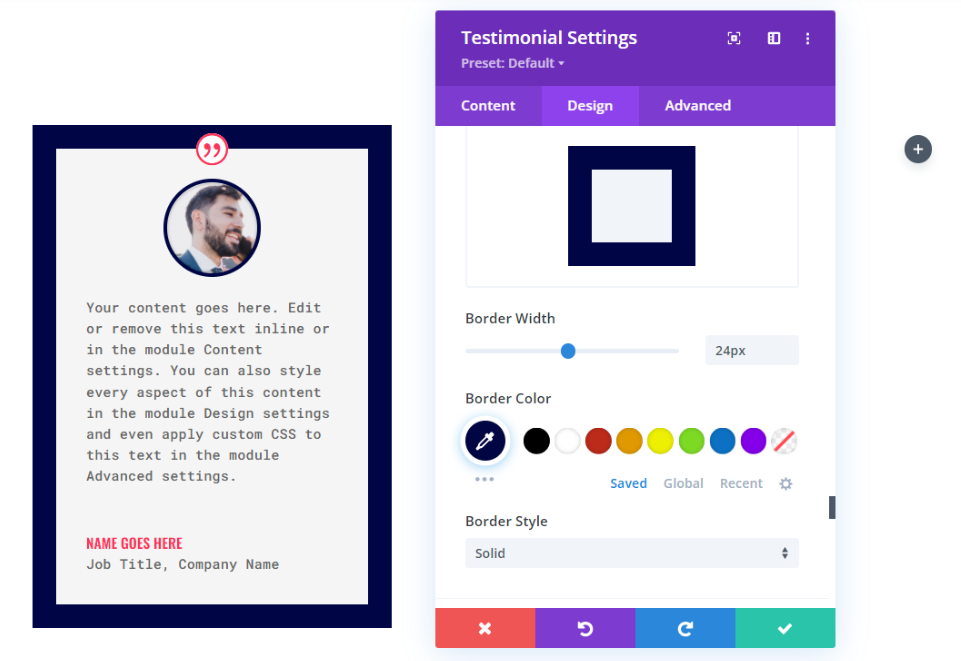
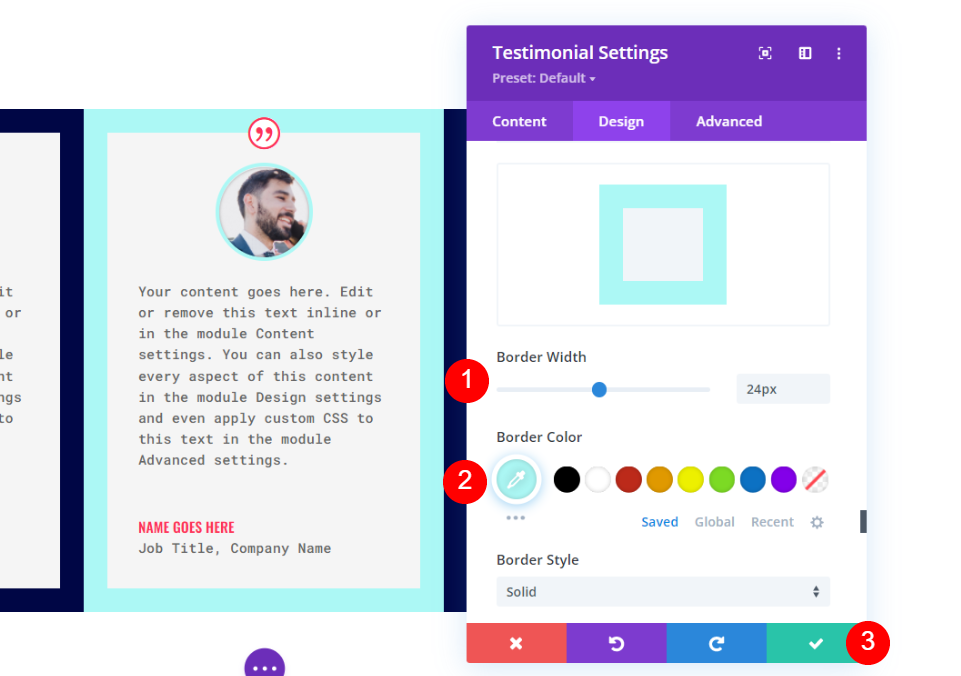
Border
In the final section, click on Border. In order to match the image border, change the width to 24px and the border color to #000645. Close the module's configuration settings. It's also possible to alter the border color for each module separately.
- Width: 24px
- Color: #000645
Duplicate The Module
Next, You need to copy the module twice and move it to the other columns in that row.

Style the 2nd Testimonial Module
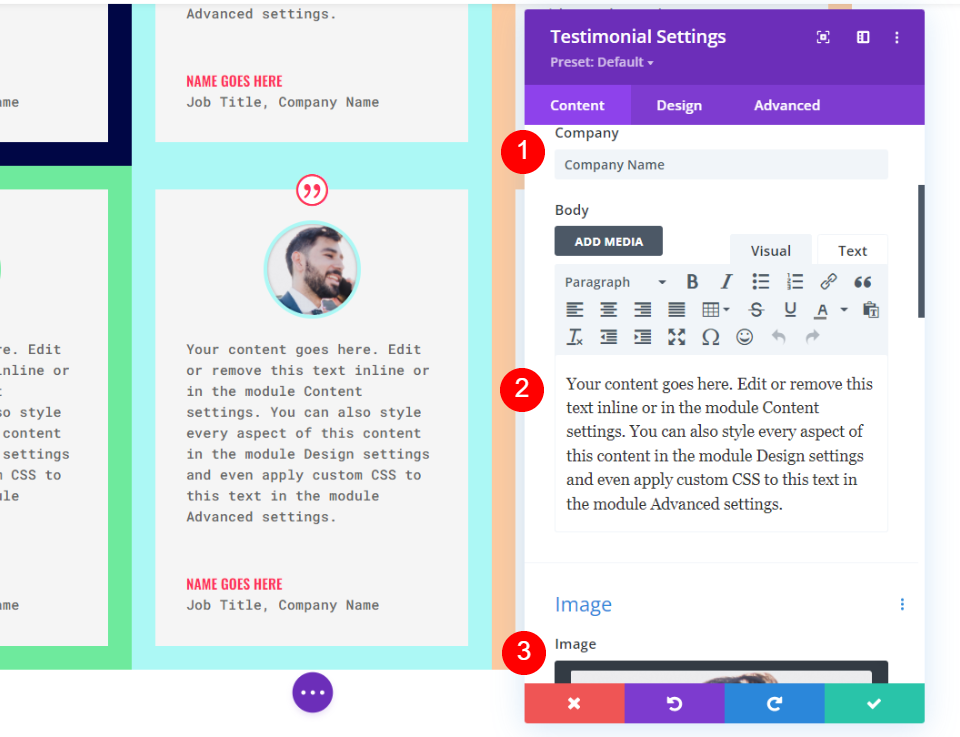
Change the content in the second testimonial module's settings.
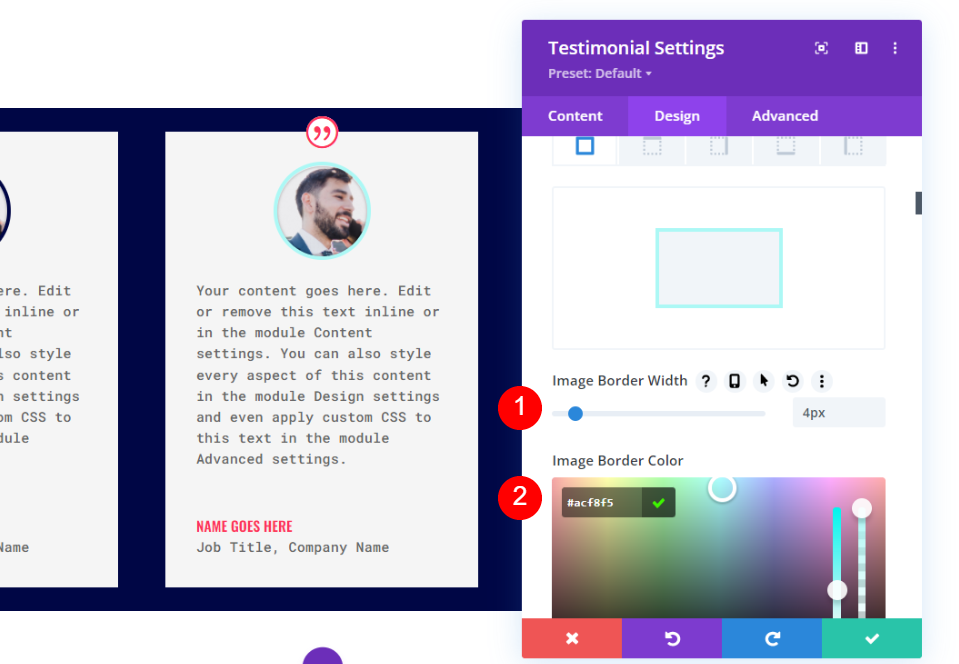
Image
Next, go to the design tab and click on Image at the bottom of the page. It is possible to change the color of the border.
- Image Border Color: #acf8f5
Border
In the final section, click on Border. To match the image's border, change the Border color to #acf8f5. Close the module's configuration settings. Close the module's configuration settings.
- Color: #acf8f5
Style the 3rd Testimonial Module
Make any necessary edits to the third testimonial module's settings.
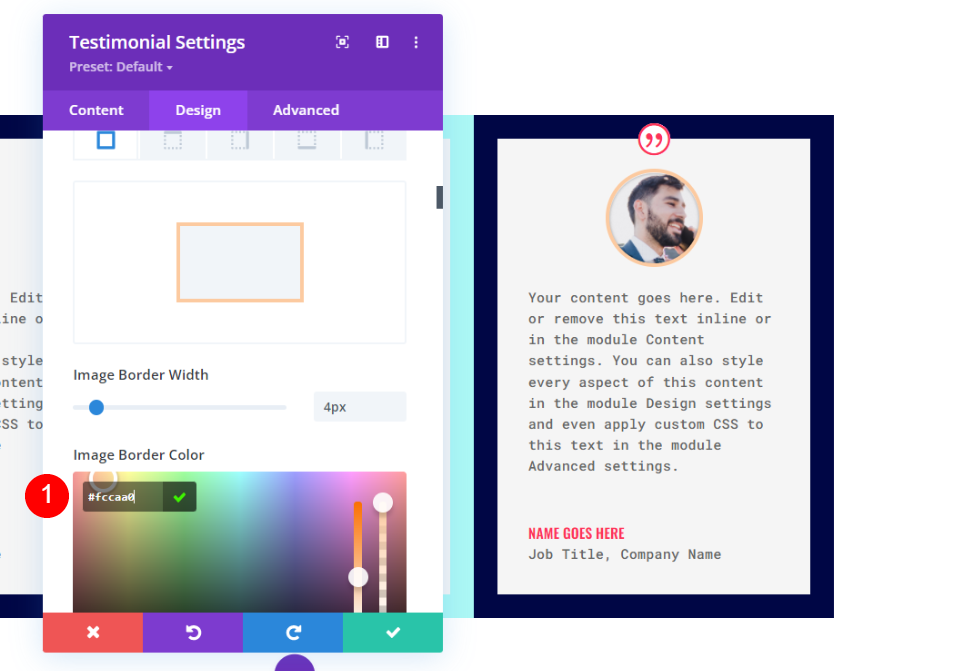
Image
In the design tab, scroll down to Image, and set the Border Color to #fccaa0.
- Image Border Color: #fccaa0
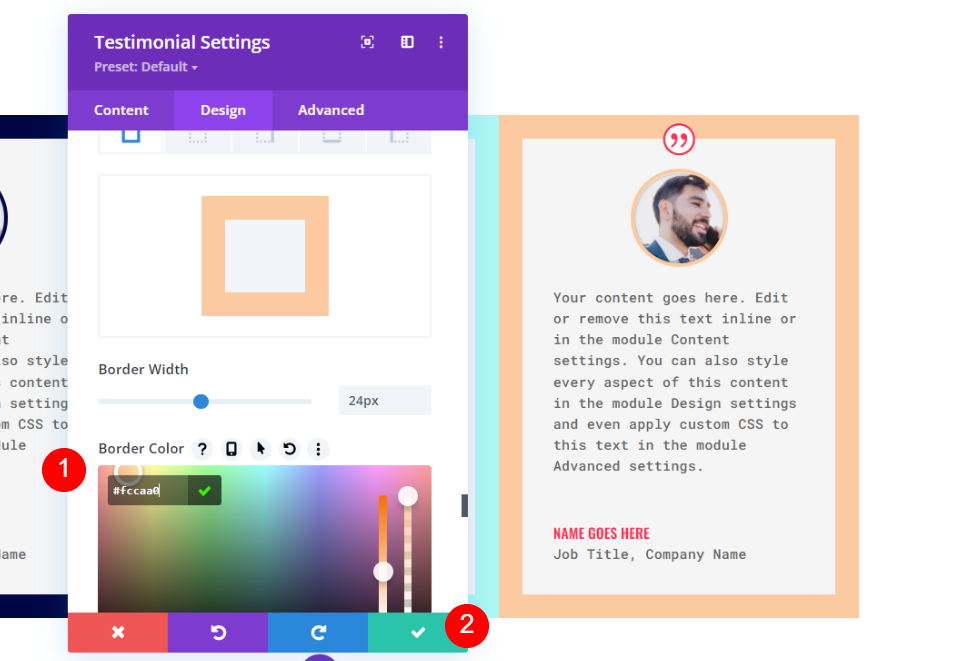
Border
Finally, change the Border Color to #fccaa0 in order to match the Image Border. Close the module's configuration settings.
- Color: #fccaa0
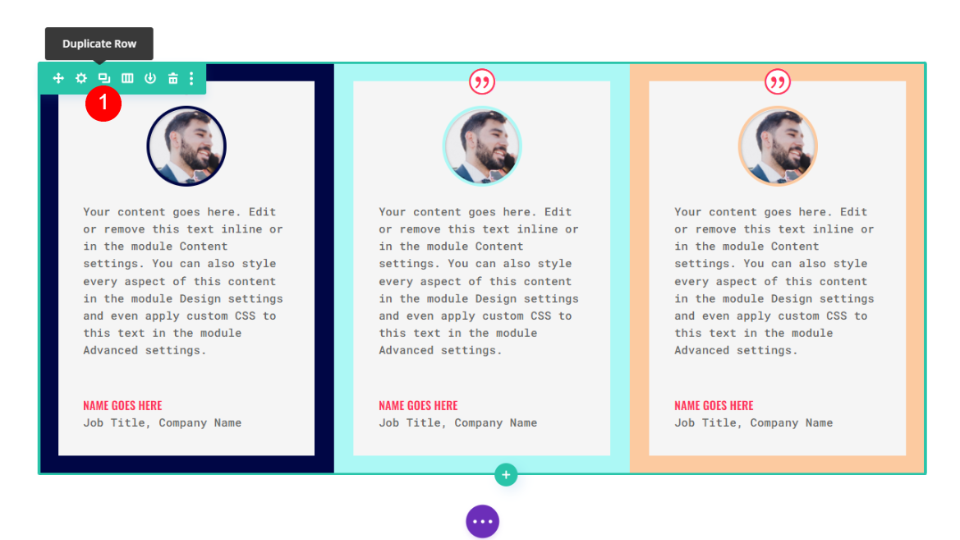
Duplicate The Row
Then, when you hover your mouse over the row, choose the duplicate option to make a copy of it. Adding a 0px Top and Bottom Padding means that this new row immediately overlaps its predecessor. Changing the content and colors of each module will be done in the second section.
Style the 4th Testimonial Module
Change the content in the fourth testimonial module's settings.
Image
Open the image settings and change the border color.
- Image Border Color: #6eea9d
Border
At long last, alter the border color to #6eea9d to match the image border. Close the module's configuration settings.
- Color: #6eea9d

Style the 5th Testimonial Module
Change the content in the fifth testimonial module's settings.
Image
To change the imager border color, open image settings.
- Image Border Color: #fff67f
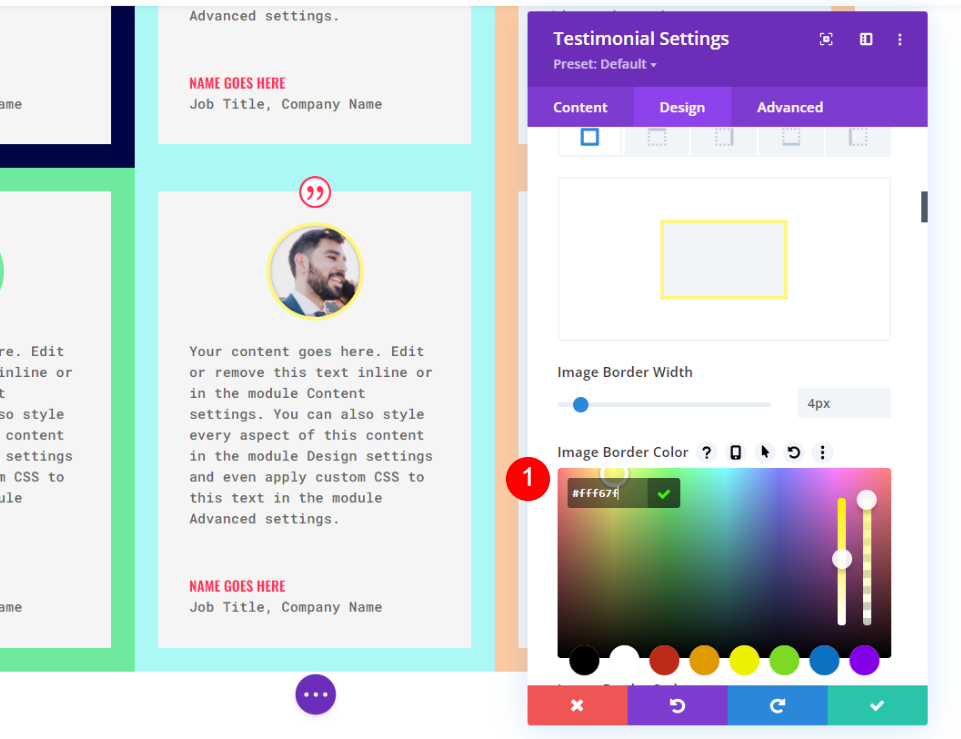
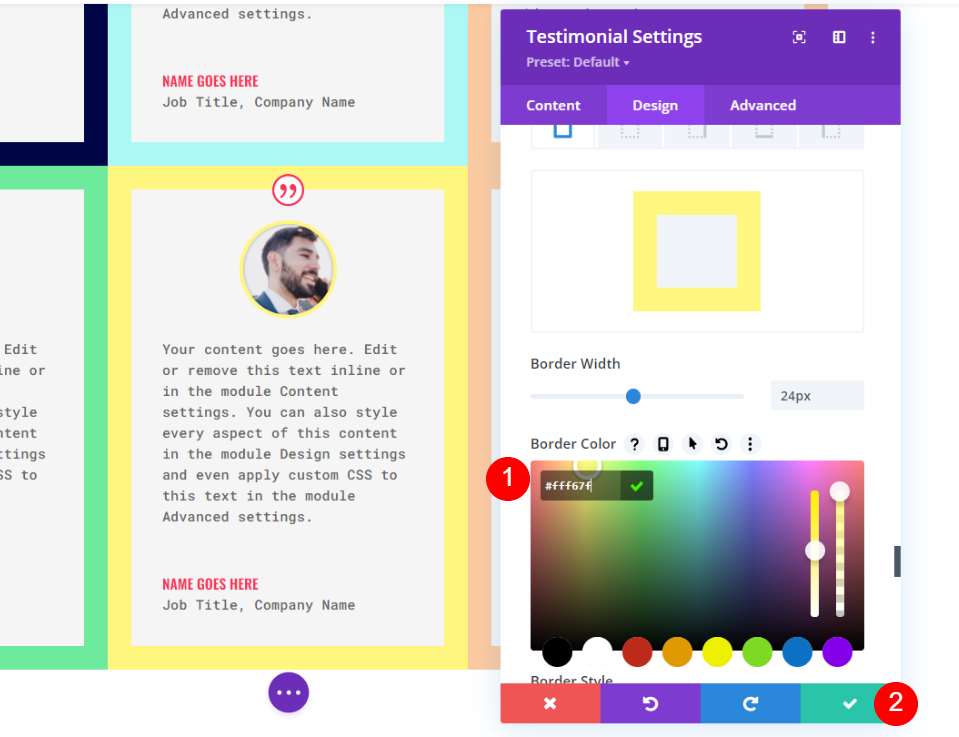
Border
At long last, alter the border color to #6eea9d to match the image Finally, change the Border Color to #fccaa0 in order to match the Image Border. Close the module's configuration settings.
- Color: #fff67f
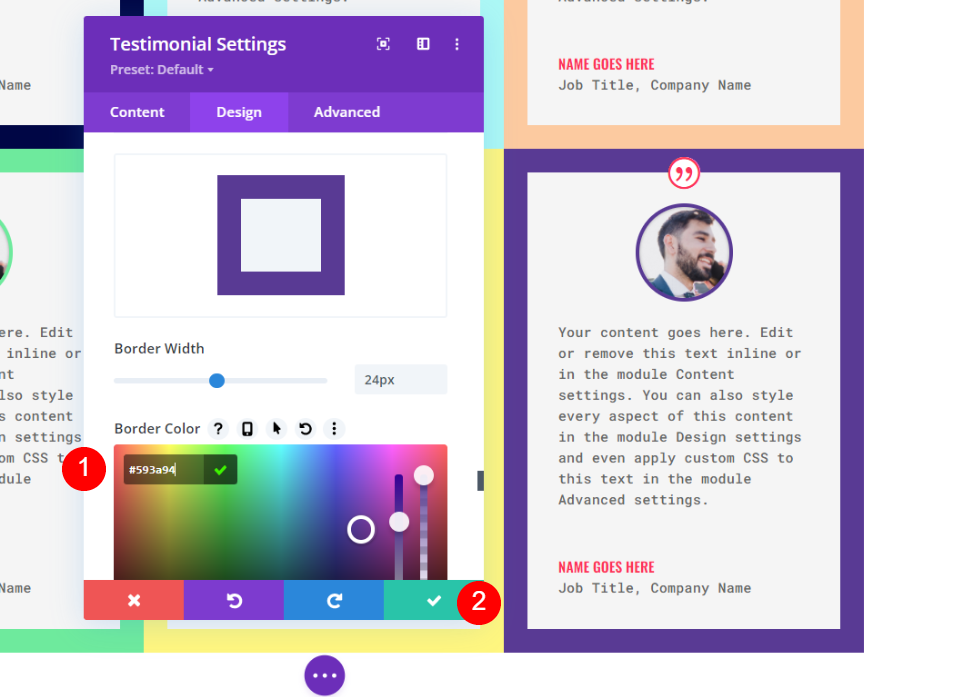
Style the 6th Testimonial Module
Change the information in the sixth testimonial module's settings.
Image
Now we need to again change the image color, for that open image settings.
- Image Border Color: #593a94
Border
Finally, change the Border Color to #593a94 to match the Image Border. Close the module's configuration settings.
- Color: #593a94
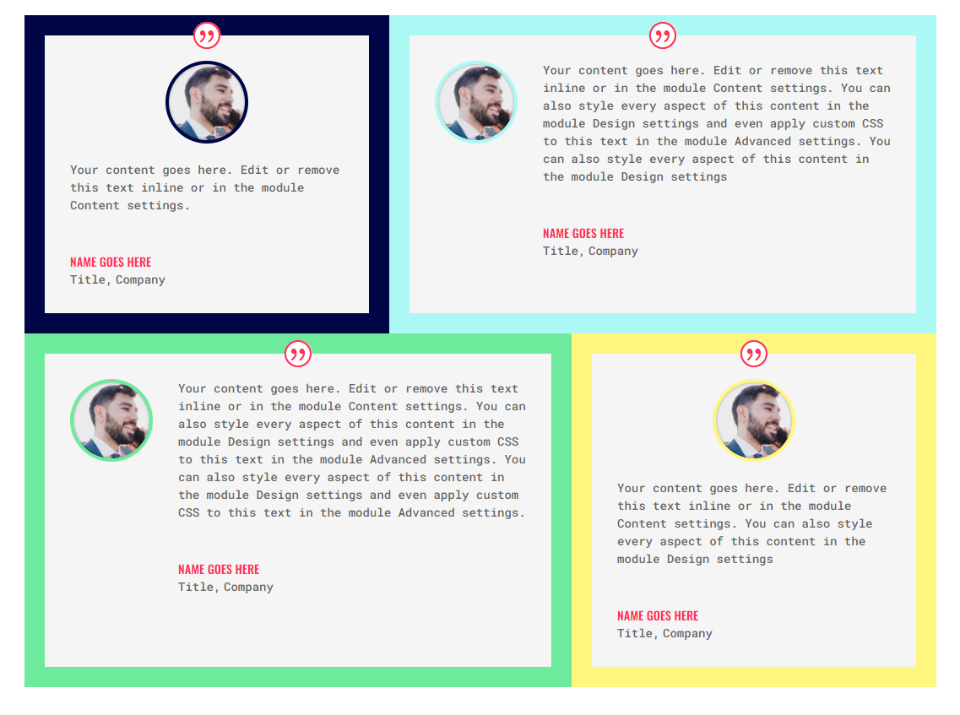
Final Preview
Take a look at how our grid is organized. If all of the testimonials are the same size, this technique works perfectly.
Here's a different design approach. For the content of various sizes, it's ideal.
Closing Thoughts
That concludes our look at Divi's testimonial module's ability to construct a testimonial grid layout. Using Divi's row and module options, you may build a grid with a variety of different row and column configurations. Expanding on what we've demonstrated here, we could easily make a much larger grid. Divi modules of other sorts can also benefit from these techniques.


