
Tables are one of the most important pieces when you are trying to display an organized data. It allows you to draw data in an easy-to-understand way.

However, creating tables had never been easy and required coding knowledge to be able to create one. However, for a graphic table, TablePress is one of the best plugins out there. In this tutorial, we will understand how to create tables using TablePress.
TablePress

TablePress is a free WordPress plugin that allows you to create amazingly creative graphic tables. It is one of the most popular plugins using which you can embed tables into your posts, pages and widgets. You can also import/export tables using TablePress.
How To Create Tables In WordPress Using TablePress
Once you have installed and activated the plugin, from your WordPress dashboard press the TablePress menu button.

Head over to the Add New to create a new table.
Create Amazing Websites
With the best free page builder Elementor
Start Now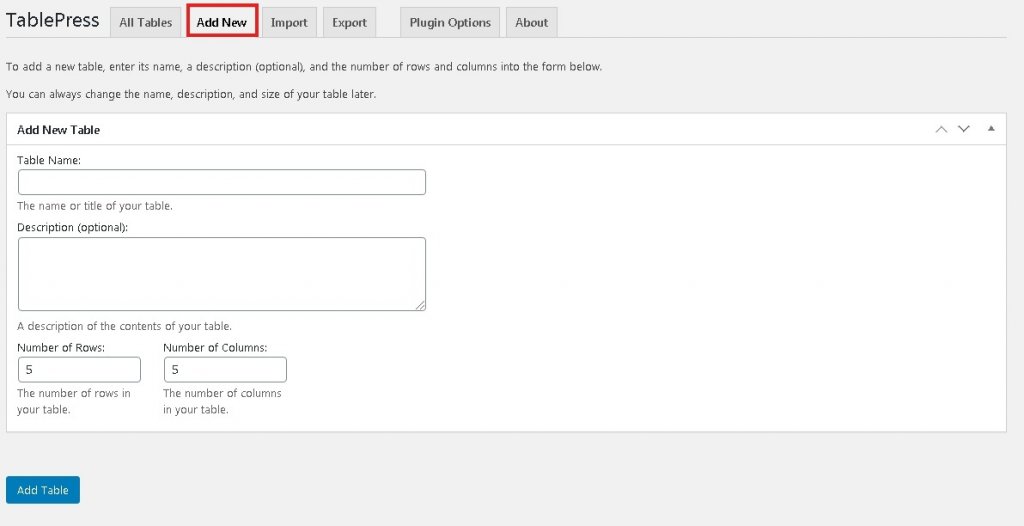
Here you will have to specify all the details of the table including the name, a short description, number of rows and columns and then press Add Table.
You will be taken to a spreadsheet-like window where you will be able to fill up the tables. Using the drag and drop editor, you can also move the rows and columns.
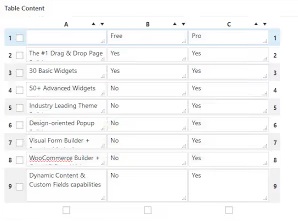
Once you are down with filling up the boxes, scroll down to find advanced options for designing and formatting.
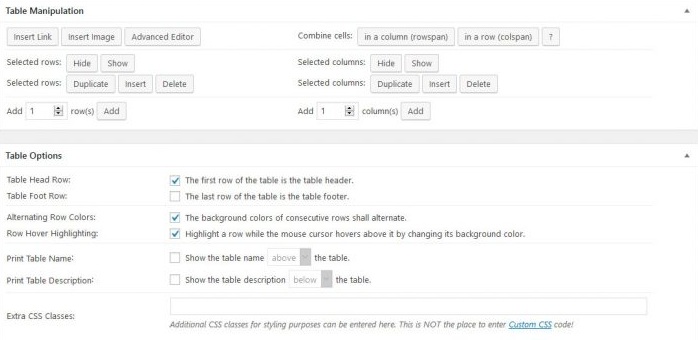
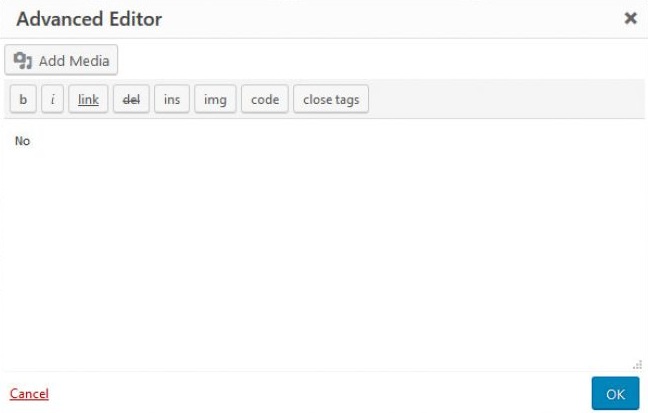
Here you will be able to add images and links to your boxes. All you need to do is press the Insert Link or Insert Image button and then press the box you want to add it to. The advanced editor will allow you to insert.
You can also combine cells by pressing the respective rowspan or colspan and then selecting the cells.

Further table options allow you to change the styling of the tables, determine whether the table has a header or footer and where the description and title should appear. It also allows you to add CSS Classes for custom styling.
Scrolling down, you will find JavaScript Library options controlling the tables.
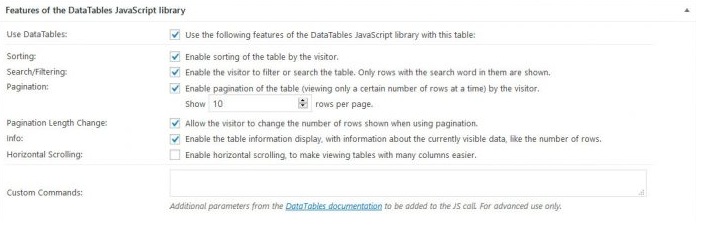
These options allow you to set custom parameters and specify the sorting and searching of the tables.
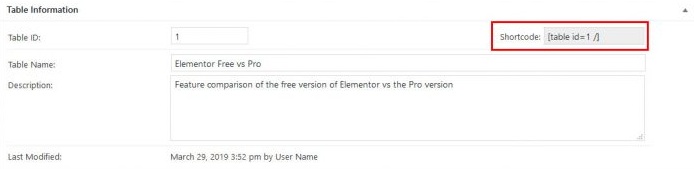
Once you are done with all the settings, make sure to save them and let's move ahead to making the table display on your website.
In the upper right corner look for the shortcode that will be used to add the table to your WordPress site.
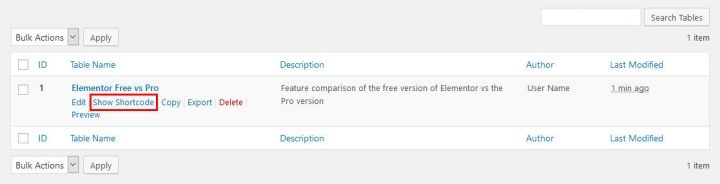
If you can't find it at the given location, you can also get it from the list of tables by pressing Show Shortcode.
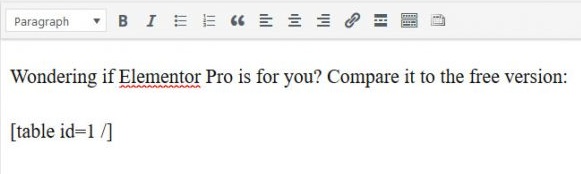
And then to add the table to your post, page or text widget, just paste the shortcode you copied earlier.
And if you have a classic WordPress editor, TablePress itself adds a button using which you can insert shortcodes.

After pressing the button, you will see the list of all the tables on your website to select the table you want to insert.
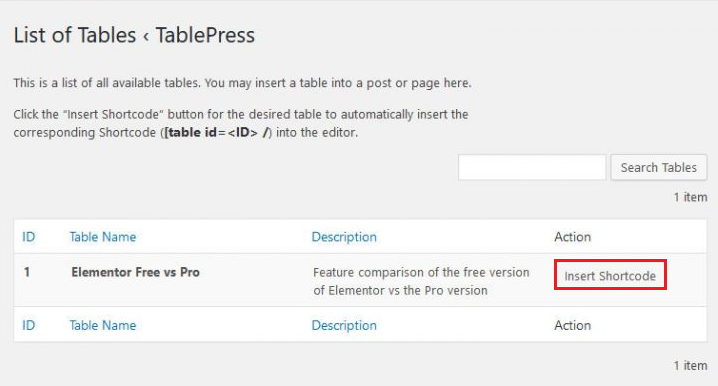
Finally, just press the Insert Shortcode button to add the table to your page.
How To Import Tables To WordPress
Go to the TablePress option from your WordPress dashboard and then head over to the Import tab.
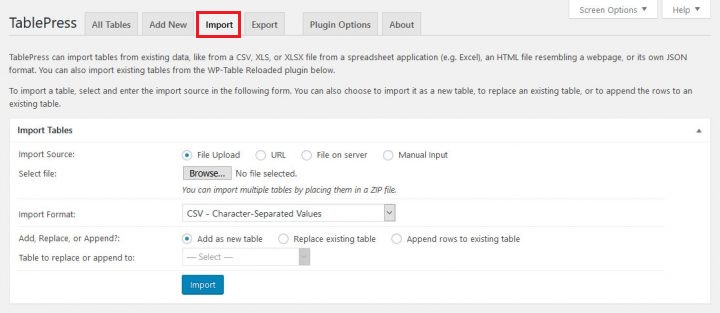
The first step is to select the Import Source. For this tutorial, we are going with the file option. And then select whether you want to create a new table or replace an existing one.
Press the Browse button and navigate to the spreadsheet file you want to upload. Once done, use the Import Format menu to specify the file format i.e. CSV, HTML, JSON or Excel.
Once the table is uploaded, you can sort the rows and columns, and then display the table on your website using the shortcode technique like before.
How To Export Tables From WordPress
To export a table from your WordPress, head over to the Export tab on the TablePress page.
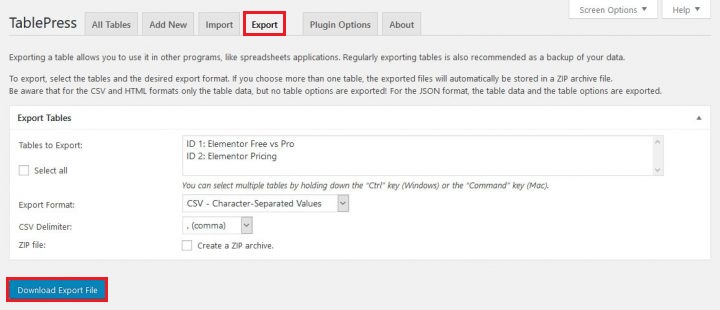
Next, you need to select the table you want to export. You can select multiple tables by pressing Ctrl/Cmd while making the selection and then choose the export format and delimiter between values while using CSV (comma, tab or semicolon).
After you have made all the changes, you can now download the file for the selected tables by pressing the Download Export File.
This is how you can create, import and export tables on your WordPress. That's all from this complete guide about how to operate tables on WordPress. Make sure to join us on our Facebook and Twitter to never miss a post.


