
Megamenu plugins add a lot to the website, requiring you to design a template for each submenu section, and load additional CSS and JS files.

This is not the case with the strategy demonstrated here. With Elementor Pro, it's a pretty simple technique to make a giant menu that's also extremely straightforward to maintain, just modify anything in the editor like you normally would. Let's move ahead and understand How To Create Mega Menus With Elementor.
How To Create Mega Menus With Elementor On WordPress
Create your Elementor Mega Menu header template first. This guide will still work if you use Elementor Free, but you won't be able to use the Theme Builder to build a header template. This will need the use of Elementor Pro.
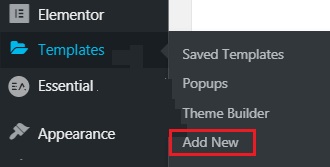
Add a new section and put it up appropriately after it's finished.
Create Amazing Websites
With the best free page builder Elementor
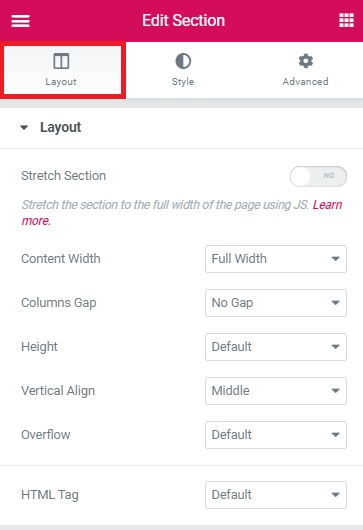
Start NowSet the arrangement of your sections to full-width.
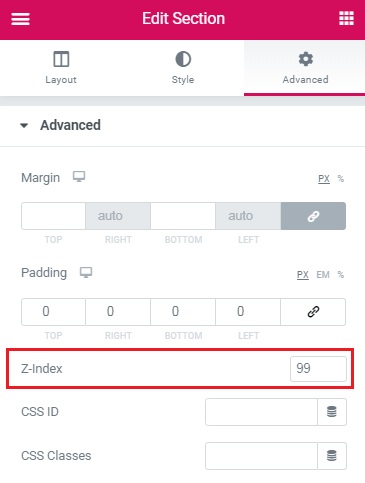
Set the z-index to 99 in the advanced tab.
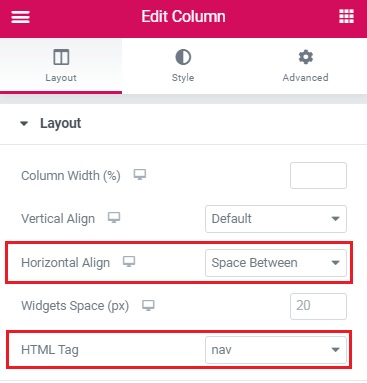
Adjust the column settings after that. In your section, there should only be one column.
Set the Horizontal Alignment to 'Space-between' set the HTML tag to 'nav.'
Now, in your Elementor Mega Menu, add all of the elements you wish. For the time being, just those are displayed by default without hovering.
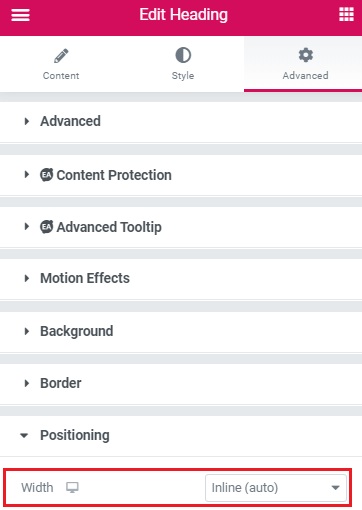
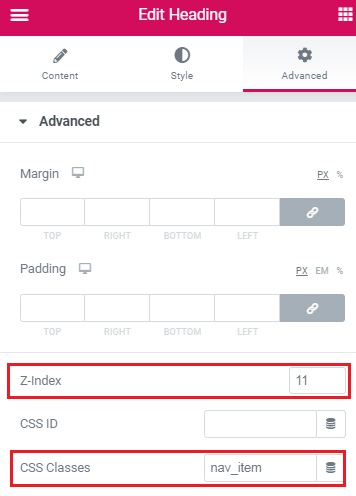
I utilized an image, header components, and a button element in my design. Set the z-index to 11 in Advanced and the width to inline in Positioning.
The class 'nav item' should be applied to the heading components.
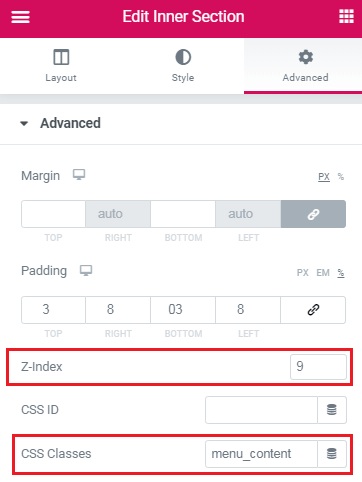
When you have everything complete and looking the way you want it to, create an inner section for each 'mega' sub-menu. Give them the 'menu content' class. Give them a z-index of 9 as well.
Create each inner part based on what you want to see when someone hovers over it.
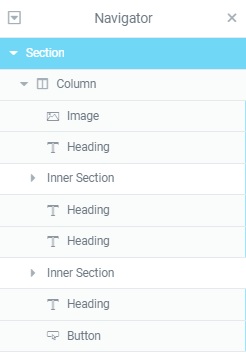
Then, with the navigator open, move each of the inner sections. Each inner section should be placed immediately after the header element that will serve as the 'parent' menu item. It will mess with the page's style a little, but that will be addressed after the CSS is added.
Finally, add the CSS for the Elementor Mega Menu. Copy and paste this CSS into the CSS box of your header template.
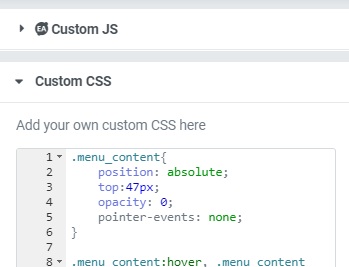
After hitting the gear icon in the editor's lower-left corner, you'll see this.
.menu_content{
    position: absolute;
    top:47px;
    opacity: 0;
    pointer-events: none;
}

.menu_content:hover, .menu_content:focus, .menu_content:focus-within{
    opacity: 1;
    pointer-events: visible;
}

.nav_item{
    display: -webkit-box;
    display: -ms-flexbox;
    display: flex;
    -webkit-box-align: center;
    -ms-flex-align: center;
    align-items: center;
    height: 76px;
}

.nav_item:hover + .menu_content, .nav_item:focus-within + .menu_content {
    opacity: 1;
    pointer-events: visible;
}
Improvements and Alterations
Add this CSS to the remainder of the page to create a black overlay when the sub-menu sections are open. For better effects, remove the top and bottom padding from these 'sub menu' inner parts. Then, in CSS, alter the 'padding' value to meet your design.
.nav_item:hover + .menu_content::after , .nav_item:focus-within + .menu_content::after, .menu_content:hover::after, .menu_content:focus-within::after {
content:'';
position: fixed;
width: 100%;
height: 100vh;
left:0;
pointer-events: none;
overflow: hidden;
background-color: rgba( 0, 0, 0, 0.34)
}

.menu_content .elementor-container{
padding: 3%;
}
Add this CSS to the top right corner of the screen to keep the nav elements together.
To space, the menu items in between themselves, adjust the padding to your satisfaction. If the 'nth-of-type value varies, change it. As seen in the navigator, you must provide the initial header element position.
.nav_item{
padding: 0 23px;
}

.nav_item:nth-of-type(2){
margin-left: auto;
}
This is how you can create Mega Menus with Elementor on WordPress. Let us know if everything looks fine on the website and make sure to revisit the tutorial if it doesn't.
That's all from us for this tutorial. Make sure to join us on our Facebook and Twitter to make your WordPress journey easier.


