
Dynamic content works well with Divi. You can use dynamic content to show text, titles, and a lot more. With a plugin called Advanced Custom Fields (ACF), it can even be used in Divi's testimonial module. In this post, we'll look at how to use Divi and ACF to make testimonial modules that change over time. Divi and ACF work well together, and this post will show you how.

Required Plugin & Setup
First, we need to download and configure the free version of the Advanced Custom Fields plugin. Go to your WP dashboard and navigate to Plugins > Add New. Then search for ACF. Install and activate the marked plugin we have shown in the picture.

Create a New Field Group
Make a Field Group next. This group of fields will have all the fields that are needed for one testimonial. Then, we can make as many testimonials as we want by cloning this field group.
To make the field group, go to the WordPress dashboard and click on Custom Fields > Add New.
Create Amazing Websites
With the best free page builder Elementor
Start Now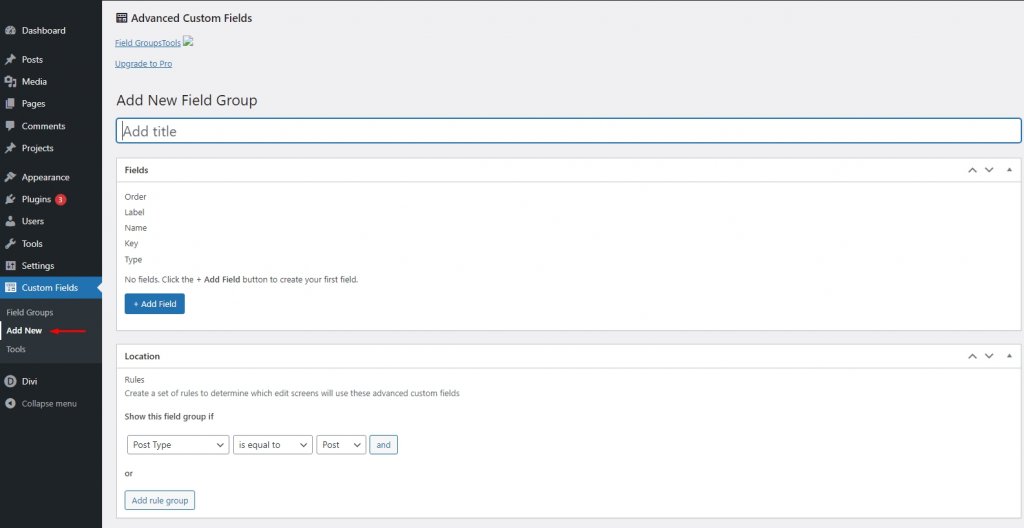
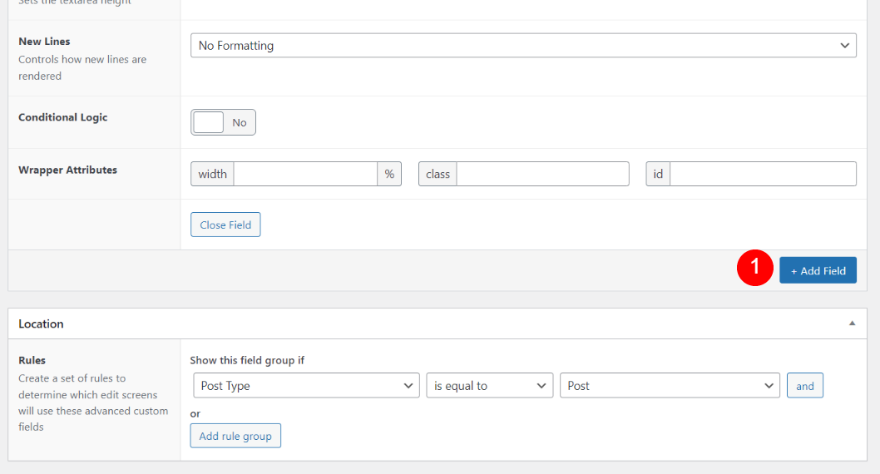
First, give the field a name and click "Add Field."
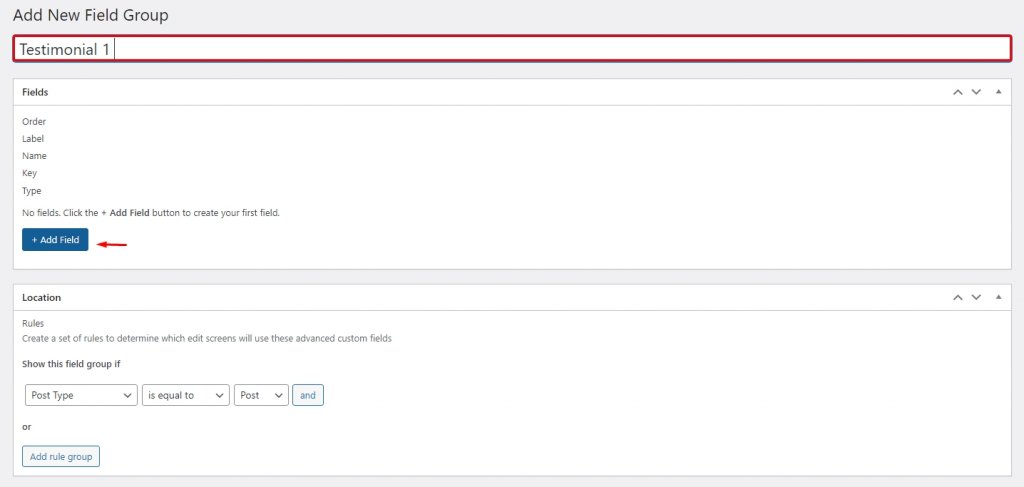
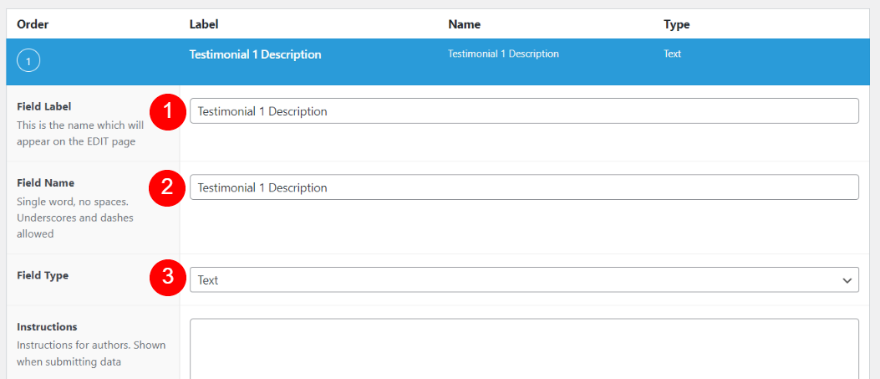
This brings up the editor where the fields will be made. We'll have to add each field separately. There will be a label, a name, and a field type for each field. The name and label can be the same.
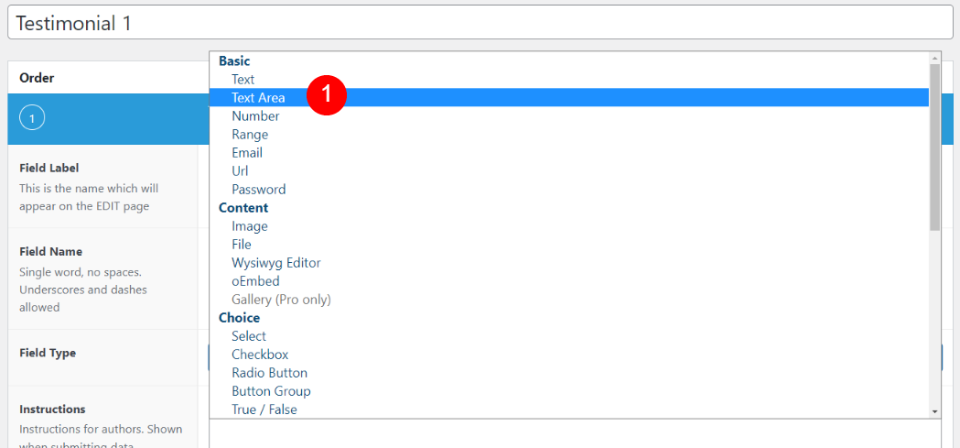
Type in the field's label and name. Click the drop-down box next to "Field Type" to see the choices. This field is different from the other three because it has a different Field Type.
Select Text Area from the list as a field type.
Next, scroll down and select Add Field.
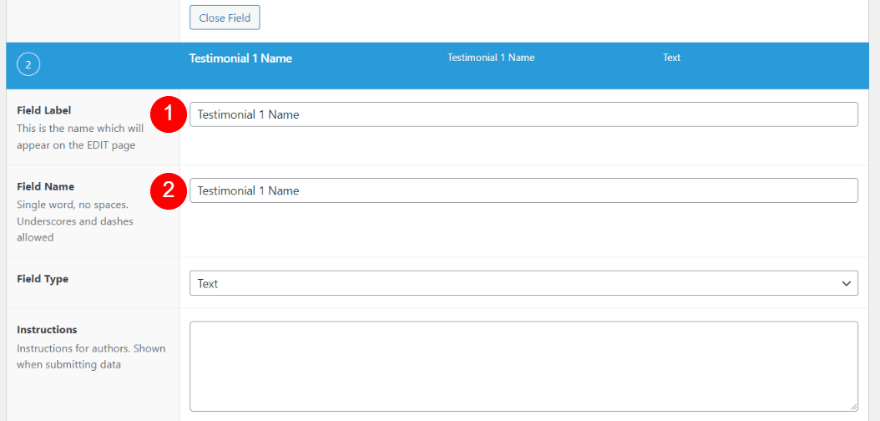
Next, put Testimonial 1 Name in the Testimonial 1 Name Field Name and Field Label fields. Just leave the Field Type as it is (Text).
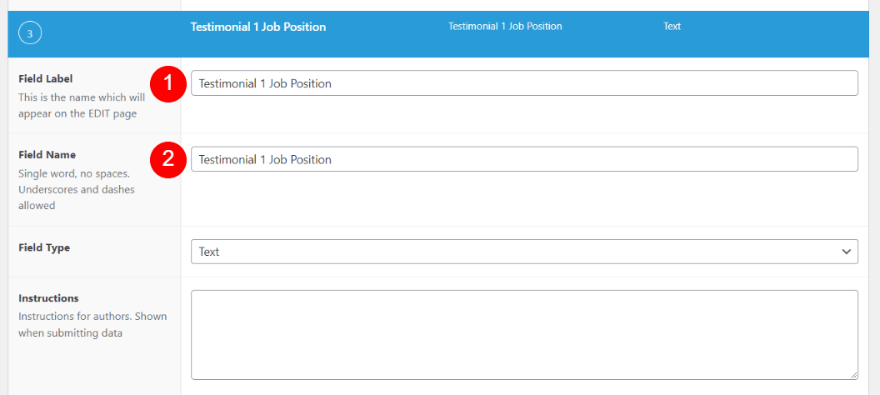
Next, click Add Field and type Testimonial 1 Job Position for the Field Name and Field Label.
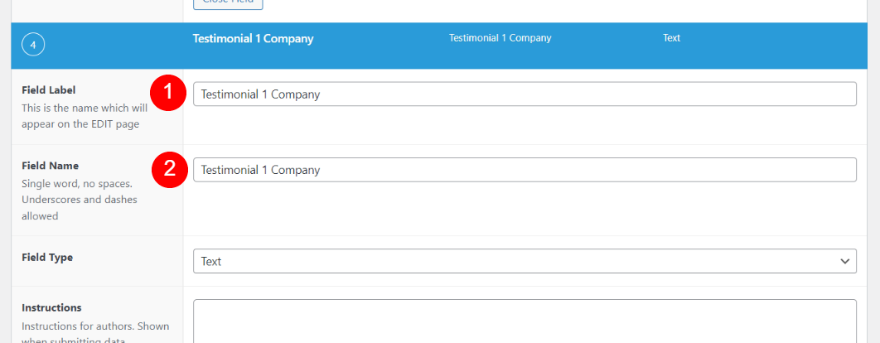
Add a new field with the name and label "Testimonial 1 Company" by clicking the Add Field button.
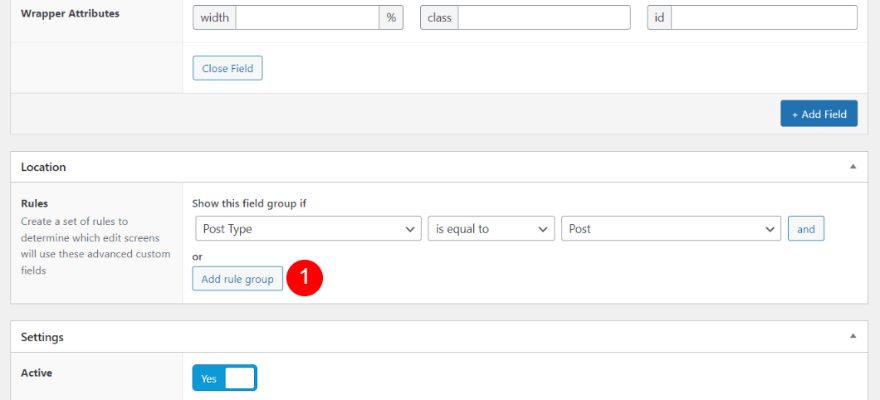
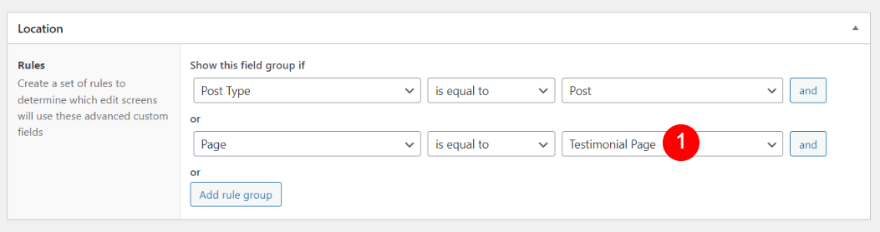
After that, we'll establish the rules for the Location. The testimonial will be placed on the page or pages of your website that you specify. It follows the criterion that Post Type is always equal to Page. In addition to this regulation, we'll introduce a new one. Add a rule group by clicking the Add rule group button.
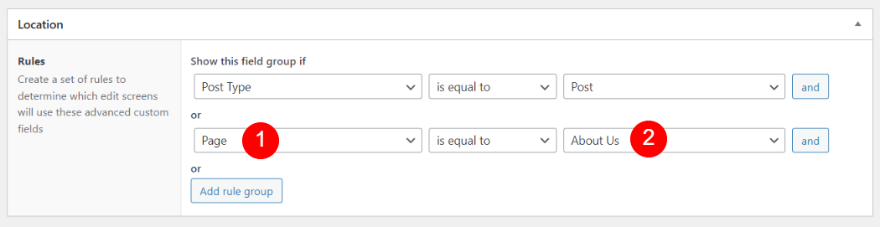
Choose Page from the Post Type dropdown box when creating a new rule. Specify the page in the Post drop-down box for your new rule. The rule for each page if you plan to use numerous pages.
- First Field: Page
- Second Field: your page name
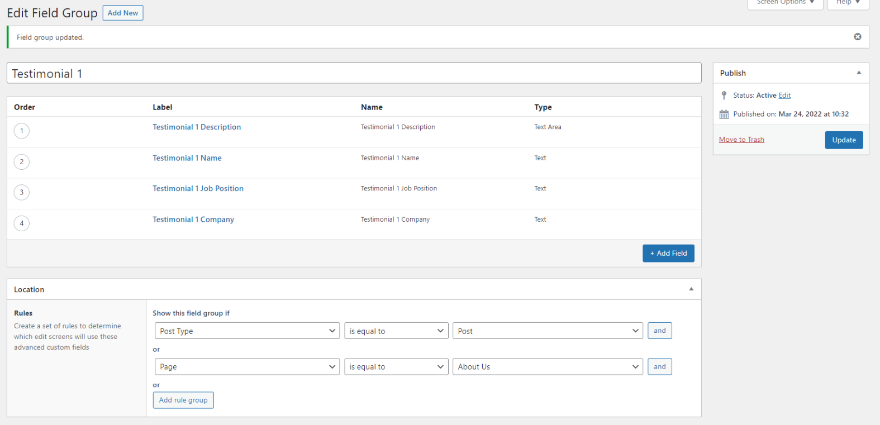
Click the Publish button in the editor's upper right corner to complete the publishing process and make your new field group public. Once it's published, you can see it with the rules.
Field Group Cloning
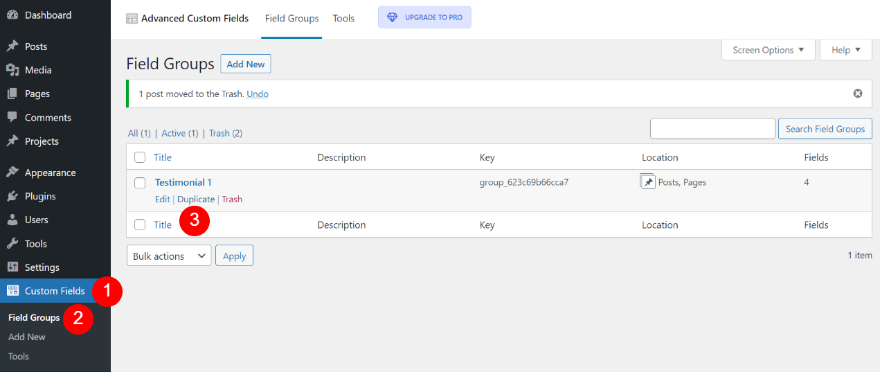
The testimonial field group will be cloned next. A new testimonial will be possible as a result of this. We'll have to replicate this for every testimonial we want to generate. You'll find this option under Custom Field > Field Groups in the WordPress administration area. Click Duplicate after you've selected the field group you wish to duplicate.
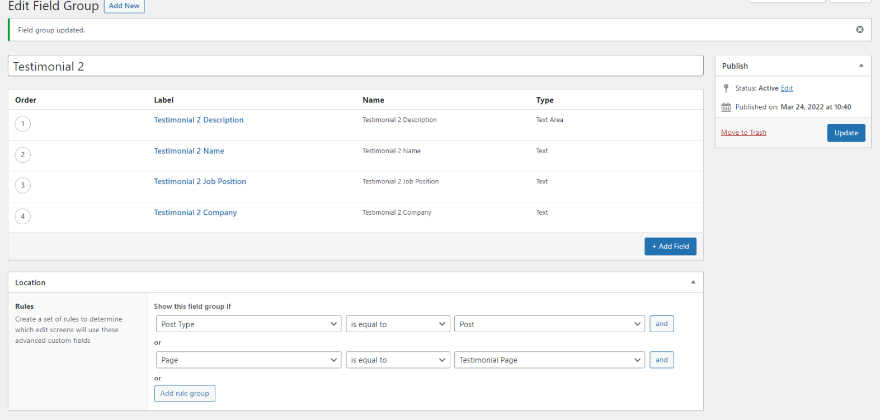
Then click Edit to open the new field group and make the necessary alterations to the group's and its individual fields' names.

With necessary changes for inside information, click update.

The next step is to select the page where you want this testimonial to show up.
The field group for your second testimonial is now available.
Creating The Testimonial
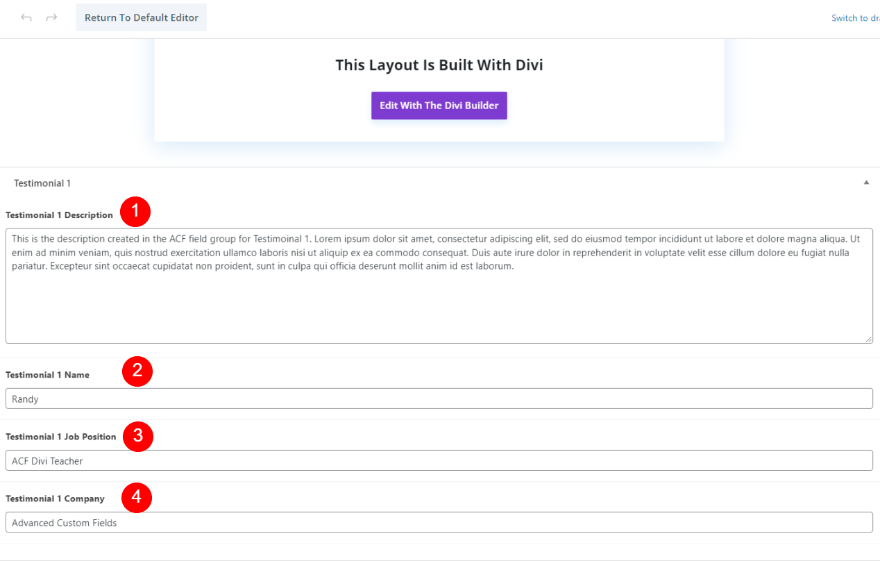
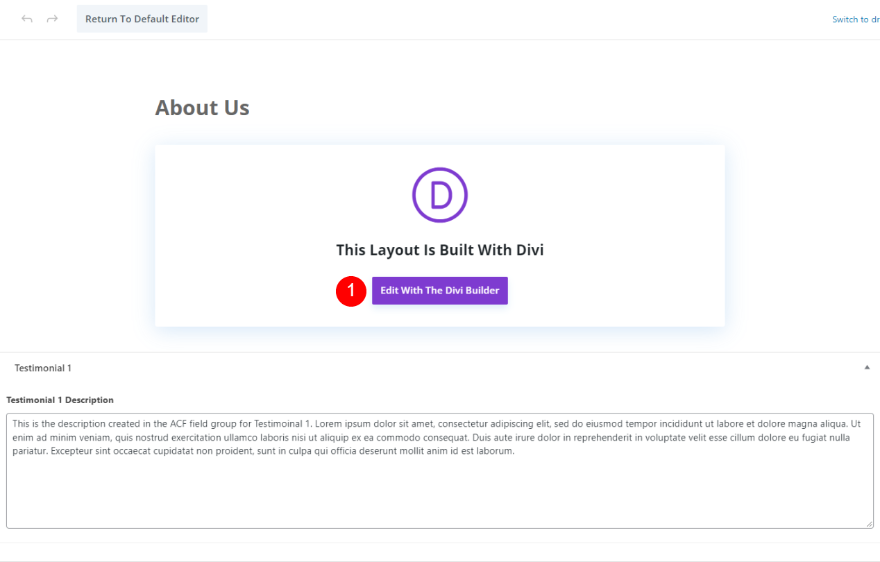
The testimonial forms show at the bottom of the page editor for the page you designated as the testimonial's destination. This illustration contains only the fields for Testimonial 1. I chose a separate page for the location of Testimonial 2, therefore it does not appear on this page.
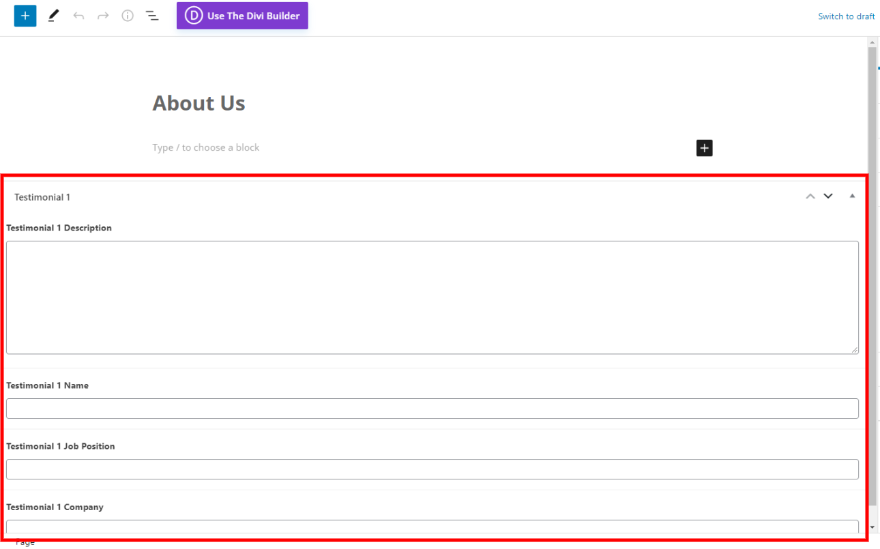
Complete the fields as usual. Then, you will be able to use the fields within this page's Divi layout.
Create the Dynamic Testimonial Module
One advantage is that anyone may enter or change the fields without having to open the Divi modules. Divi's testimonial module's fields must be mapped before they can be used. This page can be built using the Divi Builder by clicking the button below.
Section and Row
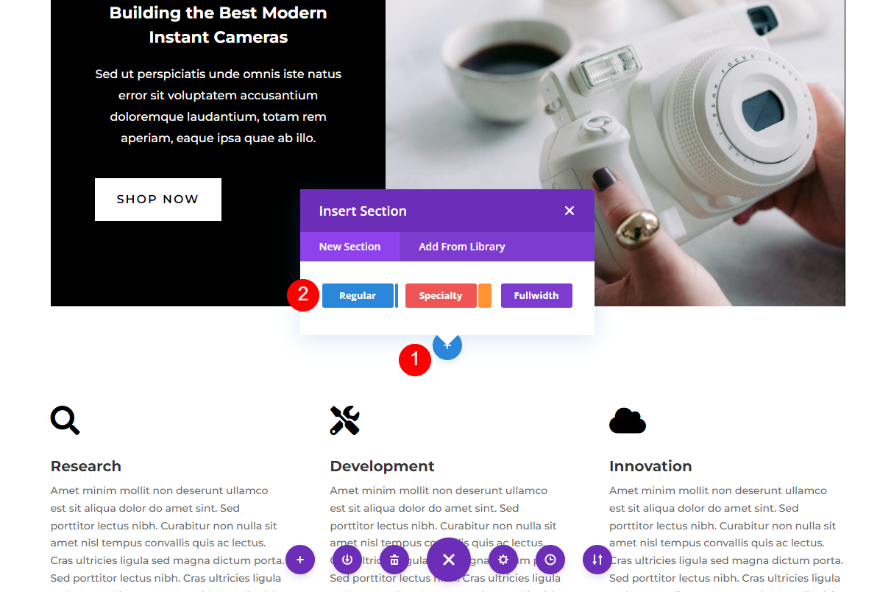
Underneath the second part, create a new regular section.
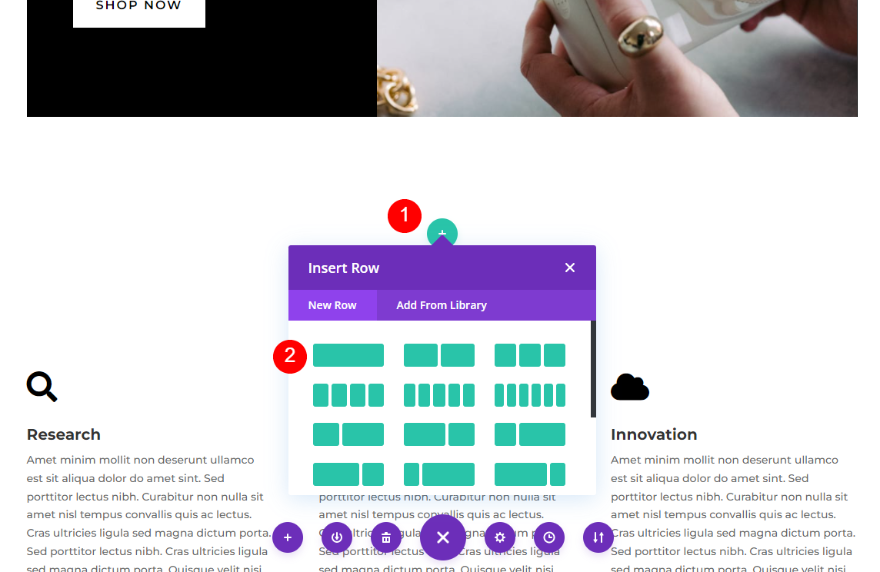
Now we need to add a single-column row.
Add Divi Testimonial Module
A testimonial module should be added to the column.

Create the Dynamic Testimonial Content
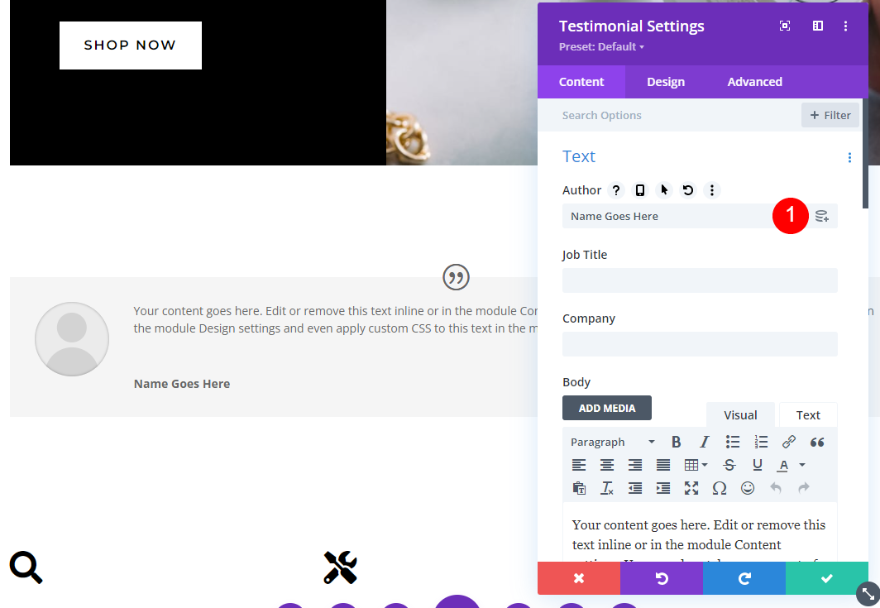
After that, we'll populate the testimonial module with data from the Advanced Custom Fields. To do this, we'll use dynamic content to insert data from the field group into each field. Normal module settings can be accessed as usual. Hovering your mouse pointer over each field reveals the dynamic choice, as shown in the image below.
Dynamic Author Name
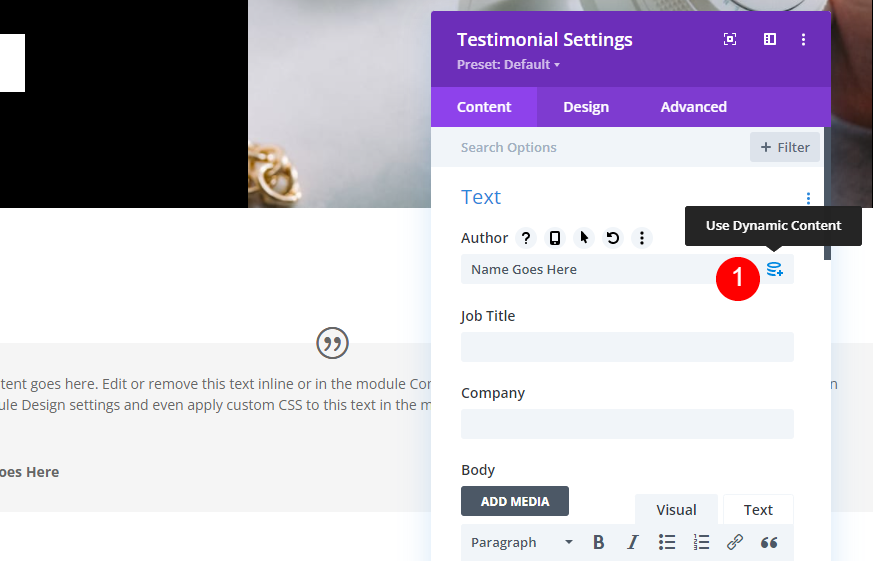
To begin, click the dynamic content icon in the Author area by hovering your cursor over it.
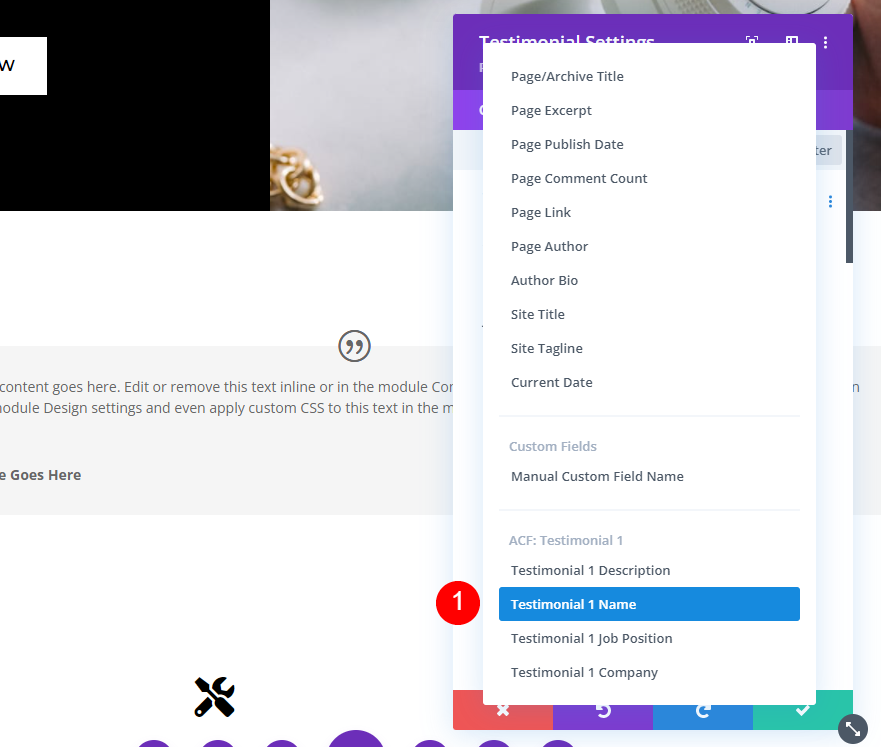
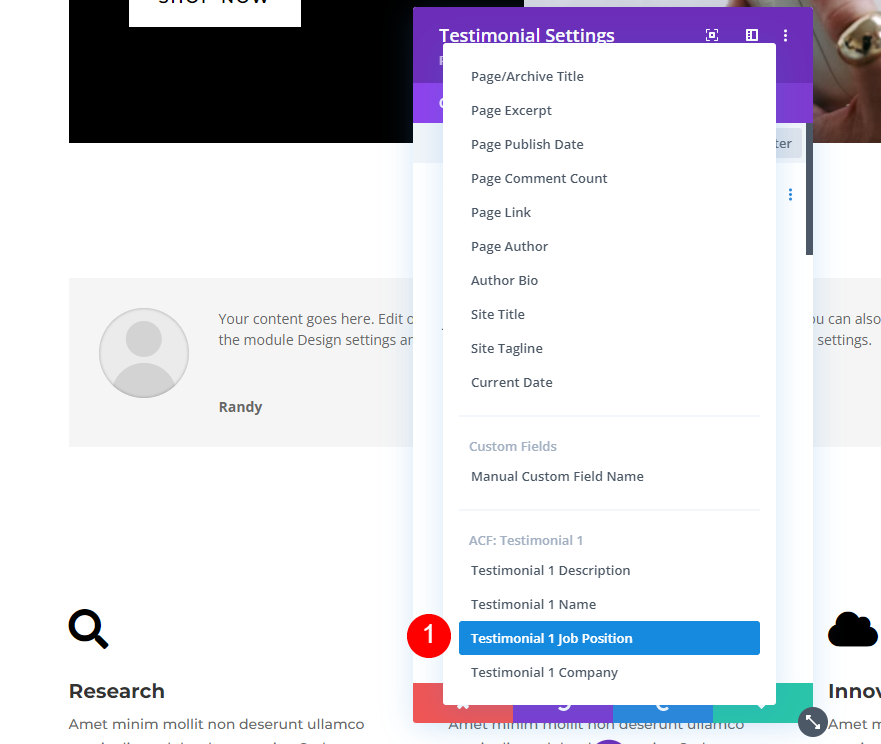
There are ACF alternatives towards the very end of the list, as you might expect. When we built the field group, these are the names we assigned to the fields. Select the name of Testimony 1 from the drop-down menu.
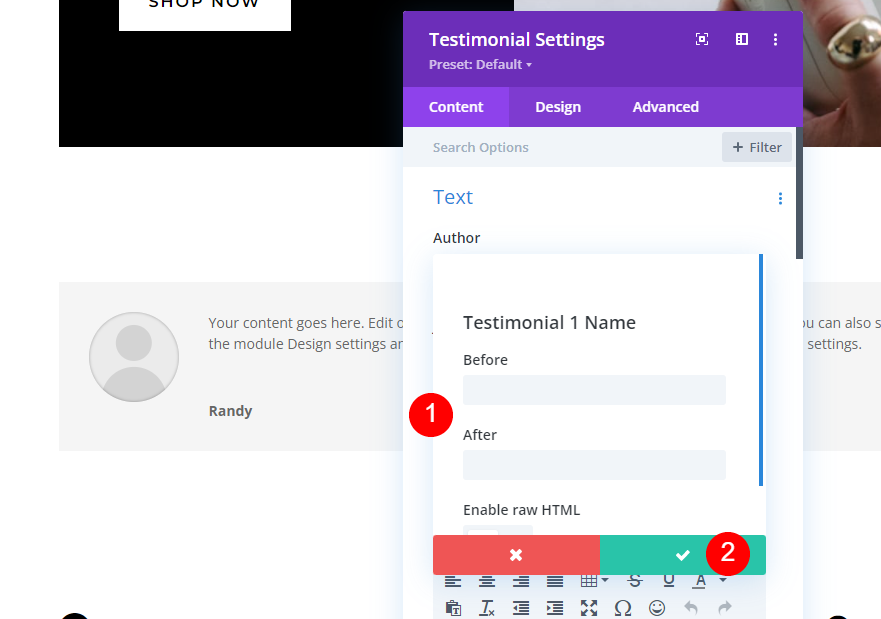
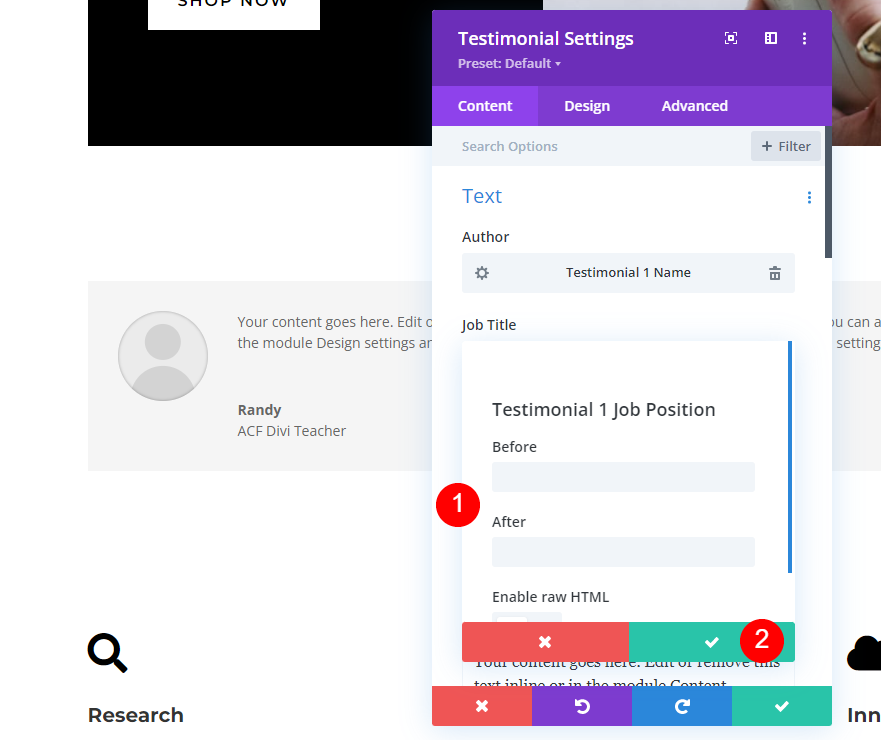
Put any additional text you'd like before or after the name in the corresponding fields. You can also include HTML if you wish to do so. When you're done, click the green checkmark.
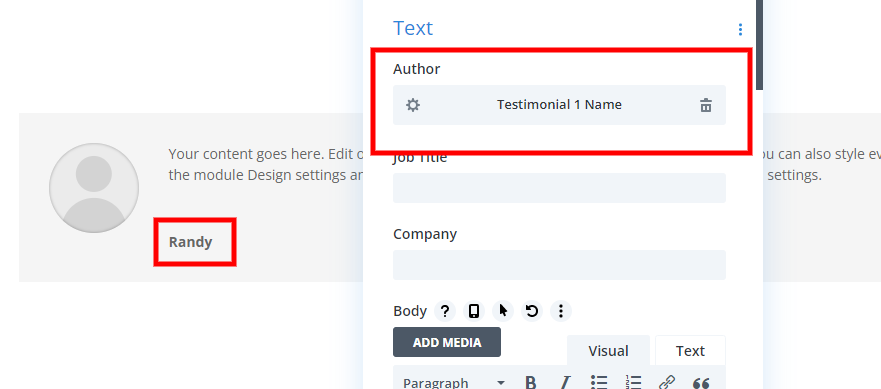
The name of the dynamic content is now displayed in the Author field. The author's name is now shown as the text you placed into the form.
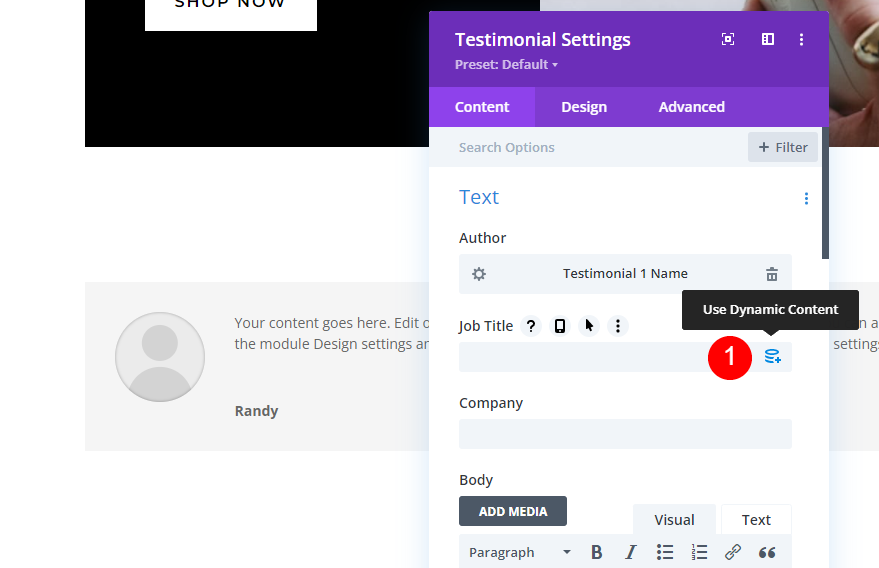
Dynamic Job Title
In the next step, select the dynamic content icon next to the Job Title field.
Select the Testimonial 1 Job Position option from the drop-down menu.
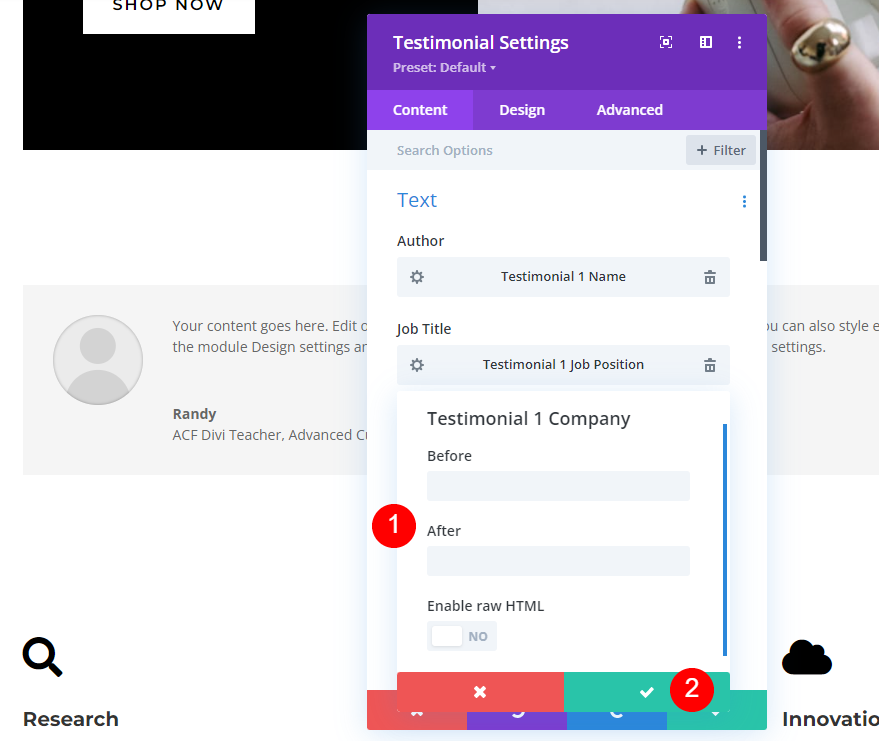
Next, hover over the Company field and select its dynamic icon.Select the green checkmark if you'd want to add any pre or post-text to the fields.
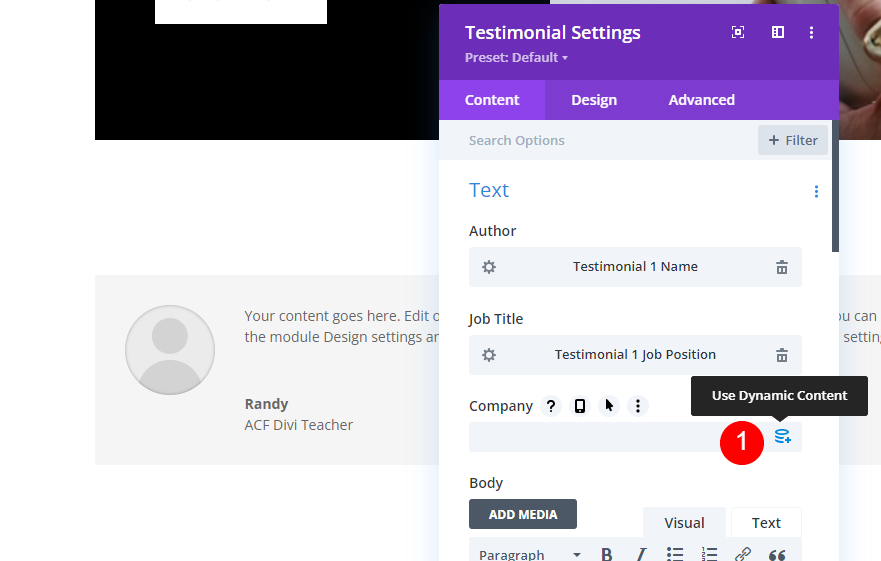
Dynamic Company Name
Then, move over to the Company field and select its dynamic icon.
Select testimonial 1 from the list and you can add any before-after text if you wish. Finally hit the green tick mark.
Dynamic Description
Next. choose the dynamic icon by hovering over the Body's content box.
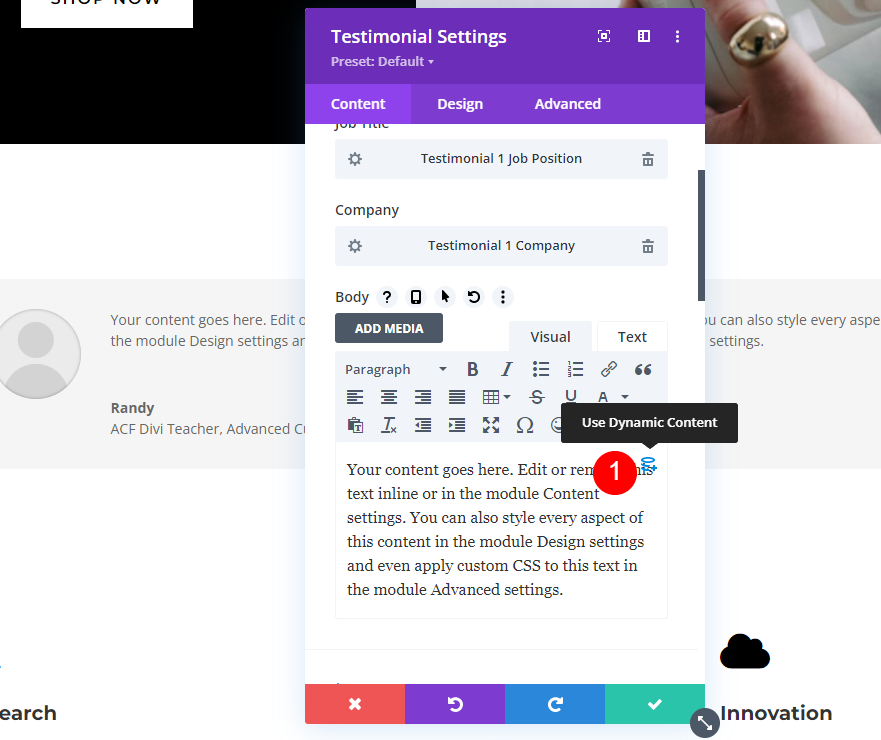
Select Testimonial 1 from the drop-down box and select ok.

Editing The Dynamic Content For Testimonial
Changing any of the testimonials doesn't require opening the Divi builder. It's as simple as going to the page editor and editing the material that is generated dynamically. My last name appears in the Testimonial 1 Name column in this example.
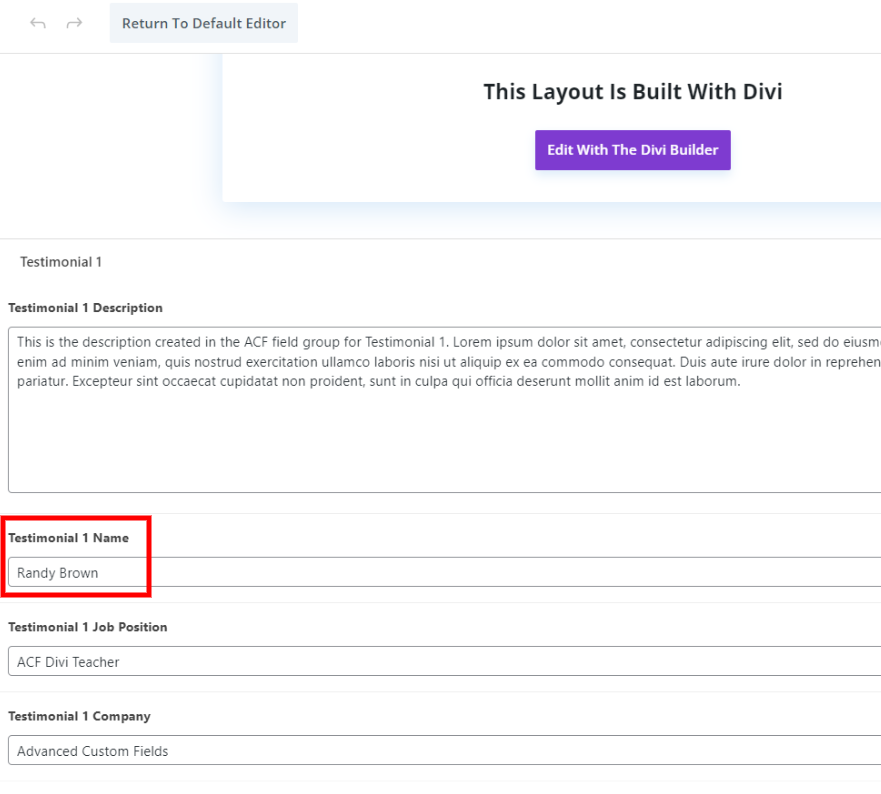
In the module, the name is automatically updated.
Styling The Dynamic Module
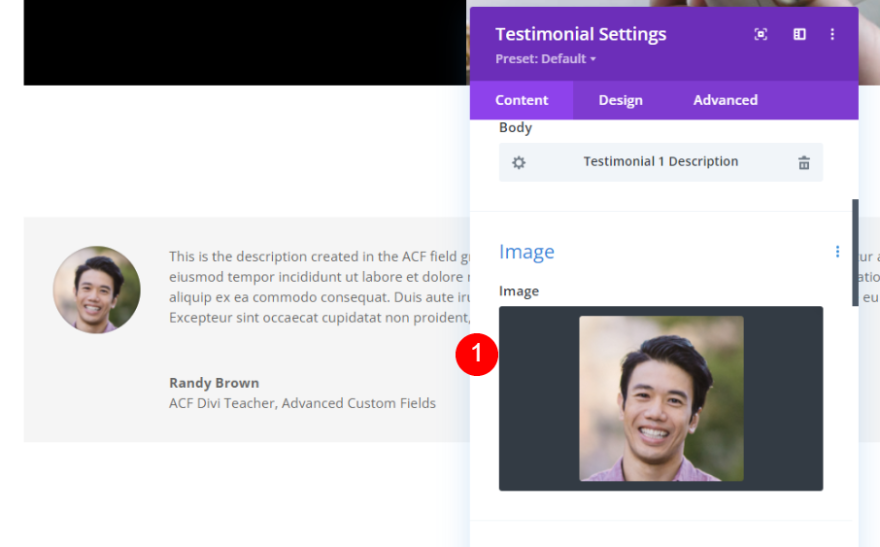
Content Image
To add the person's image, go to the content tab and click on the Image button.
- Image: person’s photo
Quote Icon
Change the quote icon color from the design tab.
- Color: #000000
Design Image
Now, scroll down to the image option from the design tab and change the following values.
- Width: 150px
- Height: 150px
- Rounded Corners: 0px

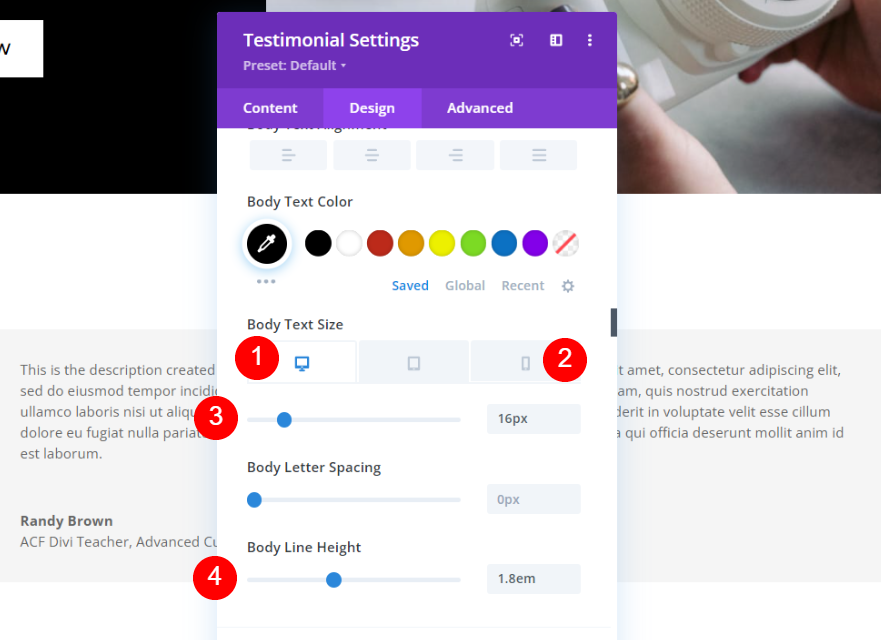
Body Text
Now from the body text option, change the mentioned options.
- Font: Montserrat
- Color: #000000
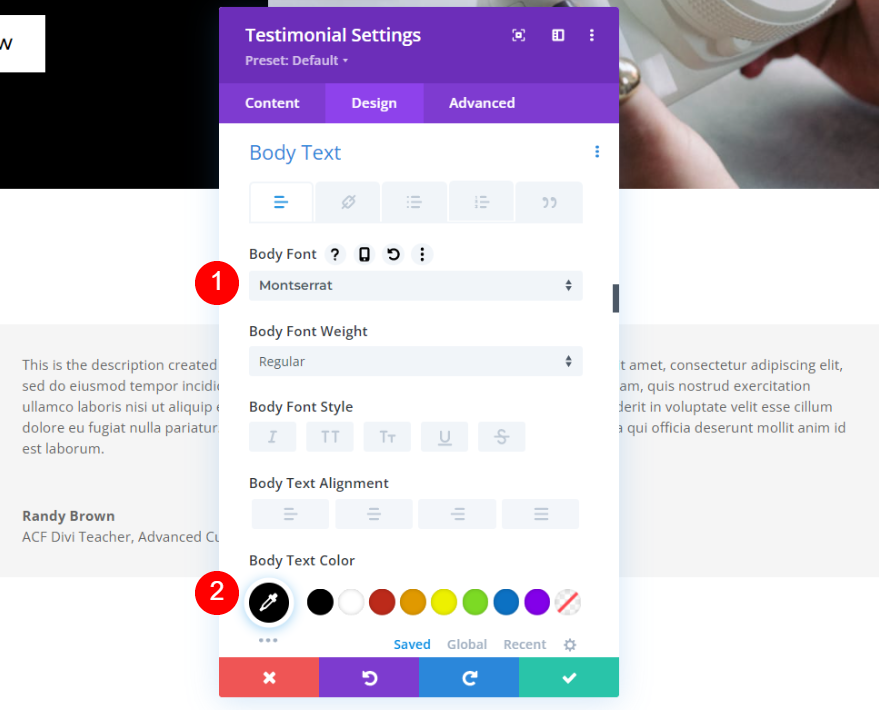
- Size: 16px, 14px
- Line Height: 1.8em
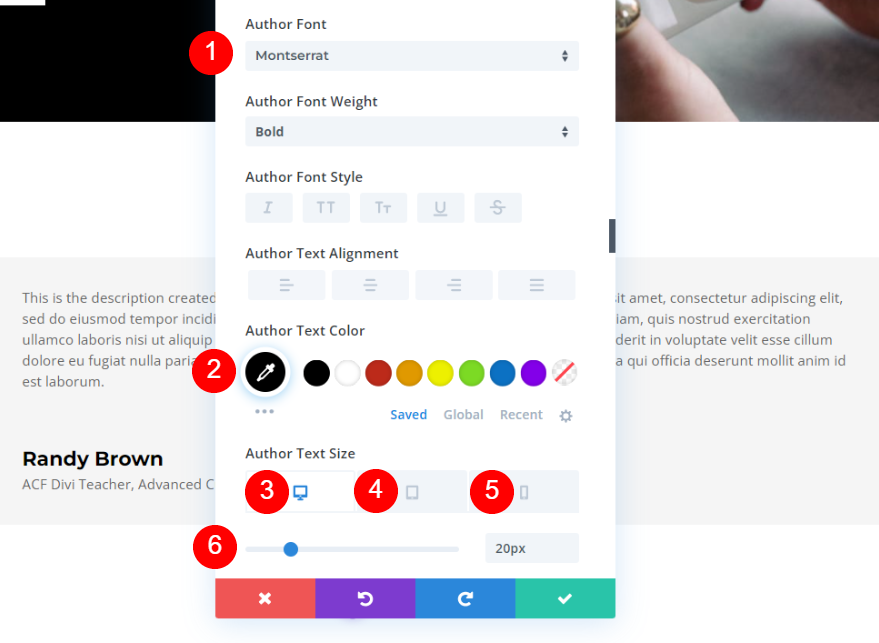
Author Text
Like body text, change the author text too and apply the following settings.
- Font: Montserrat
- Color: #000000
- Size: 20px, 18px, 16px
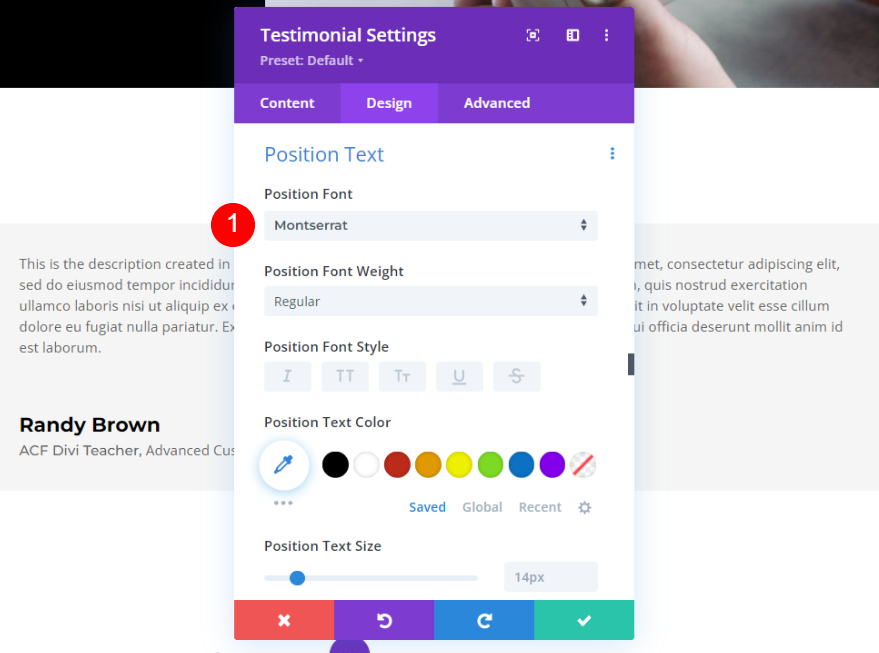
Position Text
Only change the font family for this particular option.
- Font: Montserrat
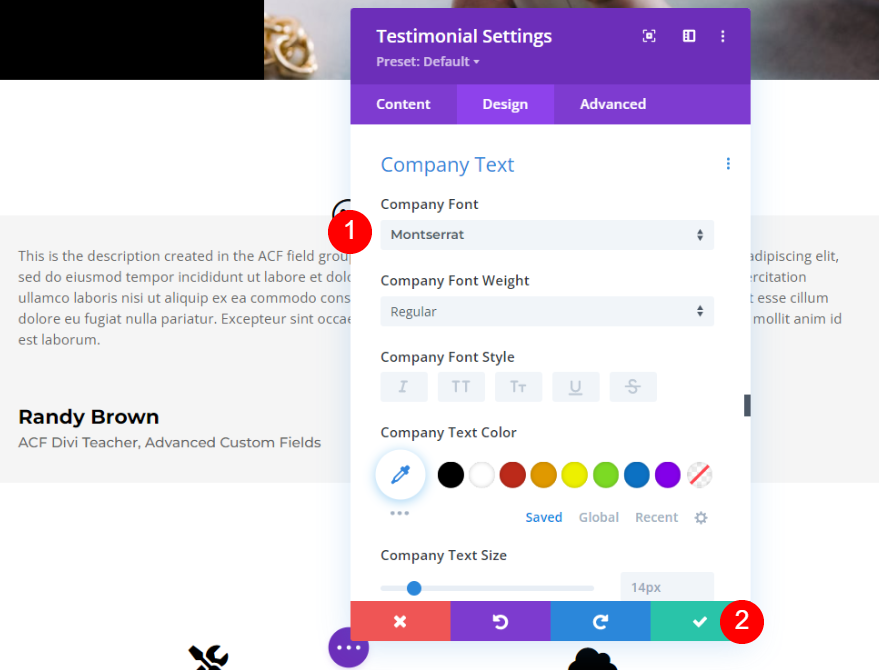
Company Text
Lastly, again change only the font family for the company text option.
- Font: Montserrat
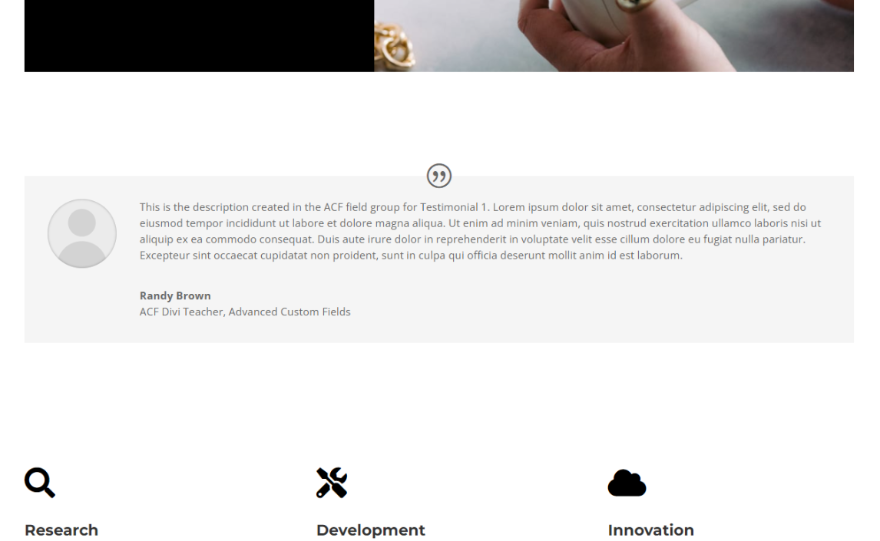
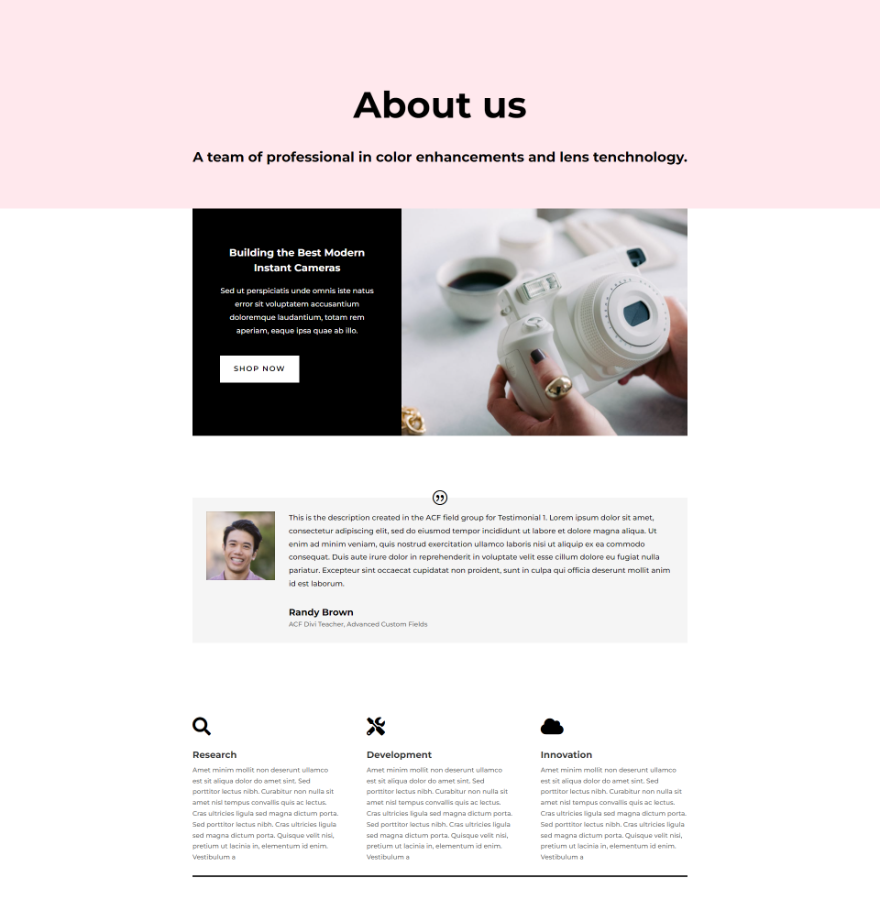
Final Output
Finally, here's a complete look at the dynamic testimonial module in Divi.
Ending Thoughts
So, that's our look at how to use Divi and ACF to make testimonial modules that change over time. With the dynamic content in Divi, it's easy to add the custom fields to the testimonial module. All you have to do is make the fields into a field group and then use Divi's dynamic content to select the field group.


