
Fonts are an essential part of any website's brand language. Besides, it also enables more control over the website's design let alone being creative and unique about it.

Elementor already comes with a huge library of fonts but for creators and designers to have that extra personalization and creativity of a custom font it introduces a new way to upload your custom fonts without having to deal with third-party plugins. In this tutorial, we will find out how to can add custom fonts in WordPress.
How To Manually Add Custom Fonts To WordPress
There is also a way to add custom fonts to WordPress manually. However, we do not recommend using the method as it is difficult and can be frustrating for beginners.
However, here's how you can add custom fonts manually to WordPress.
Create Amazing Websites
With the best free page builder Elementor
Start Now- Via an FTP client, add the new fonts folder to your website's theme folder.
- Add all the font files into the folder you have added before.
- Use the below given code and paste it to the theme's stylesheet i.e. style.css
@font-face {

font-family: ‘nameofnewfont’;

src: url(‘fonts/nameofnewfont.ttf/eot);

font-weight: normal;

font-style: normal; }- Next, you will use these fonts to configure all the elements by adding them to the similar stylesheet.
This process can be done but is difficult and involves a great deal of coding knowledge. This is why we recommend using Elementor to be freely creative with your fonts.
How To Add Custom Fonts To WordPress With Elementor
With Elementor, it is quite easy to deal with fonts. There is a simple process to upload them and use them.
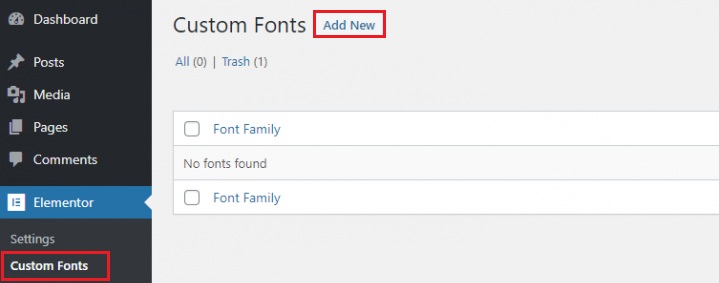
To add a new font, all you have to do is go to your WordPress dashboard, then Custom Fonts in Elementor and press Add New.
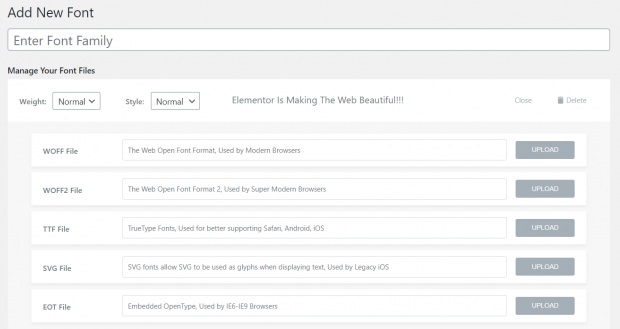
Next, you will be asked to choose the font you want to upload. Font formats specify the appearance of your font on different browsers. This is why it is good to add the font in as many formats as you can.
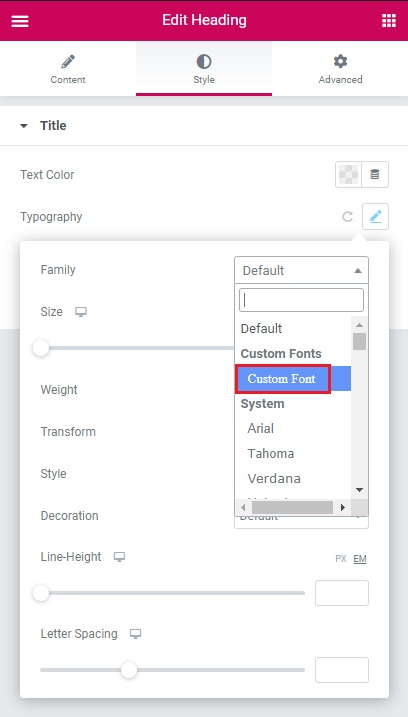
After you have uploaded your fonts, the new custom font will be available to use in the typography controls of the widget. Head over to the Style tab and then choose the custom font.
This is how you can add custom texts to your WordPress using Elementor.
How To Create Custom Fonts
For free fonts, there are numerous websites such as DaFont, Font Squirrel, Fontsly and more. But to create your own fonts there is Adobe Typekit.
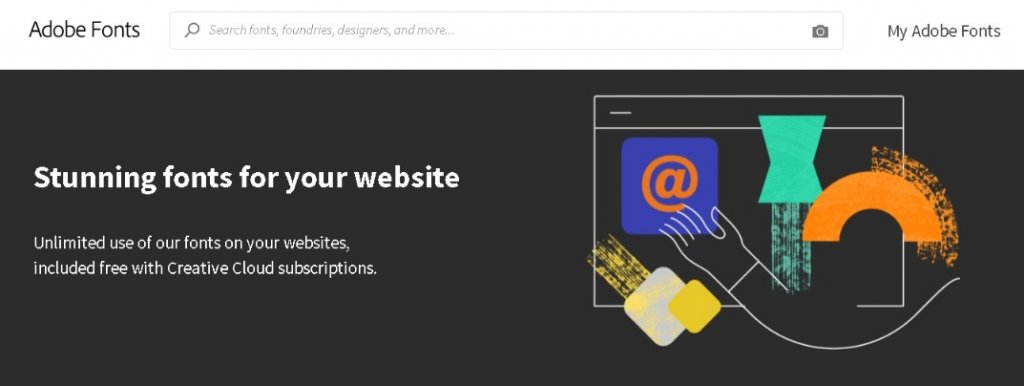
Adobe Typekit
Adobe provides two Typekit fonts for free, allowing you to test it out first and see how you like it. It is a font subscription service that allows you to sync fonts to your computer or use them on a website. You may use Typekit to download and utilize any of the thousands of Adobe fonts available.
Elementor and Typekit is a perfect match. Simply enter your Typekit key in the settings dashboard in the Integrations tab to quickly see all of your Typekit fonts in Elementor's typography settings. All you need to do is press Sync Kit and wait for a while.
You don't need to download, install, or code anything to use your Typekit fonts with this integration and that is a highly beneficial aspect for beginners.
Different Font Styles and Weights
A font family features weights ranging from 100 to 900, as well as Normal, Bold, Bolder, and Lighter weights. Normal, oblique, and italic typefaces can also be used. Any weight and style variation can be added to the font family group independently.
Manually, you would have to use CSS Code in order to add styling and weights to your fonts. However, once you have uploaded the variations in Elementor, it is quite easy to select the weight and style of your font.
Moreover, you won't be able to use the weights or variations that you did not upload. Depending on the browser it will select the closest possible variation it supports.
That's all from this tutorial about custom fonts and how they can help you elevate your website. Mae sure to join us on our Facebook and Twitter to stay updated about our content.


