
Do you want to create a searchable database from user input in WordPress?

A searchable database allows you to conveniently store, manage, and update all of your website's data in one place. This can be useful for sorting through contact form submissions or other user data.
I'll teach you how to simply create a searchable database in WordPress in this article.
What is a Searchable Database?
A searchable database allows you to conveniently store, manage, and update all of your website's data in one place. This can be useful for sorting through contact form submissions or other user data.
Create Amazing Websites
With the best free page builder Elementor
Start NowThis prevents you from wasting time manually browsing through pages or posts to find the information you require. Furthermore, analyzing data in a centralized area can assist you in identifying data trends and utilizing them to produce more leads for your firm.
In this article, we'll teach you how to simply establish a searchable database in WordPress.
How to Add a Searchable Database to WordPress
You can easily add a searchable database to WordPress using WP Forms.
WPForms is the best WordPress form plugin for creating any type of form, including contact forms, surveys, polls, and registration forms. In WordPress, you can also utilize WPForms to generate a searchable database from user input.
It also includes a searchable database function that allows you to simply search, edit, add, display, hide, sort, and browse all of your WordPress form data in one place.
To begin, install and activate the WP Forms plugin.
Step 1: Create Your First Form
After activation, navigate to WPForms » Add New from the WordPress admin sidebar.
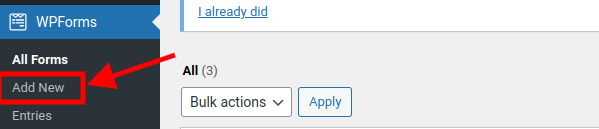
After clicking on Add New, a new pop-up will appear
You can choose to create from scratch with your own input fields or use an already-made template from WPForms.
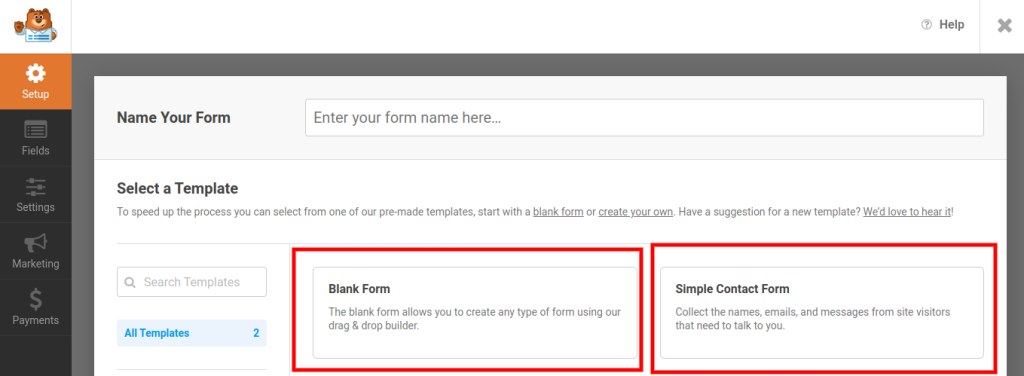
In this tutorial, we will use the pre-made template.
Click on "Simple Contact Form" as shown in the screenshot above, and let's proceed.
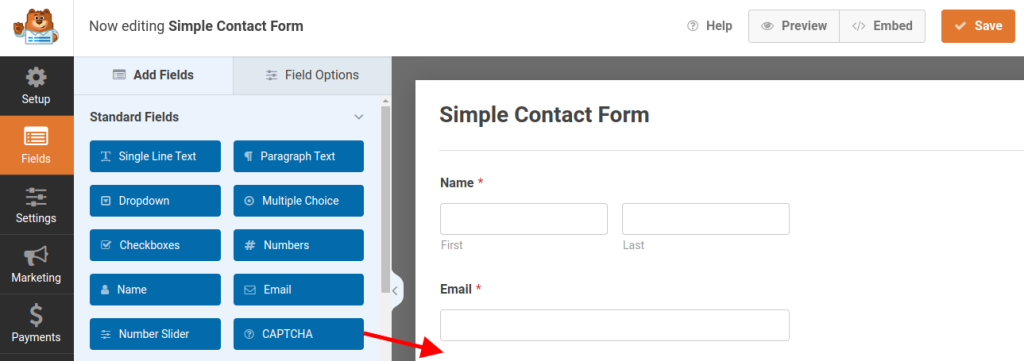
This will open up the drag-and-drop builder interface, where you can drag form fields of your choice from the left column onto the form.
You can even give your form a name, by going to Settings on the side panel by the left, and on the main screen by the right of your screen, you will see a "Form Name" field label that contains the name of your form.
From there, you can rename the form to anything you wish.
For the sake of this tutorial, we are going to call it "Searchable Form".
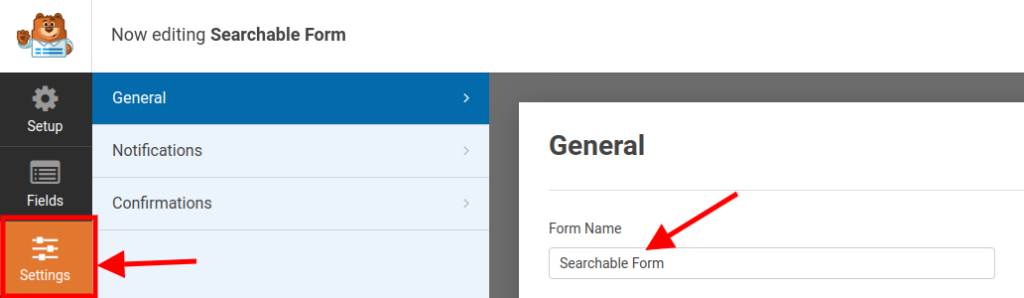
When you are done customizing your form, click on the "Save" button at the top-left of your screen.
Step 2: Add the Form to Your WordPress site.
To add the form to your WordPress website, navigate to an existing or new page in the WordPress admin sidebar.
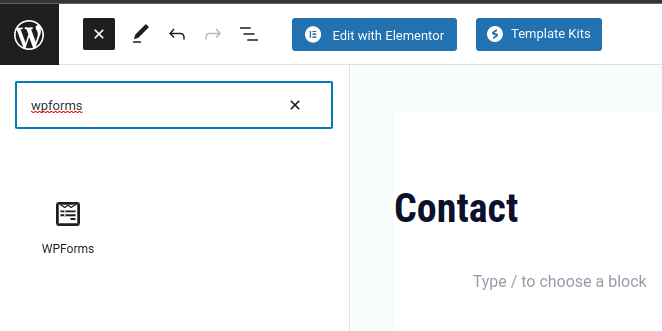
Once there, enter the block menu by clicking the '+' icon in the top left corner of the screen.
Find and add the WPForms block to the page here, or search for it in the search box that will appear just below the 'x' icon at the top left.
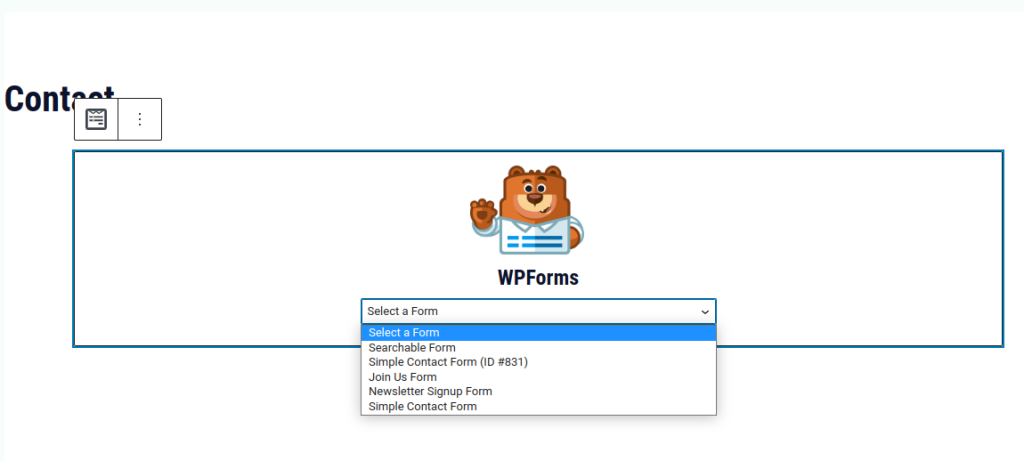
Now, select the form, from the dropdown list of different Form names that will appear.
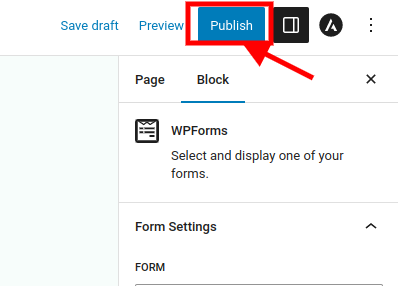
Note: You can also add the WPForm widget to your site if you are using page builders such as Elementor, Divi, or Brizy.
Once you are done, simply click on "Publish" at the top-right corner of your screen.
Now that a form has been added to a page, a searchable database will automatically be created for it.
When a user enters data into the form, it will be stored in the database.
Let's go ahead and enter data into the form and see how to sort it later on.
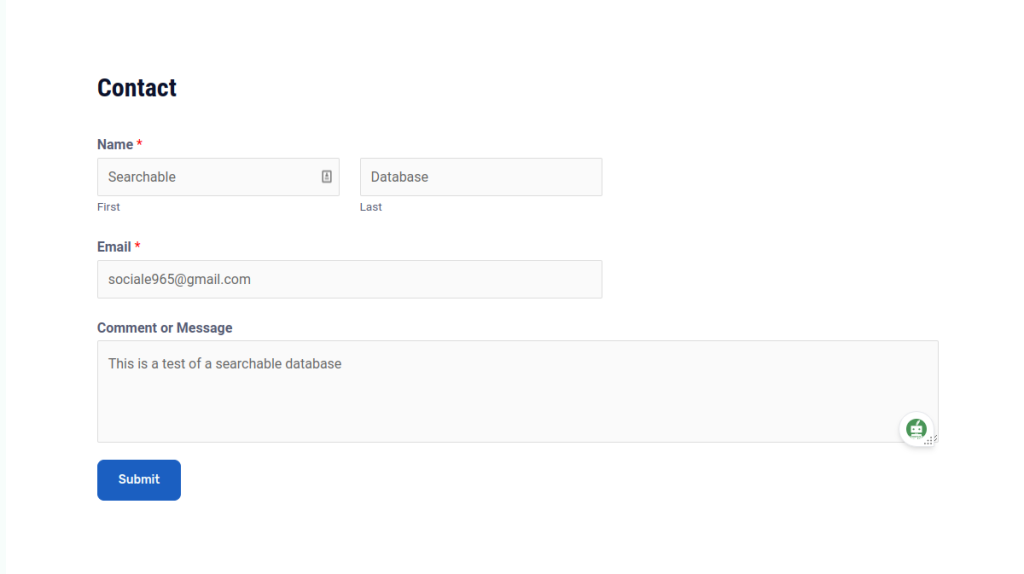
After entering your information, go ahead and click on the Submit button.
Step 3: View And Edit Data Using a Searchable Database in WPForms' Backend
Now, we will go to our dashboard!
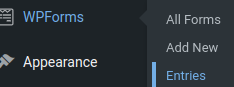
When on the dashboard, on the side panel, you will navigate to WPForms » Entries.
When on the WPForm Entry page, you will see a graph showing the analytics of all your Form's performance, and below you will see a table containing the names of the various forms and their stats.
To see more detailed data on a particular form, click on the form name.
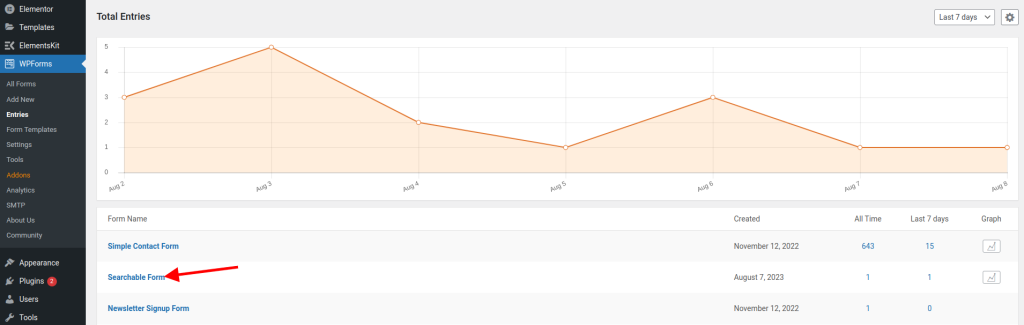
In this case, we will click on the "Searchable Form" we created.
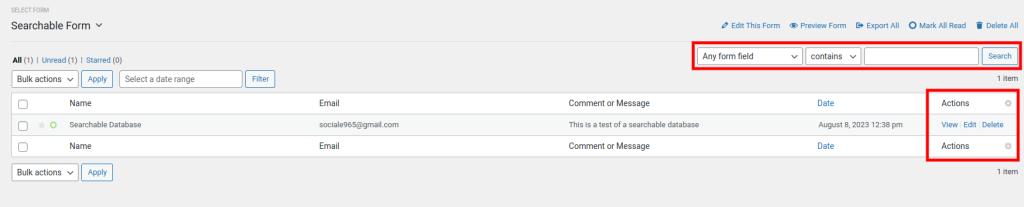
Once inside, you will see a table containing information about the various Form Entries.
In our case, we will see the information we entered for testing purposes.
On the Action column, we will see the 'View', 'Edit', and 'Delete' Actions.
You can also sort out entries in this form by clicking on the 'Any form field' and 'Contains' dropdowns. You could also do so by searching the form name in the search bar.
When we click on the edit Action, a new screen will appear.
On the new screen, we can choose to edit the information.
After editing, click on Update.

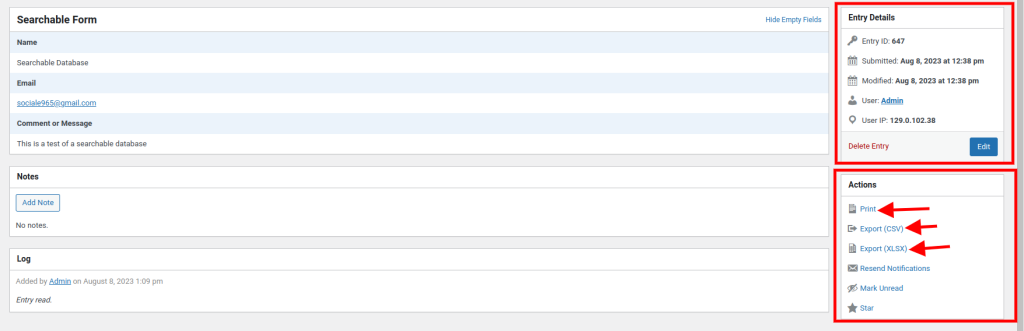
When we click on 'View' in the action section, we will see more presentable information on it in the form of a table.
You can also see the entry details on the left and the Action section.
From the Action section, you can choose to export the form as 'XLSX' which is the Microsoft Excel format, or the 'CSV' format, or even print the form.
Conclusion
You’ve just learned how to view and edit user input in the WPForms backend, step by step. You might be feeling excited, curious, or even a bit overwhelmed by all the possibilities. Maybe you’re thinking, “Wow, this is awesome! I can finally see and modify what my visitors are submitting on my website. But how do I make the most of this feature? What else can I do with WPForms?”
Don’t worry, we’ve got you covered. In this post, we’ve shown you the basics of how to view and edit user input in WPForms' backend. But that’s not all. WPForms is a powerful and versatile tool that can help you create and manage any kind of form on your WordPress site. Whether you want to collect feedback, generate leads, accept payments, or do anything else, WPForms can handle it.
So what are you waiting for? The next step is to start creating and customizing your own forms with WPForms. You can use the drag-and-drop builder to design your forms in minutes, without any coding skills. You can also choose from over 100 templates to get started quickly. And you can integrate your forms with popular services like Mailchimp, PayPal, Stripe, and more.
To get started, you just need to install and activate the WPForms plugin on your WordPress site. You can download it for free from the WordPress repository, or upgrade to the pro version for more features and support.
WPForms is the best WordPress form plugin for beginners and experts alike. It’s easy to use, fast, secure, and reliable. It will help you grow your website and connect with your audience in a meaningful way. So don’t miss this opportunity to take your WordPress site to the next level with WPForms.
Go ahead and try it out today. You won’t regret it. WPForms is the ultimate solution for all your form needs. Trust us, you’ll love it!


