
A website for your restaurant can help you attract new customers and expand your business. It can also enhance the experience of your current customers and encourage them to return to your food business establishment.

This article will guide you through the process of creating a WordPress website for your restaurant, cafe, takeaway, or similar business.
Why Create a Restaurant Website?
A website is an excellent tool for promoting your restaurant to potential customers and improving the experience of your current ones.
By establishing an online presence for your restaurant, you can reach people who are searching for venues and cuisine like yours.
Create Amazing Websites
With the best free page builder Elementor
Start NowEven if your restaurant has a strong local reputation and a loyal customer base, a website can enhance the customer experience.
For instance, it can enable customers to make reservations online, submit inquiries through a contact form, view the latest menu offerings, and more.
Let's see how you can easily create a Restaurant website using WordPress.
Why Choose WordPress?
Research has it that WordPress is the most widely used website platform globally, powering nearly 43% of all websites on the internet, including many top restaurant sites.
WordPress is open-source and free to use.
Let's move forward and see the various steps it will take to construct or restaurant site using WordPress.
Step 1. Purchase your Domain and Hosting and Set up your Restaurant Website
To start the process, you will need to purchase a domain and hosting.
A domain is simply the name of your website, for example, "restaurant.com". This is what customers will type into their browsers to access your website.
Web hosting is where your website is stored online. We have selected some of the best WordPress hosting options for a restaurant website to help you. While the WordPress software is free, hosting and domain name costs can add up.
A domain name usually costs $14.99 per year, and hosting starts at $7.99 per month, which can be a significant expense for restaurants.
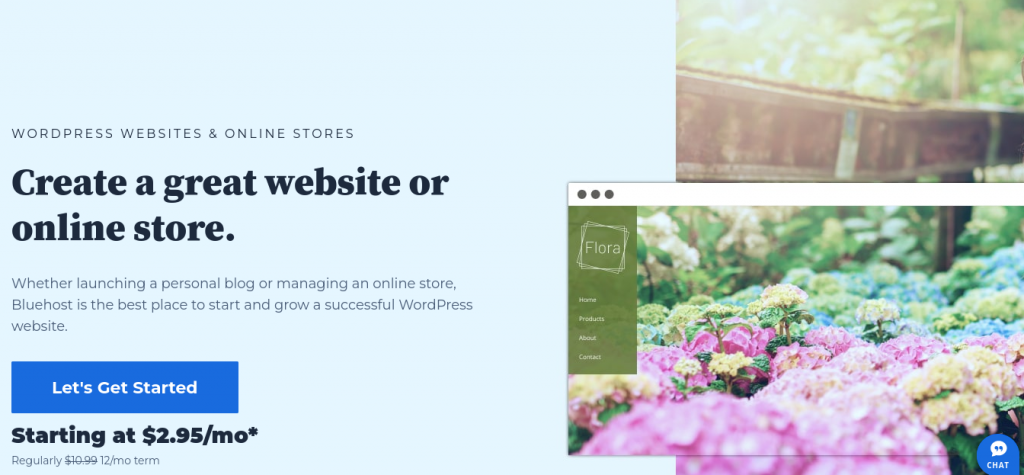
However, Bluehost offers a free domain name and 60% off web hosting for our readers. Bluehost is one of the largest hosting companies globally and an official WordPress-recommended hosting partner.
They also provide our readers with a free SSL certificate, which is essential for securely accepting online payments. You can get started for as little as $2.95 per month by clicking the button below.
This will take you to the Bluehost website on a new tab. When you are there, click on the 'Get Started Now' button.
It will take you to the section containing the various hosting plans and their prices.
Basic and Business plans are the most popular plans for people who are just getting started. We advise that starting with either of these two plans will be a good fit for your restaurant website.
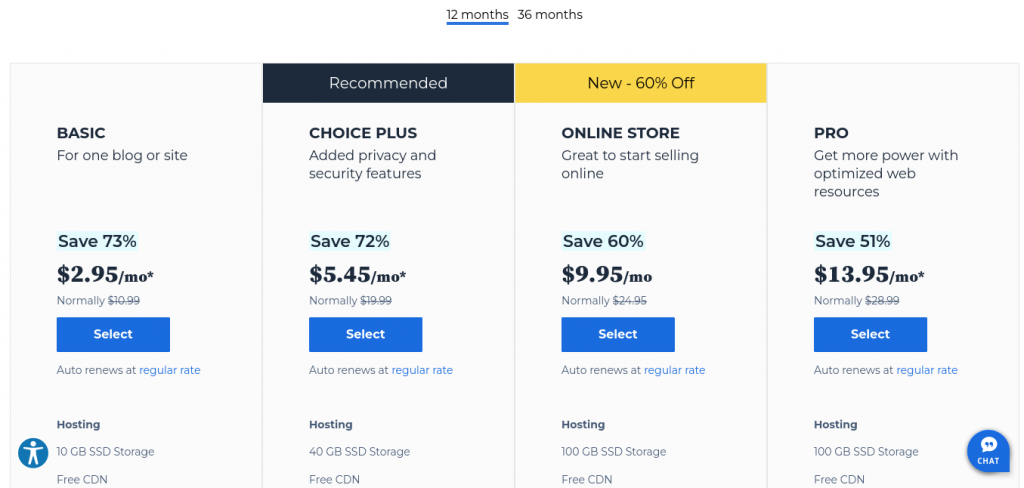
Once you have chosen a plan, click ‘Continue.’
On the following screen, you will be prompted to select a domain name.
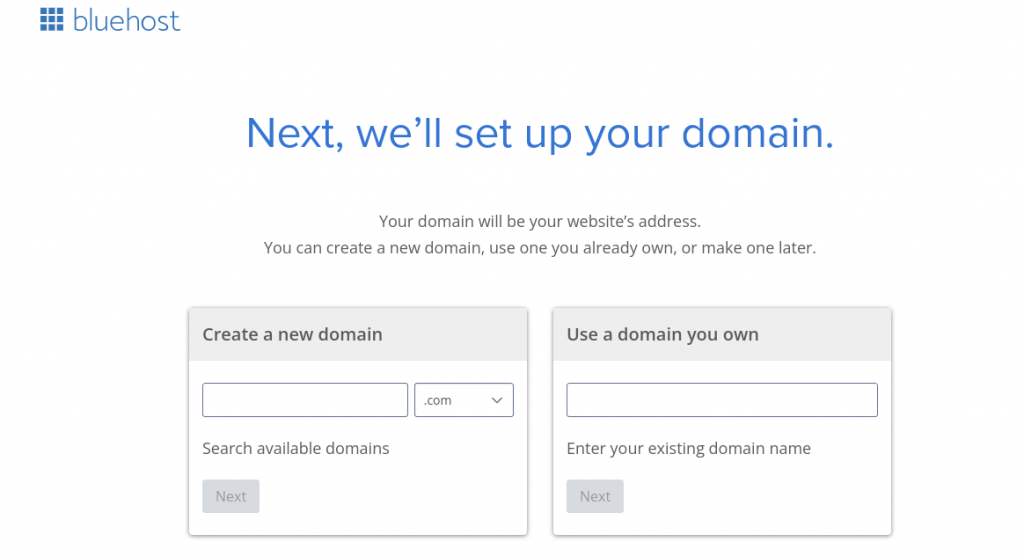
After selecting a name, click the ‘Next’ button to proceed. You will then need to enter your account information, such as your name and email address.
You will also see optional extras available for purchase. We generally advise against purchasing these extras immediately, as you can always add them later if needed.
After that, you will need to type in your payment information to complete the purchase.
After completing the previous steps, you will receive an email with instructions on how to log in to your web hosting control panel.
This is also where you will install the WordPress software.
This is the dashboard for your hosting account, where you can manage your restaurant website, set up email notifications, and request support from WordPress.
Step 2. Create your WordPress Website
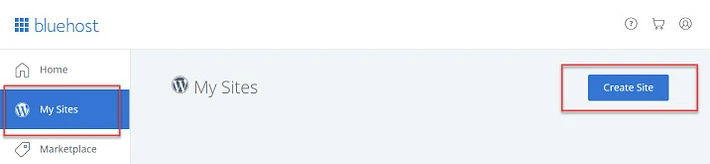
Inside your Bluehost account, go to the 'My Sites' tab. then click on the 'Create Site' tab at the top-right corner.
After that, you will need to enter some basic information about your website, such as the Site Name and Tagline.
This information can be changed later on.

you have to now select the domain name you chose when creating your Bluehost account from the Domain drop-down menu.
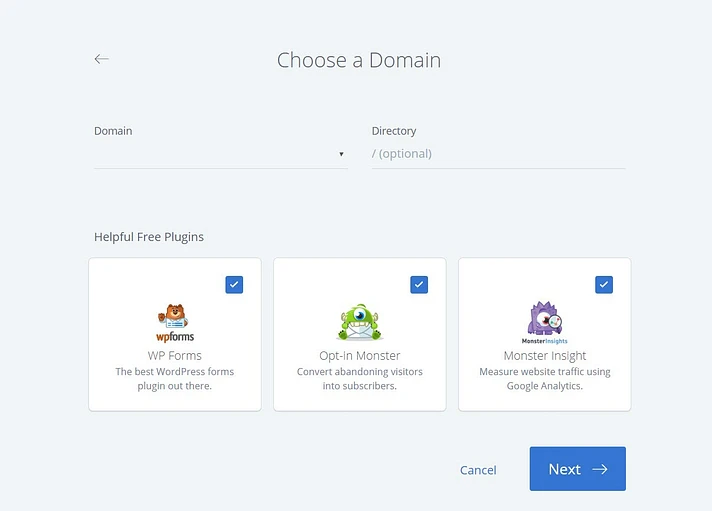
You can decide if you want to select and install some of Bluehost's recommended plugins alongside your WordPress installation.
Click on Next at the bottom of the screen to install WordPress.
Bluehost will install WordPress for you, create your new WordPress website, and display your login details.
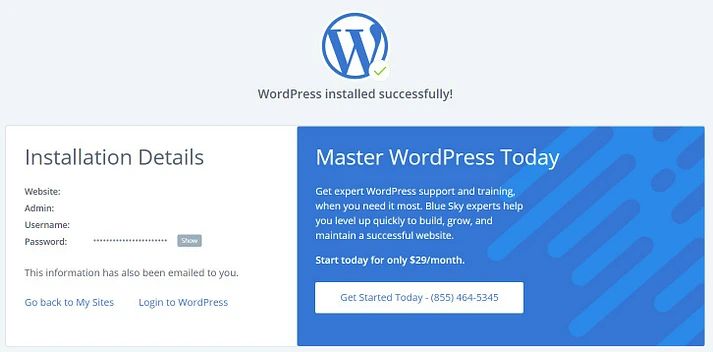
You need to click on the 'Login to WordPress' link to open your new website.
You can also simply log in to the WordPress dashboard by going to yoursite.com/wp-admin/ directly from your browser.
Hurray!!! You are now good to go. You can start designing your beautiful Restaurant site for your customers.
Step 3. Select a Restaurant Theme
The default theme that comes with WordPress is usually not the best.
A restaurant website should have the capability to display essential information such as menus, photos, location details, and business hours.
It’s a good idea to choose a WordPress theme specifically designed for the food or hospitality industry.
You can use a Page Builder plugin like Elementor and a Theme like Astra.
It is important to note that, the Astra theme is completely compatible with Elementor.

Advantages of Using Astra and Elementor
Astra and Elementor are two popular tools that can be used together to create a powerful and efficient content management system for your restaurant website.
Some of the advantages of using Astra and Elementor together include:
- Designing sites: Designing with Elementor with Astra as a canvas is a much more pleasant experience than using WordPress’s built-in functionality alone.
- Developing sites: Elementor makes WordPress somewhat close to a no-code platform, making it easier for users to develop their own sites.
- Simplicity: Astra focuses on simplicity and provides users with well-categorized settings in the customizer to achieve their desired output with minimum options.
Overall, using Astra and Elementor together can provide you with a user-friendly and efficient way to design and develop your restaurant site or food business.
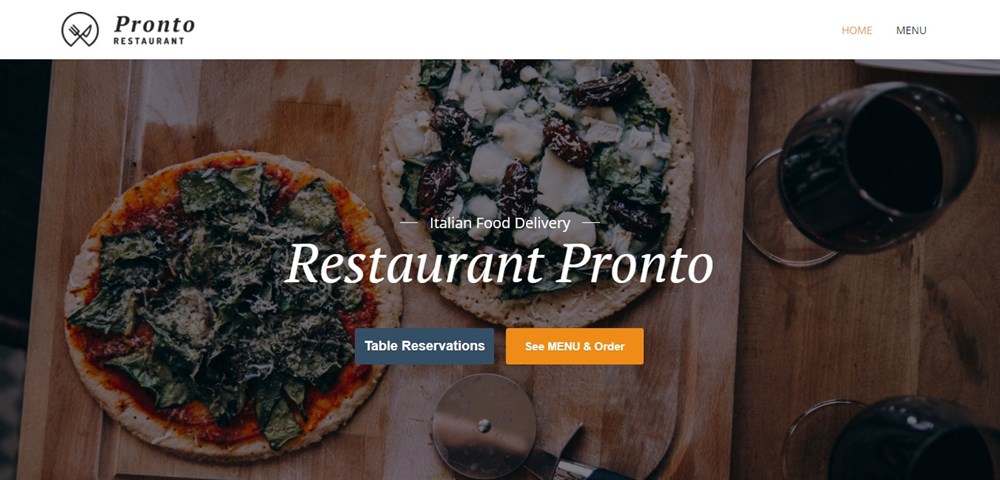
Step 4. Create a Custom Home Page
WordPress offers two primary content types: posts and pages.
Posts are typically used for creating articles and blog entries. By default, the home page displays these posts in reverse chronological order, with the most recent content appearing first.
Having a blog can help you strengthen your relationship with customers, improve your website’s SEO, and drive more traffic to your restaurant website.
You could share recipes, cooking tips, or news from the restaurant industry. Even if you plan to publish blog posts, it’s usually best not to display them on the home page.
Instead, we suggest creating a custom home page that introduces your business to new visitors.
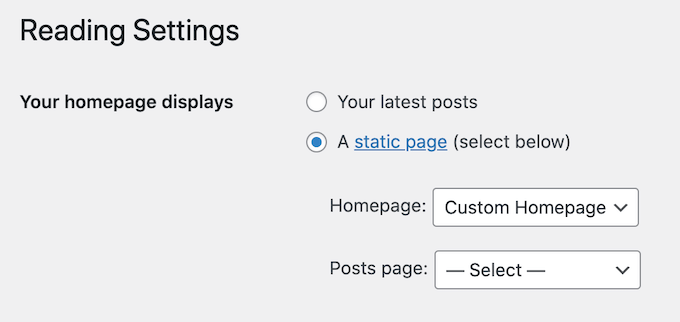
Once you’re satisfied with the design of your page, you can set it as your home page by going to Settings » Reading in the WordPress dashboard.
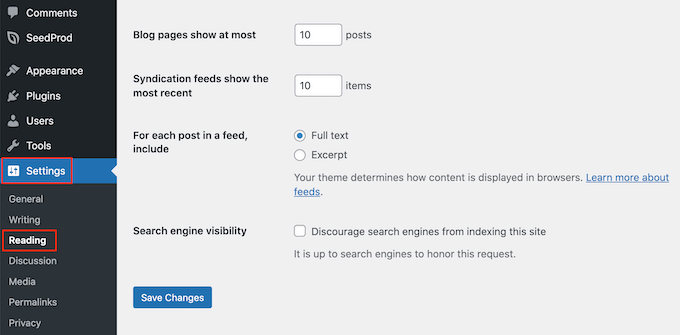
“Scroll down to the ‘Your homepage settings’ section and select the ‘A static page’ option.
Then, click on the ‘Homepage’ dropdown menu and choose the page you want to use as your home page.
After setting this up, scroll down and click on 'Save Changes'. Your new homepage will take effect.
Make sure to create a separate blog page to display your posts if you plan to write articles. Otherwise, customers may have difficulty finding your most recent posts.
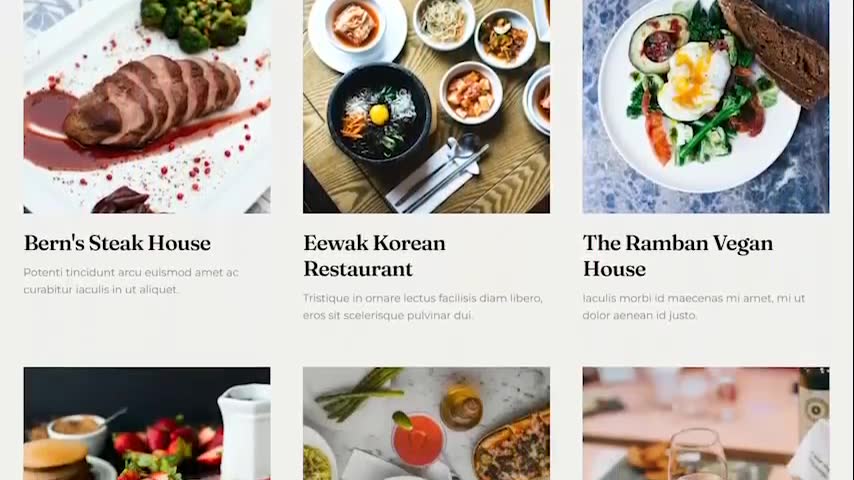
Step 5. Create an Online Restaurant Menu
Even loyal customers may want to view your menu from time to time. By making your menu available online, customers can access it at any time.
This can also help attract new customers to your restaurant. While it’s possible to upload PDF files to your WordPress website, downloading a PDF menu can be challenging for customers with limited data plans or slow internet connections.
Additionally, PDF menus are not responsive and can be difficult to read on some devices. If you update your menu or change your prices, you’ll need to upload a new PDF.
For these reasons, we suggest using Elementor to create an online menu for your WordPress website. Elementor allows you to create a mobile-responsive menu that looks great on all devices.
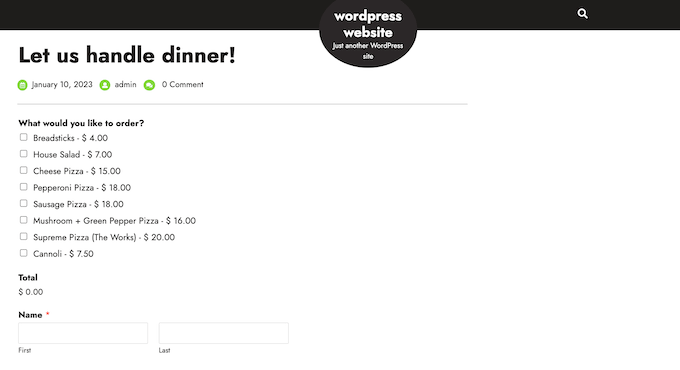
Step 6. Set Up Online Food Ordering
Many restaurants offer online food ordering options, such as pre-ordering meals or placing orders for delivery.
While it may seem complicated, it’s actually quite simple to add online food ordering to your website using the WPForms plugin.
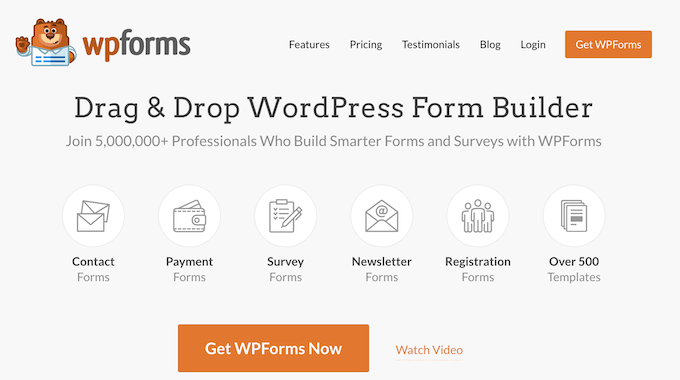
WPForms is a powerful WordPress form builder that enables you to create online order forms for a wide range of products and services.
It even includes a pre-built ‘Takeout Order Form’ that can be easily customized to fit the needs of your restaurant website.
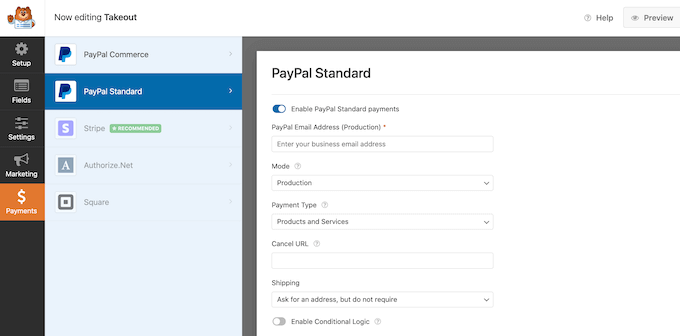
When a customer completes an order form, WPForms will automatically notify you so you can begin processing the order.
If you prefer not to accept cash on delivery, WPForms integrates with popular payment gateways such as PayPal and Stripe, allowing you to securely accept online payments. This is both fast and convenient for your customers.
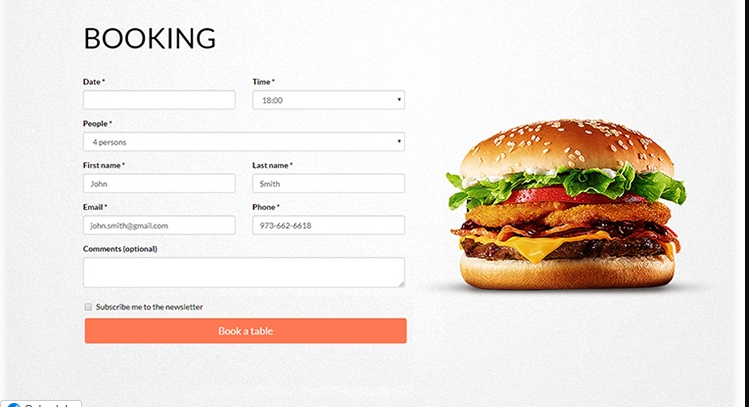
Step 7: Add a Restaurant Booking Form
Creating a reservation form on your restaurant site will give you the eligibility to accept reservations day and night. This will help you not to lose customers just because you weren't around your phone when they called or, you didn't reply to a message on time.
Booking forms can help automate many aspects of the booking process, such as collecting payments and sending reminder emails to customers about their upcoming reservations.
With WPForms, you can easily add a restaurant booking form to your website. The plugin includes a pre-built dinner reservation form template that can be customized to fit the needs of your restaurant.
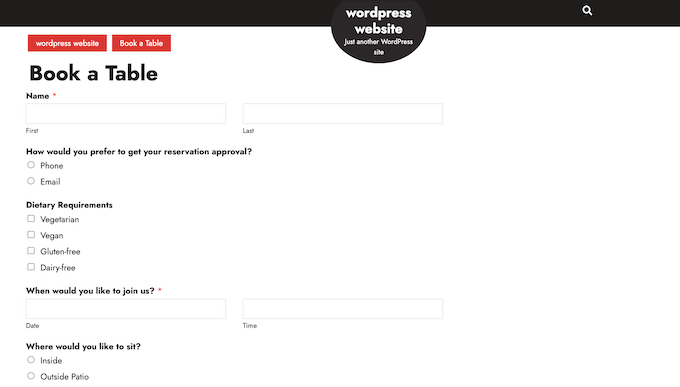
WPForms integrates with leading email marketing providers, making it easy to send reservation confirmation emails to your customers.
As the date of their reservation approaches, you can use WPForms to send reminder emails, request information about dietary requirements, and even send pre-order forms.
Step 8. Add a Contact Us Form
Even if you have a WordPress appointment and booking plugin on your website, some customers may still want to speak with you directly.
While they could call your phone number or send an email to your business address, we recommend adding a contact form to your website as another way for customers to get in touch with you.
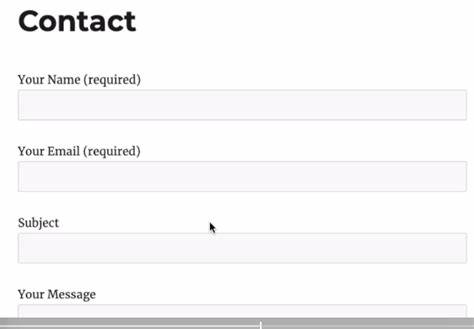
One of the best ways to add a contact form to your WordPress site with a drag-and-drop form builder is by using the free WPForms plugin.
If you want more advanced features and additional fields to your form, such as Captcha, Address, and file upload fields, use the Premium WPForms instead.
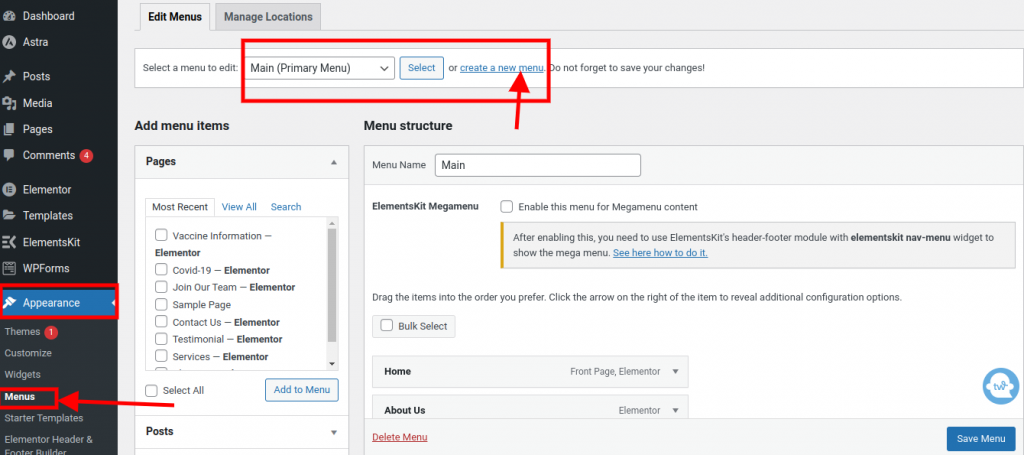
Step 9. Add a navigation Menu
Once you have created fully functional pages on your restaurant site, such as a Menu page, reservation, and contact page, you may want to add a navigation system on your site that easily routes users to various pages on your site with ease.
To add a navigation menu on your WordPress site, go to "Appearance » Menu" on your admin dashboard. There, you will see various menu options, like adding pages to a particular menu, and the "create new menu" option.
Step 10. Add Social Proof to Your Restaurant Website
Social proof is a powerful way to build trust with customers and attract new visitors to your restaurant.
People are more likely to try something if they see others enjoying it. Many people enjoy sharing food photos on social media platforms like Instagram and Facebook.
We suggest adding social media feeds to your WordPress website to take advantage of this.
A good example of a social media feed plugin you could use for this purpose is Smash Baloon.

Final Thoughts
Growing your restaurant website will take time and effort, but with the right strategies in place, you can attract more visitors and increase engagement and sales.
Here are some tips to help you grow your restaurant website:
- Create high-quality content: One of the most important factors in growing your website, in general, is by creating high-quality content that provides value to your visitors. This can include blog posts, videos, pictures, that help showcase what your restaurant offers, and other types of content that are relevant to your audience.
- Optimize for search engines: Search engine optimization (SEO) is essential for attracting organic traffic to your website. Make sure your website is optimized for search engines by using relevant keywords, creating high-quality content, and building backlinks from other reputable websites.
One of the best-proven plugins for this is using the All In One SEO (AISEO) plugin. - Use social media: Social media can be a powerful tool for promoting your business and attracting new customers. Share your content on social media platforms and engage with your followers to build a community and new customer base around your business.
- Build an email list: Building an email list is a great way to keep in touch with your customers and promote your restaurant website.
- Analyze and improve: Use analytics tools to track your restaurant website’s performance and identify areas for improvement. Make data-driven decisions to optimize your website and improve the user experience.
By following these tips and consistently working to improve your website, you can attract more customers, increase engagement, and grow your restaurant/food business over time.


