
Creating password protected pages in WordPress can be a useful way to share private content with only certain visitors. If you use the Elementor page builder plugin, there is a simple way to make any page only accessible to people who enter the right password.
In this tutorial, I'll walk you through the steps for making a password protected page in Elementor. We'll use Elementor's built-in tools along with some settings in WordPress to set up authentication. The process only takes a few minutes, and then you'll have a secure page ready to share.
Whether you want to have a page visible for clients to view draft content, share special deals with email list members, or create any type of exclusive visible page, a password protected page is perfect. Let's get started!
Make A Password Protected Page In Elementor
Essential Addons can be utilized to safeguard either a page or a blog post. Beyond simply applying a password for page protection, you also have the option to impose content restrictions based on user roles. This means that only users with designated roles will have the ability to view the content.
Create Amazing Websites
With the best free page builder Elementor
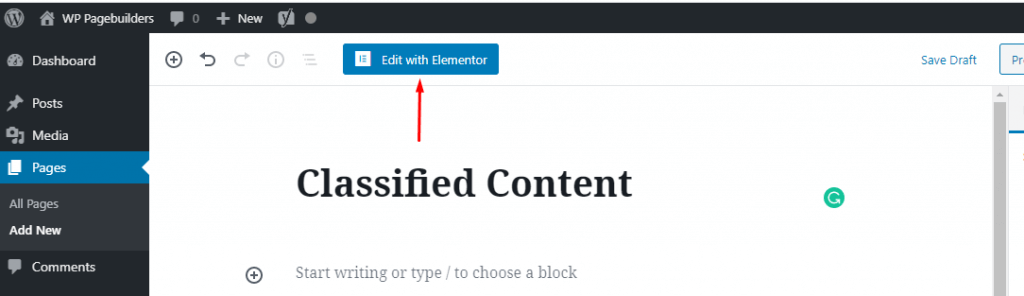
Start NowTo begin, initiate the process by creating a new page (Pages -> Add New) or post (Posts -> Add New), and proceed to edit it using Elementor.
Before you begin editing your page, make sure to choose the page layout. Just click the gear icon in the bottom-left corner of the left panel, and pick the page layout from the dropdown menu labeled "Page Layout."

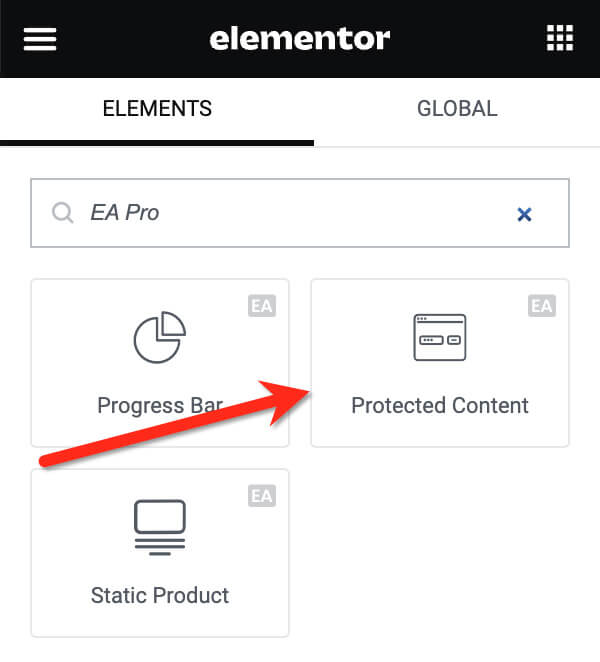
Click the plus button on the canvas to create a new section. Choose a structure that fits your design idea. After adding the section, drag the Protected Content widget from the left panel to the canvas.
The first step you should take now is to put the stuff on the page. Essential Addons gives you two choices. You can either put in content from a template (Elementor template) or make brand new content. If you like making new content, you can use the editor they give you.
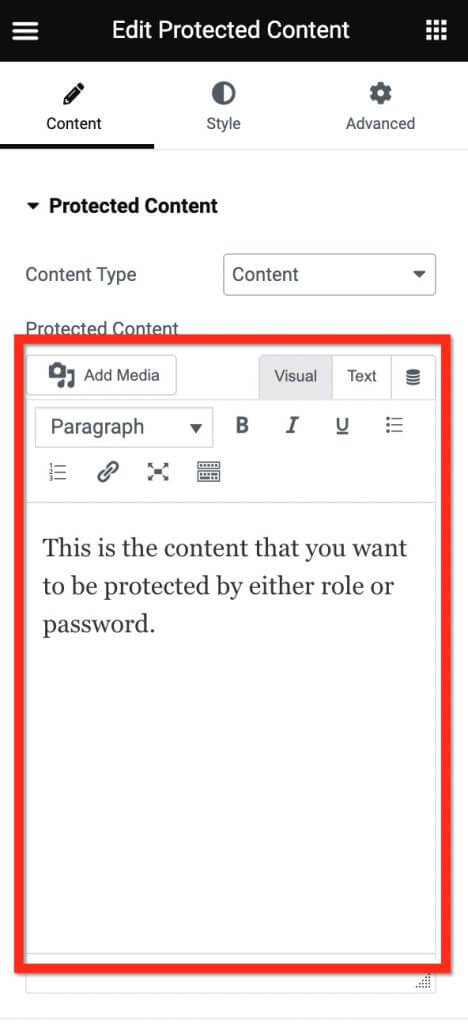
If you like using a template, choose "Saved Template" for the content type and pick a template from the menu below.

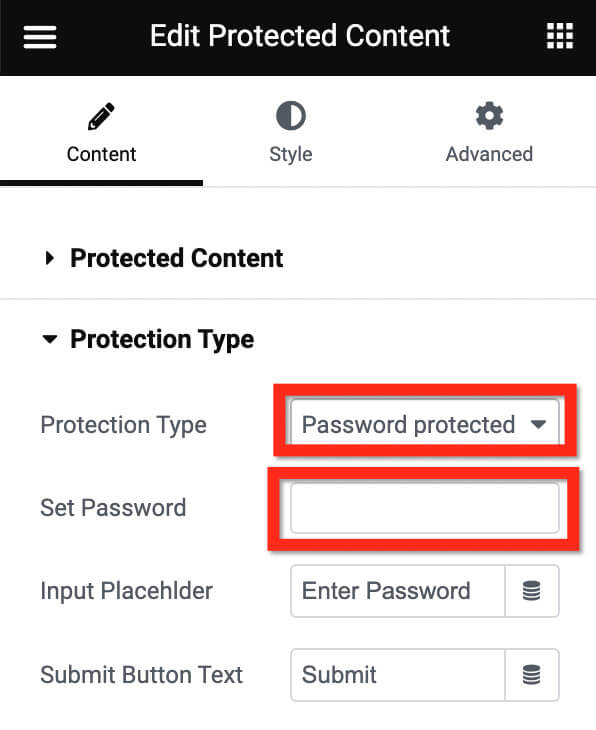
Open the settings for Protection Type to choose a protection method. If you want to put a password on your page, pick "Password protected" from the Protection Type options. Then, enter the password in the designated Set Password field.
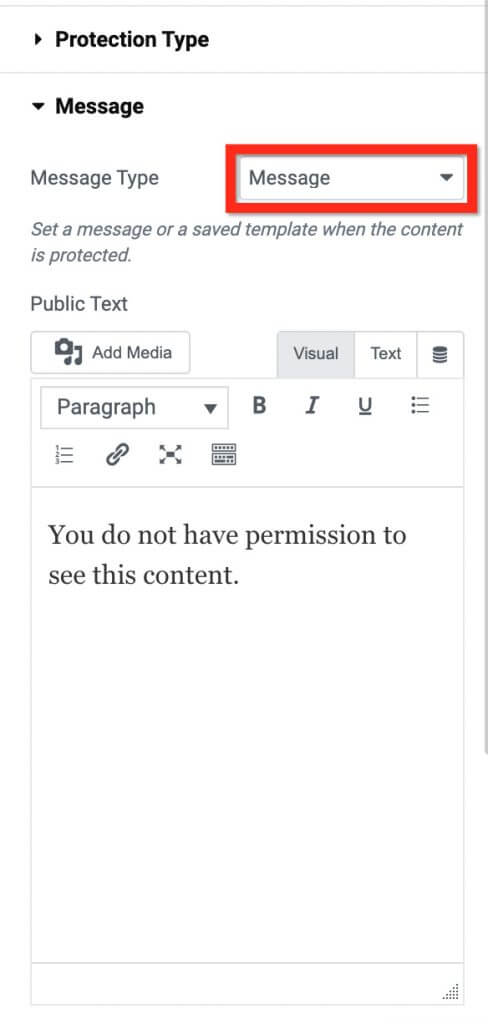
Go to the Message settings section to create your message. Essential Addons also lets you use a template for your message. Choose the message type from the dropdown menu in the Message Type section.
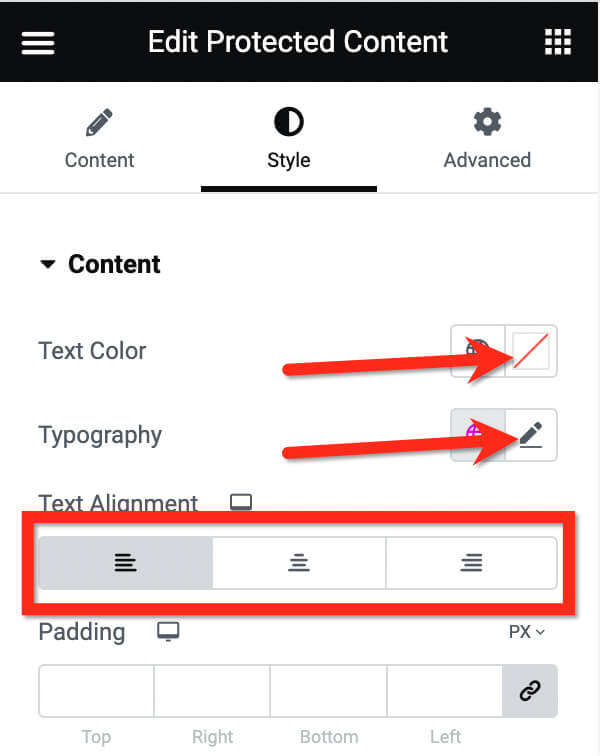
Your page is safe until now. Before you share it, head to the Style tab in the settings panel to make it look better. Open the Message block to style your message. Adjust the text appearance (size, style, and font) by clicking the pencil icon on Typography. Choose the text color by clicking the color selector in the Text Color section. You can also pick the alignment in the Align section.
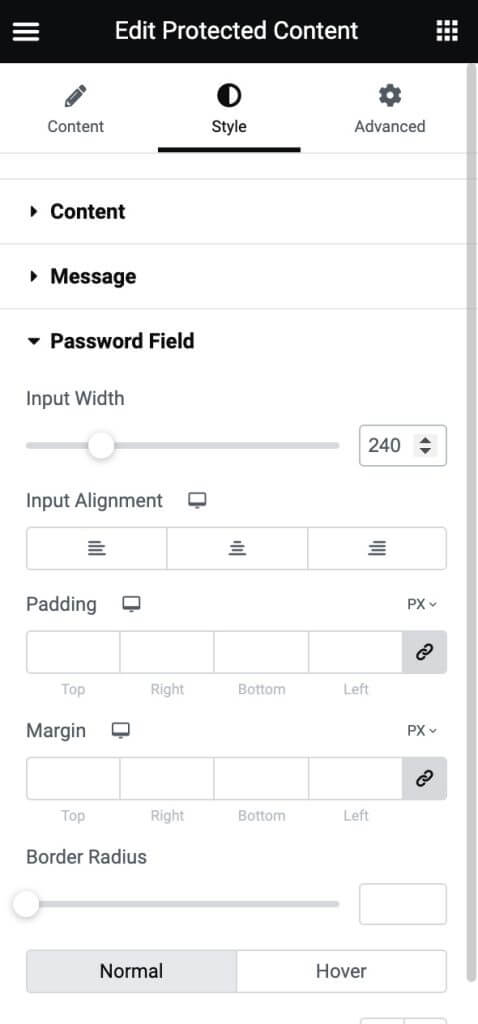
To customize the password field, go to the Password Field settings. There, you can adjust the input width, alignment, border radius, and background color.
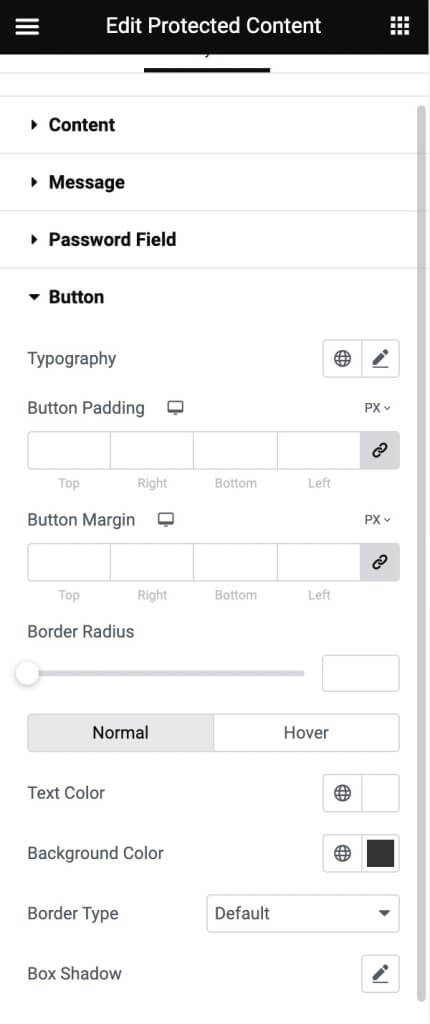
Finally, you can customize the button's appearance. Open the Button block to style it. Adjust the text style by clicking the pencil icon in the Typography section, change the background color with the color selector in the Background Color section, and modify the text color using the color selector in the Text Color section.
You have various styling choices to adjust. Experiment with the Style tab until you're happy with how the content locker looks. When you're finished, click the PUBLISH button to make your page public.
Conclusion
Creating password protected pages in Elementor is quick and easy thanks to the access control options it offers. By enabling the content protection setting and defining a password, you can keep certain pages private while sharing them safely with selected people.
This is useful for all kinds of situations - from sharing draft content with clients to giving special offers to loyal customers and email subscribers. Just make sure to provide the password in a secure way to the people you intend to grant access.
Also remember that the password protection only works on that individual page, not an entire site. So if you want multiple restricted pages, the password setup needs to be done separately for each one. But overall it's a very handy tool for when you need a simple way to limit page access.


