
If it's true there are tons of plugins available to create a membership website, Wishlist Member seems to be the appropriate plugin to consider for a membership website. In fact, "Wishlist Member" can help you to build a membership website that restricts blog, pages, and custom post type access. Wishlist Member now is compatible with Divi, allowing you to control access to any section or row.
In this tutorial, we’ll look at how Wishlist Member works with Divi, see how easy it is to use, and see what you can achieve with it.
Integrating WishList Member With Divi
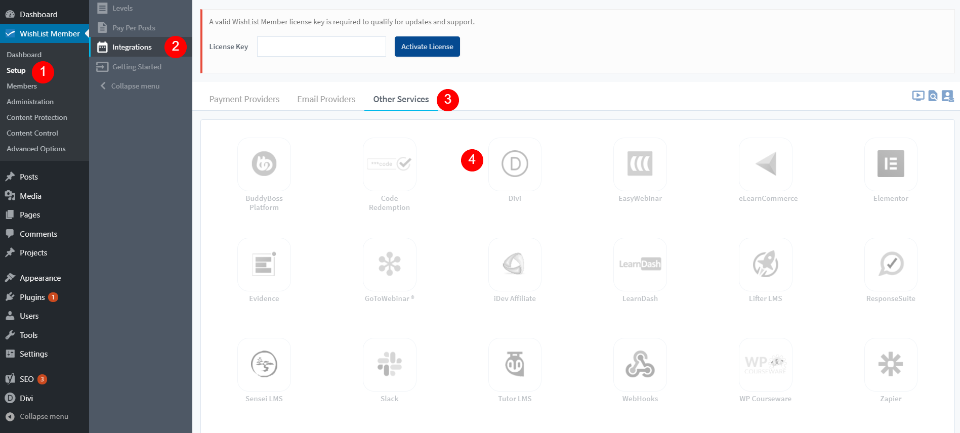
By default, you'll need to enable the integration with Divi as it's disabled when the plugin is installed. To use Wishlist Member with Divi, you’ll need to enable Divi integration. Go to the Wishlist Member menu on the sidebar menu within the dashboard and select Setup > Other Services > Integration. You’ll see lots of apps to choose from. Select the Divi logo. That will opens a new screen.
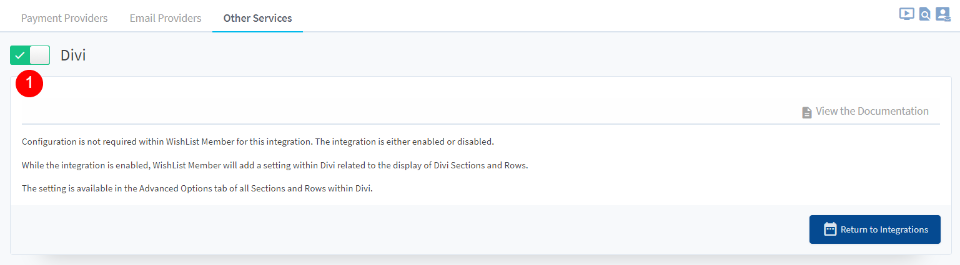
You need to click on the toggle button to enable the integration with Divi. From now the "Wishlist Member" is now ready to be used within Divi Builder.
Create Amazing Websites
With the best free page builder Elementor
Start NowWishlist Member's Controls On Divi Builder
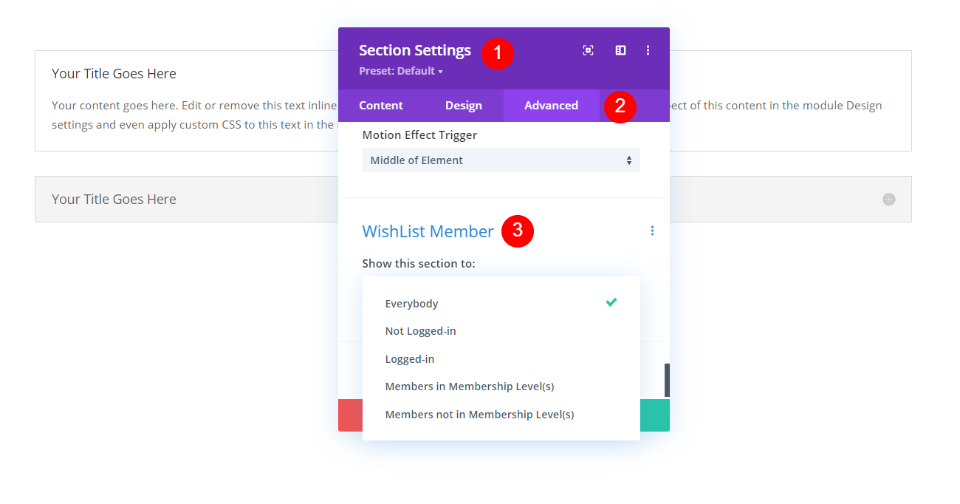
Once you’ve enabled Divi integration, the Wishlist Member options are added to the Advanced tab of sections and rows in the Divi Builder. The last option in the Advanced tab, named Wishlist Member, has fives choices to change the visibility of a row or section:
- Everybody – That means, everyone that visits the website can see this section or row. This is selected by default.
- Not Logged-In – This means that the row or section is only visible for those who aren't connected.
- Logged-In – Restrict the view to only those who are connected.
- Members in Membership Levels(s) – Every person that’s logged in and has certain membership levels will see the section or row. You can select a level you have created.
- Members not in Membership Levels(s) – Every person that’s logged in and does not have the required membership levels will see the section or row. You can also select from the levels you have created.
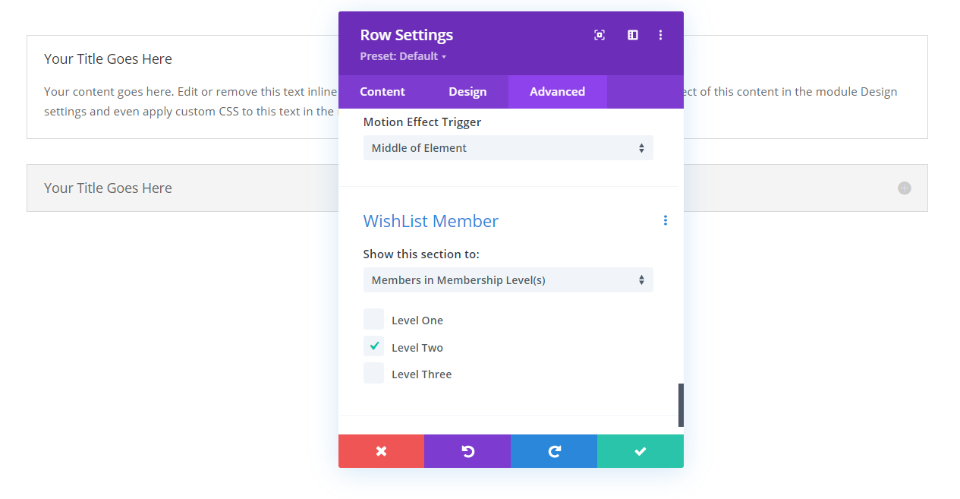
For those that allow you to specify a membership level, a set of selections will appear that shows the names of the levels that you’ve created in the Wishlist Member Setup screen in the WordPress dashboard. You can make any selections you want.
Making Multiple Selections
It's possible to make your selections just in the section or row or use both together. Using the settings together with the settings of other sections and rows allows you to create targeted content. This is especially useful if you have multiple levels and multiple memberships. Using the sections and rows together allows you to create some interesting logic, but it gets tricky and confusing if you have a page mixed with this logic. Try as far as possible to avoid conflict within your sections' visibility rules.
Let’s look at a few examples. First, we’ll need a few levels to choose from.
How To Create a Level With Wishlist Membership
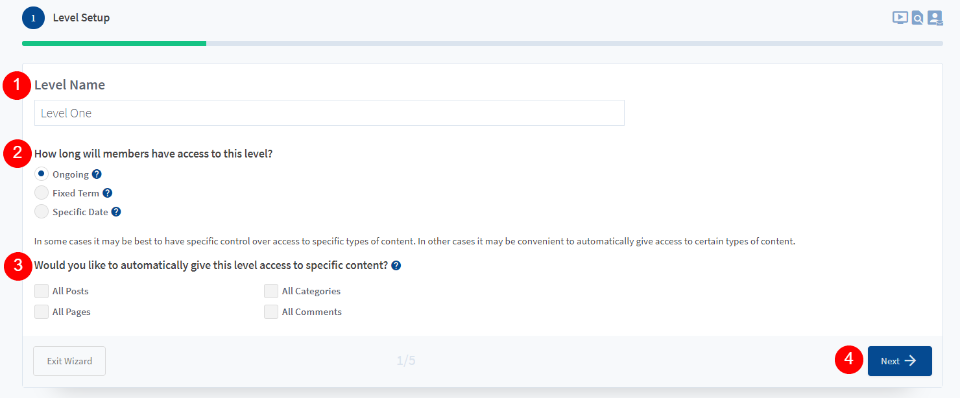
Before Divi starts using "Wishlist Member" features, you’ll need to create a few membership levels. From the dashboard menu, go to Wishlist Member > Setup. Select to add a new level. If you don’t have any levels, you’ll see the level creation wizard. Provide the level a name, choose how long members have access to the level, and choose the types of content they have access to, then click Next.
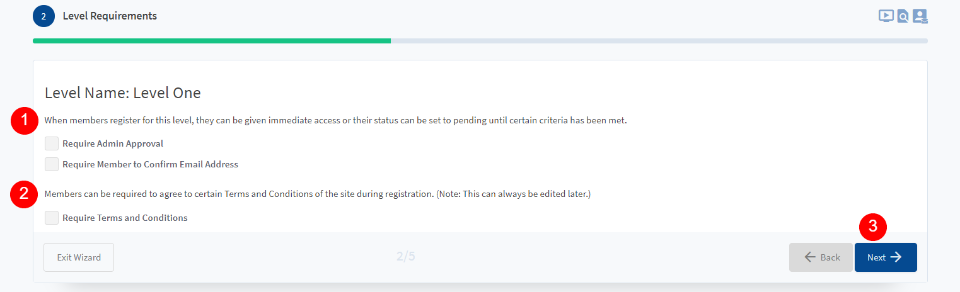
Determine if members need admin approval and if they must confirm their email.
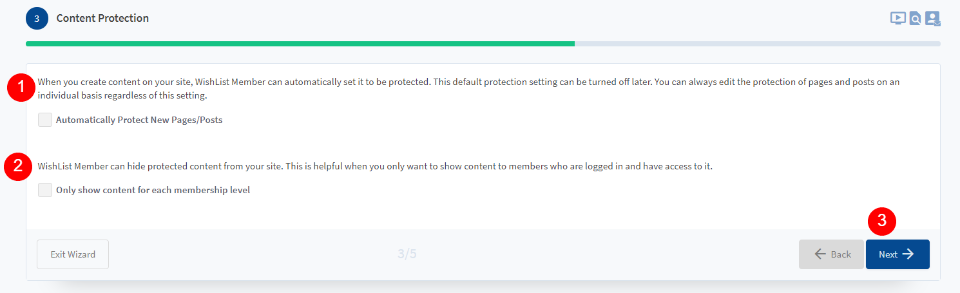
Choose if you want your new pages and posts automatically protected with the Wishlist Membership restriction rules. You can also configure it to only show content for the specific membership levels. You won’t need to include this. That can be controlled with Divi.

Enter the email name and address that Wishlist Member will use to send messages to members.
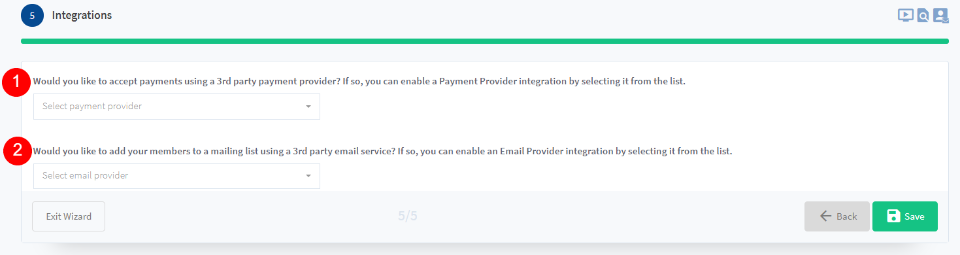
Now you can setup the payment gateway and email service options.
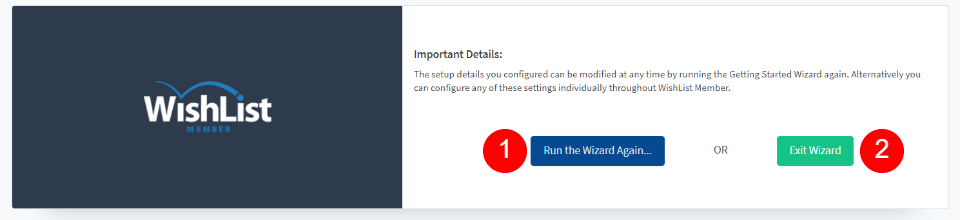
Run the wizard again to create multiple levels. Or exit the wizard and create more levels later.
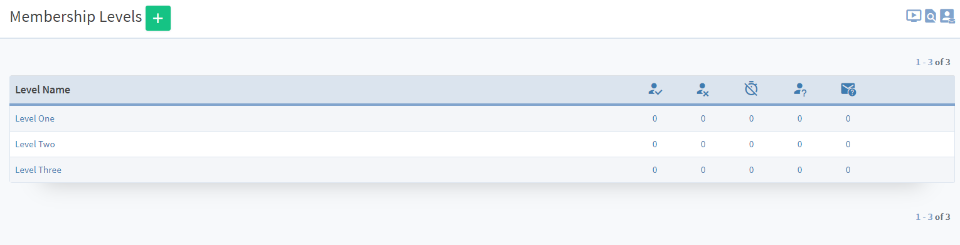
Once you have the levels you want, you can then add the membership restrictions to your Divi sections and rows. The wizard is not required to create new levels. Your news levels will use the settings you have previously defined. They’ll follow the settings you’ve already set up. Now, let’s see how it works.
Wishlist Member Divi Examples
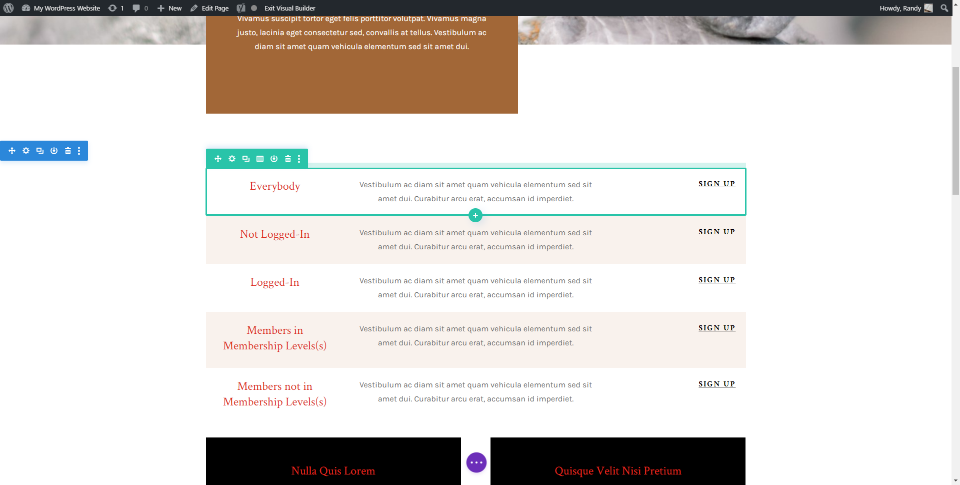
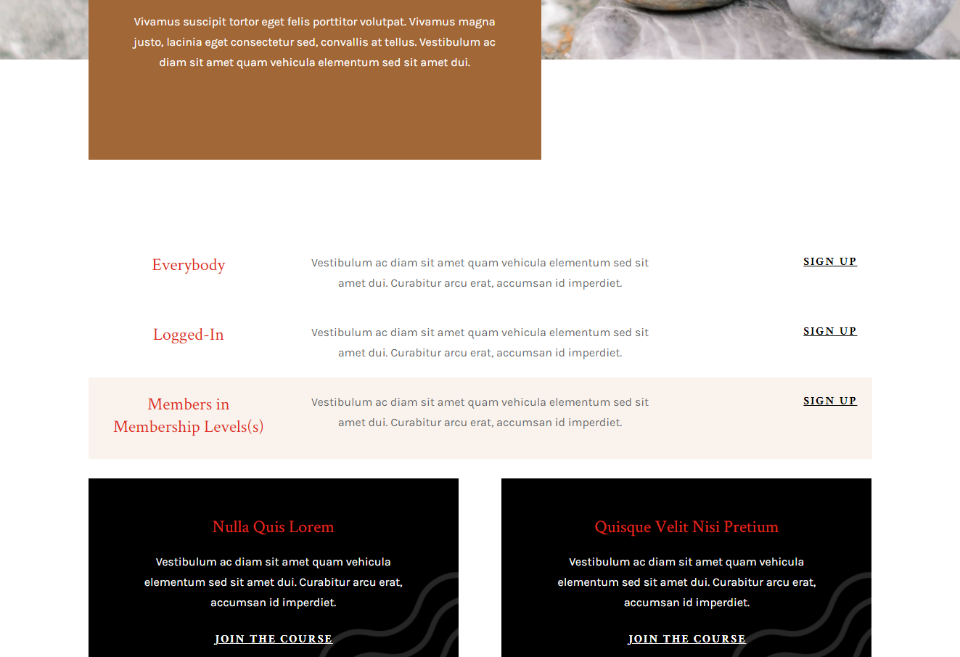
In order to see how Wishlist Member Divi integration works, we'll perform some adjustments to a set of rows. we'll also make a CTA for the Landing Page layout. We've adjusted the membership restrictions for each row according to its title to help make it easier to follow.
The content is just a title, description, and button, but it can be anything you want. This would work great for displaying links to course pages, embedded videos, links to articles such as tutorials or recipes, or any content that needs a certain privilege.
Concrete Example Wishlist Member
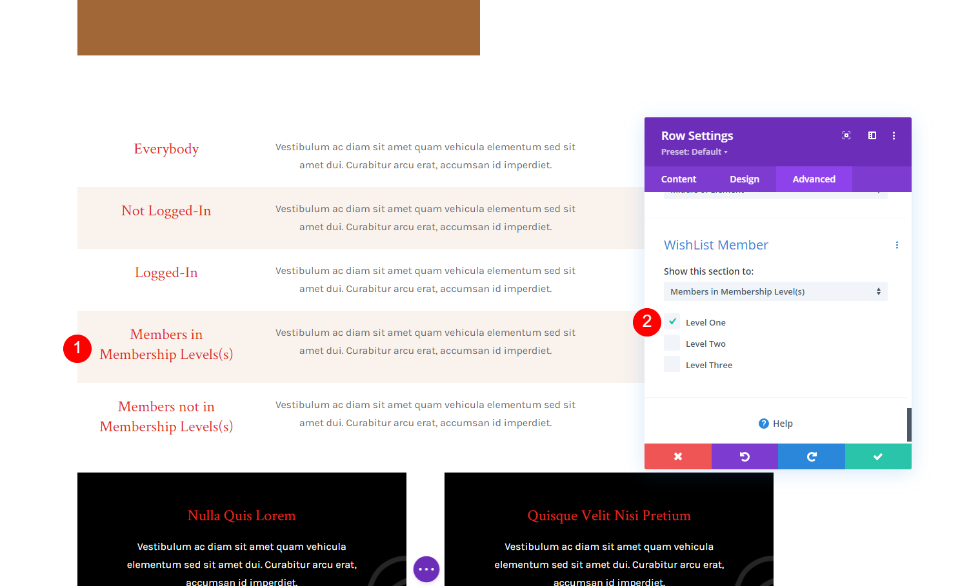
From Members in Membership Level(s), we've set it to only display to anyone in "Level One". This means, those in Level Two and Level Three will not see this row.
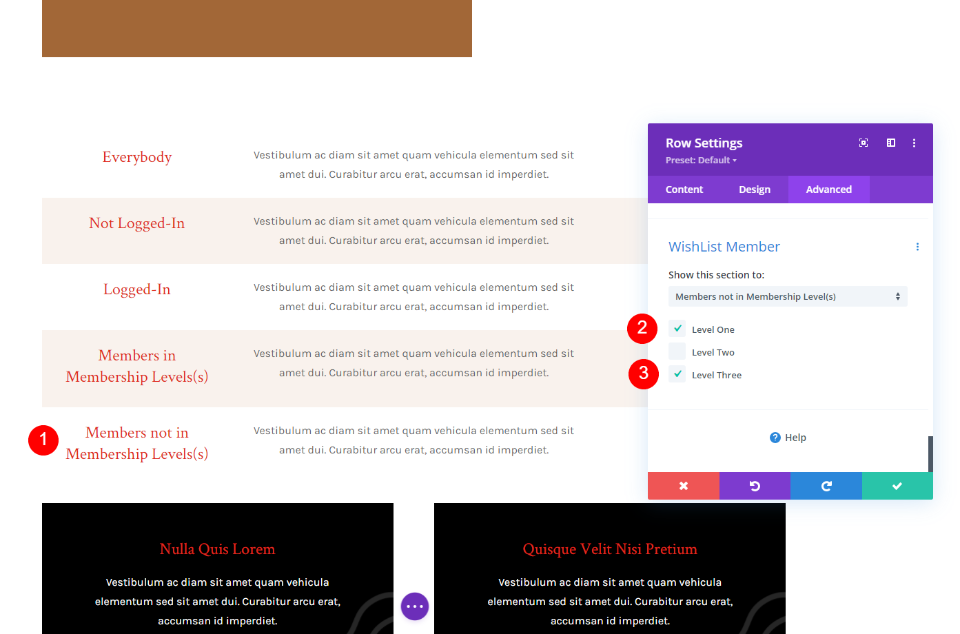
For the option "Members not in Membership Level(s)", we've set it to only display to anyone in Level One or Level Three. Only those in Level Two will not see this row.
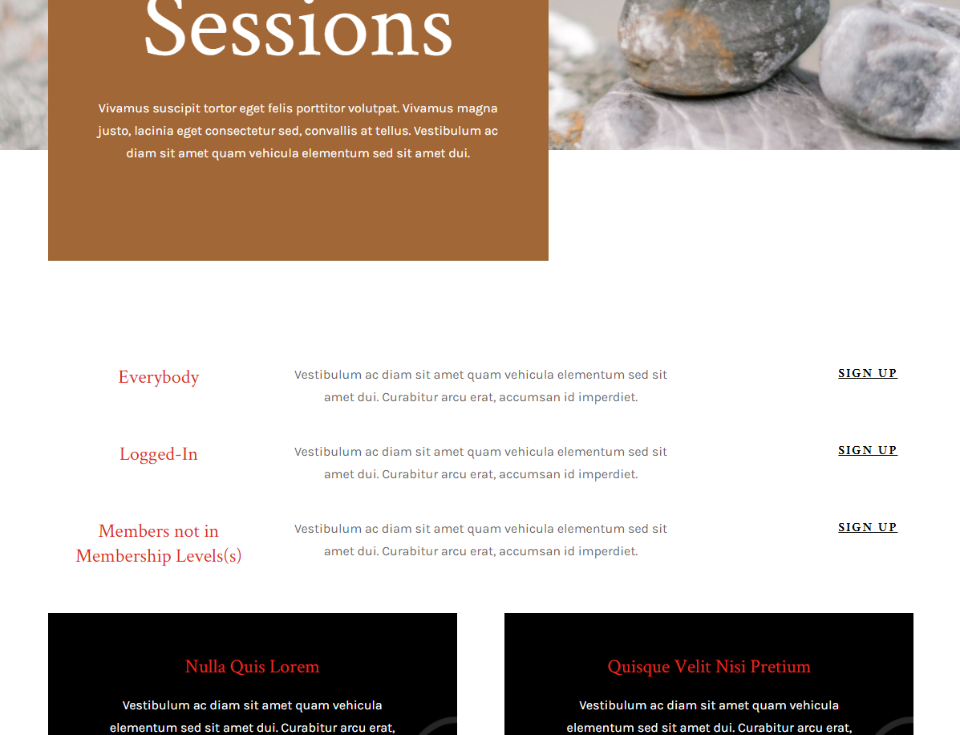
On the above example we're logged-in and not a member of Level One, Level Two, or Level Three, so it shows the rows for Everybody, Logged-In, and Members not in Membership Level(s).
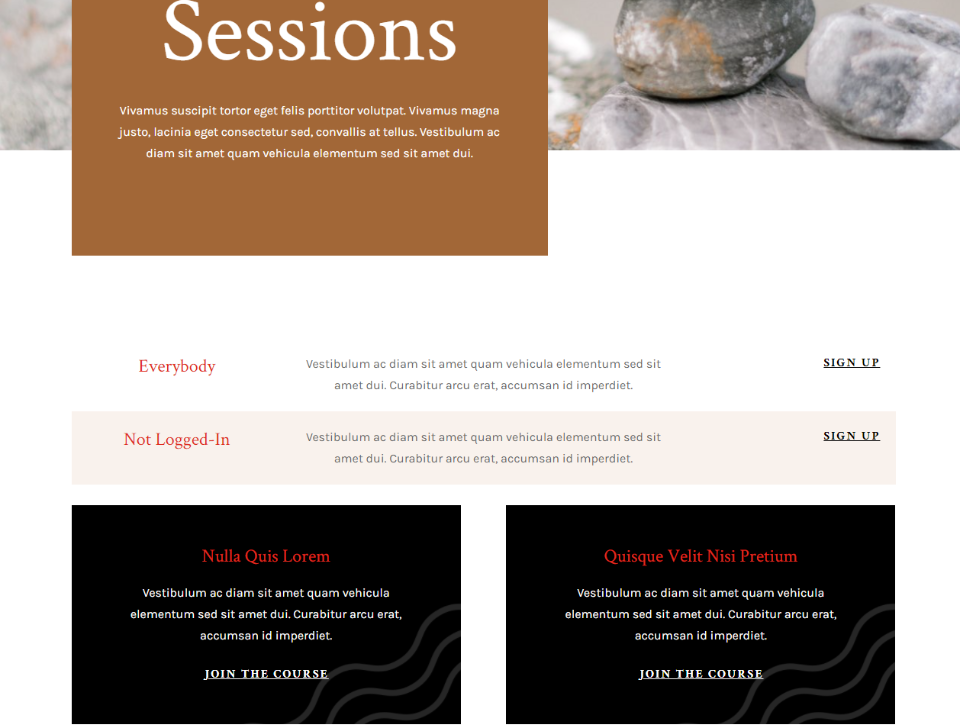
In this example, we're logged out of the website. It’s now showing the row that everybody sees and the row that only those that are not logged-in can see.
We've set the logged account to the "Level One". Since Members in Membership Level(s) displays to anyone with Level One membership, it now displays that row.
Where To Purchase Wishlist Member with Divi Integration
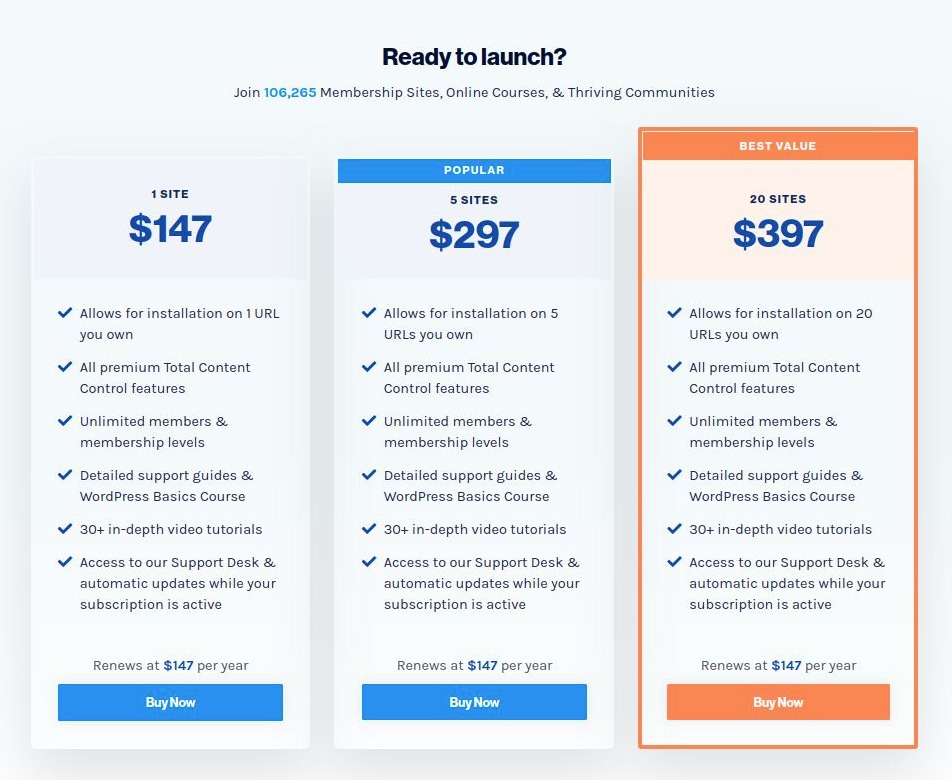
Wishlist Member is available from the publisher’s website. There are three purchase options available. All levels include the Divi integration, all premium content control options, unlimited membership levels, and tutorials. It’s subscription-based. Support and updates are included for as long as the subscription is active.
- 1 site – $147 per year
- 5 sites – $297 per year
- 20 sites – $397 per year (better for agency)
Final Words
The integration of Wishlist Member within Divi is an excellent way to show sections and rows to specific types of users. It's simple to use and the tools work well within the Divi settings. What do you think about that ? Don't hesitate to share this tutorial with your friends or to follow us on Twitter and Facebook.


