
Nowadays, on WordPress, you don't need to create a header with many menus using Elementor for allowing navigation on your website. This should be only used for a website that has few menus. If you plan to give a better way to navigate to your website by showing the maximum possible links, you need to use Mega Menus.
By using a Mega Menu, you not only make it easier for the user to choose an option but also help them know about more pages to explore. In this tutorial, we will create a WordPress Mega-menu using the plugin Elementor.
Why should you create a Mega-menu?
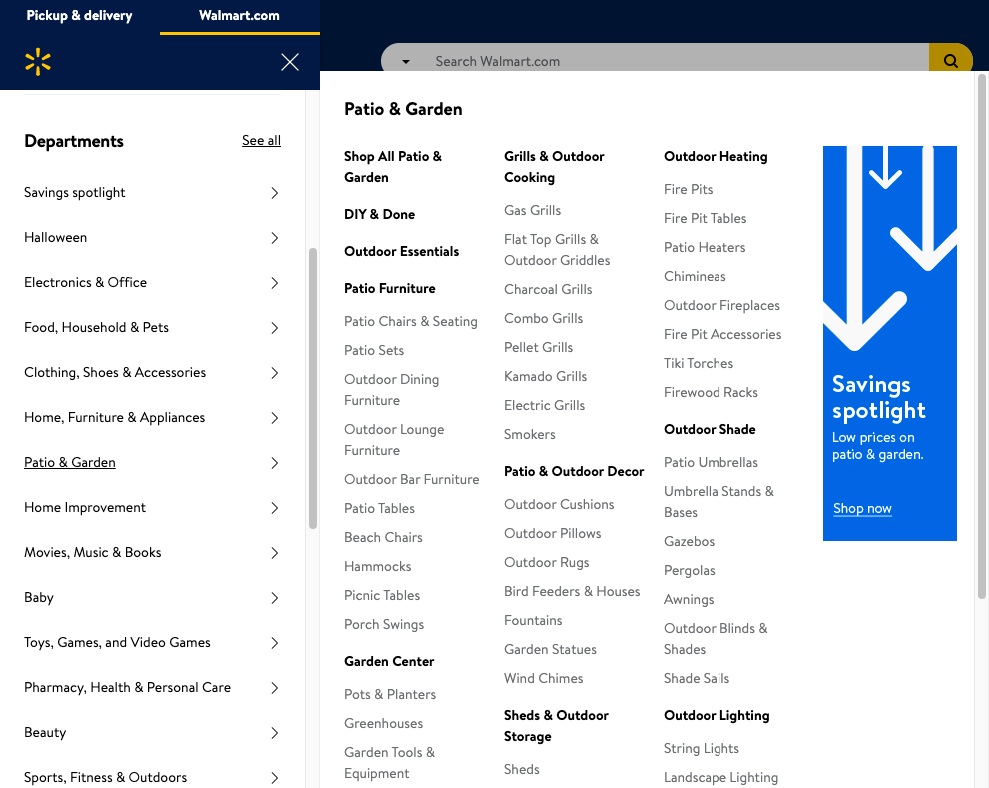
Mega-menus are big expandable menus displaying everything at once. You don't make your visitors navigate through a complex menu trying to sort out which option should they dig into to find the page or a product they are looking for.
Mega-menus allow you to display a large number of options in a pleasing design format. Alongside the fact that they are user friendly and do not confuse a new visitor while also highlight more important pages of your website.
Create Amazing Websites
With the best free page builder Elementor
Start NowMega-menus are extremely popular in e-commerce websites. Online stores have more important pages and products to display while also have to incorporate lower-level pages and highlight them. In a navigation menu adding this much information makes it look overfilled whereas mega-menus can easily cater for a lot of options.
Using mega-menus not only enables you to display a large number of options but also allow the user to explore more of your site. With everything displayed in a single menu, there are higher chances of user checking out more pages than they actually came for. This enhances your websites SEO in terms of pages visited and the time that users spend on your website.
How To Create A Mega-menu With Using Elementor
WordPress does not support mega-menus by default and this is why we will be needing The Plus Addons which is an "Elementor" addon plugin. The Plus addons will be useful to enable the mega-menu functionality while also supports a variety of mega-menus such as vertical or horizontal mega-menus, toggle-based mega-menus, and so on.

Install and activate the plugin on your WordPress to move ahead with the process.
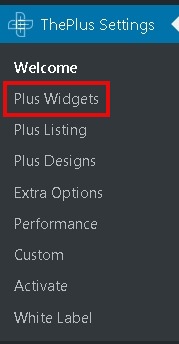
First, you will have to activate the mega-menu feature with The plus addons and for that the Plus Widgets option from The plus Settings in the WordPress dashboard.
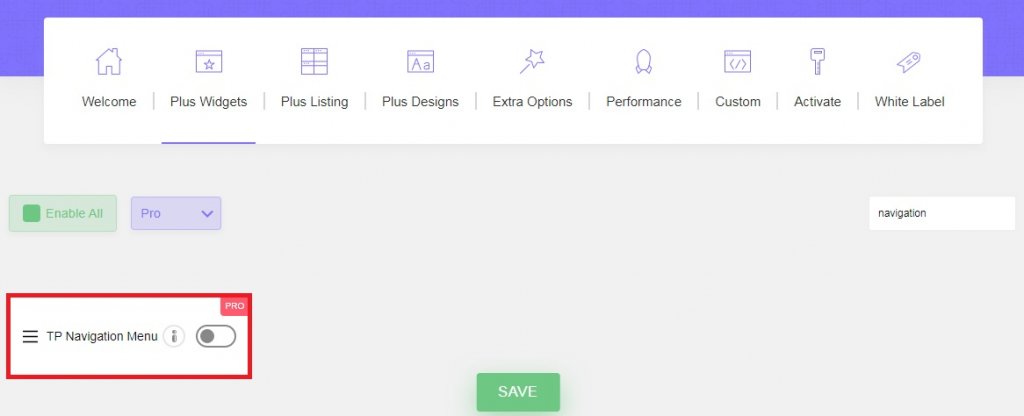
Enable the TP Navigation Menu and your mega-menu functionality will be enabled.
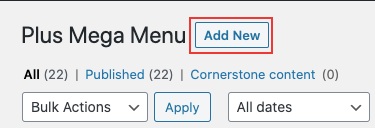
Once you enable the TP Navigation menu, go to the newly added Plus Mega Menu option in your WordPress dashboard.

Press Add New to create a mega-menu template for your website. We will be using the Elementor editor to design our menu. Make sure to press the "Edit with Elementor" button later on.
When you are done with creating a mega-menu template, you can go ahead and create a WordPress navigation menu. Head over to the Appearance in the WordPress dashboard and then choose menus.

Now, add the important pages to the regular top-level menu. These options will not trigger the mega-menu.
Next, to add the items that do trigger the mega-menu, use the Plus Mega Menu option in the Add menu items and add the mega-menu template you had created previously.
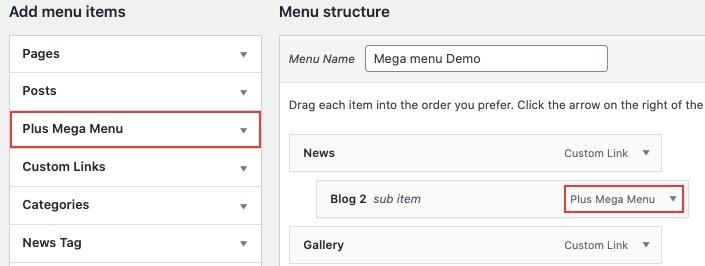
If the Plus Mega Menu section does not appear in the Add menu items area, go to the Screen Options and check the Plus Mega Menu box in the list.

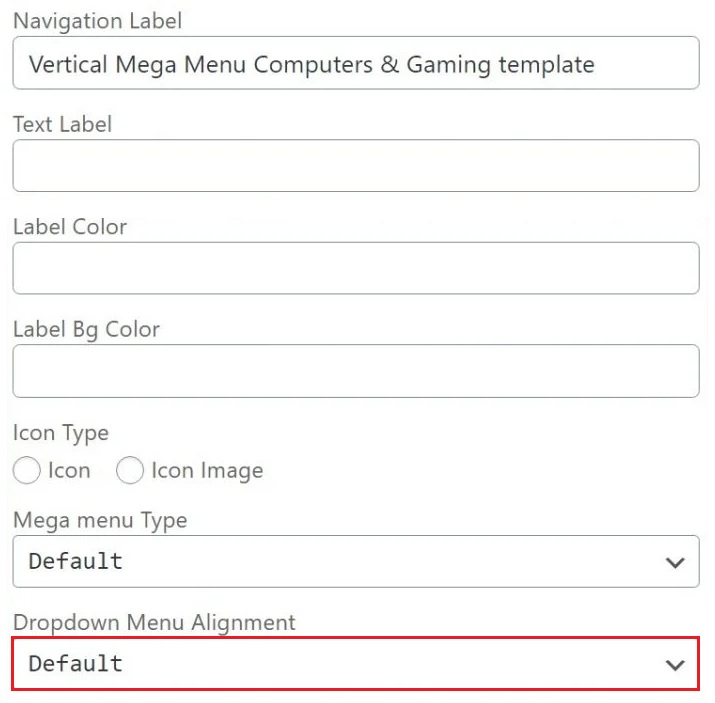
Next, you can use the mega-menu Settings to adjust the size and alignment. You can also add icons or customize labels and label colours of your menu item.
Next, you will need a custom header template. You can create a new header template using the Elementor page builder or if you have, you can use an already created one. You can also control the position of your Header.
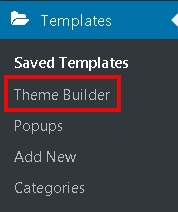
Head over to Templates and then Theme Builder to create a new header template.
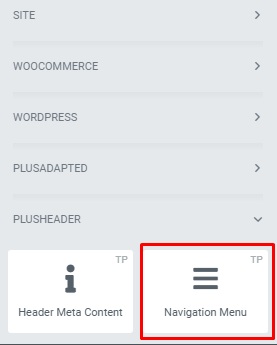
From The Plus Addons add a navigation menu to your newly created Header.
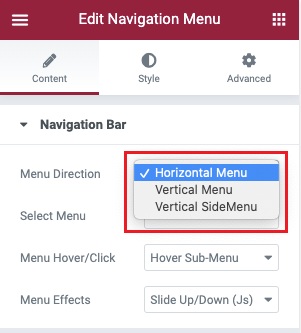
Using the Widget's settings you can set up the direction of the menu.
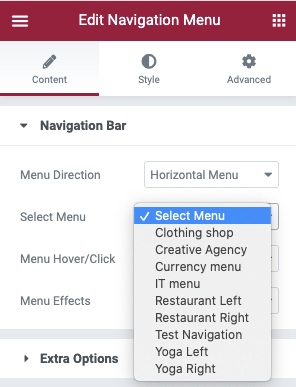
After you are done, you can go ahead to the Select menu option and choose the navigation menu we had created before.
In the Style tab, you can deal with other menu customization. However, these are all the selections you need to make.
Now, we arrive at the final settings of our mega-menu to make sure it is responsive across all devices. In the Content tab, go to the Mobile Menu settings and enable the Responsive Mobile Menu option and set up the responsive breakpoint of your mega-menu.

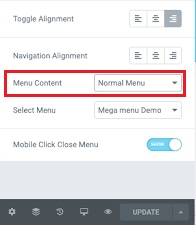
In the Menu Content option, you can choose to display the menu you want for your mobile visitors. You can create an entirely different menu or use the one you just created.
Now you can publish your mega-menu and make sure to check if everything is working fine.
This is how you can create a mega-menu for your WordPress website using the Elementor page builder and the Plus Addons to get rid of confusing and complex menus. Make sure to keep following us on our Facebook and Twitter for more tutorials.


